Jacksonville's storm season runs May through November, and Northeast Florida sits in the path of both Gulf-origin storms that track across the state and Atlantic storms that come up the coast. Tropical Storm Eta, Hurricane Irma, and several unnamed severe thunderstorms in recent years have generated significant roofing and exterior damage across Duval, St. Johns, and Clay counties. What you do in the first 24 hours after a storm determines the quality of your insurance claim and, in some cases, whether you have one.
The most important rule: don't go on the roof. A wet roof surface, especially on asphalt shingles, is a slip hazard and often structurally compromised in ways you can't see from the top. Everything in this list can be assessed from the ground, from interior attic access, or from exterior inspection at grade level. JK Prestige Construction offers free post-storm inspections and provides a written damage report you can submit directly to your insurance carrier.
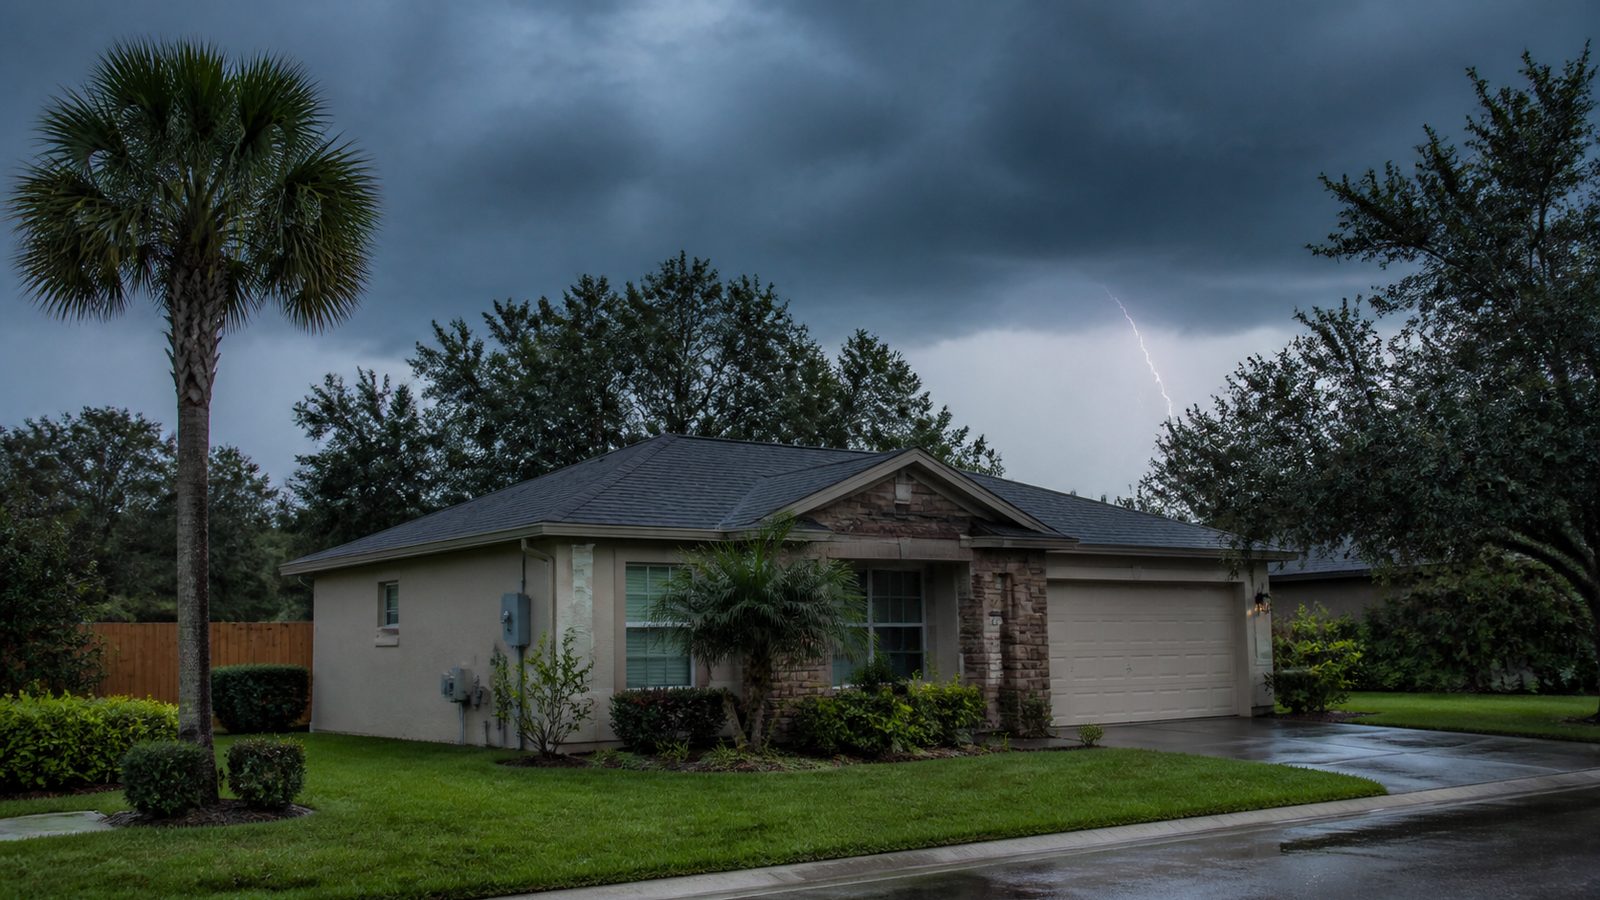
1. Walk the Perimeter from the Ground — Don't Climb a Wet Roof
Start your inspection from the ground with a pair of binoculars if you have them. Walk all four sides of the structure and look for obvious displacement: shingles on the lawn, ridge cap material on the driveway, exposed decking visible through missing shingles, or sections of soffit hanging loose. In Jacksonville's neighborhoods — from Riverside to Ponte Vedra Beach — high-wind storms frequently strip ridge and hip cap before they damage field shingles. Ground-level observation gives you a safe, complete view of the roof surface without the liability of climbing a wet pitch. Note the GPS coordinates and time of your walk; some insurers request this level of documentation detail.
2. Look for Displaced or Missing Ridge Cap and Hip Cap Shingles
Ridge cap and hip cap shingles are the most wind-exposed components on any roof. They are installed at the peak and along the hip lines — the highest points where wind pressure is greatest on both the windward and leeward faces simultaneously. A GAF or CertainTeed ridge cap installation uses a concealed-nail method with a specific overlap dimension; when wind gets under a ridge cap, it often lifts and displaces a run of 6 to 12 pieces in one gust. Missing ridge cap exposes the underlying nail line and the felt underlayment to rain penetration immediately. Document each gap with a photo showing its position relative to the nearest roof feature — chimney, vent, ridge end — so the adjuster can locate it on the roof diagram.
3. Check for Granule Wash-Off in Gutters and Downspouts
Granule loss is the primary aging indicator for asphalt shingle roofs, and storm events accelerate it significantly. After a hard rain, granules dislodge from the shingle surface and wash into the gutters. Scoop a handful of gutter material at each downspout exit and look for sand-like black or gray granules. A small amount after any major storm is normal; a significant accumulation — enough to fill a coffee cup per downspout — indicates the shingles sustained impact damage or are at end of service life. In Northeast Florida, where roofs are routinely exposed to UV degradation from year-round sun as well as wind and hail, granule loss accelerates faster than in northern climates. Photograph the downspout discharge area and the gutter contents before cleanup.
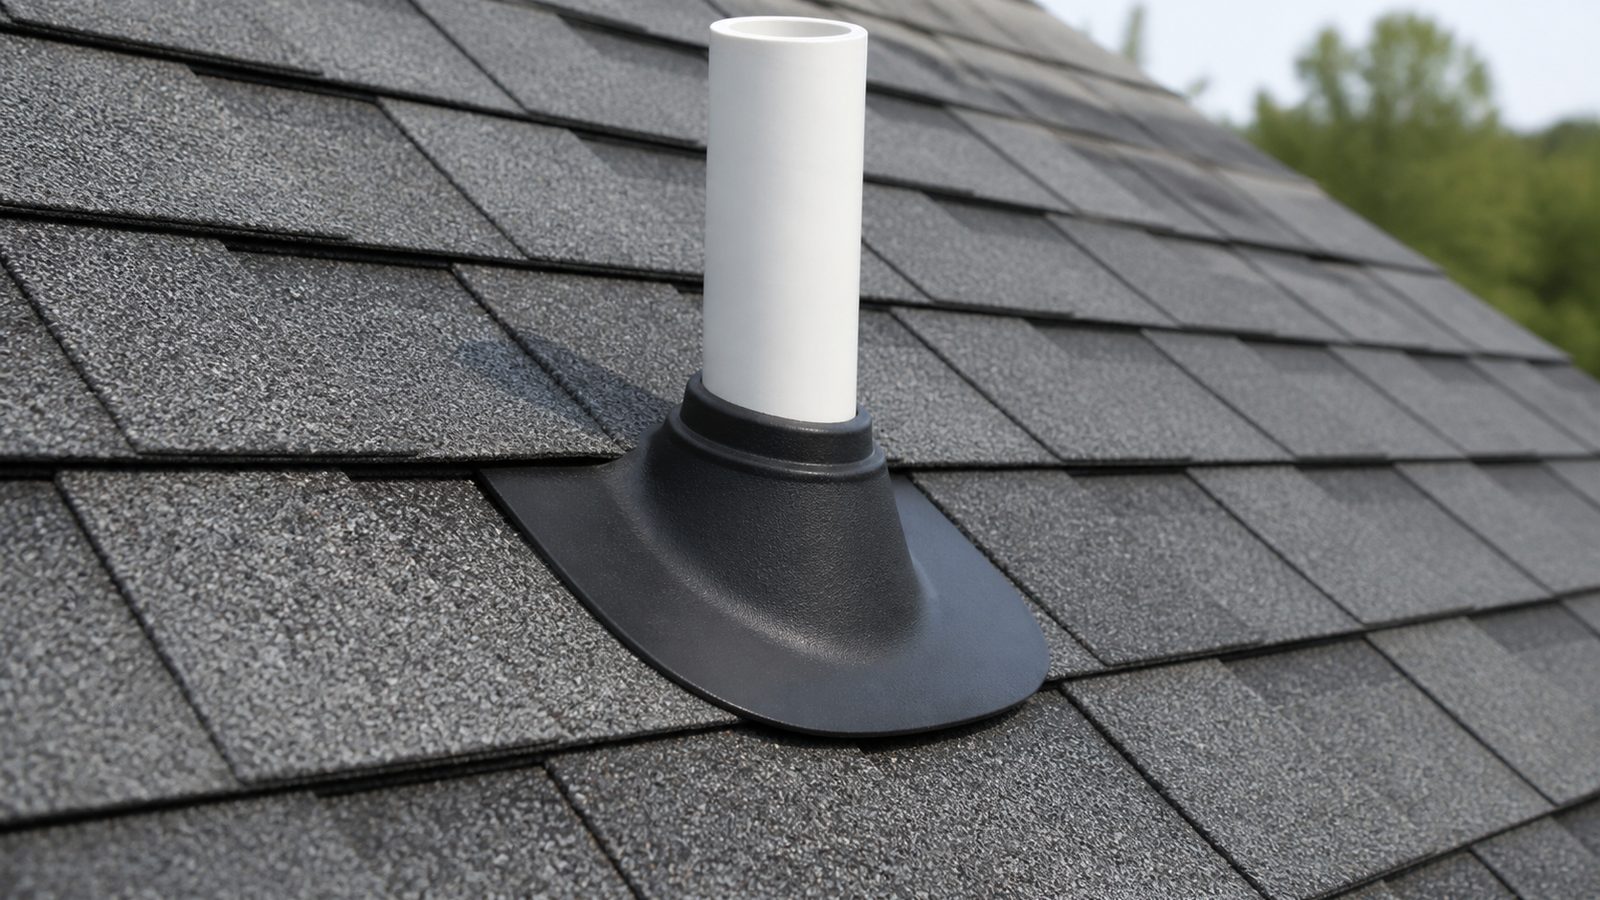
4. Inspect All Pipe Boot Flashings and Chimney Flashings
Pipe boot flashings are the rubber or lead collars that seal around plumbing vent stacks where they exit the roof. Storm wind can compress and crack the rubber collar, separate the boot from the shingle surface, or displace the entire assembly if it was not fully nailed. Chimney flashings — step flashing along the sides, counter flashing embedded in the mortar joints, and saddle flashing behind the chimney — are also vulnerable. Look from the ground for visible separation, displaced metal, or missing sealant. These are the two most common locations for post-storm leaks that don't appear until the next rain, sometimes weeks after the storm event. A written inspection report from a licensed contractor documents the condition for insurance purposes.
5. Check Eaves and Soffits for Damage — Wind Gets Under Them
The soffit is the horizontal panel that closes the underside of the roof overhang. Fascia is the vertical board at the edge of the roof to which the gutter is attached. Both are exposed to wind uplift during storms because wind hitting a wall reflects upward and enters the soffit cavity. Once wind gets into the soffit, it can pressurize the attic, which from the inside pushes up on the roof deck. In Jacksonville's older neighborhoods — Murray Hill, Riverside, Avondale — aluminum or wood soffit panels from pre-2000 construction are especially susceptible. Look for panels hanging loose, separated from the fascia, or missing entirely. Exposed soffit cavities allow water and pests into the attic framing.
6. Inspect All Exterior Penetrations: Vents, Meter Boxes, A/C Lines
Wind-driven rain doesn't need a large opening to cause interior damage. Check every exterior penetration: dryer vents, range hood exhausts, bathroom exhaust vents, electrical meter boxes, and the point where A/C refrigerant lines and condensate drain lines enter the building. Line set penetrations are often sealed with foam that ages and separates — storm wind can open that gap further. At the electrical meter box, look for visible gaps between the meter base and the siding or stucco. Any penetration that was marginal before the storm may have failed during it. Flag each location with tape so you can find them again at night if a leak develops.
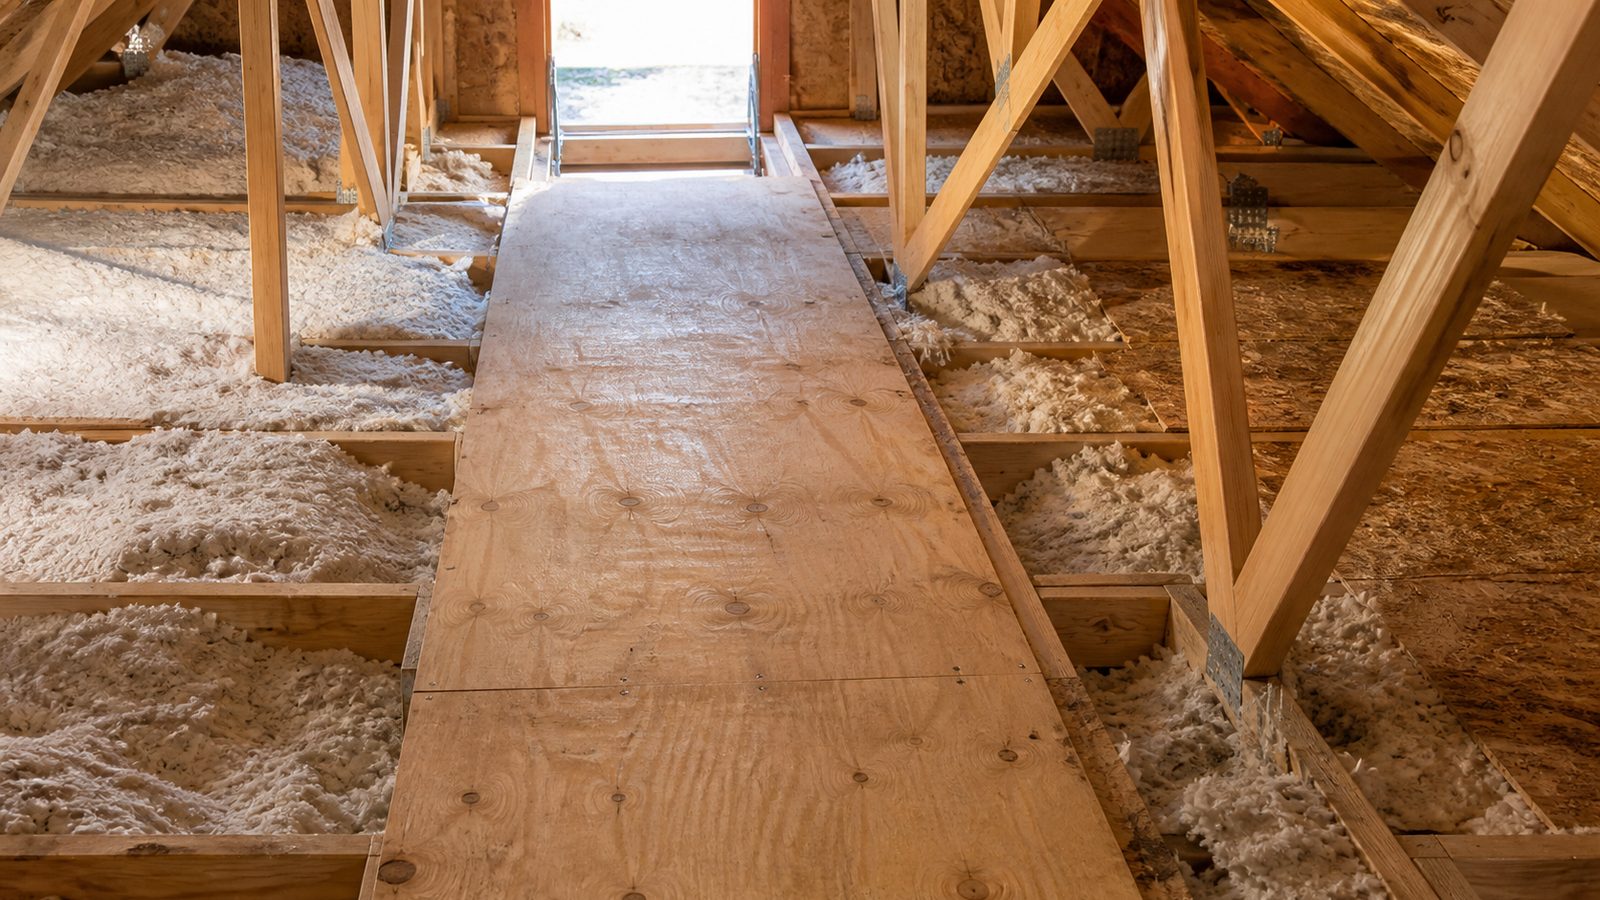
7. Check the Interior Attic for Daylight or Moisture Staining on Sheathing
Interior attic access gives you a direct view of the roof deck condition without going on the roof. On a clear day — wait for the storm to fully pass — go into the attic during daylight hours and let your eyes adjust. Any pinpoint of light visible through the deck indicates a gap, crack, or missing fastener. Run your hand along the underside of the sheathing where you see staining or discoloration: wet OSB or plywood will feel cool and slightly soft. Check along all hip and ridge lines, around any attic vent penetrations, and directly behind any exterior feature visible from the outside. Photograph the underside of the deck from inside with the flash off — daylight infiltration shows clearly.
8. Document Everything with Time-Stamped Photos Before Any Cleanup
Insurance adjusters are trained to differentiate storm damage from pre-existing conditions. The single most effective thing you can do for your claim is photograph every item of damage — inside and out — before you remove any debris, tarp anything, or make any temporary repairs. Most modern smartphone cameras embed GPS coordinates and timestamps in the image metadata. Shoot from multiple angles: wide shot showing context, medium shot showing the damage area, close shot showing the specific failure. Photograph debris on the ground next to something for scale. Do not discard displaced shingles or ridge cap material — the adjuster may want to inspect them. When JK performs a post-storm inspection, we provide a written damage report with photos you can submit directly to your carrier.
Get a written estimate in 48 hours. Call (904) 944-0278 or request a free consultation.
JK Prestige Construction offers free post-storm inspections across Jacksonville, St. Johns County, and surrounding Northeast Florida communities. As a GAF Master Elite contractor, we provide written damage documentation for insurance claims and perform repairs to manufacturer specifications. Learn more about our roofing services and how we work.
No call center. No coordinator. A JK principal reviews every inquiry and replies with a real number, not a range, not a follow-up form.
Request Free Estimate →