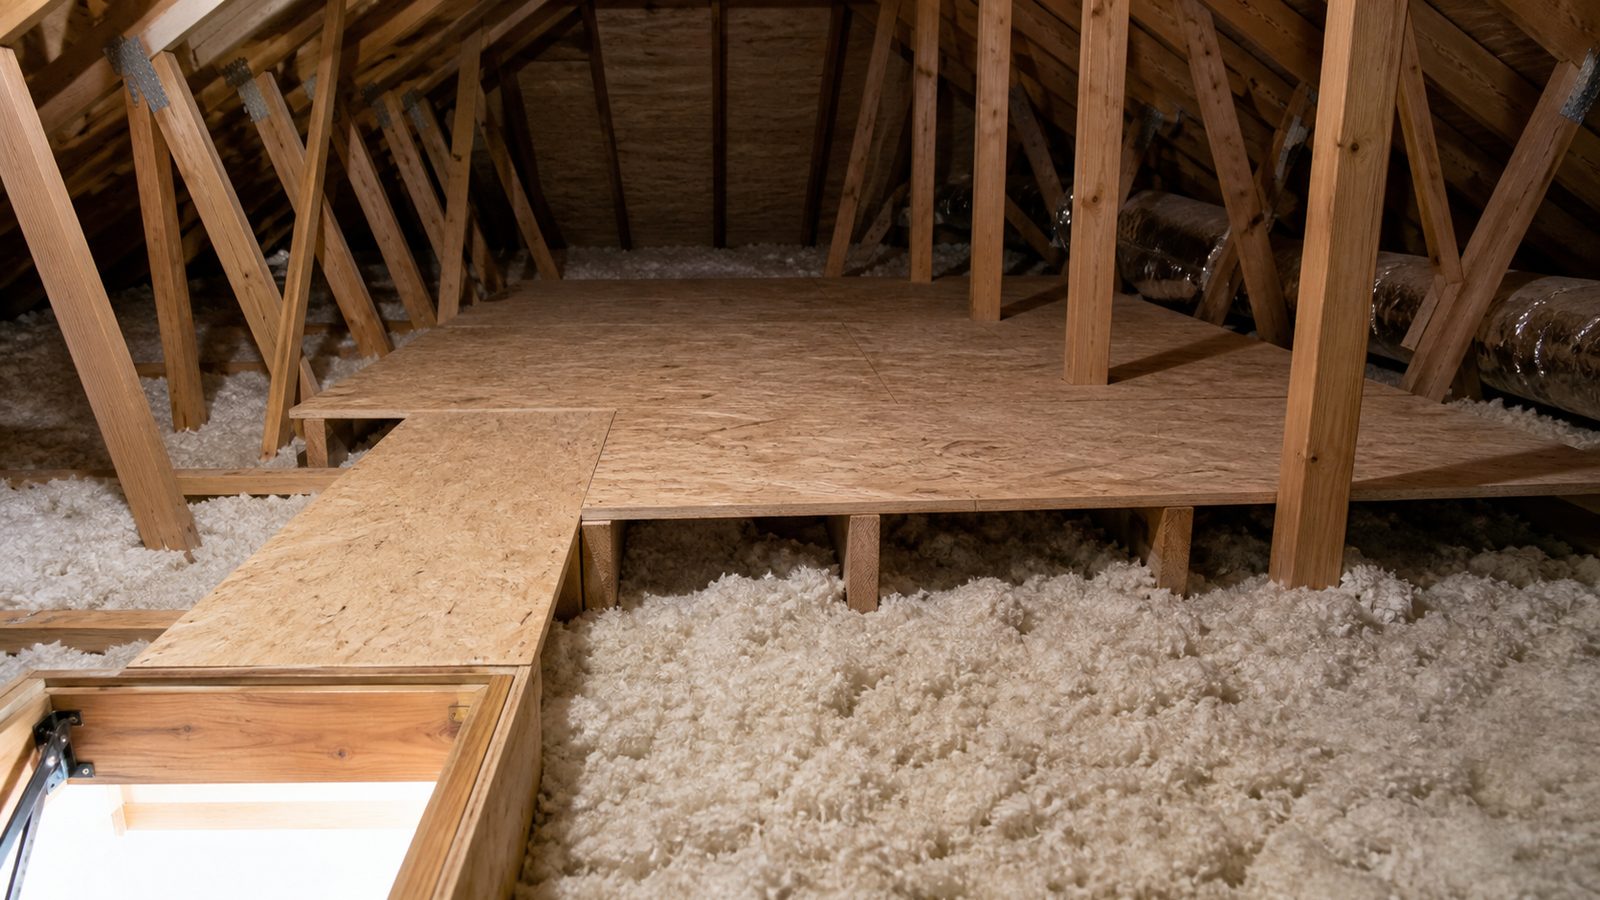
If your air conditioner runs almost continuously from May through September and your upstairs rooms never quite cool down, the attic is usually the first place to look. Jacksonville sits in Florida Climate Zone 2, and summer attic temperatures regularly reach 140–150°F. That radiant heat load presses down through your ceiling all day long. Adding insulation is one of the highest-return upgrades a Jacksonville homeowner can make, often reducing cooling energy use by 15–25 percent depending on existing conditions. This guide walks you through the permit question, the right materials, and a realistic step-by-step process so you know what you are getting into whether you plan to do it yourself or hire a contractor.
When You Need a Permit in Jacksonville
For most Jacksonville homeowners adding blown-in insulation on top of existing insulation, no permit is required. The City of Jacksonville follows the Florida Building Code, and topping off insulation is generally considered maintenance rather than new construction. However, a permit is required if you are also doing air sealing work that involves penetrating the fire-rated ceiling assembly, or if the project is part of a larger renovation.
Where the code does matter is in the target R-value. Florida Energy Code for Climate Zone 2 sets the minimum attic insulation at R-38 for ceilings under conditioned space. Many older Jacksonville homes were built to R-19 or R-30, which was code at the time but falls well short of current standards. Before you buy materials, probe the existing insulation in several spots with a ruler. If you are already at R-30, you need to add roughly R-8 to reach code minimum. If you have R-19 or less, a more substantial upgrade is warranted.
Air sealing should happen before you add any insulation. This is not optional. In a leaky house, insulation alone does not stop conditioned air from escaping through gaps around plumbing penetrations, recessed lights, top plates, and attic access hatches. Seal those first with canned foam or fire-rated caulk, and you will get significantly better results from the insulation you add.
Tools and Materials
- Blown-in cellulose or blown-in fiberglass (most common for Jacksonville attic top-offs; fiberglass is lighter and does not retain moisture; cellulose is denser and slightly better at filling gaps)
- Fiberglass batt insulation (useful for dam construction around the attic access hatch)
- Attic ruler/depth gauge sticks (stake them every 10–15 feet so you can confirm depth as you blow)
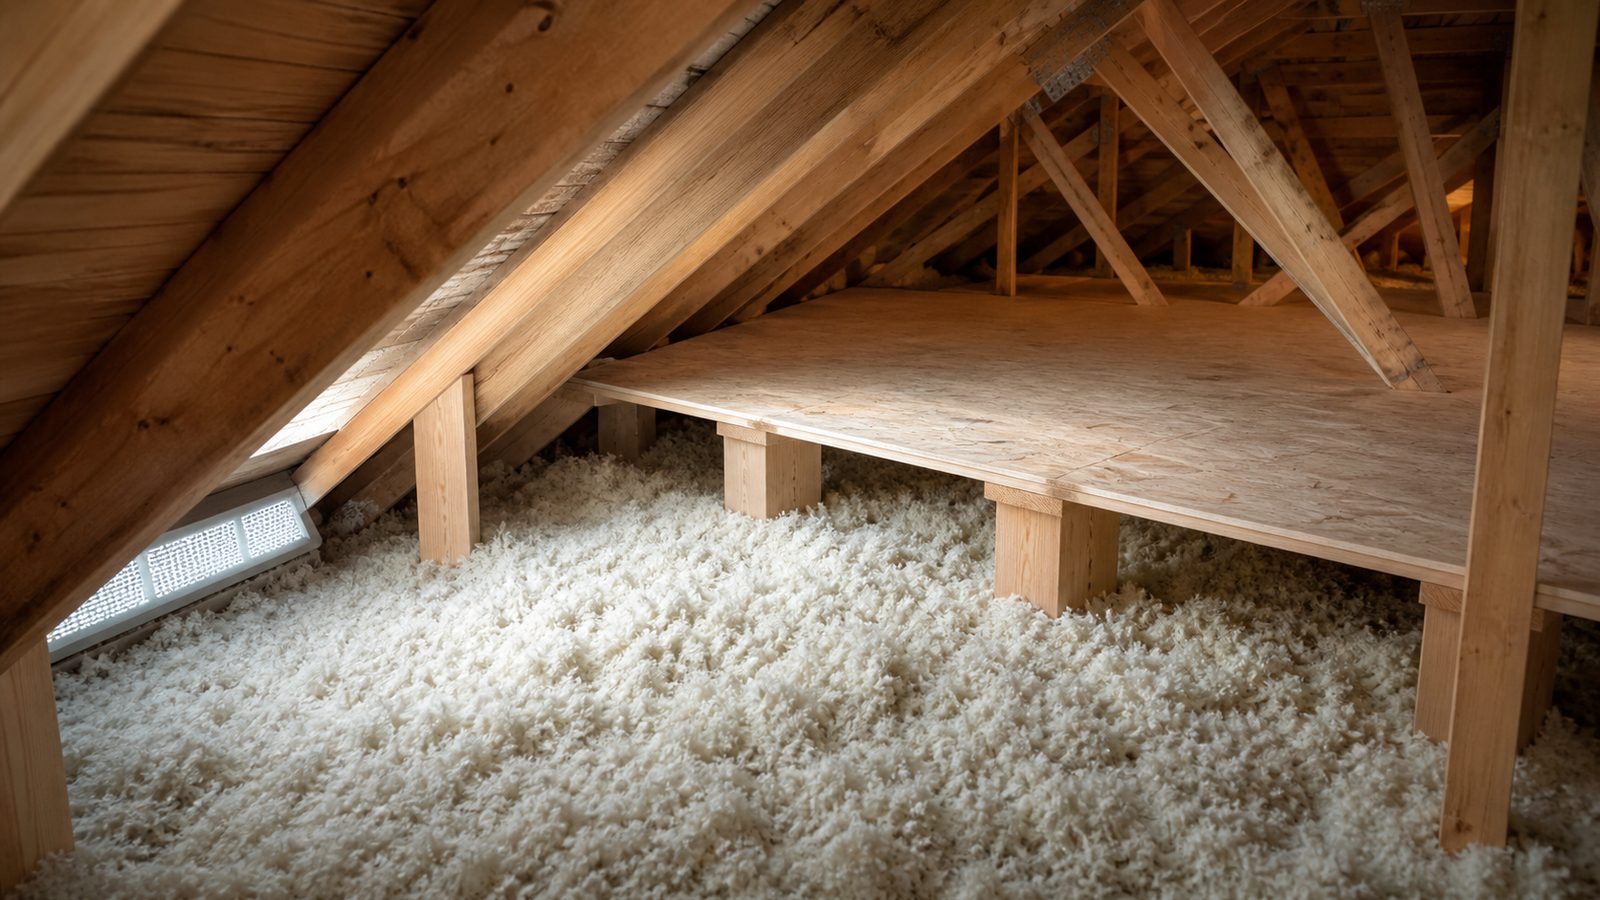
- Rafter baffles / ventilation chutes (cardboard or foam; install at every soffit vent before blowing)
- Rigid foam or scrap drywall for a dam around the attic access
- Fire-rated expanding foam (for air sealing penetrations)
- Fire-rated caulk
- Work lights rated for attic use
- N95 respirator, eye protection, and a long-sleeved shirt (non-negotiable with either blown product)
- Blower machine (rental from a box store, usually free with purchase of a minimum bag quantity of blown insulation)
Step-by-Step
- Clear the attic deck and assess existing insulation. Measure depth in at least five spots. Note any wet, compressed, or moldy insulation — those sections need to come out before you add anything.
- Check ventilation first. Count your soffit vents and ridge or gable vents. You need a clear airflow path from soffit to ridge. If you cannot see daylight or feel airflow at the soffits, address that before adding insulation or you will trap moisture.
- Install rafter baffles at every soffit vent location. Staple or pin them so they extend from the soffit into the attic cavity by at least 12 inches. These keep your new insulation from blocking the airflow channel. This step is frequently skipped and is one of the top causes of moisture problems in Jacksonville attics.
- Air seal all penetrations. Use expanding foam around plumbing pipes, electrical wires, and ductwork where they pass through the ceiling drywall. Cap off any open-top wall cavities at the top plate. Build a rigid dam around any recessed lights that are not IC-rated and either cap them off from the attic side or replace them before insulating. IC-rated fixtures can be insulated over; non-IC fixtures cannot.
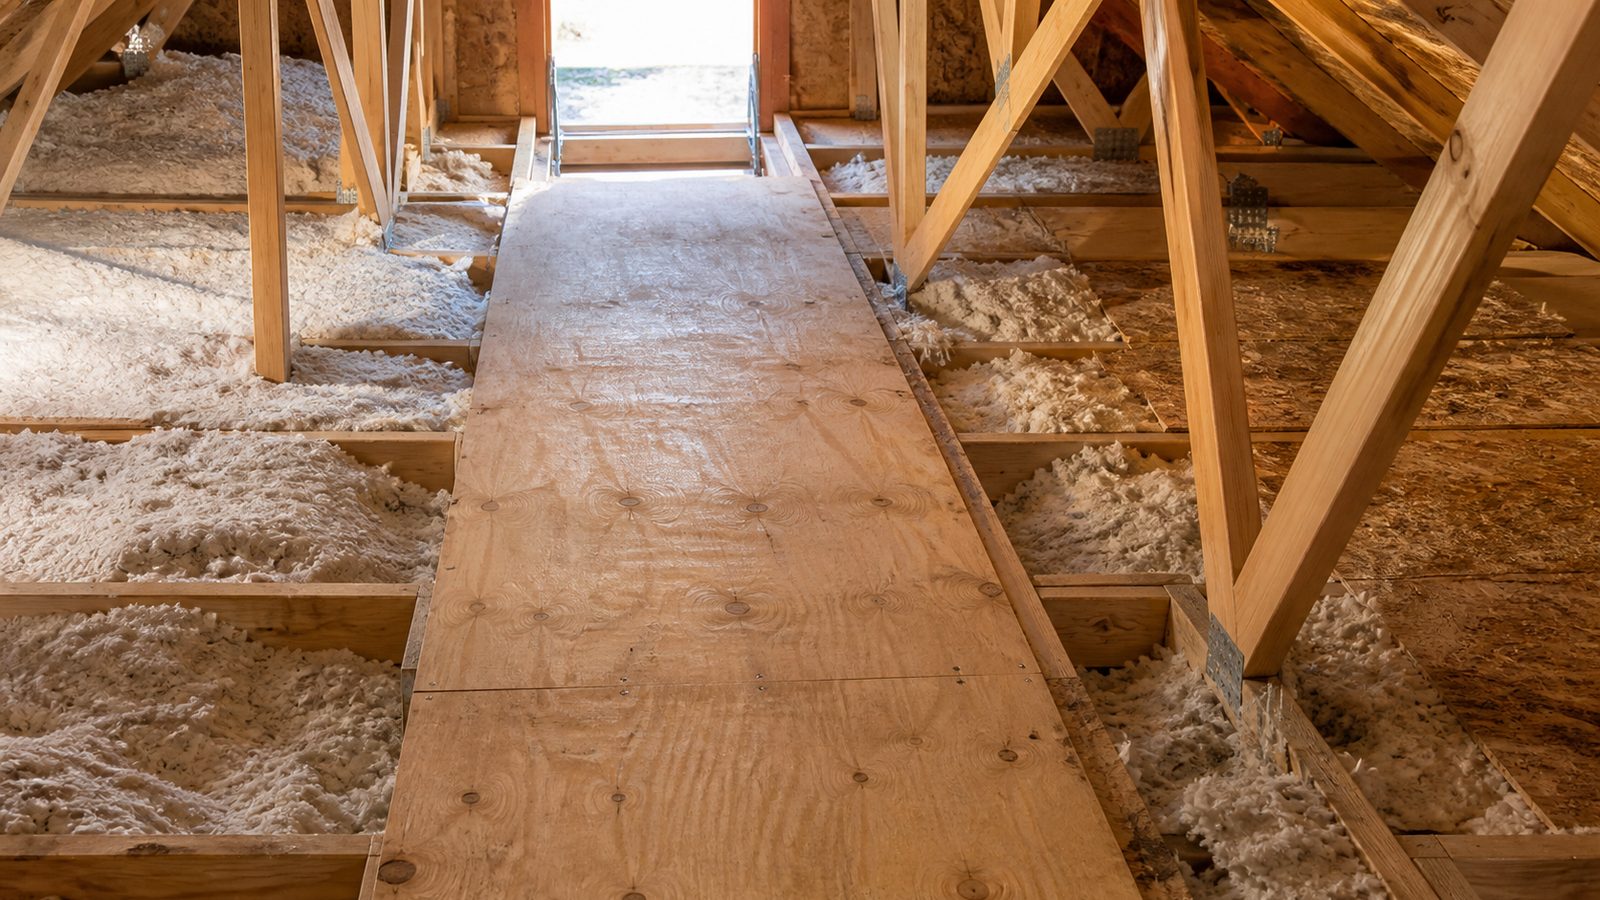
- Build a dam around the attic access hatch using rigid foam board or scrap lumber and batt insulation. The hatch itself needs an insulated cover — a simple hinged foam box works well and is available at home improvement stores.
- Set your depth gauge sticks throughout the attic at the target depth. For R-38 with blown fiberglass, that is typically around 13–15 inches of new material on top of existing insulation. Your bag packaging will show a coverage chart.
- Load the blower and begin at the far end of the attic, working back toward the access hatch. Keep the hose moving and maintain even, consistent depth. Do not pile it deep in one spot. Check your gauge sticks frequently.
- After blowing, inspect the perimeter at the soffits to confirm you have not blocked the baffles or covered the ventilation channels.
Jacksonville Climate Considerations
Jacksonville's combination of extreme heat and high humidity creates a specific set of challenges that do not apply in dryer climates. Attic air during summer is not just hot — it is often saturated. If you seal the attic too tightly without maintaining soffit-to-ridge ventilation, moisture can accumulate and cause wood rot, mold, and premature sheathing failure.
A radiant barrier — a foil-faced product stapled to the underside of the roof rafters — is a worthwhile addition in this climate and can reduce attic temperatures by 20–30°F before the insulation even has to work. It does not replace insulation but meaningfully reduces the radiant load. If your roof deck is being replaced, this is the easiest time to add a radiant barrier sheathing product.
Duct insulation matters too. Many Jacksonville homes have HVAC ducts running through the attic. If those ducts are poorly sealed or insulated to less than R-6, you are conditioning the attic with every degree of cool air that bleeds out through them. Addressing duct sealing alongside attic insulation produces compounding savings.
What It Costs in Jacksonville (DIY vs. Hiring a Pro)
| Approach | Typical Range (per 1,000 sq ft) |
|---|---|
| DIY blown-in (materials + blower rental) | $350 – $600 |
| Professional blown-in installation | $900 – $1,600 |
| Professional blown-in + air sealing package | $1,400 – $2,400 |
| Radiant barrier addition (professional) | $600 – $1,200 |
Prices vary based on existing insulation levels, attic accessibility, and current material costs. These are realistic Jacksonville-market estimates, not guarantees.
When to Call JK Prestige
If your attic has existing moisture damage, mold, animal intrusion, or compromised ductwork, those issues need to be resolved before insulation goes in. JK Prestige handles the full scope — air sealing, duct remediation, insulation, and radiant barriers — so the project gets done right the first time rather than layering new insulation over existing problems. We work directly with homeowners throughout Jacksonville and surrounding areas with no subcontractor handoffs.
No call center. No coordinator. A JK principal reviews every inquiry and replies with a real number, not a range, not a follow-up form.
Request Free Estimate →