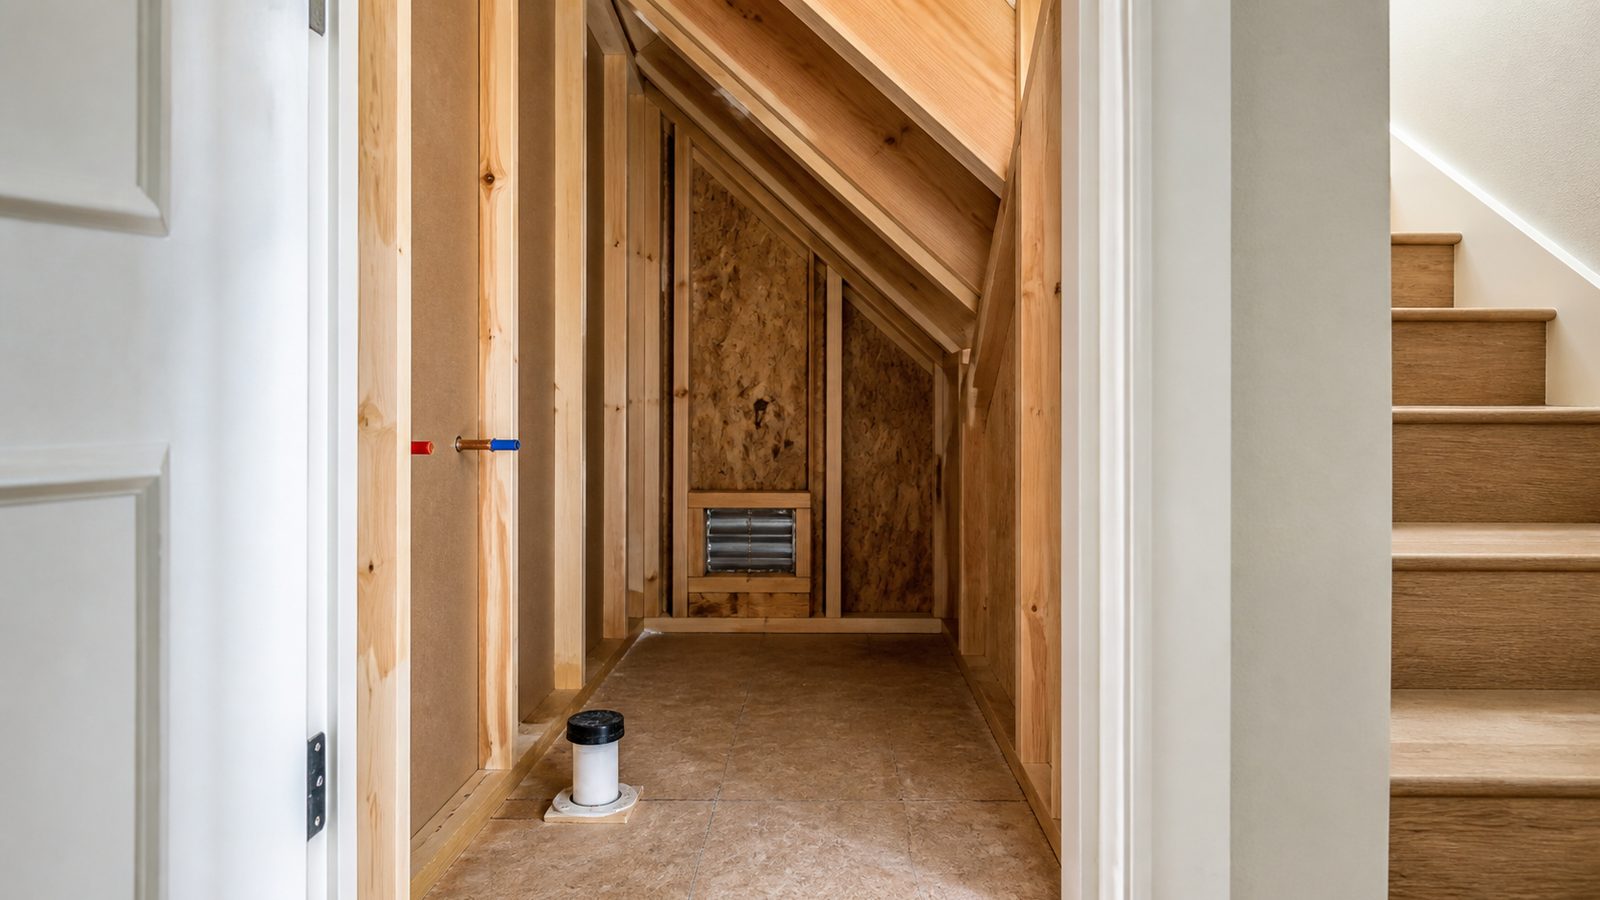
This guide is for Jacksonville homeowners who want to add a powder room -- toilet and sink, no shower -- in the dead space under a staircase. Done right, this is one of the highest-ROI renovations you can do in a home without a main-floor bathroom. Difficulty: hard. This project involves licensed plumbing work in Florida, which means you cannot legally do all of it yourself. Read through the full guide before deciding how much to DIY and what to sub out.
Time frame: 2 to 4 weeks from permit to finish. Total cost ranges from $4,500 to $9,000 depending on existing rough-in proximity, tile selection, and fixture quality.
Tools you need
- Oscillating saw and circular saw
- Drill and impact driver with long bits
- Angle grinder (for cutting concrete slab if applicable)
- Level (4-foot and torpedo)
- Stud finder
- Tape measure
- Tile saw (if doing tile yourself)
- Drywall tools (knife, rasp, tape, mud)
- Shop vacuum
- Safety glasses, gloves, dust mask
Materials you need
- Toilet (rough-in size to match your plan) -- $200 to $600
- Pedestal or wall-mount sink -- $100 to $400
- Faucet set -- $80 to $300
- 3-inch PVC drain pipe, 1-1/2-inch vent pipe, fittings -- $80 to $200
- Supply lines (1/2-inch copper or PEX) -- $60 to $120
- Framing lumber (2x4 for walls) -- $80 to $200
- Drywall (moisture-resistant for bathroom walls) -- $60 to $100
- Exhaust fan (ENERGY STAR, minimum 50 CFM for under 50 sq ft) -- $40 to $150
- Duct for fan to exterior -- $30 to $60
- Tile, backer board, mortar, grout -- $150 to $500
- Pocket door or swing door hardware -- $150 to $400
- Light fixture, switch, GFCI outlet -- $80 to $150
- Paint, trim, accessories -- $100 to $200
Step-by-step instructions
Phase 1: Feasibility and permits
Step 1: Confirm your rough-in proximity.
The most important factor in cost is how far your new toilet and sink need to be from existing drain lines. In a two-story Jacksonville home, the closest drain is typically the main stack (a 3-inch or 4-inch vertical pipe running from the second-floor bathrooms down through the first floor to the slab). If your stairs are within 6 to 8 feet of that stack, this project is reasonable. If the stairs are on the opposite end of the house from any existing plumbing, your drain run will be long, costly, and may require a sewage ejector pump.
Walk your basement or crawl space (or look under the slab access if on slab) to trace where existing drains run. Photograph everything.
Step 2: Verify the minimum space requirement.
Florida Plumbing Code and Residential Code require minimum clearances in bathrooms. A toilet requires 15 inches of clear space from center to each side wall and 18 inches of clear space from the front of the toilet to any obstruction. A sink needs at minimum a 15-inch radius from center. The ceiling above the toilet must be at least 21 inches -- under a stair, this is often the limiting factor.
Measure your stair cavity carefully. Map out where the ceiling slopes and determine whether a standard toilet fits, or whether you need a wall-hung toilet (which mounts higher but requires a carrier frame inside the wall). Most standard stair cavities under a 9-foot ceiling first floor work. Tight spaces under steeper stair slopes may not.
Step 3: Pull permits.
In Duval County, adding a bathroom is a plumbing permit minimum, and typically also requires a building permit if framing new walls. In Florida, plumbing rough-in in a new location must be done by a licensed plumbing contractor (or a licensed owner-builder if it is your primary residence and you pass the owner-builder disclosure process). The permit will require a rough-in inspection before walls are closed and a final inspection after finish.
Apply through the Duval County Building Inspection portal. Have a rough floor plan showing drain location, vent path, supply connections, and proposed wall framing.
Phase 2: Drain rough-in
Step 4: Locate and cut the drain connection.
If your home is on a concrete slab (common in Jacksonville), cutting into the slab for drain installation is the most disruptive and costly part of this project. A licensed plumber will use a concrete saw or angle grinder to cut a trench, break out the concrete, install the drain line with proper slope (1/4 inch per foot minimum toward the main drain), and patch the slab.
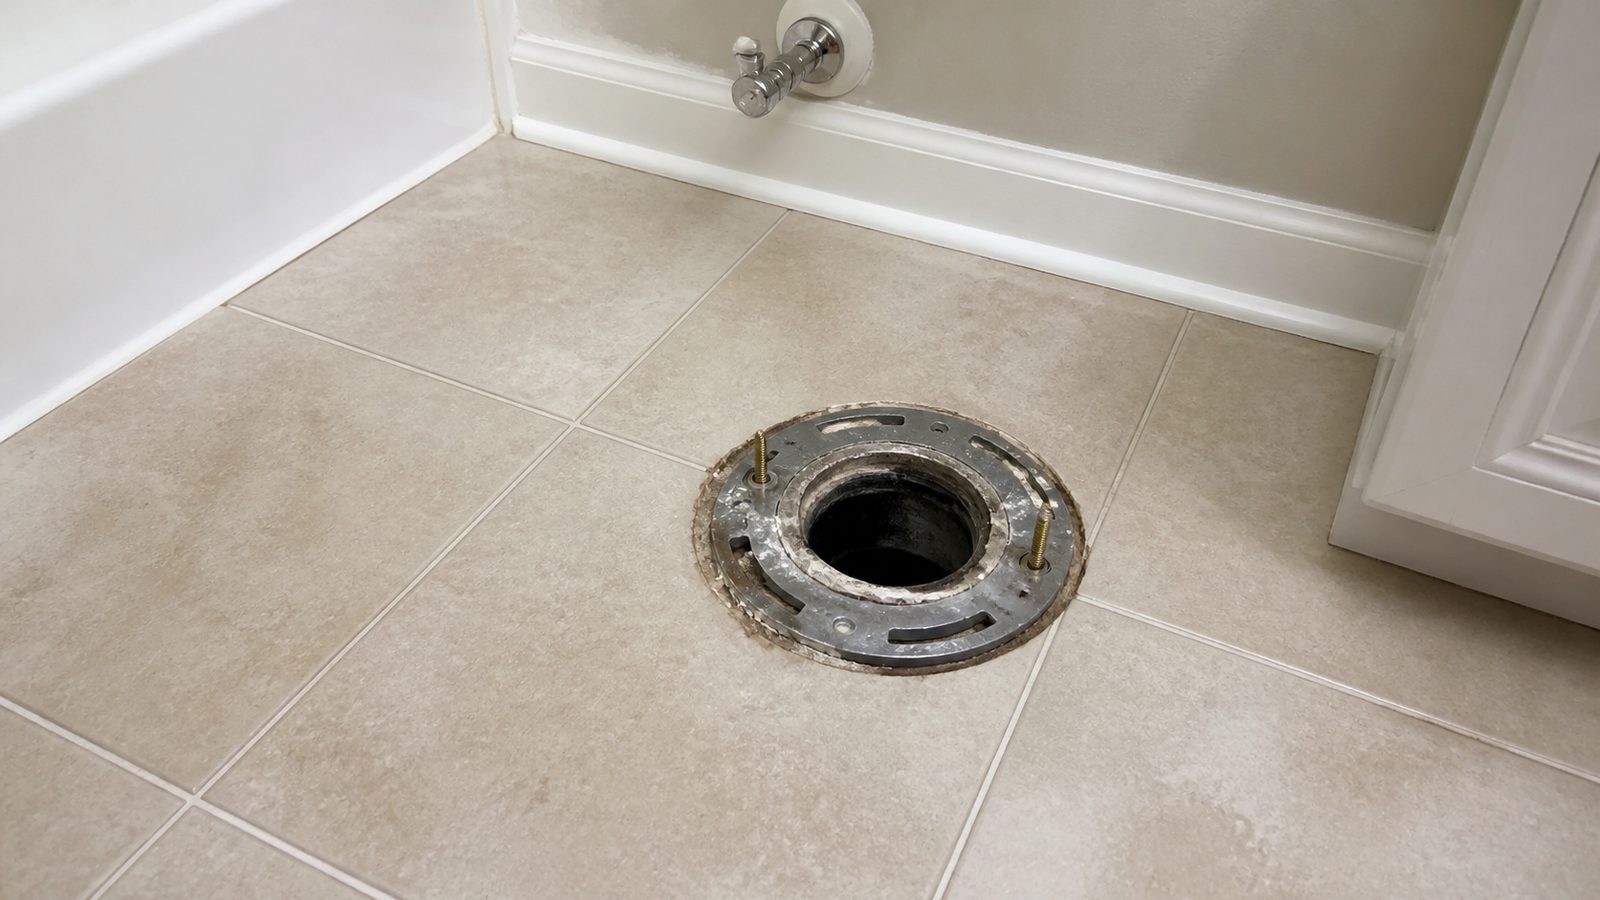
The toilet rough-in distance (distance from finished wall to center of drain flange) is typically 12 inches in US homes. Confirm this before ordering a toilet. Some older Jacksonville homes have 10-inch or 14-inch rough-ins, which require specific toilet models.
On a crawl space foundation, the plumber accesses the drain from below, which is much simpler and less costly.
Step 5: Install the drain line and toilet flange.
The plumber runs drain pipe from the new toilet and sink locations to the connection point at the main stack. All horizontal runs must maintain minimum slope. The toilet flange sets flush with or slightly above the finished floor elevation -- if it is too low, you will need a flange extension after tile is installed.
The sink drain connects to the toilet drain or runs separately to the stack -- your plumber will determine the best path based on your specific layout.
Step 6: Install the vent.
Florida Plumbing Code requires the toilet drain to be vented. The vent must connect to the main vent stack or run to an exterior termination point above the roofline. In a stair cavity situation, the vent typically runs up through the wall inside the stair framing and exits through the second floor wall or roof.
An air admittance valve (AAV or Studor valve) may be permitted in certain configurations -- your plumber and the permit reviewer will determine if this is acceptable in your specific situation. Do not assume it is allowed without confirming.
Phase 3: Framing
Step 7: Frame the walls.
Once rough-in is inspected and approved (before closing walls), frame the half bath walls. Under the stair, you are typically framing two walls: one along the open face of the stair cavity and one closing the end. The stair stringers and framing above are already your ceiling and the back wall.
Use pressure-treated bottom plates wherever the plate sits on slab. Frame a door opening sized for the door you selected. Pocket doors are popular in tight half baths because they eliminate the swing clearance requirement -- but they require a doubled-width rough opening and proper installation of the pocket hardware inside the wall.
Confirm that any stair structural members (stringers, carriages) are not cut or notched. Framing around them is fine. Cutting into them is not.
Step 8: Rough in electrical.
Run a circuit for the exhaust fan, light, and GFCI outlet. A half bath requires a GFCI-protected outlet within 3 feet of the sink. The light and exhaust fan can share a circuit, or the fan can be on its own switch. A licensed electrician must pull the electrical permit and perform the rough-in if you are not a licensed owner-builder.
Install the exhaust fan box and duct path during framing so it is ready before drywall.
Phase 4: Mechanical and finish
Step 9: Install exhaust ventilation.
Florida Mechanical Code requires bathroom ventilation: either a window with at least 3 square feet of openable area, or a mechanical exhaust fan discharging to the exterior. Under stairs, there is almost never a window option, so the fan is required.
Route the exhaust duct to the exterior through an exterior wall or through the soffit. Do not discharge into the attic -- this causes moisture damage and mold. The duct must be rigid or semi-rigid metal, not flex duct, in Florida's humidity.
Step 10: Hang drywall and tile.
Use moisture-resistant drywall (greenboard minimum, cement backer at tile areas) on all walls. Tile the floor and any wet wall areas behind the sink. Grout and seal.
Step 11: Install fixtures.
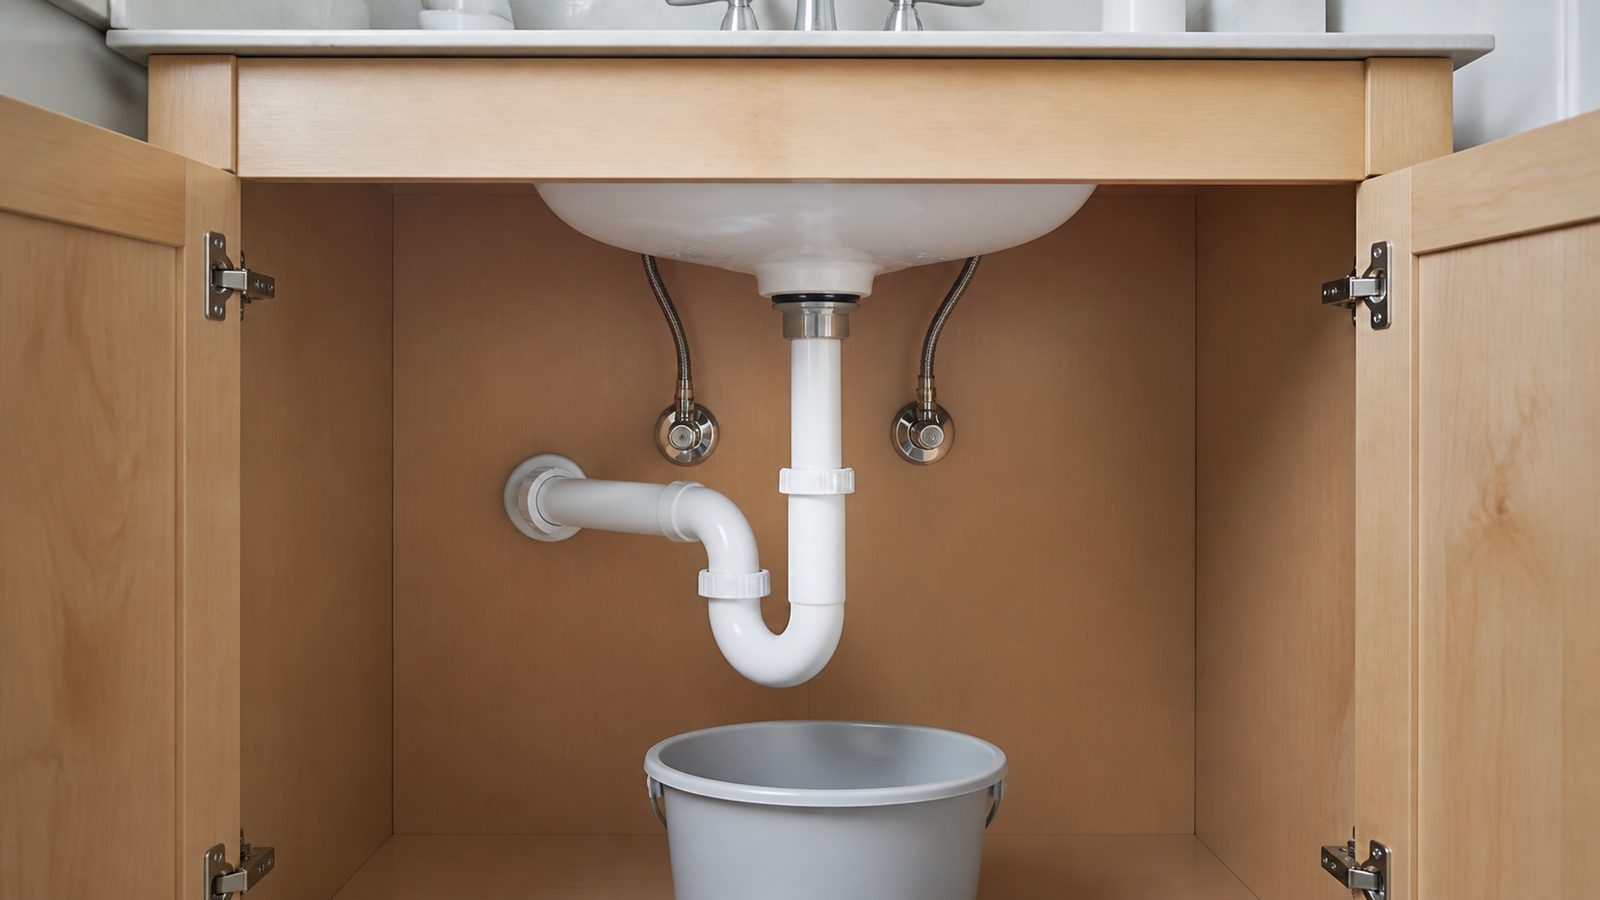
Set the toilet, connect supply lines, and cap the flange with wax ring and bolts. Install the sink (pedestal or wall-hung), connect the P-trap and supply lines. Confirm no leaks under pressure before calling for final inspection.
Install the exhaust fan, light fixture, switch, and outlet. Test all GFCI protection.
Step 12: Trim, paint, and schedule final inspection.
Install door casing, base trim, and accessories (towel bar, mirror, toilet paper holder). Paint with a satin or semi-gloss finish -- flat paint in bathrooms holds moisture and grows mildew in Jacksonville's humidity.
Call for the final plumbing and building inspection. Close the permit.
Common mistakes to avoid
- Not checking rough-in clearances before ordering fixtures. A toilet that does not fit the space is a $300 mistake and a two-week delay.
- Venting incorrectly. A drain that is not vented will trap gases, drain slowly, and may not pass final inspection. Do not skip the vent confirmation with your plumber.
- Discharging the exhaust fan into the attic or wall cavity. Jacksonville's humidity turns this into a mold problem within months.
- Setting the toilet flange below finished floor elevation. After tile is installed, a low flange requires an extension collar. This is easy to avoid by confirming flange height before tile.
- Framing a door that swings into the toilet. In tight spaces, this is a common error. A door that fully clears the toilet and sink when open is required by Florida code and basic usability.
When to hire a pro instead
Nearly every half bath addition in Jacksonville benefits from at least a partial professional involvement. Here is when you absolutely need a licensed contractor:
- Drain work into a concrete slab -- this requires specialty cutting equipment and a plumbing license.
- Vent routing through existing framing or roof -- this involves attic work and must meet code.
- Any home built before 1978 where disturbing walls may involve lead paint or asbestos-containing materials.
- Your stair framing is older and you are not sure which members are structural.
- The project is in a home with cast iron or galvanized drain pipes -- connecting to old drain systems requires specific fittings and often partial line replacement.
- You need an ejector pump because the drain is below the main sewer line elevation.
Need a Jacksonville GC for this job? Get a 48-hour free fixed-price estimate from JK Prestige Constructor.
No call center. No coordinator. A JK principal reviews every inquiry and replies with a real number, not a range, not a follow-up form.
Request Free Estimate →