Substantial completion does not mean finished. It means the building is usable for its intended purpose and what remains is a punch list. That punch list is your leverage. Once you sign the certificate of substantial completion and authorize the release of retainage, you have given up most of your financial control over deficiency correction.
The walkthrough you conduct two to three days before substantial completion is the most important hour you will spend on your construction project. This guide tells you what to bring, what to check, and what to document.
At JK Prestige Construction, the punch list process is a formal step -- not an afterthought. The 12-month workmanship warranty begins at certificate of occupancy (CO), and every item on the punch list is closed before that clock starts.
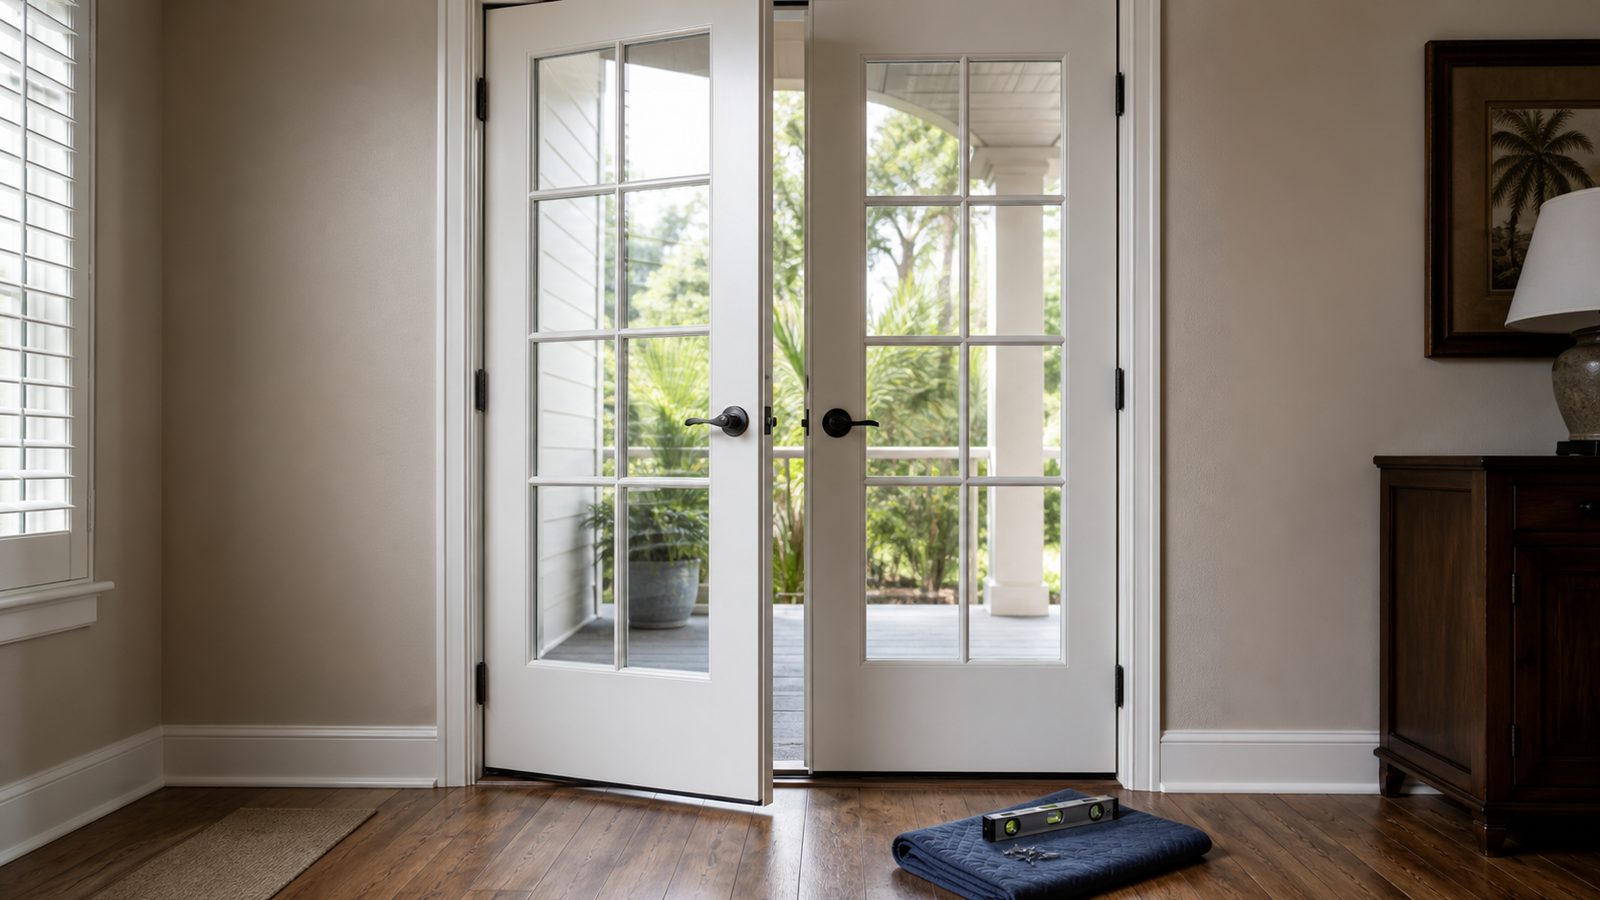
Step 1: Schedule 2 to 3 Days Before Substantial Completion
Do not wait until the GC declares substantial completion to do your walkthrough. Walk the project 2 to 3 days before the proposed substantial completion date. This gives you time to:
- Document items before the GC submits paperwork declaring the project complete
- Negotiate which items are punch list items vs. items that must be fixed before substantial completion can be declared
- Avoid pressure to sign off quickly because "the crew is moving to the next project"
The distinction matters: some deficiencies are legitimately post-substantial-completion punch list items (a missing hardware set, a paint touch-up). Others should not qualify as substantial completion at all (an HVAC system that does not reach design temperature, a roof with active leaks, a slab that does not drain properly).
Pro tip: Ask your GC for their internal completion checklist before your walkthrough. A GC who has a formal internal closeout process will share it. That list tells you what they have already checked and what categories they consider important.
Step 2: Bring a Flashlight, Camera, and Notepad
This is not a casual inspection. Come prepared:
- Flashlight: Recessed corners, mechanical rooms, attic access points, and cabinet interiors are dark. A phone flashlight is not adequate for a thorough inspection.
- Camera (phone is fine): Photograph every deficiency you find. The photograph creates a record that cannot be disputed later. Include something in the frame that establishes location -- a door number, a room label, a street-visible element.
- Notepad: Write down each item as you find it, with the room or location. Do not rely on memory to reconstruct the list later.
A structured walk takes 2 to 4 hours on a typical home or tenant fit-out and longer on a commercial project. Do not rush. The GC's crew will be on site and available to answer questions -- use that access.
Warning: Do not hand your punch list to the GC verbally during the walkthrough. Go home, type it, and send it in writing. What you say during the walkthrough and what makes it into the written punch list can differ. The written list is the only version that matters.
Step 3: Go Room by Room with a Physical Checklist
A random walk through the project misses items. Go room by room in a consistent sequence: entry, living areas, kitchen, bathrooms, bedrooms, utility areas, mechanical rooms, then exterior. On commercial projects, work zone by zone with a floor plan in hand.
In each space, check the ceiling, walls, floor, and all built elements before moving to the next room. Jumping between systems (all floors first, then all windows) makes it easy to miss localized deficiencies.
Number each room on your checklist and record all deficiencies by room number. When the written punch list goes to the GC, both parties can reference "Item 14 -- Room 103, southwest corner" without ambiguity.
Pro tip: Bring a second person. Two sets of eyes find significantly more deficiencies than one. An architect, owner's representative, or experienced friend works well. On larger commercial projects, consider a professional punch list consultant -- particularly for healthcare or specialty projects where system performance matters as much as appearance.
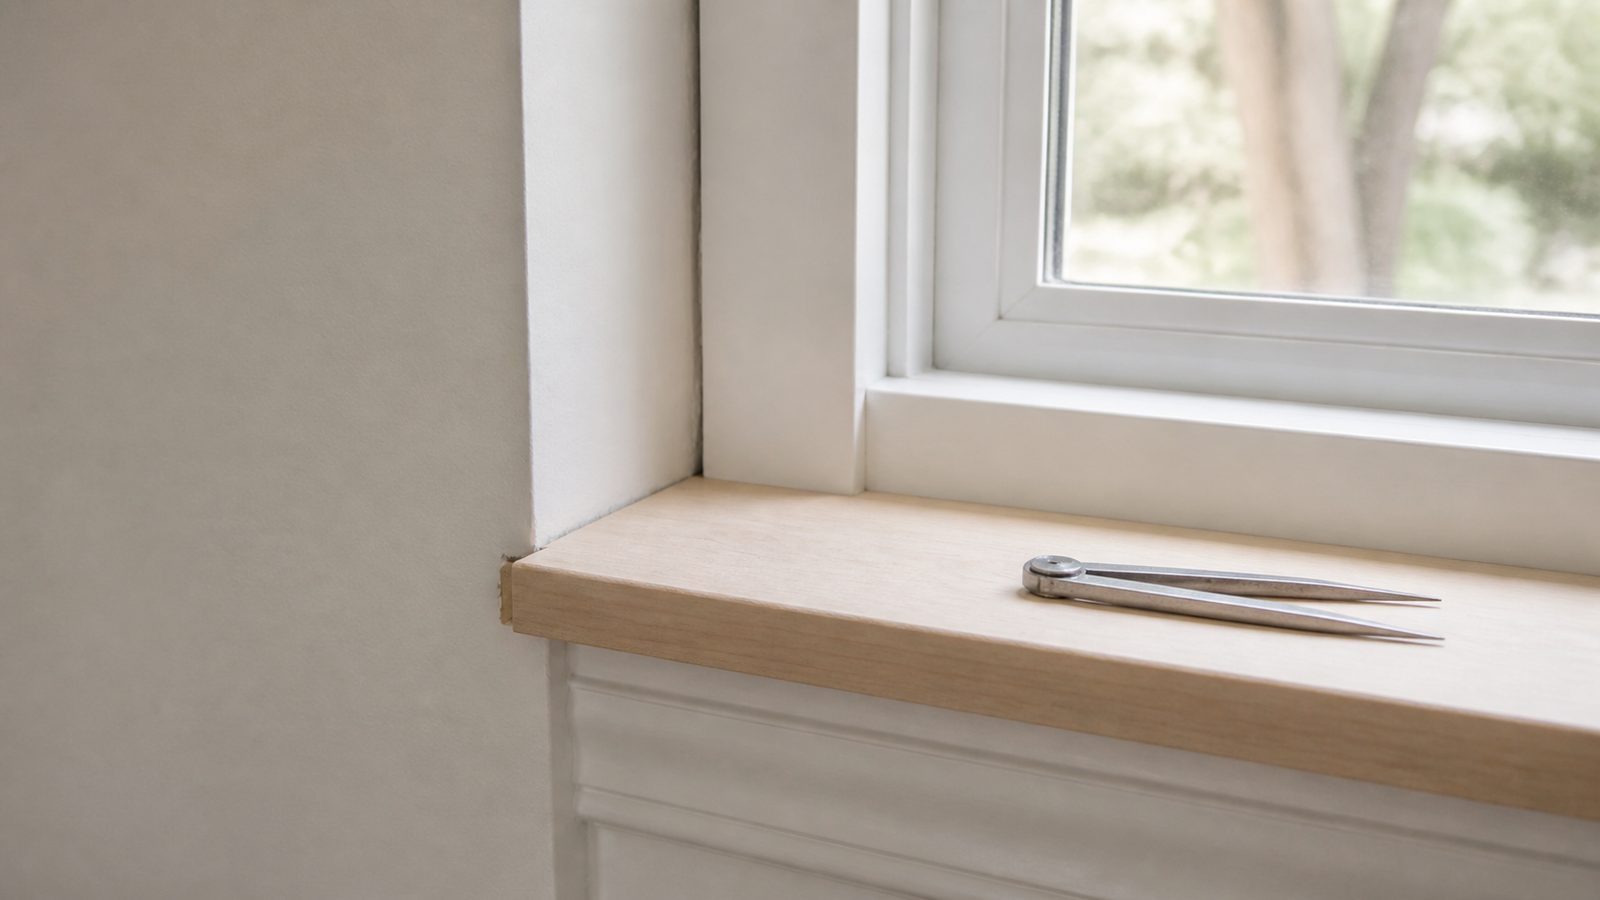
Step 4: What to Check -- Doors, Windows, Flooring, Trim, and MEP
Doors:
- Latch engagement: each door should latch with light pressure, not require force
- Swing clearance: doors should not scrape floors, thresholds, or adjacent walls when fully open
- Hardware: all hardware should be complete, matching the specified finish, and properly torqued
- Fire-rated doors: verify that required door closers are installed and adjusted, and that positive-latching devices function
Windows:
- Operation: every operable window should slide, crank, or tilt smoothly
- Seals: check for fogged glass, which indicates a broken seal on insulated glass units
- Screen installation: confirm screens are installed for all operable windows
Flooring:
- Tile: check for hollow spots by tapping -- a dull hollow sound indicates a void beneath the tile that will eventually crack
- Hardwood: walk every board for squeaks; nail squeaks now, before the finish floor is occupied and difficult to access
- Transitions: verify that all transitions between flooring types are installed and properly secured
- LVP or vinyl plank: check expansion gaps at walls, particularly in Florida where humidity cycles are extreme
Trim:
- Reveals: all trim reveals should be consistent -- baseboard height off the floor, casing gap from door frame
- Caulk: check caulk joints at all trim-to-wall intersections; dried or missing caulk allows moisture intrusion
- Paint: look for roller splatter, brush marks, holidays (missed spots), and paint on hardware or glass
Mechanical, Electrical, and Plumbing (MEP):
- Test every electrical outlet with a plug-in tester (available at any hardware store for $10 -- bring one)
- Test every light switch and confirm it controls the correct fixture
- Test every plumbing fixture: run all faucets, flush all toilets, run showers, verify drains run clear and odor traps are wet
- Test HVAC: confirm system reaches setpoint temperature with all zones active; check registers for airflow
- Test exhaust fans in bathrooms and kitchens
Warning: MEP deficiencies that are discovered after occupancy are significantly more disruptive to address than those caught at walkthrough. Do not skip MEP testing because "it looks installed." Confirm it works.
Step 5: Exterior -- Grading, Downspouts, and Cladding
Exterior deficiencies are easy to overlook because the interior is more visually engaging. Walk the entire building perimeter.
Grading: Ground should slope away from the foundation on all sides. In Florida's rain events, negative grade (ground sloping toward the foundation) causes water intrusion within the first season. If the grade is flat or slopes toward the building, put it on the punch list.
Downspout terminations: Every downspout should terminate at least 5 feet from the foundation. Downspouts that terminate at the foundation wall are a drainage design failure that will cause problems.
Siding, stucco, or cladding:
- Check for cracks in stucco, particularly at window and door corners (common stress points)
- Confirm caulking at all penetrations: electrical boxes, hose bibs, pipe penetrations, window flanges
- Check that all weep screed is clear at the base of stucco and that no concrete or soil has buried it
Roofing:
- From grade, look for any damaged or missing shingles, lifted flashing at penetrations and valleys, and gutter alignment
- If you have access, confirm that attic insulation is properly installed and that there are no visible daylight gaps at the eaves
Pro tip: Take your exterior photos during a rain event or shortly after, if possible. Drainage problems that are invisible on a dry day become obvious when water is running.
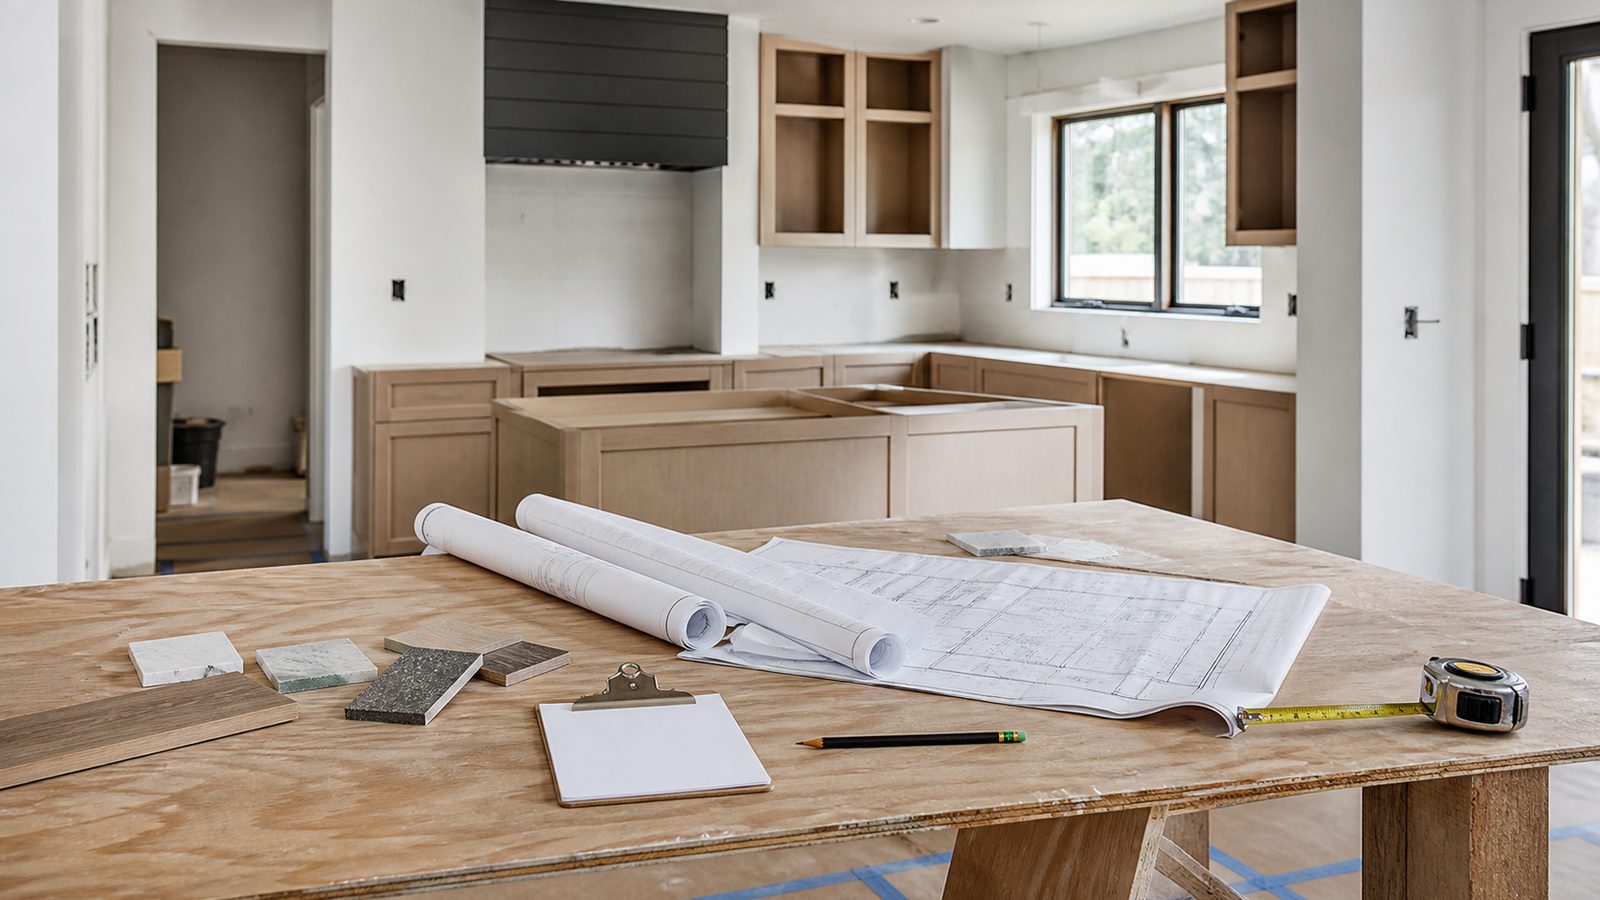
Step 6: Document Everything in Writing
After your walkthrough, produce a written punch list within 24 hours. Each item should include:
- A unique item number
- The location (room, zone, or exterior elevation)
- A description of the deficiency
- A photograph reference (photo number or filename)
Send the punch list to the GC in writing -- email is sufficient -- and request written confirmation of receipt and a proposed completion schedule for each item. The GC should be able to separate punch list items into two groups: items correctable within 5 business days and items requiring material procurement or subcontractor return.
Do not accept a verbal "we'll get to it" as a completion commitment. A punch list that is not being actively worked creates leverage problems when retainage release discussions begin.
Warning: If your contract requires you to use a specific dispute process for disagreements about what qualifies as a punch list item vs. a contract non-compliance, read that process before the walkthrough. Some contracts have short notice windows for formal disputes.
Step 7: How Retainage Relates to Punch List Completion
Retainage is the percentage of each progress payment that the owner holds back as security for project completion -- typically 10% on commercial projects in Florida, sometimes reduced to 5% after 50% completion. At substantial completion, the retained amount is typically released minus the cost to complete the punch list.
Florida Statute 713.346 governs retainage on private construction contracts. Under this statute:
- Owners may withhold retainage at the agreed-upon percentage during active construction
- At substantial completion, the owner may withhold up to 150% of the estimated cost to complete the remaining punch list items
- Unreasonably withholding retainage beyond this amount can expose the owner to interest and attorney's fee claims
Practically: calculate the cost to complete each punch list item. Withhold 150% of that total from the final retainage release. Release the remainder. This protects your leverage without exposing you to claims for improper retainage withholding.
At JK Prestige Construction, the punch list is closed before retainage is requested. The workmanship warranty covers defects in materials and workmanship for 12 months from CO. Items discovered during the warranty period are corrected at no cost to the owner. For home renovation projects and new construction, the walkthrough and warranty process are the same.
Get a written estimate in 48 hours -- call (904) 944-0278 or request a consultation.
No call center. No coordinator. A JK principal reviews every inquiry and replies with a real number, not a range, not a follow-up form.
Request Free Estimate →