A coated garage floor is a satisfying weekend upgrade, but it is also easy to get wrong. The coating itself is rarely the problem. What fails most epoxy and polyaspartic jobs here is skipping the concrete prep, specifically the moisture test that tells you whether the slab underneath is dry enough to bond with anything at all. Here is the process, from grinding to final topcoat, with that test built in early where it belongs.
When You Need a Permit in Jacksonville
Coating an existing garage floor is a finish, not a structural change, so it does not typically require a building permit in Duval County on its own. You are not altering the slab or the footprint of the space, so this is routine homeowner maintenance in most cases.
That changes once the project grows. Converting the garage into living space or adding a permanent floor drain triggers a full permit review, since now you are dealing with occupancy, egress, and often plumbing or electrical work. Cutting a new floor drain, altering the slab, or adding a sump pit also needs a permit even though the coating on top does not. In an HOA community, many associations have architectural review rules touching garage conversions or visible flooring colors, so check your covenants separately from anything the county requires. A garage conversion also has to satisfy off-street parking and setback requirements under the city's zoning code, a common reason these projects get flagged. Nassau, Clay, and St. Johns County each run their own permitting offices with their own thresholds, separate from Duval.
Tools and Materials
- 20-25 grit diamond grinding cup wheel and grinder (rental works for most garages)
- HEPA-rated shop vacuum
- Calcium chloride moisture test kit, or plastic sheeting and tape for a plastic sheet test
- Concrete degreaser and a stiff push broom
- Two-part 100% solids epoxy kit, or a polyaspartic coating system
- UV-stable polyaspartic or polyurethane topcoat
- Decorative color flake or quartz broadcast media (optional)
- 3/8-inch nap epoxy roller covers and a plastic squeegee
- Drill mixing paddle and clean 5-gallon buckets
- Moisture-resistant patch compound
- Full-face respirator, knee pads, disposable coveralls
Step-by-Step
- Clear the garage completely, including anything wall-mounted that overhangs the floor.
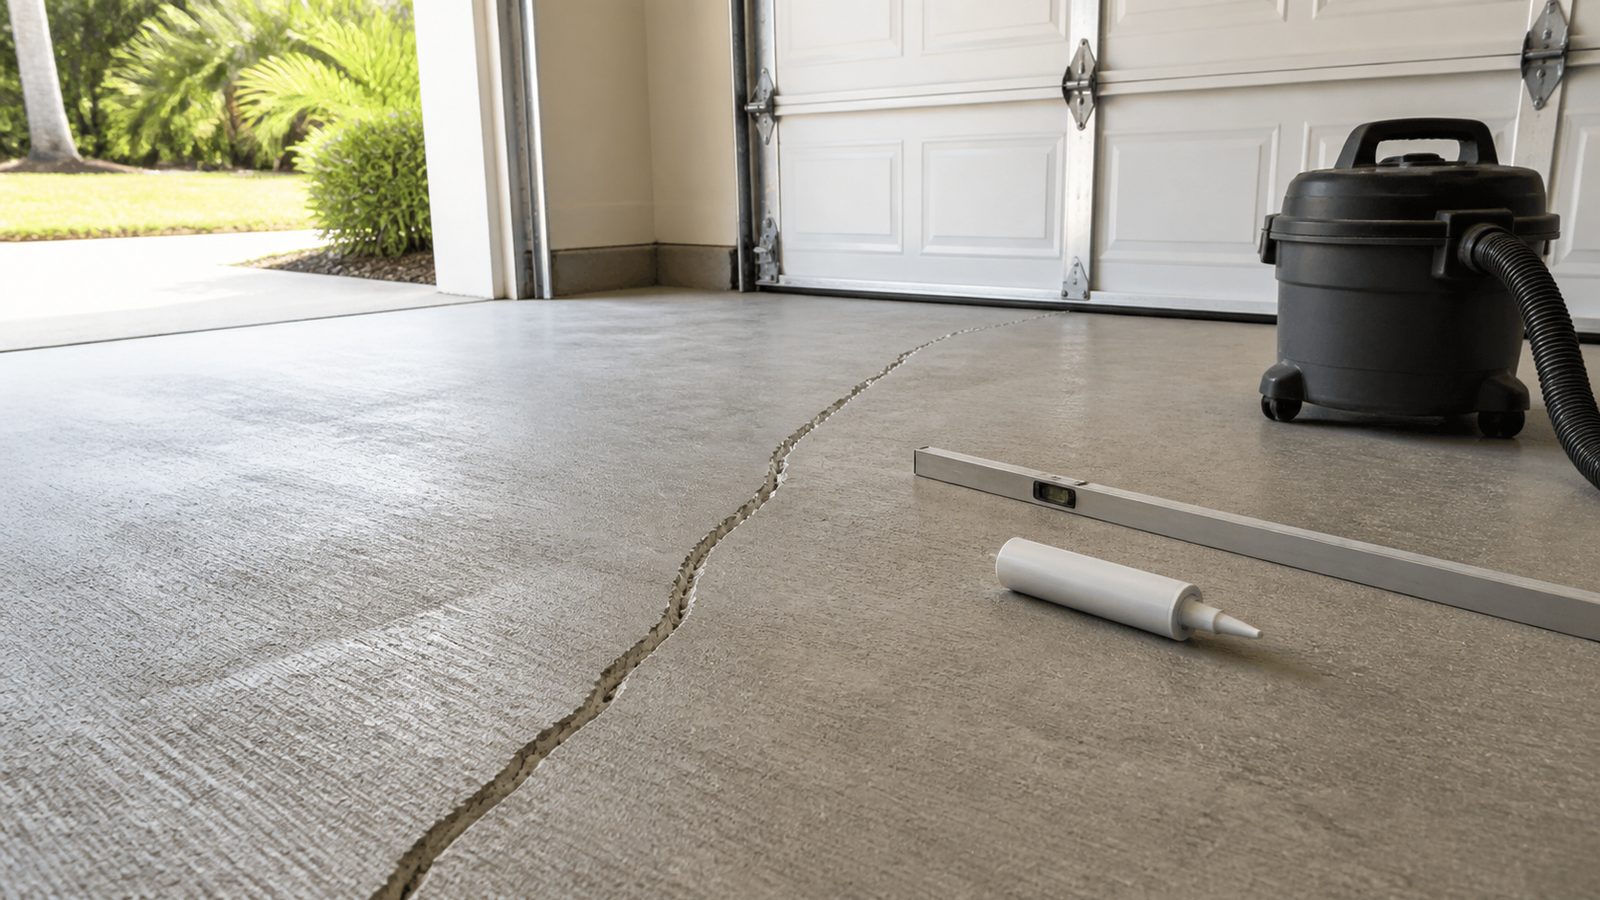
- Inspect the slab for cracks or spalling. Repair cracks first with a proper concrete repair method; that is its own job, covered in a separate guide on this site.
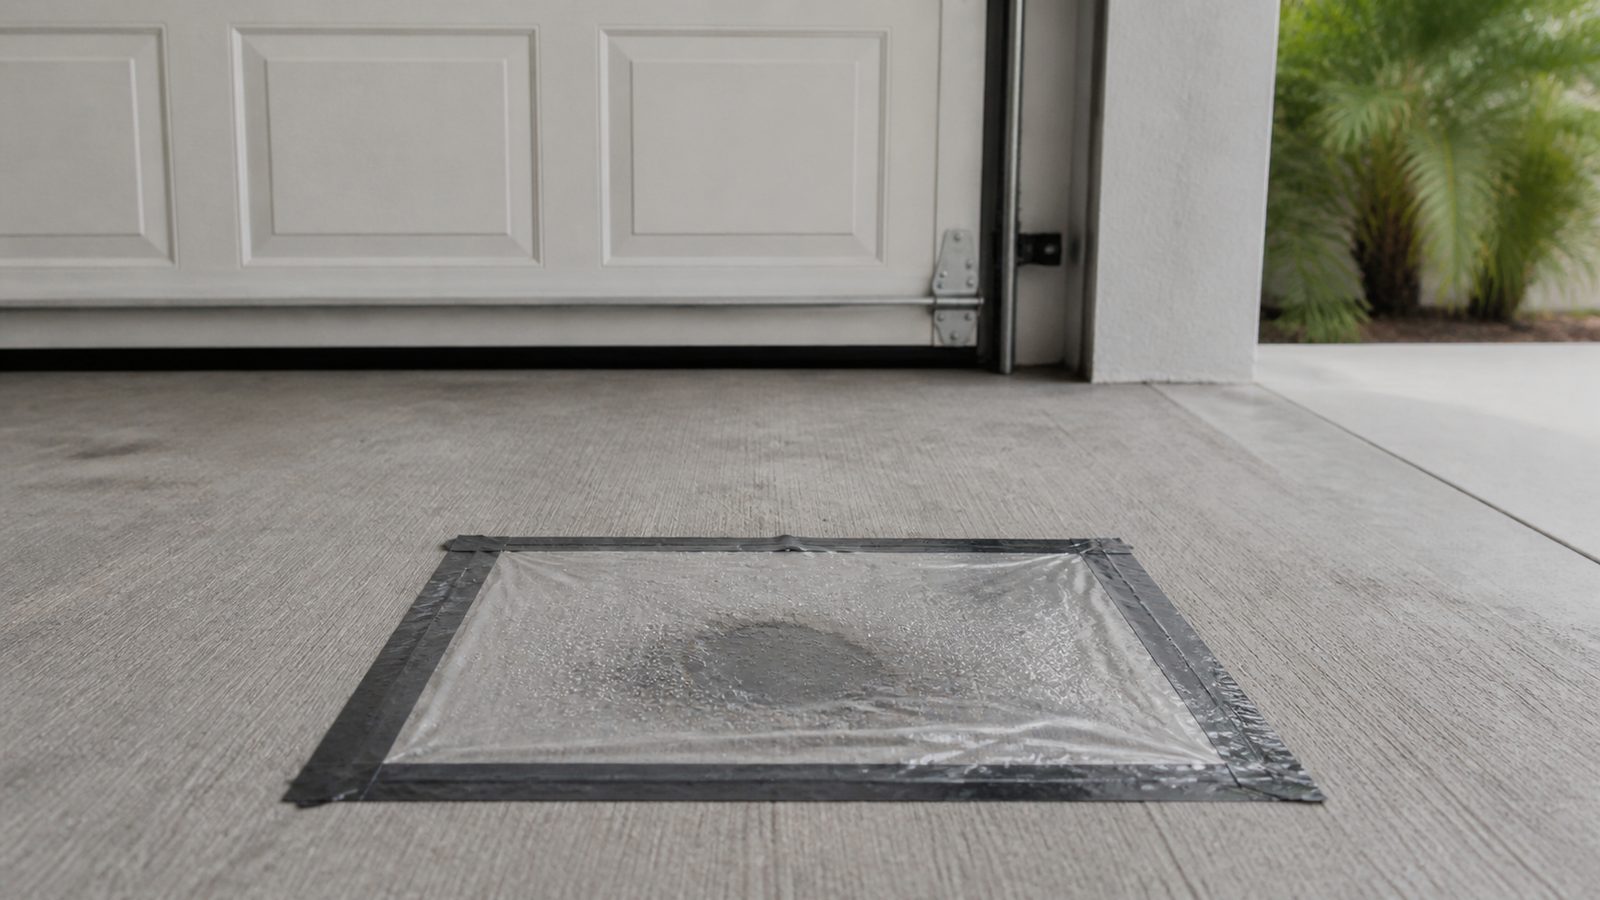
- Run the moisture test before buying materials. A calcium chloride test (ASTM F1869) taped down for 60 to 72 hours gives a vapor emission rate. A plastic sheet test, an 18-inch square of clear plastic taped down on all edges for 24 hours, shows condensation or a darkened patch if moisture is trapped. Either result means the slab is pushing vapor upward and standard epoxy is likely to fail.
- If readings come back high, do not treat a moisture-tolerant primer as a shortcut around proper grinding, which those products still need underneath.
- Grind the whole floor with a 20-25 grit diamond cup wheel to open the concrete and remove any old sealer or paint.
- Vacuum thoroughly, then sweep and vacuum a second time.
- Degrease the floor, focusing on parking areas where oil has soaked in. Rinse and let it dry fully, which takes longer here than in a dry climate.
- Patch remaining hairline cracks or pits and let the compound cure per the label.
- Tape off wall bases, door jambs, and fixed equipment.
- Mix the base coat to the exact label ratio, working in small batches since pot life shortens in summer heat.
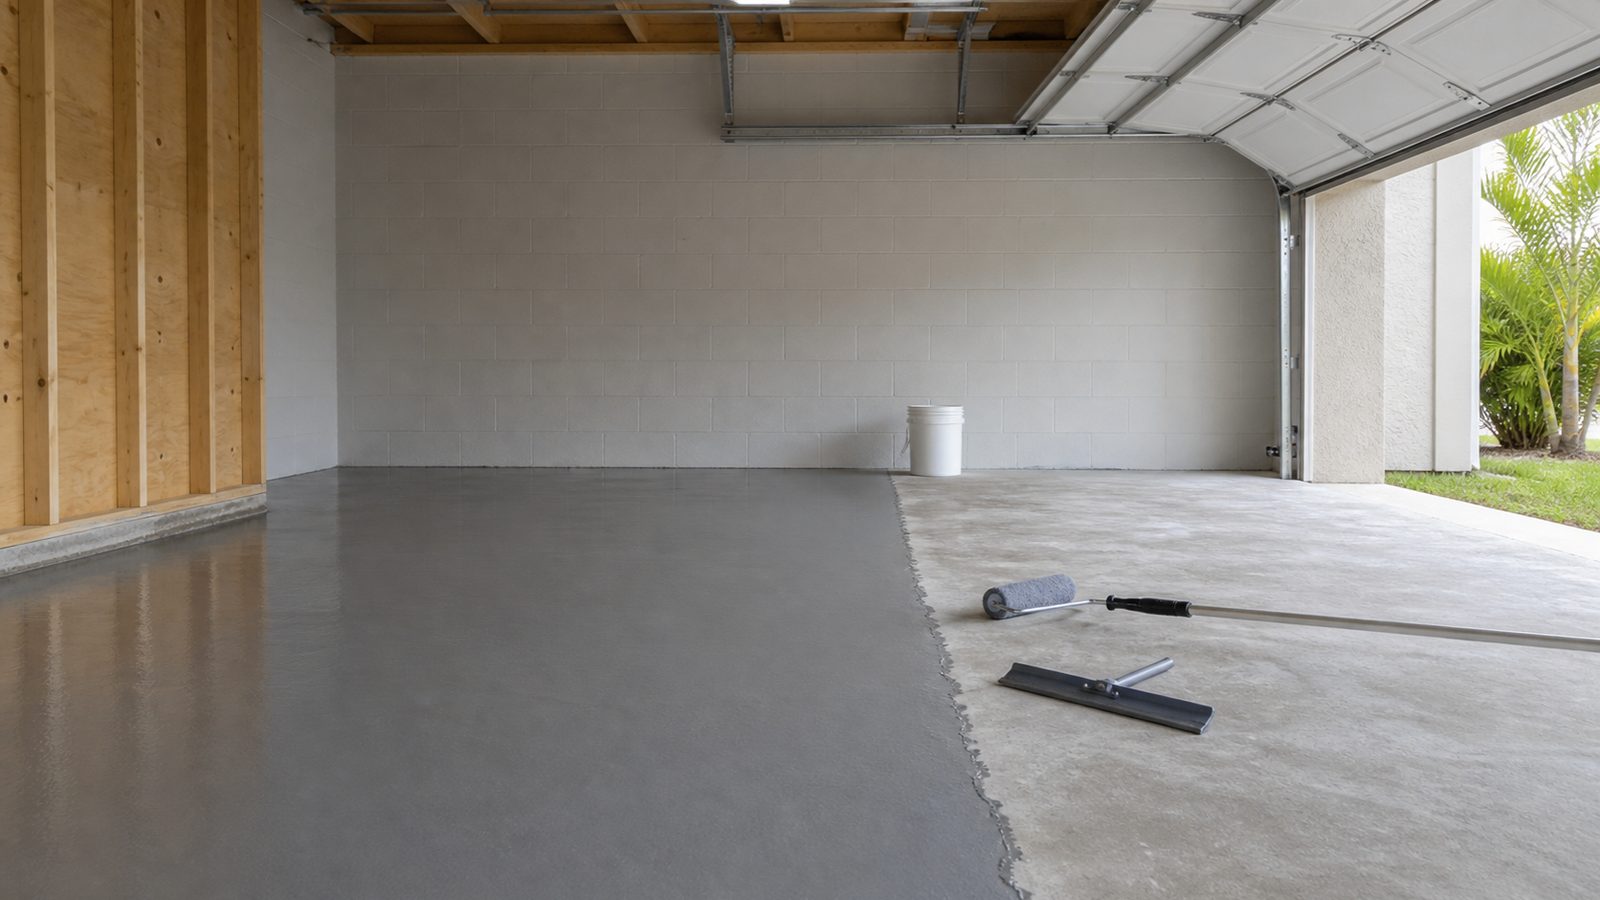
- Apply the base coat with a squeegee then a roller, working from the back of the garage toward the door.
- If using flake, broadcast it into the wet base coat by hand while still tacky.
- Once cured to the recoat window, scrape loose flake and vacuum before the topcoat.
- Apply two thin coats of a UV-stable topcoat, keeping the door closed during cure and opening it only for ventilation as directed.
Common Mistakes to Avoid
- Acid etching instead of mechanically grinding. Etching does not reliably open the surface profile and reacts poorly with residual slab moisture, common here.
- Coating a slab with no vapor barrier underneath without accounting for it, common in older Jacksonville homes.
- Applying coating over a floor that looks dry on the surface but is still releasing moisture from below.
- Rushing the cure because the weather looks fine. Humidity slows cure even at the right temperature, and parking too soon leaves permanent marks.
- Skipping degreasing and coating over oil stains, which shows up later as fisheyes or peeling.
- Buying a light-duty big-box kit and expecting it to hold up to a vehicle that drips fluid and drags in grit daily.
Jacksonville Climate Considerations
Humidity is the biggest variable here. A high dew point slows epoxy cure and can cause amine blush, a waxy film that forms when moisture in the air reacts with the curing agent, and has to be scrubbed off before a topcoat will bond. Many local applicators prefer polyaspartic topcoats because they blush less and cure faster in humid air. Older homes built before vapor barriers under slabs were routine are more likely to show elevated moisture readings, exactly what the moisture test is meant to catch. Summer heat shortens pot life on two-part products, so a mix that behaves comfortably in spring can kick off much faster in July and August. Afternoon thunderstorms are a daily feature of the wet season, and an open door during a sudden downpour introduces wind-blown moisture and dust into wet coating, so plan around the forecast. Garages that flood or took on storm water need the slab fully dried and retested before coating, since coating over a recently flooded slab just traps that moisture underneath.
What It Costs in Jacksonville (DIY vs. Hiring a Pro)
| Approach | Typical Cost Range (2-car garage) | What's Included |
|---|---|---|
| DIY epoxy kit | $300 to $700 | Materials only, grinder rental extra |
| DIY polyaspartic kit | $500 to $900 | Materials only, faster cure |
| Professional epoxy install | $1,800 to $3,500 | Grinding, moisture testing, materials, labor |
| Professional polyaspartic install | $2,500 to $4,500 | Grinding, moisture testing, materials, labor, faster turnaround |
These ranges assume a standard two-car garage with no major crack repair or moisture remediation needed. A slab requiring a moisture-mitigating primer or extensive crack work runs higher either way.
When to Call JK Prestige
If your moisture test comes back elevated, the slab has cracking beyond hairline, or you are converting the garage into finished living space, this stops being a weekend DIY project. JK Prestige handles moisture testing, surface prep, and coating selection as part of larger renovation projects across Jacksonville, and can advise honestly on whether your slab is a good coating candidate before you buy materials.
No call center. No coordinator. A JK principal reviews every inquiry and replies with a real number, not a range, not a follow-up form.
Request Free Estimate →