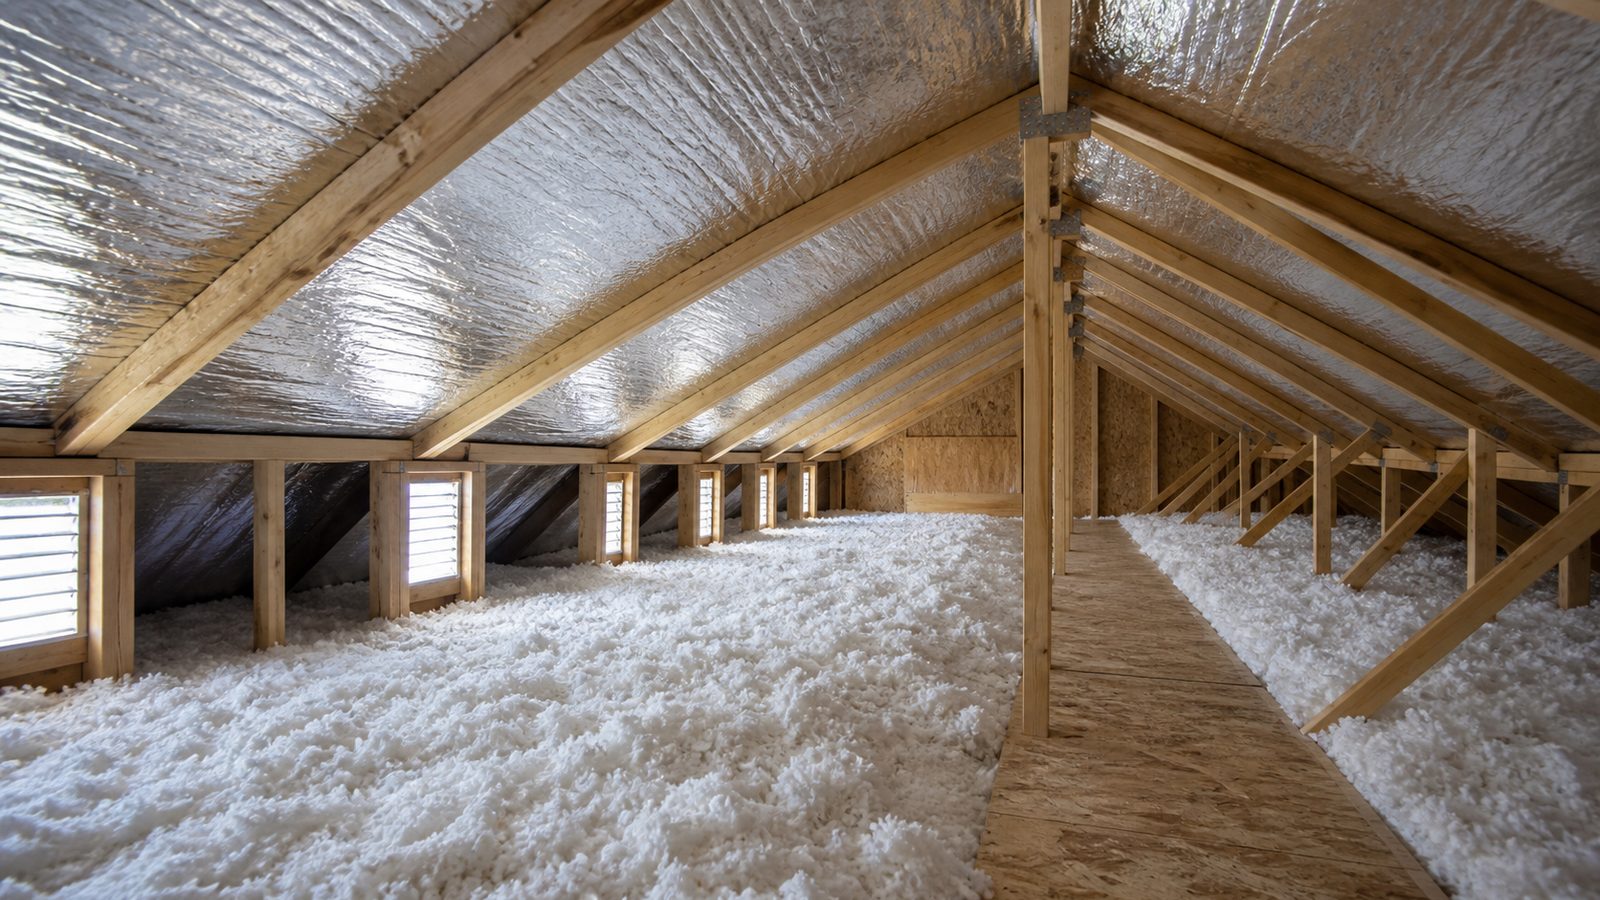
If you have ever climbed into your attic on a July afternoon in Jacksonville, you already know the problem. The sun beats down on the roof deck, the shingles heat up, and that heat radiates straight down into the attic space, sometimes pushing attic temperatures well past 130 degrees. Some of that heat works its way into the living space below, and your AC unit runs longer to compensate. A radiant barrier is a low-cost way to block a meaningful chunk of that radiant heat transfer before it becomes your air conditioner's problem. This guide walks through what a radiant barrier actually does, how to install one yourself, and when it makes more sense to bring in a licensed contractor.
When You Need a Permit in Jacksonville
For most single-family homes, stapling perforated radiant barrier foil to the underside of your roof rafters is considered a minor interior improvement and does not require a building permit through the City of Jacksonville or Duval County. It is not altering structure, electrical, or plumbing systems. That said, if your project expands into anything involving new insulation baffles that affect ventilation, electrical work near recessed lighting, or structural modifications, check with the City of Jacksonville Building Inspection Division before you start, since scope can change what is required.
It is also worth being clear-eyed about what a radiant barrier is and is not. It is a supplement to your existing attic insulation and ventilation, not a replacement for either. Florida's energy code (based on the Florida Building Code, Energy Conservation) sets minimum insulation R-values for attics in our climate zone, and a radiant barrier does not count toward meeting that R-value requirement. If your attic insulation is thin, worn down, or unevenly distributed, that is a separate problem a radiant barrier will not fix.
Tools and Materials
- Perforated radiant barrier foil (rolls or perforated foil-faced insulation board), sized for your rafter spacing
- Heavy-duty staple gun with 3/8 inch to 1/2 inch staples, or a hammer tacker
- Utility knife with extra blades
- Tape measure and chalk line
- N95 dust mask or respirator
- Safety glasses and long sleeves
- Battery-powered work light or headlamp
- Knee boards or plywood sheets to distribute weight across ceiling joists
- Extension cord or battery tools (attics rarely have convenient outlets)
Step-by-Step
- Pick your window and prep for heat. Attic temperatures in Jacksonville can be dangerous by midday in summer. Schedule the work for early morning, on a mild day, or in the cooler months if you can. Bring water, take breaks, and never work alone in a hot attic.
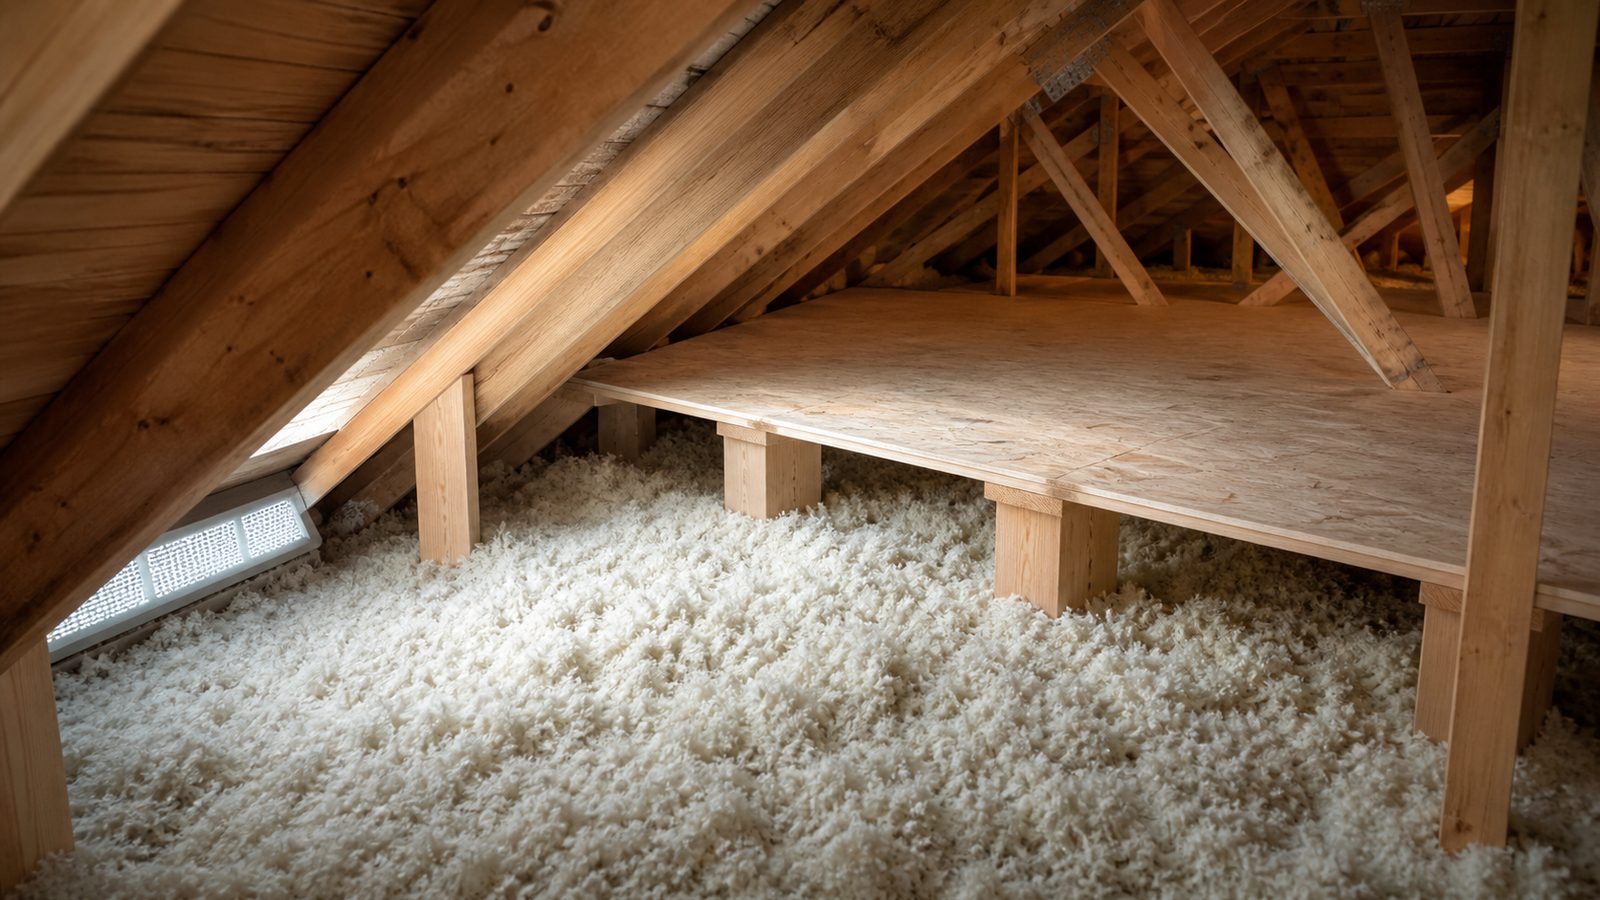
- Inspect the attic first. Before installing anything, check for existing moisture stains, damaged insulation, gaps around the roof deck, and make sure soffit and ridge vents are not blocked. A radiant barrier installed over existing problems just hides them.
- Choose perforated foil, not solid foil. Perforated radiant barrier material allows any moisture vapor that reaches the underside of the roof deck to pass through rather than getting trapped against the foil, which is a real risk with solid, non-perforated foil in Jacksonville's humidity.
- Measure and cut panels to fit between rafters. Cut foil sections a few inches longer than needed so you have overlap material to work with, then trim after stapling.
- Staple the foil to the underside of the rafters, not directly against the roof deck. Leaving an air gap between the foil and the roof sheathing is what makes a radiant barrier effective. Stapling directly to rafter faces (rather than draping it flush against the decking) naturally creates that gap.
- Work from the ridge down toward the eaves in sections, overlapping each panel by an inch or two and stapling every 12 to 16 inches along the rafter edge.
- Leave clearance around recessed lighting, exhaust fans, and any heat-producing fixtures. Radiant barrier material should not directly contact IC-rated or non-IC recessed lights; follow manufacturer clearance specs, typically a few inches, to avoid a fire hazard.
- Do not cover soffit vents or block the path from soffit to ridge. Attic ventilation works by pulling air in low and pushing it out high. Covering that path with radiant barrier material undermines both the barrier's performance and your attic's cooling airflow.
- Stop the barrier short of the soffit area where insulation baffles maintain airflow, rather than running foil all the way to the eave edge.
- Do a final walk-through checking for gaps, loose staples, and any foil sagging into contact with the roof deck, then confirm all vents remain clear.
Jacksonville Climate Considerations
Jacksonville's combination of intense summer sun and high humidity is close to the textbook case where radiant barriers make sense. Attics here regularly hit 130 to 150 degrees on sunny summer afternoons, and that heat radiates downward into insulation and ductwork, adding load to your cooling system. Radiant barriers are most effective in hot, sunny climates like ours, which is why you see them recommended more often in the Southeast than in cooler northern states.
The humidity angle matters just as much as the heat. Perforated foil lets moisture vapor pass through instead of condensing against a solid barrier, which reduces the risk of trapped moisture leading to mold or wood rot on the roof deck. This is not optional in a climate where afternoon humidity regularly sits above 60 percent for months at a time.
Do the physical work early in the day. Attic work in a Jacksonville summer afternoon is genuinely risky for heat exhaustion, and it also makes precise stapling harder when you are trying to finish quickly and get out.
What It Costs in Jacksonville (DIY vs. Hiring a Pro)
| Approach | Typical Cost Range | Notes |
|---|---|---|
| DIY materials only (perforated foil, staples, tools) | $150 to $450 | Cost depends on attic square footage and foil quality |
| Hiring a licensed contractor | $1,200 to $2,800+ | Includes labor, safety equipment, and often a ventilation check |
| Combined radiant barrier + insulation top-up | $2,000 to $4,500+ | Common when attic insulation is also below current code minimums |
These are general local ranges, not a quote. Actual pricing depends on attic accessibility, roof pitch, square footage, and whether contractors need to work around existing HVAC equipment or ductwork in the attic.
When to Call JK Prestige
If your attic has existing moisture damage, insulation that looks thin or compressed, or ductwork and recessed lighting that make DIY installation complicated, it is worth having a professional take a look before you start stapling. JK Prestige can assess your attic's insulation, ventilation, and radiant barrier needs together, so you are not solving one piece of the problem while ignoring another. Reach out if you want a straight answer on whether your attic setup is a good DIY candidate or needs a licensed hand.
No call center. No coordinator. A JK principal reviews every inquiry and replies with a real number, not a range, not a follow-up form.
Request Free Estimate →