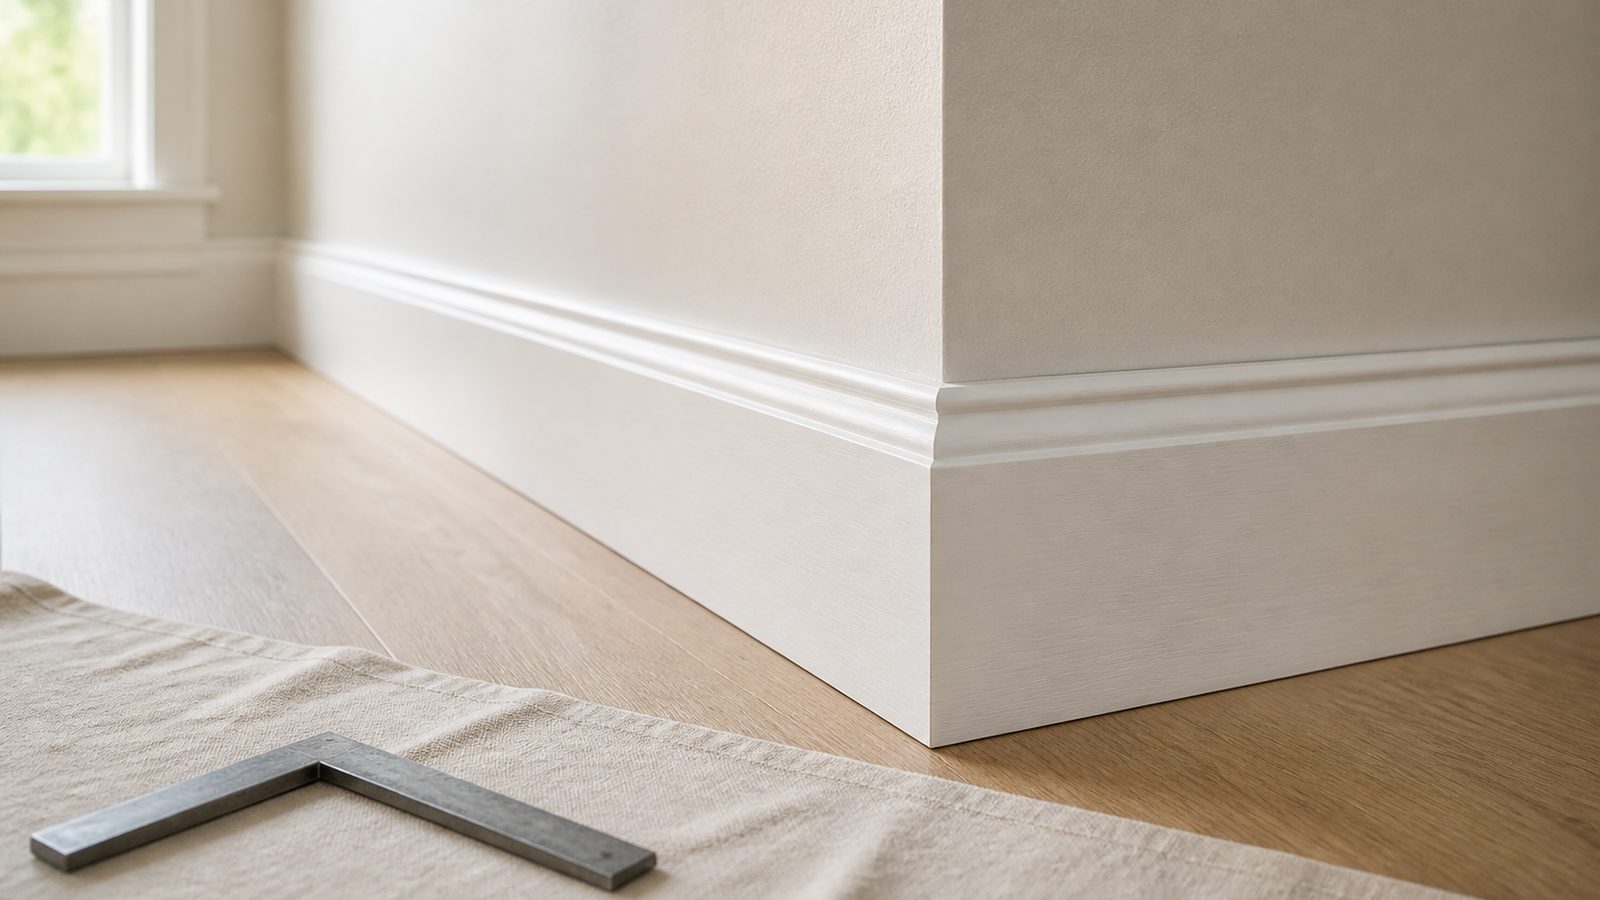
Baseboard trim is one of those details that quietly makes or breaks a room. It covers the gap where your wall meets the floor, protects drywall from vacuum cleaners and furniture, and gives a room a finished look. For a Jacksonville homeowner tackling this as a weekend project, the work itself is straightforward carpentry, but our local humidity and slab foundations change a few of the material and technique decisions compared to a generic how-to guide. Here is what actually applies if you live in Duval County.
When You Need a Permit in Jacksonville
Cosmetic trim work, including installing or replacing baseboard, generally does not require a building permit in Jacksonville or unincorporated Duval County. The City of Jacksonville's Building Inspection Division treats baseboard, casing, and similar finish carpentry as non-structural cosmetic work, similar to painting or installing new flooring on its own.
The situation changes if the baseboard install is part of a larger permitted project, such as a room addition, a kitchen remodel that involves moving walls or plumbing, or work tied to a permit already pulled for flooring or drywall replacement after water damage. In those cases, the finish carpentry falls under the scope of the existing permit and should be noted on the final inspection. If you are unsure whether your project crosses that line, a quick call to the City's Building Inspection Division (904-255-8500) will clear it up before you start.
Tools and Materials
- Miter saw (a 10 or 12 inch compound miter saw makes clean angled cuts far easier than a hand miter box)
- Coping saw (for inside corners, which fit better than mitered inside corners over time)
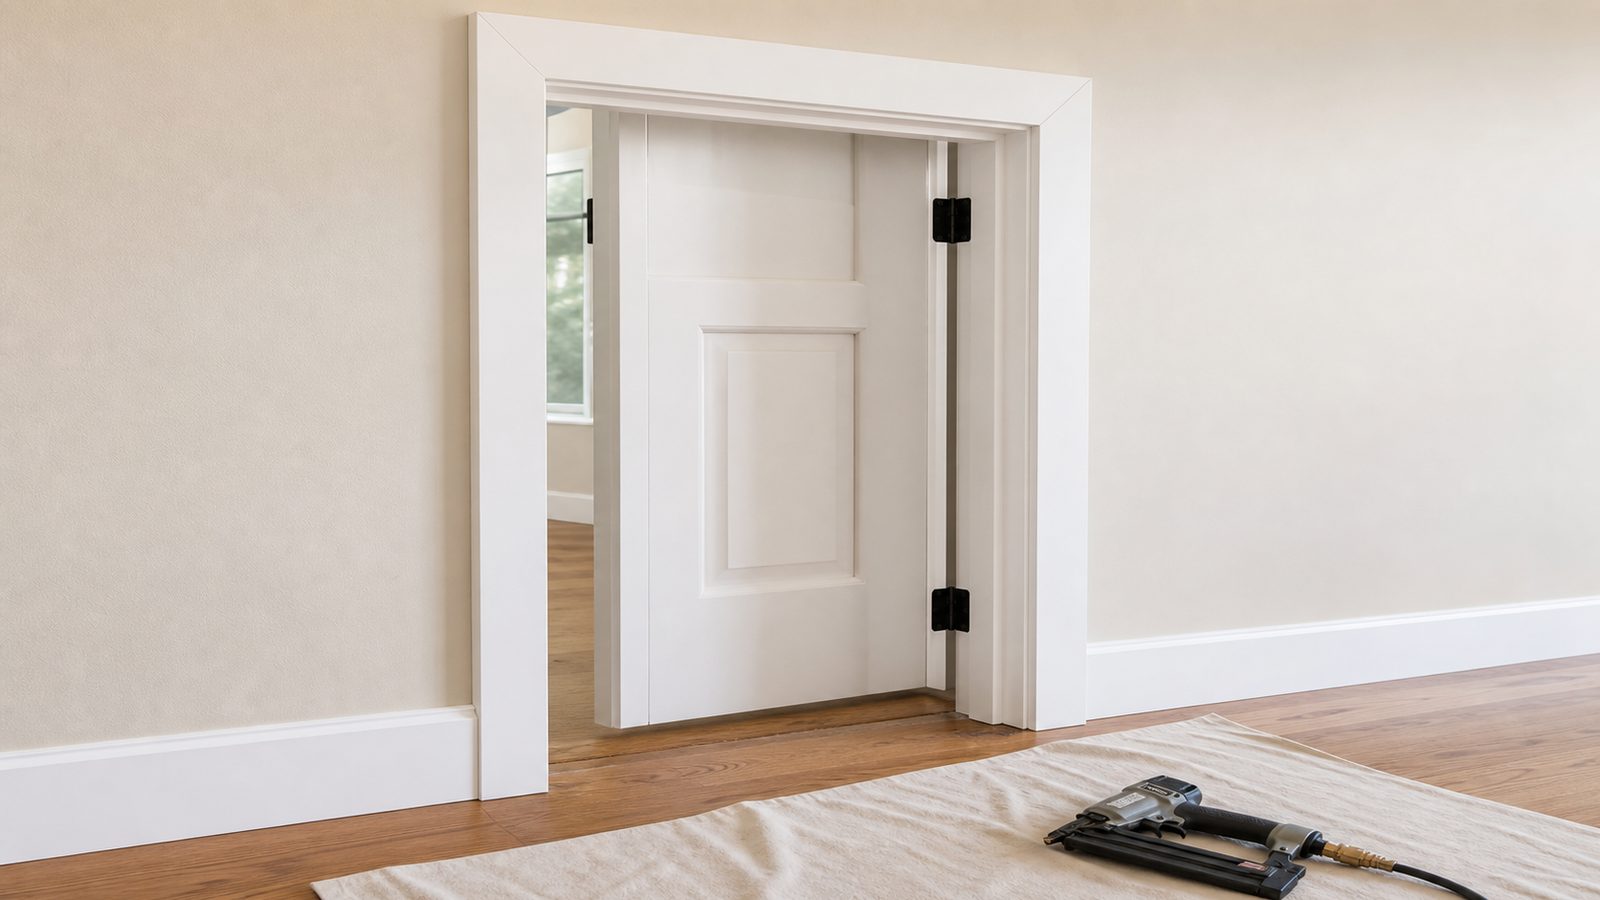
- Finish nail gun (18 gauge, 1.5 to 2 inch nails) or a hammer and finish nails if you do not own a gun
- Nail set and wood filler or paintable caulk
- Tape measure, pencil, and a stud finder
- Level (a 2 or 4 foot level works fine for most rooms)
- Caulk gun and paintable latex caulk
- Sandpaper (120 to 220 grit) and a rag for cleanup
- Baseboard material: MDF (medium-density fiberboard), solid wood (pine or poplar), or PVC/composite trim
- Paint or pre-primed trim, plus a brush or roller
On material choice: MDF is the least expensive option and takes paint smoothly, but it swells and can crumble if it stays wet, which matters in rooms prone to moisture. Solid wood costs more, holds paint and nails well, but can expand and contract with humidity swings. PVC and cellular composite trim cost more upfront but do not absorb water, do not rot, and hold up better in Jacksonville's climate, especially in bathrooms, laundry rooms, and along exterior walls near slab floors.
Step-by-Step
- Remove old baseboard. Use a flat pry bar and a putty knife to protect the wall. Work slowly at nail points to avoid cracking drywall.
- Measure each wall. Measure wall to wall, not corner to corner, and write measurements down as you go. Account for outside corners adding length and inside corners needing coped joints.
- Find and mark the studs. Use a stud finder along each wall at baseboard height and mark stud locations lightly in pencil above where the trim will sit, since you will nail into studs (or into the bottom plate) for a secure hold, not just drywall.
- Cut outside corners at 45 degrees. Set your miter saw to 45 degrees, cutting two pieces that meet to form a 90 degree outside corner. Dry-fit before nailing.
- Cope inside corners instead of mitering them. Cut one piece square into the corner. On the second piece, cut a 45 degree miter first, then use a coping saw to follow the profile line left by that cut, removing the back material so the front edge fits snugly against the first piece's profile. Coped joints hide gaps better than mitered inside corners as walls and framing shift slightly over time.
- Dry-fit the full run before nailing. Check that joints close tightly and the top edge sits level or follows the floor evenly.
- Nail into studs and the bottom plate. Space nails roughly every 16 inches at stud locations, plus near each end and at joints. Angle nails slightly for better holding power.
- Set nails and fill holes. Use a nail set to sink nail heads slightly below the surface, then fill with wood filler (for stain-grade wood) or caulk (for paint-grade trim).
- Caulk the top edge and seams. Run a thin bead of paintable caulk along the top edge where trim meets drywall, and at coped and mitered joints, then smooth with a wet finger or rag.
- Paint or touch up. Once caulk and filler are dry, cut in paint along the top edge and any raw wood, and apply a second coat if needed.
Jacksonville Climate Considerations
Jacksonville's humidity runs high most of the year, and many homes here sit on concrete slab foundations where moisture can migrate up through the slab, especially in older homes without a modern vapor barrier. That combination is hard on wood-based trim. MDF baseboard installed directly against a slab-level wall in a humid room, such as a bathroom, laundry room, or a room with a history of moisture issues, can swell, delaminate at the bottom edge, or develop mold if it stays damp.
PVC and cellular composite baseboard resist this kind of damage because they do not absorb water the way MDF or solid wood do. They cost more per linear foot but make sense in bathrooms, kitchens, laundry rooms, Florida rooms, and any space near an exterior wall that tends to run damp.
Whatever material you choose, leave a small expansion gap, roughly 1/8 inch, between the bottom of the baseboard and the floor rather than pressing it flush, and avoid caulking that bottom gap solid. This lets the material move slightly with seasonal humidity changes without buckling or cracking your paint line.
What It Costs in Jacksonville (DIY vs. Hiring a Pro)
| Approach | Typical Cost per Linear Foot | Notes |
|---|---|---|
| DIY, MDF trim | $1 to $2 | Material only, assumes you own or rent tools |
| DIY, solid wood trim | $2 to $4 | Higher material cost, better durability |
| DIY, PVC/composite trim | $3 to $5 | Best moisture resistance, higher material cost |
| Professional install, materials and labor | $5 to $9 | Varies by trim style, home age, and corner complexity |
A typical living room or bedroom in a Jacksonville home might need 40 to 60 linear feet of baseboard, so DIY material costs often land in the $100 to $300 range depending on the product, while a professional install for the same room typically runs $250 to $500 once labor is included. Homes with older, out-of-square walls or ornate trim profiles tend to push professional pricing toward the higher end of that range.
When to Call JK Prestige
If your home has uneven walls, water damage near the floor, or you are tackling baseboard as part of a bigger renovation, it is worth having a professional take a look before you start. JK Prestige Construction handles finish carpentry as part of larger remodeling and repair projects across Jacksonville, and we can tell you quickly whether your situation is a simple trim swap or something that needs to be addressed first, like moisture at the slab or out-of-level flooring.
No call center. No coordinator. A JK principal reviews every inquiry and replies with a real number, not a range, not a follow-up form.
Request Free Estimate →