Most new construction in Duval County is slab on grade, so if you are reading this you probably own one of the older raised houses in Springfield, Riverside, Avondale, Murray Hill, or a beach cottage near Atlantic or Neptune Beach. Those homes sit on piers with an open crawl space underneath, and bare Jacksonville dirt under a house pushes moisture upward constantly. A ground vapor barrier is the cheapest, most effective way to cut that moisture load before it turns into musty floors, rusted ductwork, or rotted joists. This guide covers prepping the space, choosing between 6 mil poly and a reinforced liner, running the sheet up the piers and foundation walls, and deciding whether to stay vented or move toward encapsulation.
When You Need a Permit in Jacksonville
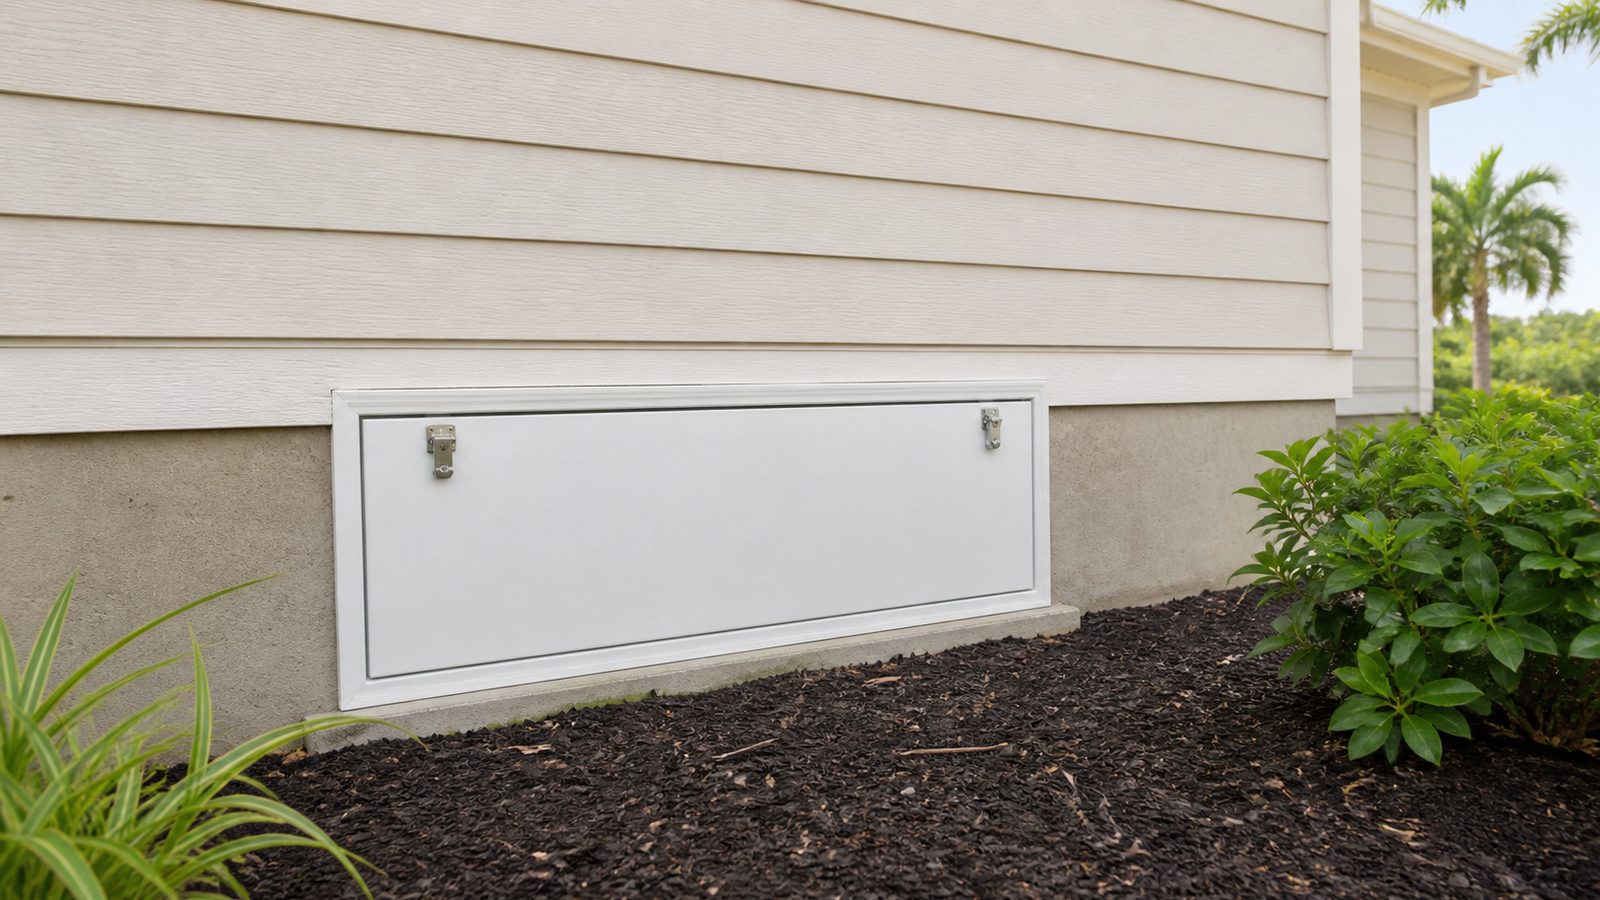
Laying a ground vapor barrier in an existing vented crawl space is generally treated as maintenance in Duval County and typically does not require a permit on its own. That changes once you alter how the crawl space breathes or performs. Full encapsulation that closes off the foundation vents, adds a dehumidifier, or introduces conditioned air is a different assembly, and it usually brings mechanical and electrical work into the project, work that has to be done or permitted by a licensed trade. If any part of the crawl space sits below the base flood elevation for your lot, common in low-lying pockets of Jacksonville near the river and the beaches, flood zone rules can restrict what you are allowed to enclose or condition down there. Before buying materials, call the City of Jacksonville Building Inspection Division and describe exactly what you are planning, a simple ground liner versus a sealed and mechanically dried crawl space, so you know which one you are actually doing.
Tools and Materials
- 6 mil polyethylene sheeting, or a reinforced cross-laminated liner (12 to 20 mil) for rough terrain or regular foot traffic
- Seam tape rated for crawl space vapor barriers, and a termite inspection gap strip kept separate from the barrier
- Construction adhesive and masonry fasteners or a termination bar for anchoring the barrier at piers and the foundation wall
- Utility knife, tape measure, chalk line
- Headlamp, knee pads, coveralls, and a respirator rated for mold and dust
- Wet/dry shop vac for standing water, rake for debris, contractor bags for hauling it out
- A helper, since dragging sheeting through a two-foot crawl space alone is slow going
Step-by-Step
- Get eyes on the whole space first. Crawl the perimeter with a light and check for standing water, sewage odor, active leaks, or mold on the joists. A confined, low-oxygen space with wet ground, exposed wiring, and the occasional snake or spider is not a casual Saturday project, and if you find standing water, sewage, or mold growth on the wood, stop and call a professional. That is a moisture or plumbing problem to fix first, not something to cover up with a liner.
- Clear debris and grade rough spots. Rake out old insulation, scrap wood, trash, and any degraded prior liner, then fill deep low spots so the liner is not draped over sharp rocks or roots.
- Choose your liner. Plain 6 mil poly works fine in a crawl space nobody enters after installation day. If a technician will be back for HVAC or plumbing work, or the ground is rocky, spend the extra money on a reinforced 12 to 20 mil liner.
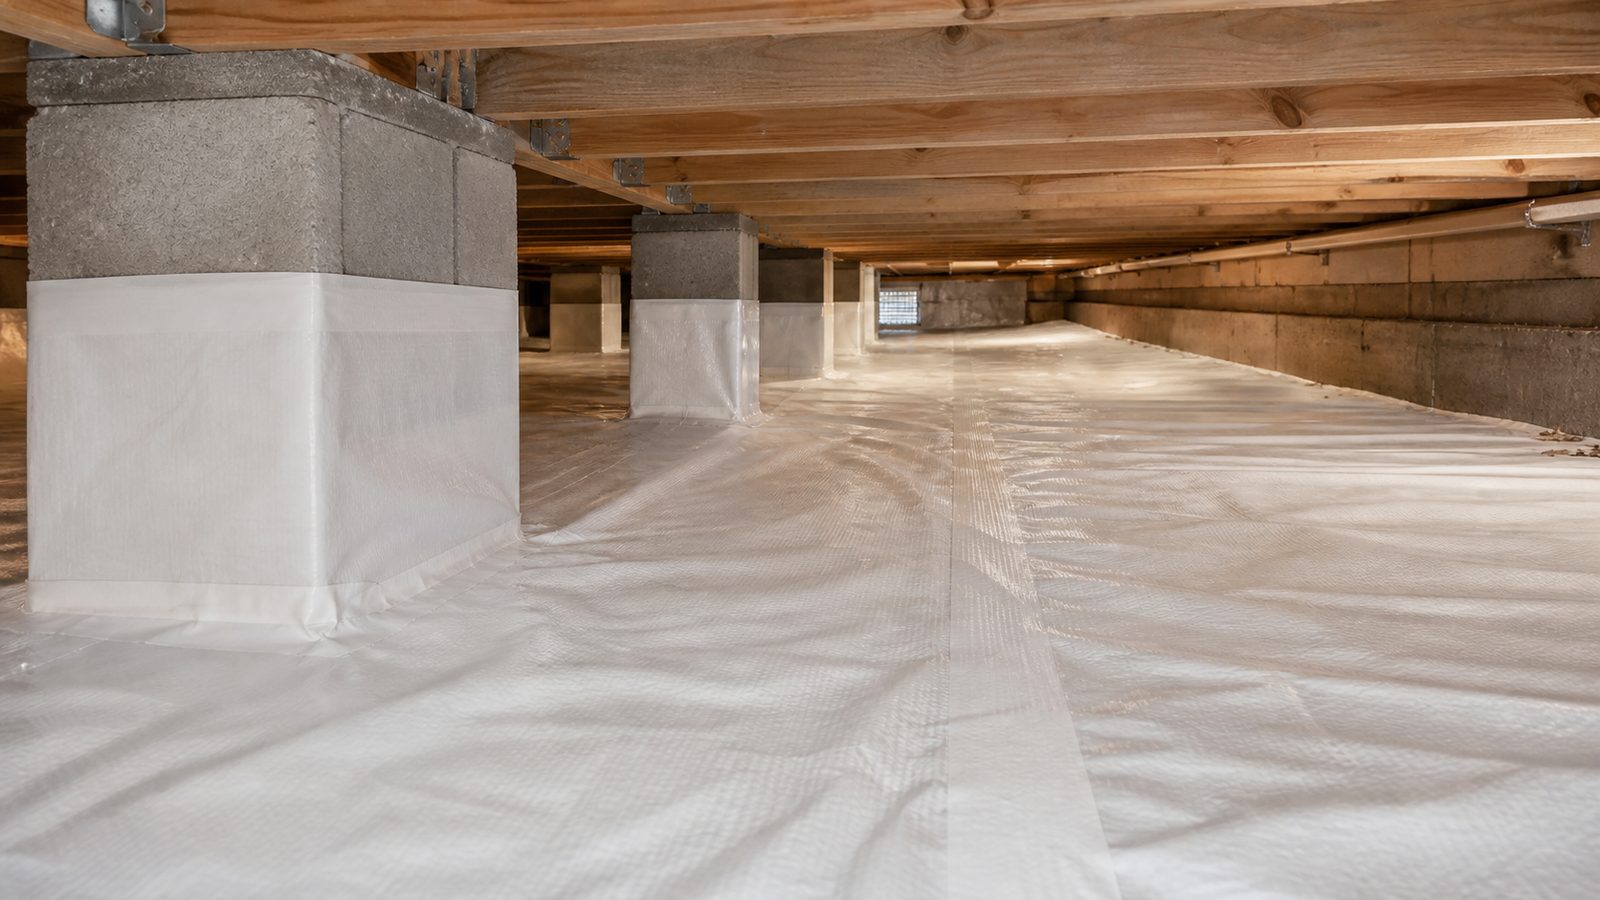
- Roll, overlap, and tape. Work across the space, overlapping each sheet at least 12 inches at the seams, and tape every seam with tape rated for the material, not general purpose duct tape.
- Run it up the piers and walls. Wrap the barrier up each masonry pier and up the foundation wall at least 6 to 8 inches, and secure it with adhesive and a termination bar so it does not slump back down. This is the step most DIY jobs skip, and it is the reason vapor still finds its way up around the piers even after the ground is covered.
- Leave the termite inspection gap. Keep the top edge of the barrier a few inches short of any wood framing, and never let it touch the sill plate or joists. Pest control needs a clear visual strip along the foundation to spot mud tubes.
- Seal penetrations and double-check seams. Cut the barrier tight around piers, plumbing stacks, and HVAC supports and tape those cuts closed, then walk the space a second time and press down every seam and pier wrap to confirm the tape is holding.
Jacksonville Climate Considerations
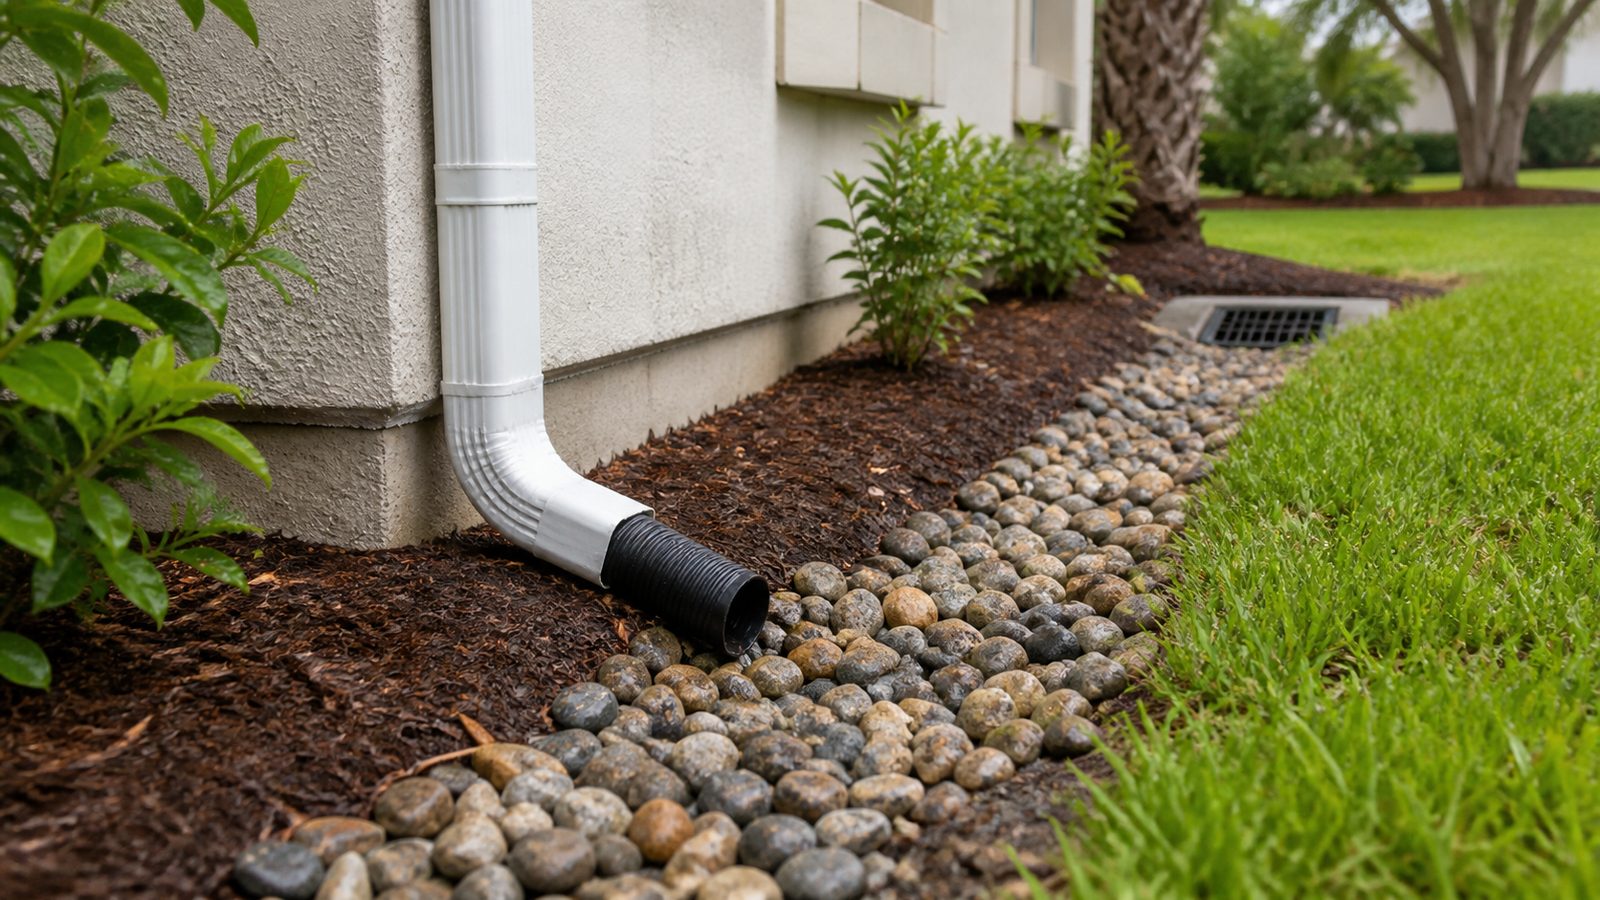
Northeast Florida sits on sandy soil with a high water table, so ground moisture under a house is a given, not an occasional problem. In summer, outside dew points regularly climb into the 70s, and when that humid air drifts into a crawl space cooled by shaded, damp ground, it condenses on ductwork, subfloor, and framing the same way a cold glass sweats on a porch table. That is why sealing the vents without a real moisture plan, whether that is a properly lapped barrier, drainage, or a dehumidifier, can trap humidity inside and make rot and mold worse instead of better. Keep the barrier off any wood and hold that termite inspection gap, since subterranean termites are active year round here and a hidden liner against the sill plate is exactly the kind of cover they like. If your lot has flooded before or sits in a mapped flood zone, plan the work with hurricane season storm surge in mind, since a sealed crawl space with nowhere for floodwater to drain can hold water against the framing longer than an open, vented one.
What It Costs in Jacksonville (DIY vs. Hiring a Pro)
These are rough local estimates for a typical 1,200 to 1,800 square foot crawl space, not quoted or surveyed figures. Actual pricing depends on access, ground condition, and square footage.
| Approach | Estimated Cost Range | Notes |
|---|---|---|
| DIY, 6 mil poly | $300 to $700 | Materials only, your labor, weekend project |
| DIY, reinforced liner | $600 to $1,200 | Better durability, still your labor |
| Pro install, vented crawl space | $1,500 to $3,500 | Debris removal, reinforced liner, sealed seams and piers |
| Pro full encapsulation | $5,000 to $13,000+ | Sealed vents, liner, dehumidifier, possible electrical work |
When to Call JK Prestige
If your crawl space check turns up standing water, a sewage smell, sagging or soft framing, or mold on the joists, that is a repair job before it is an installation job, worth having someone experienced look at in person. It is also worth a call if you are weighing full encapsulation, since that decision touches structural, mechanical, and sometimes electrical work that needs to be planned as one system. JK Prestige Constructor Corp works on raised homes across Jacksonville's older neighborhoods and can walk the crawl space with you, tell you honestly whether you are looking at a liner or a bigger moisture problem, and handle the permitted work if encapsulation is the right call.
No call center. No coordinator. A JK principal reviews every inquiry and replies with a real number, not a range, not a follow-up form.
Request Free Estimate →