A pet door sounds like a weekend project, and for a lot of Jacksonville homes it is. But cutting a hole in an exterior door or wall is also cutting into your home's weather barrier, and Northeast Florida throws humidity, wind driven rain, and the occasional hurricane at that opening. Do it right and you get a durable, energy efficient upgrade. Do it wrong and you get a soggy door frame or a flap that fails in the first strong storm. Here is what actually goes into installing a pet door the right way in a Jacksonville home, plus when it makes sense to bring in a contractor instead.
When You Need a Permit in Jacksonville
This is the part most DIY guides skip, and it matters more here than people think.
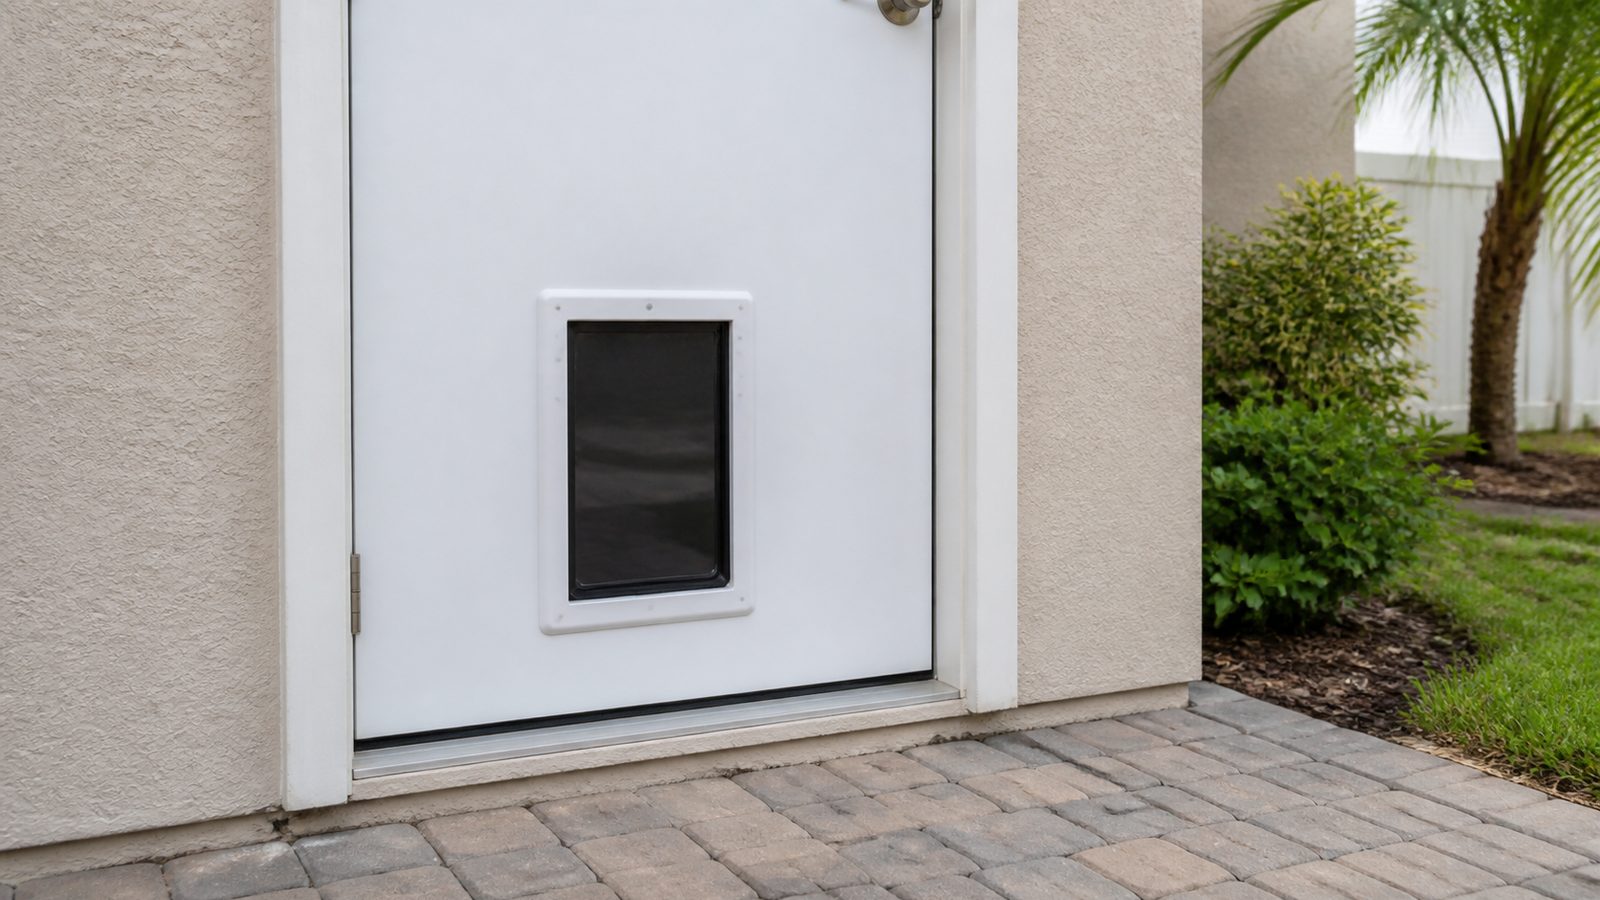
If you are cutting a pet door into an existing exterior door slab (the door itself, not the surrounding wall), the City of Jacksonville and Duval County generally do not require a building permit. You are modifying a manufactured unit, not the structure, and most jurisdictions in the area treat this as routine home maintenance similar to changing a lockset.
If you are cutting a new opening through an exterior wall, that is a different situation. Any framing change to an exterior wall, especially in a home built to meet Florida Building Code wind load and impact requirements, can require a permit and inspection through the Duval County Building Inspection Division. Coastal and near-coastal construction in Jacksonville often has wind-borne debris region requirements, and a wall penetration can affect the structural and weatherproofing integrity the code is designed to protect. Before you cut into a wall, check with Duval County Development Services or pull the permit history on your address to confirm what your original construction required.
Two more things to check before you pick up a saw. If you live in an HOA community, many Jacksonville subdivisions have architectural review rules that cover exterior modifications, including pet doors, so review your HOA covenants first. And if your exterior door is impact rated or hurricane rated, cutting into the slab can void the door's impact rating and its manufacturer warranty, which is worth confirming with the manufacturer before modifying it.
Tools and Materials
- Pet door kit sized correctly for your dog or cat, with a template included
- Jigsaw with a fine-tooth blade rated for the door material (wood, fiberglass, steel, or vinyl)
- Cordless drill with bits for pilot holes
- Tape measure and level
- Pencil or marker for tracing the template
- Exterior-grade silicone caulk
- Weatherstripping or foam gasket tape
- Screwdriver or drill driver for mounting screws
- Sandpaper or a file for smoothing cut edges
- Painter's tape to protect the door finish while cutting
Step-by-Step
- Measure your pet, not just the door. Measure your dog or cat at the shoulder (widest point standing) and from floor to the top of the back. The flap opening should be about 1 to 2 inches taller than your pet's shoulder height and slightly wider than their body. Bottom of the opening should sit low enough for easy stepping through, typically 2 to 4 inches off the ground for most dogs.
- Choose the location. Center the door left to right, and make sure the bottom rail of the door slab (the solid frame piece at the base) is not compromised. On steel or fiberglass doors, avoid cutting too close to the door's edge, which can weaken the panel.
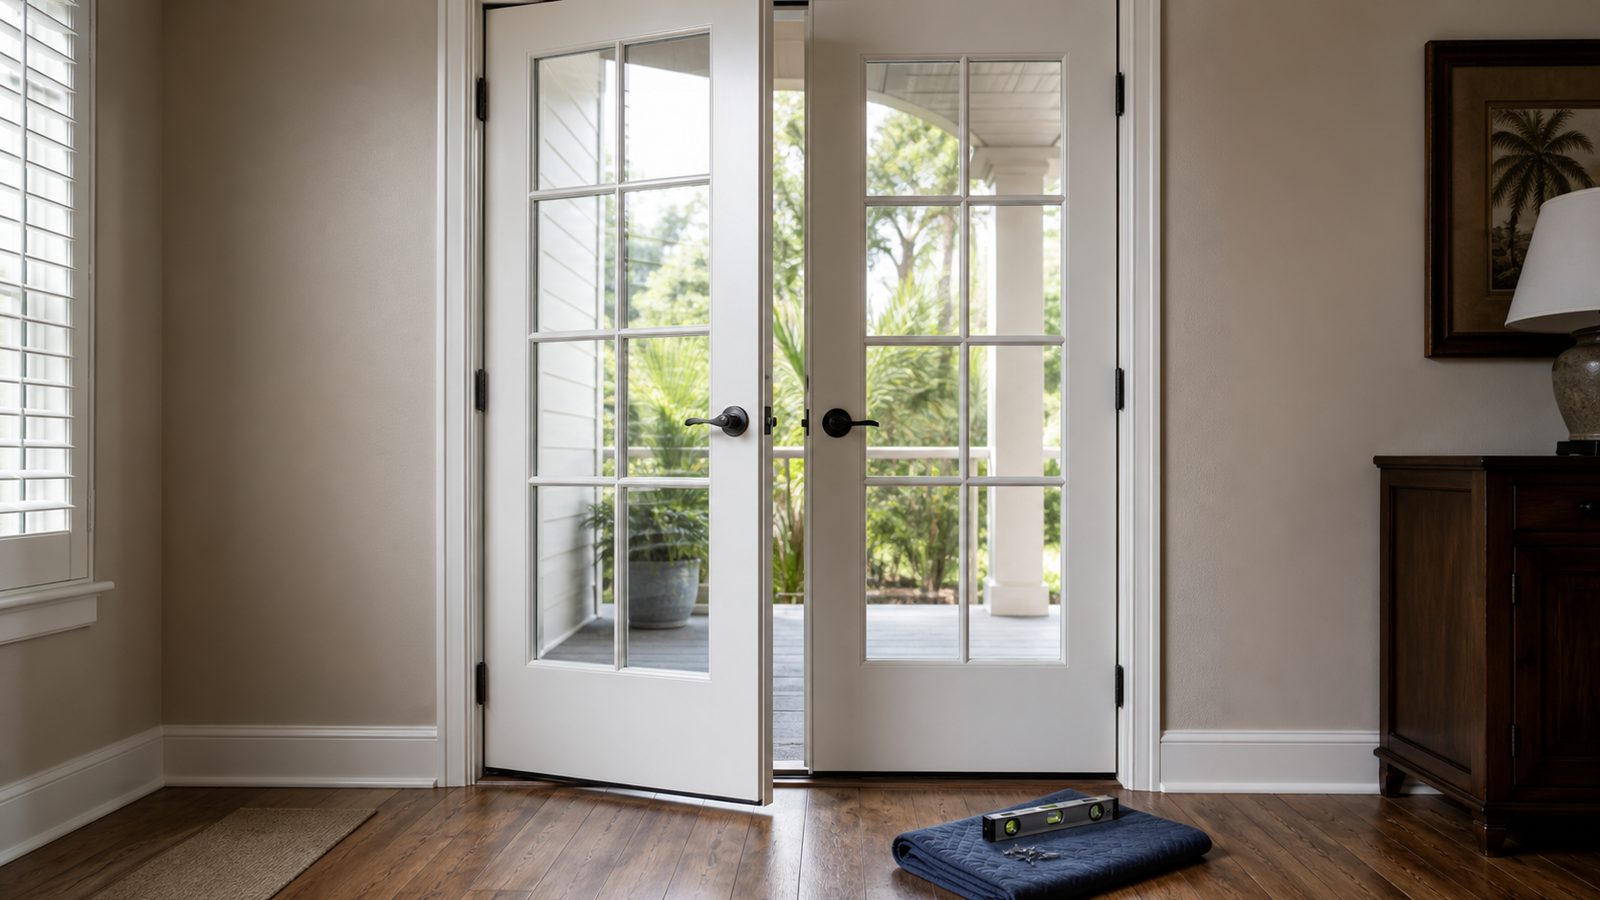
- Trace the template. Use the manufacturer's paper or plastic template, taped in place and leveled with a bubble level before tracing. A crooked cut is the most common DIY mistake and it is hard to fix after the fact.
- Drill pilot holes at the corners. This gives your jigsaw blade a clean starting point and prevents splintering on wood doors or cracking on fiberglass.
- Cut the opening. Go slow, especially on steel doors where the insulation core can shift the blade. Wear eye protection. Sand or file the cut edges smooth once the piece is out.
- Mount the interior and exterior frames. Most kits sandwich the door slab between two frame pieces, held together with long screws that pass through the door. Check the fit before fully tightening, and confirm the flap swings freely both directions.
- Seal every gap. Run a bead of exterior-grade silicone caulk around the outside frame where it meets the door, and add weatherstripping or foam gasket tape between the frame and the door if the kit does not already include a gasket. This step is the difference between a pet door that lasts and one that lets water in.
Jacksonville Climate Considerations
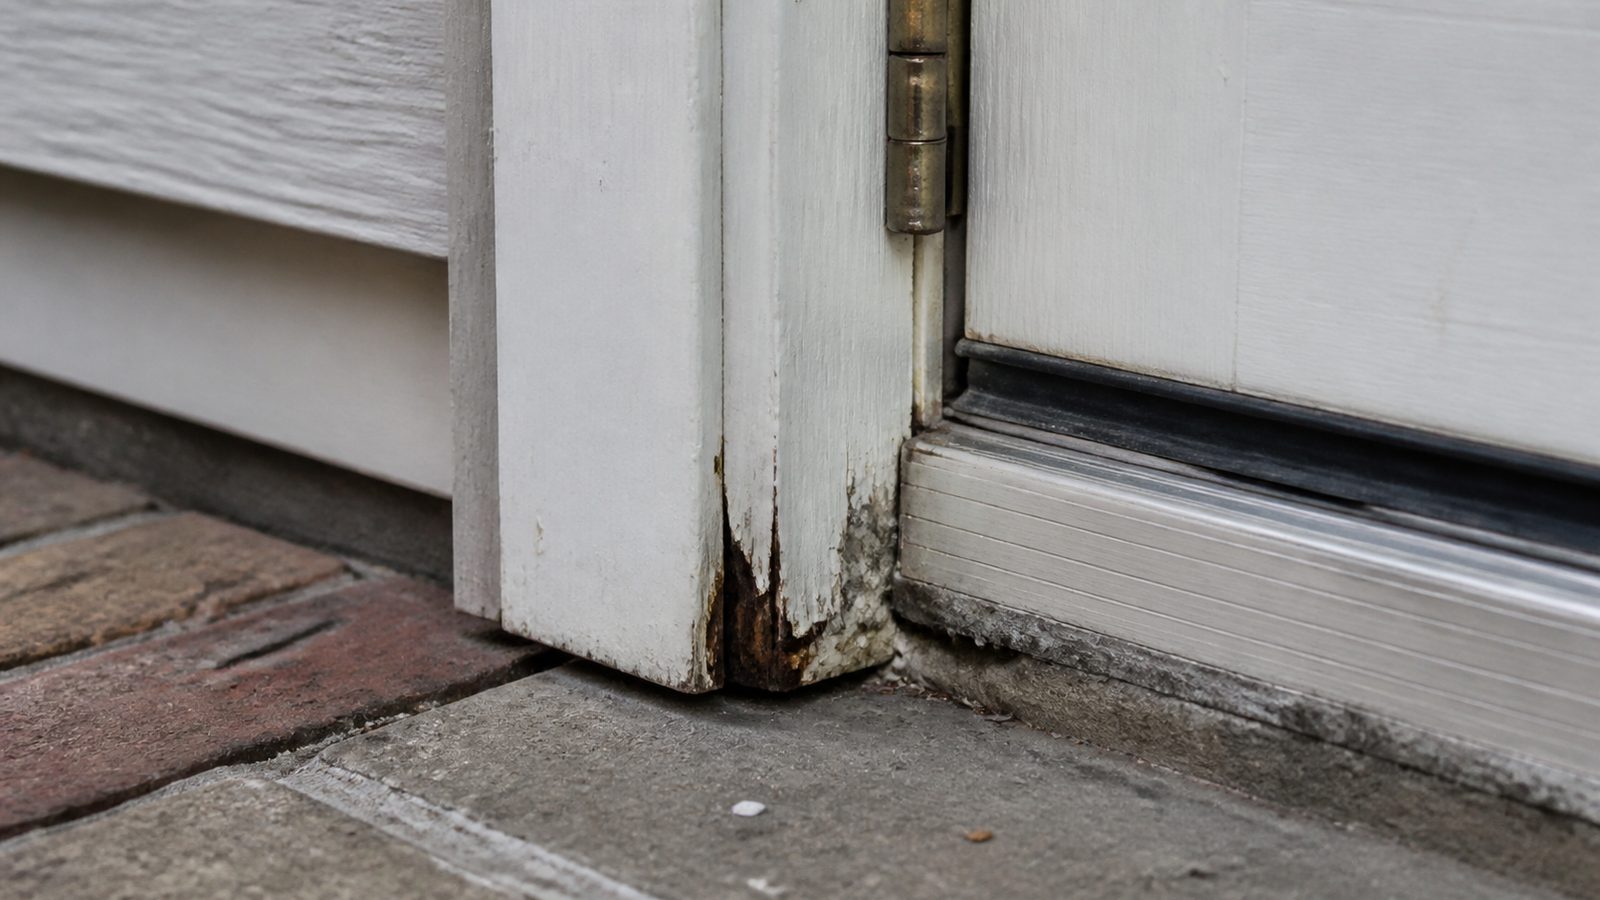
Jacksonville's climate is not gentle on exterior modifications. Humidity sits high most of the year, and any gap around a pet door frame becomes a path for moisture to work into the door core or the surrounding wall framing over time. A thorough caulk seal and a quality gasket are not optional extras here, they are the whole point.
Wind-driven rain during Jacksonville's frequent summer thunderstorms and the annual hurricane season pushes water sideways against exterior doors, so a flap that seals tightly (magnetic or weighted closures perform better than a simple flexible flap) matters more here than it would in a drier climate. During named storms, many pet door manufacturers recommend a removable cover panel or temporarily blocking the opening, since a flapping pet door can become a wind intrusion point in sustained high winds.
A poorly sealed pet door is also an energy leak. Jacksonville air conditioning runs hard for most of the year, and a gap around a pet door frame lets conditioned air escape and humid outside air in, which can affect both your utility bill and moisture levels near the opening.
Finally, love bugs and other insects common to North Florida will find any unsealed gap. A tight-fitting flap and a properly caulked frame keep the bug problem from becoming a bigger issue than the pet door was worth.
What It Costs in Jacksonville (DIY vs. Hiring a Pro)
| Approach | Typical Cost | What's Included |
|---|---|---|
| DIY, basic flap kit | $30 to $80 | Kit only, your labor and tools |
| DIY, insulated/sealed kit | $100 to $250 | Better weatherproofing, your labor |
| Professional install, door slab | $150 to $350 | Labor plus a mid-range kit, proper sealing |
| Professional install, through-wall | $400 to $900+ | Framing, insulation tie-in, exterior finish match, possible permit coordination |
Through-wall installs cost more because they involve framing, insulation, and matching the exterior finish (siding, stucco, or brick) around the new opening, work that goes well beyond a door slab cutout.
When to Call JK Prestige
If you are considering a through-wall pet door, dealing with an impact-rated door, or you are not confident about permit requirements for your property, it is worth a call before you cut anything. JK Prestige Construction handles exterior modifications across Jacksonville with proper sealing, code compliance, and finish work that matches your home, so you are not left troubleshooting a leak six months later.
No call center. No coordinator. A JK principal reviews every inquiry and replies with a real number, not a range, not a follow-up form.
Request Free Estimate →