Jacksonville gutters take a beating. Between the live oaks dropping leaves year-round, the longleaf pines shedding straw in dense mats, and summer thunderstorms that can dump two inches of rain in under an hour, your gutters have very little margin for error. A clogged gutter in Northeast Florida is not just an inconvenience — it can lead to fascia rot, foundation erosion, soffit damage, and the kind of mold that thrives in humid Duval County summers. Installing gutter guards is one of the higher-return maintenance investments a Jacksonville homeowner can make, and it is a job that falls within reach of a careful DIYer. This guide walks through the full process, from permitting to product selection to installation, with specifics for the Jacksonville climate.
When You Need a Permit in Jacksonville
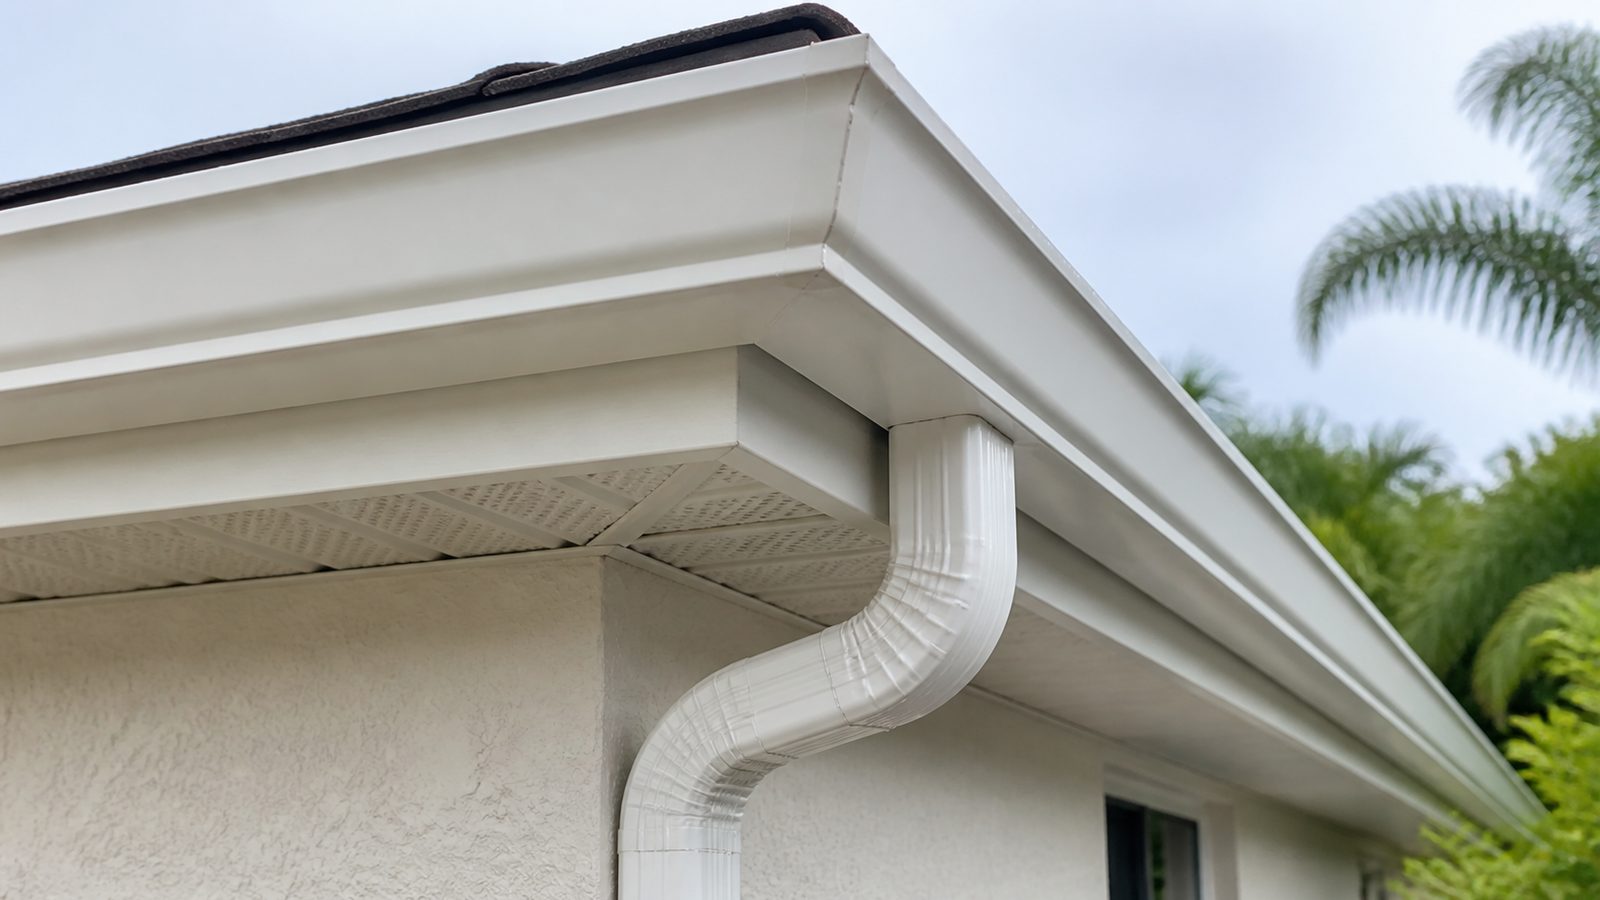
For most single-family residential gutter guard installations, the City of Jacksonville does not require a building permit. Gutter guards are considered an accessory to an existing gutter system, not a structural modification. However, if the installation involves replacing the gutters themselves — or if you are adding gutters to a structure that did not previously have them — that work does require a permit under the Florida Building Code (FBC), which Jacksonville enforces through the Duval County Building Inspection Division.
The FBC Section 1503.4 addresses roof drainage, and any new gutter system on a permitted structure must meet code. If you are in a homeowners association, check your CC&Rs before selecting a product, as some associations restrict visible gutter modifications. For permits, visit the City of Jacksonville's Building Inspection Division online portal or call their office at (904) 255-8500. When in doubt, pulling a permit protects you at resale.
Tools and Materials
- Gutter guards (mesh, reverse-curve, or foam — see step-by-step below)
- Ladder rated for your roofline height (Type I or Type IA for most two-story homes)
- Ladder stabilizer or standoffs to protect gutters
- Garden hose with spray nozzle
- Stiff-bristle brush or gutter scoop
- Tin snips or hacksaw (for cutting guards to length)
- Work gloves and eye protection
- Measuring tape
- Zip screws or gutter screws (if using snap-in guards that require fastening)
- Sealant or gutter caulk (to address any seams or end caps you expose during cleaning)
Step-by-Step
1. Clean the gutters thoroughly before installing anything. Guards installed over debris trap moisture and accelerate corrosion. Remove all leaves, pine straw, and sediment. Flush the gutters with a hose and confirm downspouts drain freely.
2. Inspect for damage. Look for sagging sections, loose hangers, rust spots, and separated seams. Address these before installing guards — trapping a problem under a guard makes it harder and more expensive to fix later.
3. Measure and purchase your guards. Measure your total linear footage of gutter. Add 10 percent for cuts and waste. Purchase slightly more than you need; returning a box is easier than making a second trip mid-project.
4. Choose your guard type based on your tree load.
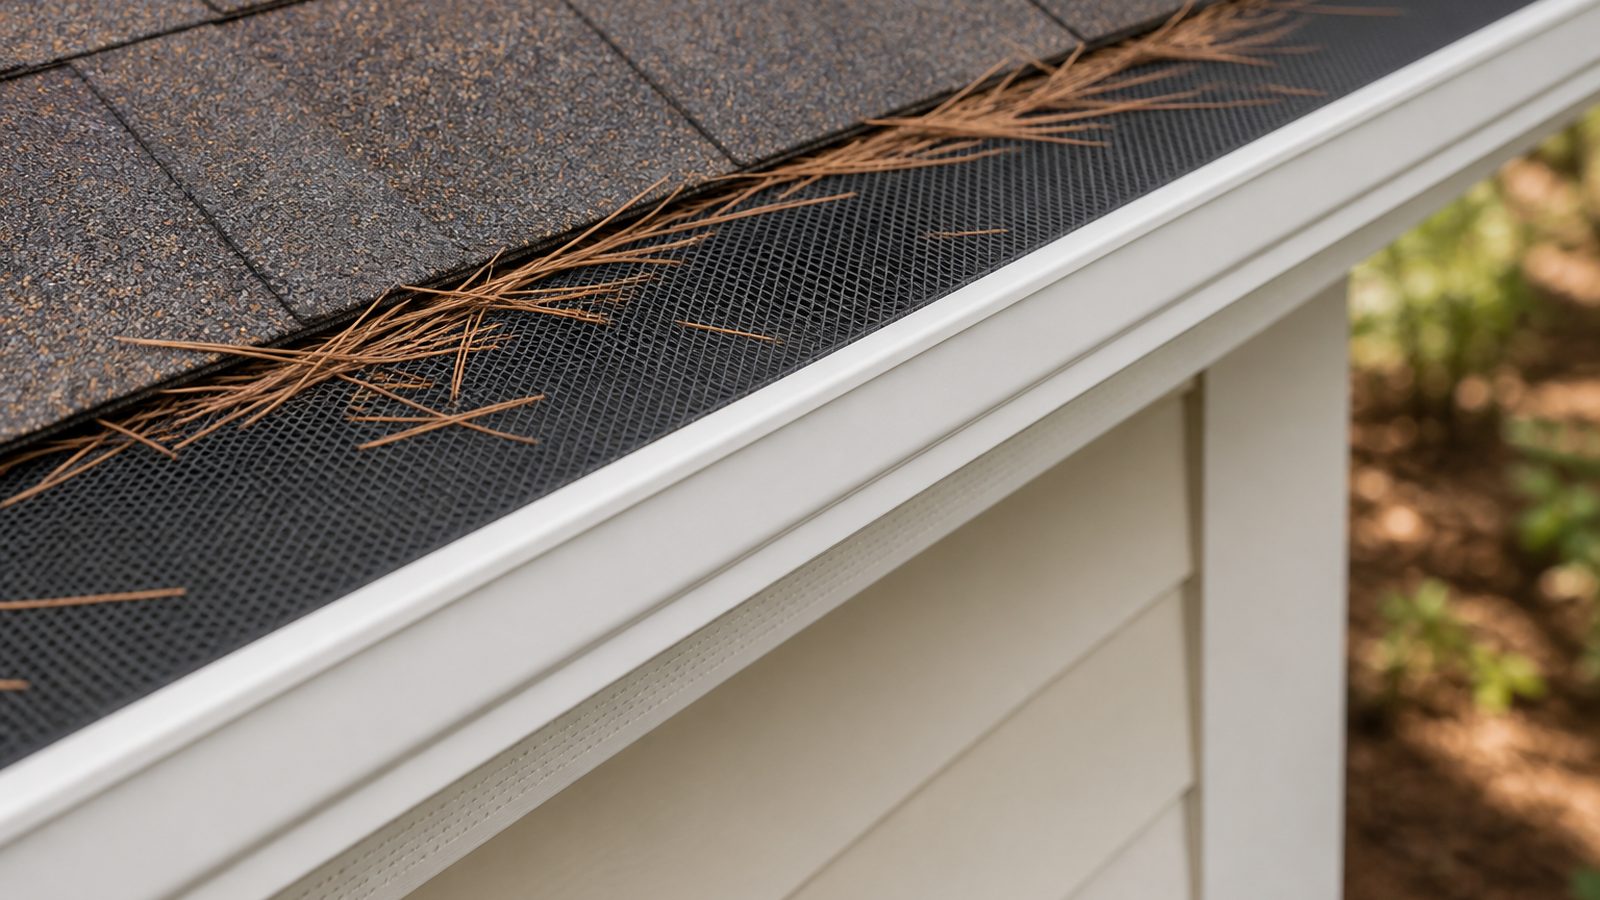
- Micro-mesh guards are the strongest performer for Jacksonville conditions. The fine stainless-steel mesh keeps out pine needles, small oak leaves, and the tiny seed pods live oaks drop in spring. They are the most expensive option but require the least maintenance. Brands like LeafFilter, Raptor, and HomeCraft use this design.
- Reverse-curve (surface tension) guards work by directing water to curl around a curved surface and drop into the gutter while debris falls off the edge. They perform adequately for large leaves but tend to let pine needles and seed pods ride the water stream into the gutter. Less ideal for Jacksonville's pine-heavy neighborhoods.
- Foam inserts are the least expensive and easiest to install — you simply press them into the gutter channel. However, in Jacksonville's heat and humidity, foam guards degrade faster and tend to harbor algae and root growth from seeds that germinate inside the porous material. They are a short-term solution at best.
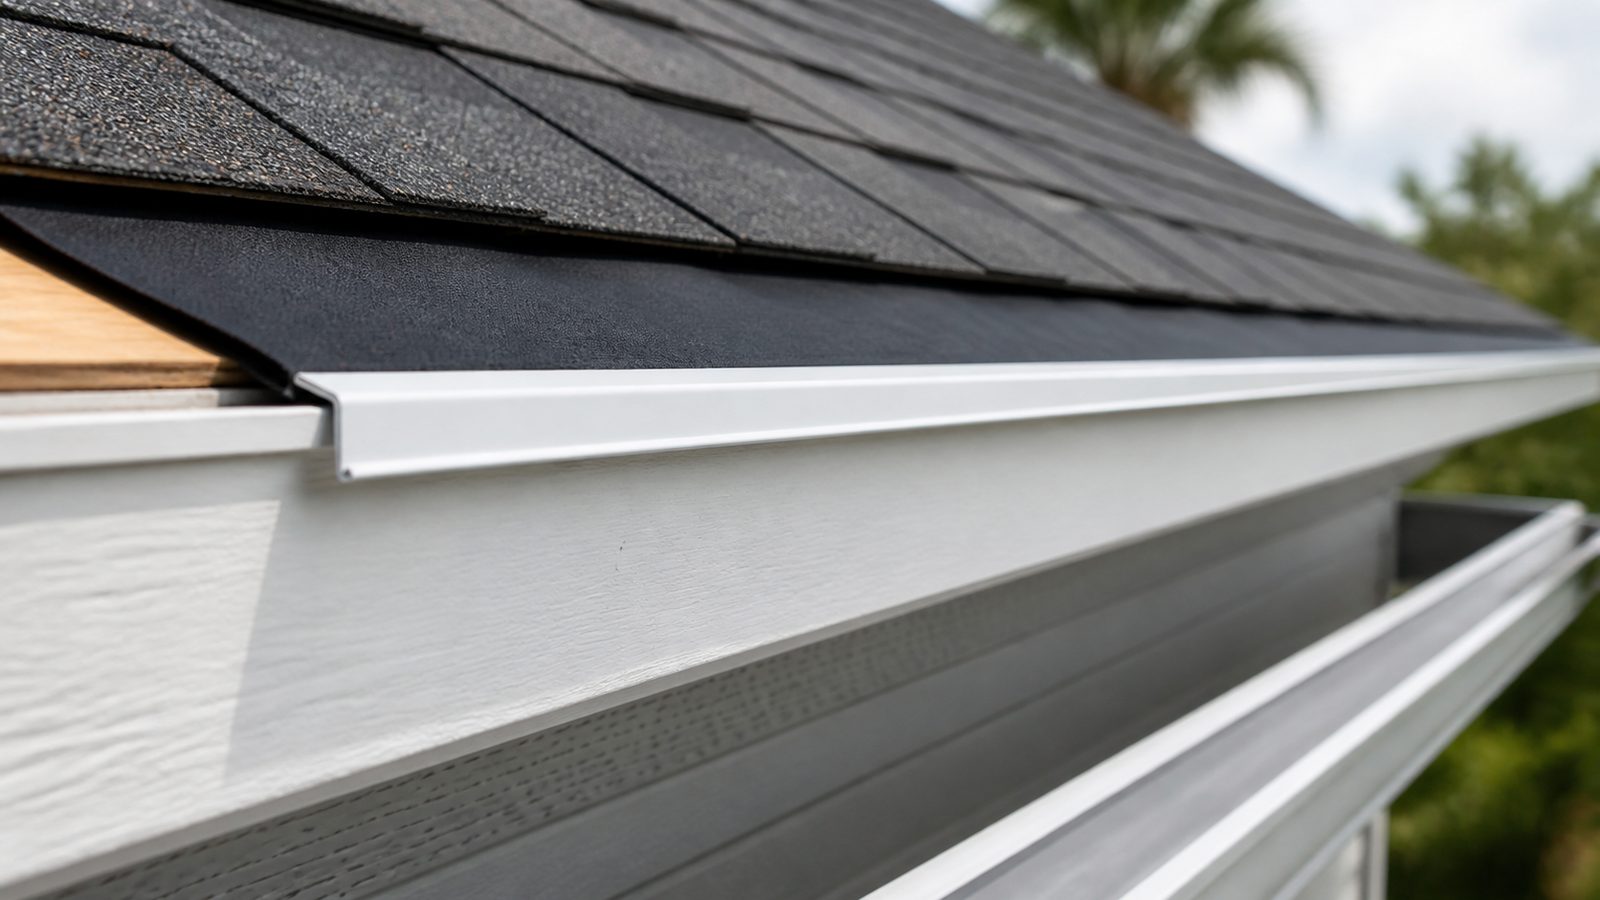
5. Install the guards. Most snap-in mesh or micro-mesh products slide under the first course of roof shingles on the back edge and clip over the front lip of the gutter. Slide the guard in, press the front clip down until it seats, and move to the next section. Overlap end-to-end joints by about half an inch to prevent gaps. For valleys, corners, and downspout openings, use tin snips to cut the guards to fit cleanly.
6. Test the installation. Run a garden hose along the roofline and watch how water flows into the gutter. Check for any sections where water overshoots the guard — this usually means the guard is angled too steeply or a section is not seated correctly.
7. Clear the roof surface above the gutters. Debris that accumulates just above the guard will eventually wash into it during a storm. Blow or brush off the lower roof slope as part of your routine maintenance.
Jacksonville Climate Considerations
Jacksonville sits in USDA Hardiness Zone 9a and receives an average of 52 inches of rain per year, with roughly half falling between June and September. The combination of high rainfall intensity and high humidity creates specific gutter challenges that homeowners in drier climates do not face.
Live oaks are semi-evergreen and shed leaves throughout the year rather than in one fall drop, meaning Jacksonville gutters never really get a natural break. Southern yellow pine and longleaf pine are dense in many Duval County neighborhoods, and pine straw is the primary enemy of most standard gutter guards — it mats and bridges across openings rather than washing away. Micro-mesh guards handle pine straw better than any other type.
Humidity and heat also accelerate mold and algae growth inside clogged gutters. In Jacksonville summers, a gutter clogged with wet pine straw can develop visible mold within weeks, which can then spread to fascia boards and soffit panels. Gutter guards reduce the frequency of clogs, but they do not eliminate maintenance entirely — plan to inspect guards at least twice a year.
What It Costs in Jacksonville (DIY vs. Hiring a Pro)
| Option | Estimated Cost (per linear foot) | Notes |
|---|---|---|
| Foam inserts (DIY) | $1 – $2 | Shortest lifespan; not recommended for Jacksonville |
| Snap-in mesh (DIY) | $2 – $4 | Good mid-range option; most available at local hardware stores |
| Micro-mesh (DIY) | $3 – $6 | Best performance; some brands require no tools |
| Professional installation (micro-mesh) | $8 – $20 | Includes labor, warranty, and often a gutter cleaning |
A typical Jacksonville single-story home with 150 linear feet of gutter runs roughly $300–$600 for a quality DIY micro-mesh installation, or $1,200–$3,000 installed professionally. Pricing varies by product brand, roof pitch, and accessibility. Get at least two quotes before committing to a professional installer.
When to Call JK Prestige
If your gutters are pulling away from the fascia, showing rust or significant wear, or if your roofline requires work above a two-story height, this is not a DIY project. JK Prestige Construction Corp handles gutter system assessment, fascia and soffit repair, and full guard installation as part of our exterior maintenance and roofing services throughout Jacksonville and Duval County. We can tell you whether your existing gutters are worth protecting or whether a replacement makes more sense before you invest in guards.
No call center. No coordinator. A JK principal reviews every inquiry and replies with a real number, not a range, not a follow-up form.
Request Free Estimate →