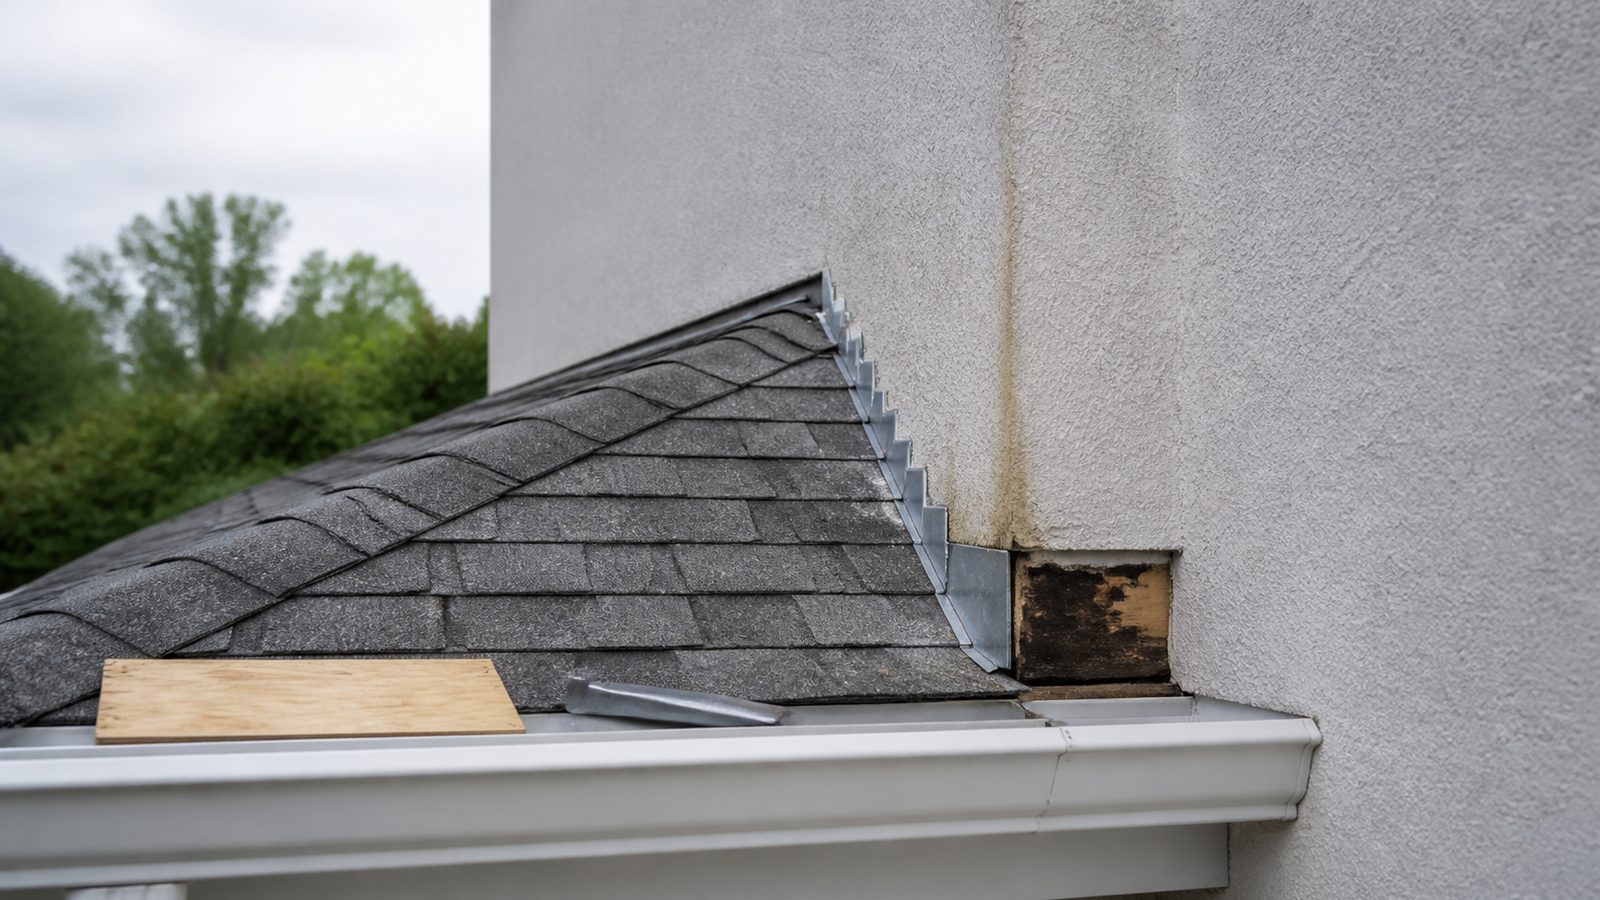
If you own an older home in Jacksonville, there is a good chance the spot where your roof edge butts into a sidewall, above a porch, a dormer, or a garage bump-out, is missing a small piece of metal that does an outsized job. That piece is kickout flashing, and its absence is the single most common reason we find soft, rotted wall framing behind stucco or siding that looked fine from the curb. This guide covers how to spot the problem, what it takes to fix it on a house with finished walls already in place, and how a correct installation ties into step flashing and the weather-resistive barrier.
When You Need a Permit in Jacksonville
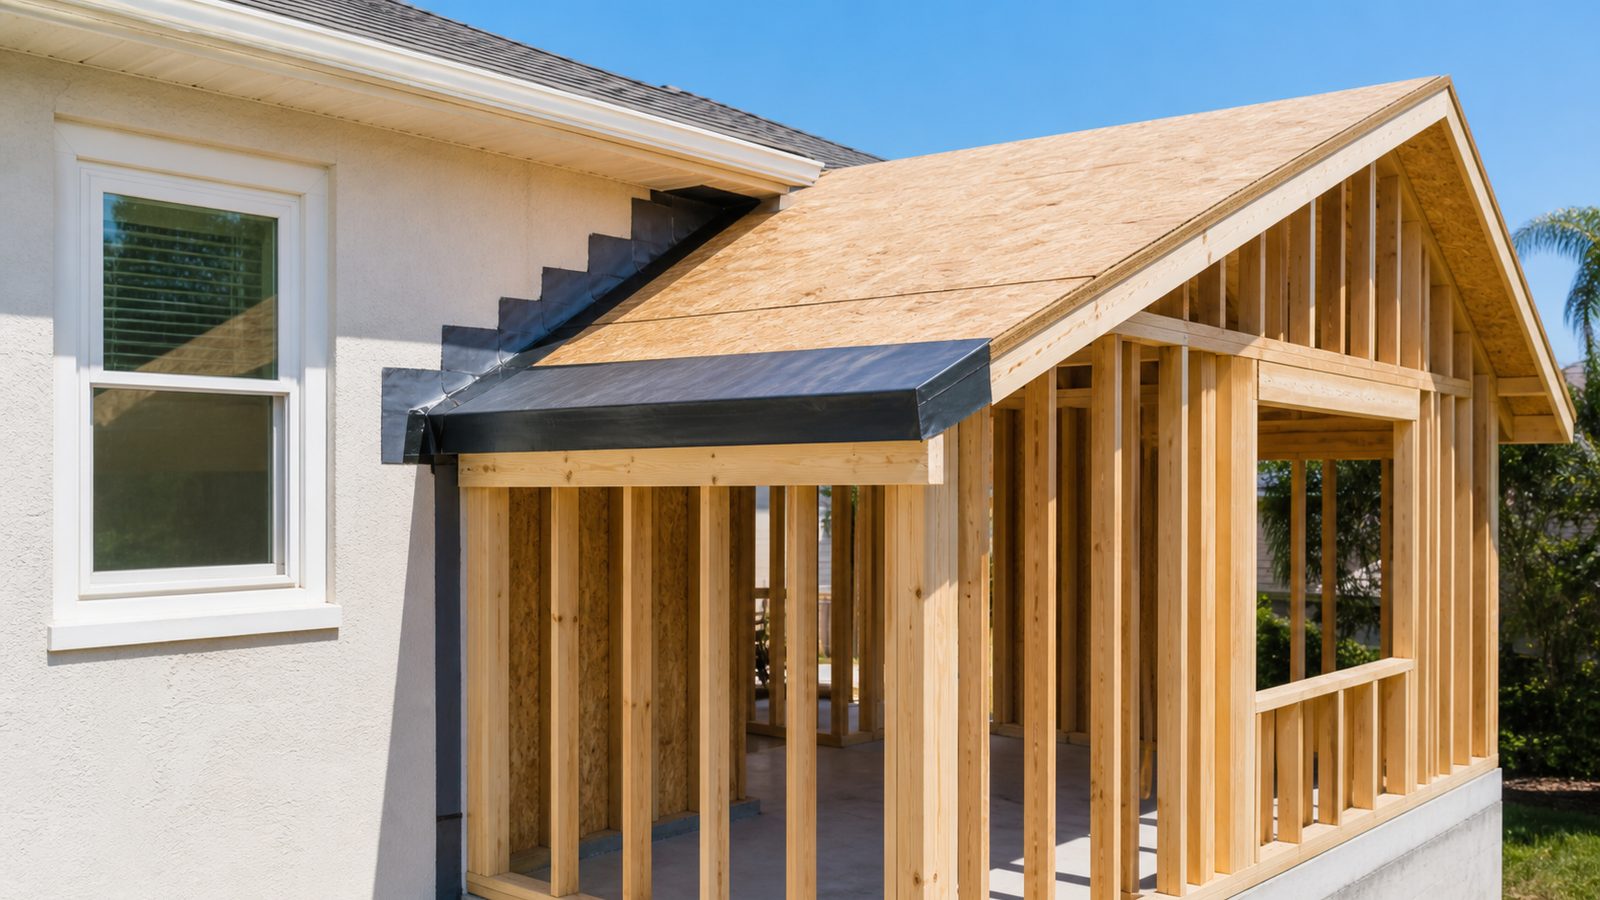
Not every kickout flashing job triggers a permit. If a roofer is simply adding or correcting a short piece of flashing during a routine repair, without removing roofing material beyond that immediate area, many jurisdictions in Duval County treat it as maintenance. The picture changes once the work grows bigger. A full or partial reroof is permitted work with its own required inspections under Florida's building code, and any project that opens up wall cladding, stucco, siding, or house wrap to correct flashing behind it typically needs a building permit too, since you are altering the exterior envelope of the structure. In Florida, roofing work sold to a homeowner generally has to be performed by a licensed roofing contractor, so confirm that license before signing anything for new roofing or a reroof. If your property sits just outside Jacksonville proper, in Nassau, Clay, or St. Johns County, permitting runs through that county's own building department rather than the City of Jacksonville, so pull the permit from the correct office for the property's actual location.
Tools and Materials
- Pre-formed kickout flashing, 3 to 4 inch leg, sized to your gutter and roof pitch (galvanized steel, aluminum, or copper)
- Step flashing pieces, typically 8x8 inch, bent at 90 degrees, one per shingle course
- Self-adhered flashing membrane, 9 inch roll, for the wall-to-roof transition
- Housewrap or weather-resistive barrier patch material matching the existing wrap
- Roofing cement or a compatible polyurethane sealant, not standard caulk
- Corrosion-resistant roofing nails or stainless steel fasteners
- Utility knife, flat bar, roofing hammer, tin snips
- Replacement shingles matching the existing roof
- Chalk line and tape measure
Step-by-Step
- Identify every spot where a roof edge terminates into a vertical sidewall, especially at porches, dormers, chimneys, and garage tie-ins.
- Check inside and outside for staining, soft drywall, bubbling paint, or a musty smell, a sign of an existing leak.
- Remove the gutter section at the corner, if present, to expose the roof-to-wall transition underneath.
- Lift and remove the shingles closest to the wall, working back several courses from the termination point.
- Pull the existing step flashing and inspect the housewrap underneath for tears, staples, or improper lapping.
- Cut back damaged housewrap and install a patch that laps over the layer below it and under the layer above, following correct water-shedding order, never the reverse.
- Install self-adhered flashing membrane across the roof-to-wall corner before any metal goes down, extending it up the wall and onto the roof deck.
- Set the first step flashing piece so its vertical leg sits behind the weather barrier and its horizontal leg lies over the roof deck.
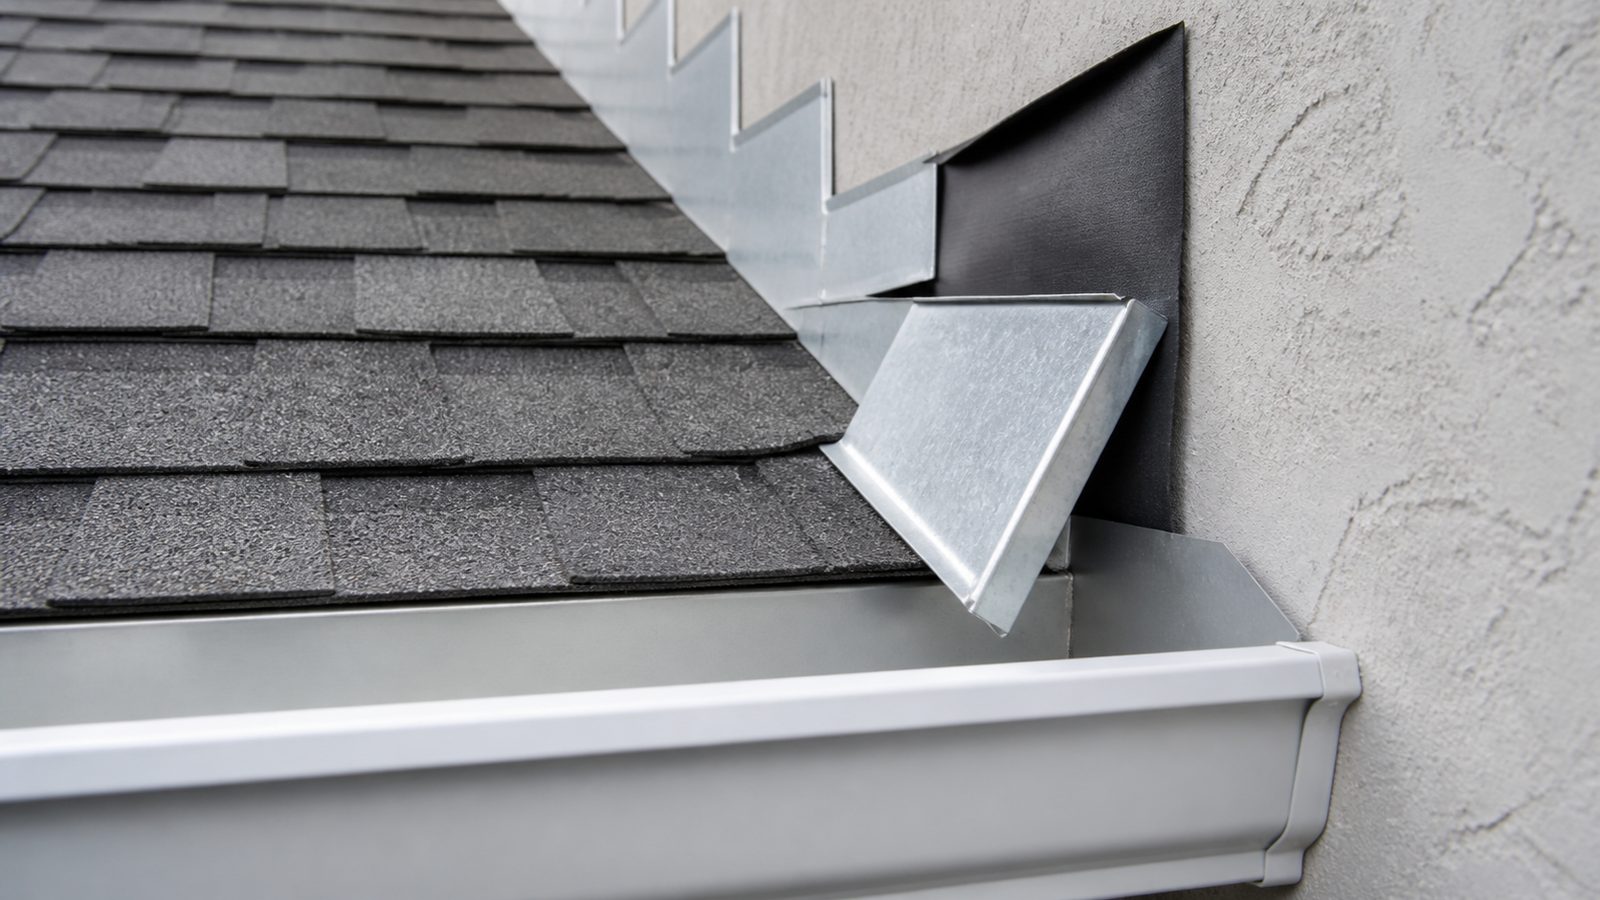
- Install the kickout flashing at the bottom of the step flashing run, angled outward at roughly 45 degrees so it directs water past the wall into the gutter.
- Confirm the kickout's vertical leg tucks fully behind the housewrap and its horizontal leg sits under the drip edge or shingle course above it.
- Reinstall shingles course by course, weaving each one over its matching step flashing piece, keeping fasteners out of the flashing itself.
- Reset the gutter section so its end sits directly under the kickout's outward-facing lip.
- Seal fastener heads and cut metal edges with roofing cement or a compatible sealant, never general purpose caulk.
- Run a hose test at the corner and check the wall cavity and interior finishes before calling the job complete.
Common Mistakes to Avoid
- Using a bead of caulk in place of kickout flashing, which fails within a season or two under Florida sun and rain
- Lapping the housewrap in reverse, tucking the upper layer under the lower one so water runs behind it instead of over it
- Nailing through the flashing's flat surface instead of the flange, where water will not pond
- Reusing an undersized kickout bent from flat stock instead of a properly angled diverter
- Tucking new flashing under existing roofing without tearing back shingles and integrating it into the step flashing run
- Missing the lap on the self-adhered membrane at the corner, leaving a gap for wind-driven rain
Jacksonville Climate Considerations
Jacksonville's summer thunderstorm pattern drives rain sideways as often as down, and wind-driven rain finds any gap in a roof-to-wall intersection that a calmer climate might tolerate for years. A tropical system passing through most seasons turns that gap into a real intrusion event rather than a slow drip. Sustained coastal humidity means a wet wall cavity does not dry out quickly, which is exactly the condition that grows rot in framing and mold behind stucco or siding long before anything shows on the interior. Homes closer to the beaches also deal with salt air, which accelerates corrosion on lower-grade galvanized flashing, so stainless steel or a properly coated metal is worth the upgrade in those zones.
What It Costs in Jacksonville (DIY vs. Hiring a Pro)
| Scope | DIY Cost | Professional Cost |
|---|---|---|
| Single kickout flashing retrofit | $30 to $80 in materials | $350 to $650 |
| Kickout plus step flashing correction | $80 to $150 in materials | $600 to $1,200 |
| Full corner rebuild with wall cladding repair | Not recommended for most homeowners | $1,500 to $4,000+ |
When to Call JK Prestige
If you see staining, soft trim, or bubbling paint where a roof edge meets a wall, that is not cosmetic, it is usually water already in the framing. We diagnose the intersection, open it correctly, and integrate the flashing with your weather barrier so the fix lasts rather than masking the symptom.
No call center. No coordinator. A JK principal reviews every inquiry and replies with a real number, not a range, not a follow-up form.
Request Free Estimate →