This guide is for homeowners who want to install floating luxury vinyl plank (LVP) flooring. Floating means the planks click together and rest on top of the subfloor without glue or nails — the whole floor moves as one unit. It is the most DIY-friendly flooring install available today, and it works in almost every room in a Florida home, including bathrooms, laundry rooms, and below-grade spaces where hardwood cannot go.
Difficulty: Easy to Moderate. The cutting and layout require patience, but there is no adhesive working time and no finish drying time.
Time estimate: 200-300 square feet in one weekend. Larger areas can be done in 2-3 days. Most of the time goes into prep and subfloor work, not the actual install.
Total cost range: $500-$2,000 for materials on a 300 square foot room, depending on the LVP product you choose. Budget LVP runs $1.50-$2.50/sq ft. Mid-grade (12 mil wear layer) is $2.50-$4.50/sq ft. Premium waterproof LVP hits $5-$8/sq ft. For Jacksonville's humidity and the likelihood of water contact in any room, do not go below a 12 mil wear layer.
Tools you need
- Tape measure and chalk line
- Pull bar and tapping block (usually included in a flooring installation kit, ~$20)
- Mallet
- Utility knife and straight edge (for scoring thin LVP)
- Jigsaw or circular saw with fine-tooth blade (for most cuts)
- Table saw or track saw (optional but faster for ripping planks)
- Spacers (1/4-inch; buy a bag or use scrap wood)
- Knee pads
- Pry bar
- Level (4-foot minimum)
- Moisture meter
Materials you need
- LVP flooring (measure square footage, add 10 percent for waste and cuts; add 15 percent if you are installing on a diagonal)
- Underlayment, if not pre-attached to the planks ($0.15-$0.50/sq ft; many LVP products include it)
- Self-leveling compound for subfloor low spots ($25-$45/bag; one bag covers ~50 sq ft at 1/8-inch thickness)
- Floor patch or floor leveler for small dips ($15-$25/container)
- Transition strips for doorways and floor height changes ($8-$20 each)
- Reducer strips if transitioning to a thicker floor
- Quarter-round or base shoe molding to cover the expansion gap ($1-$2/linear foot)
Step-by-step instructions
Phase 1: Acclimate and prep
Step 1: Acclimate the flooring. LVP is more dimensionally stable than hardwood, but it still expands and contracts with temperature changes. In Jacksonville, this matters. Stack the boxes flat in the room where they will be installed for at least 48 hours before opening them. The room should be at its normal living temperature and humidity. Do not acclimate in the garage or on the driveway.
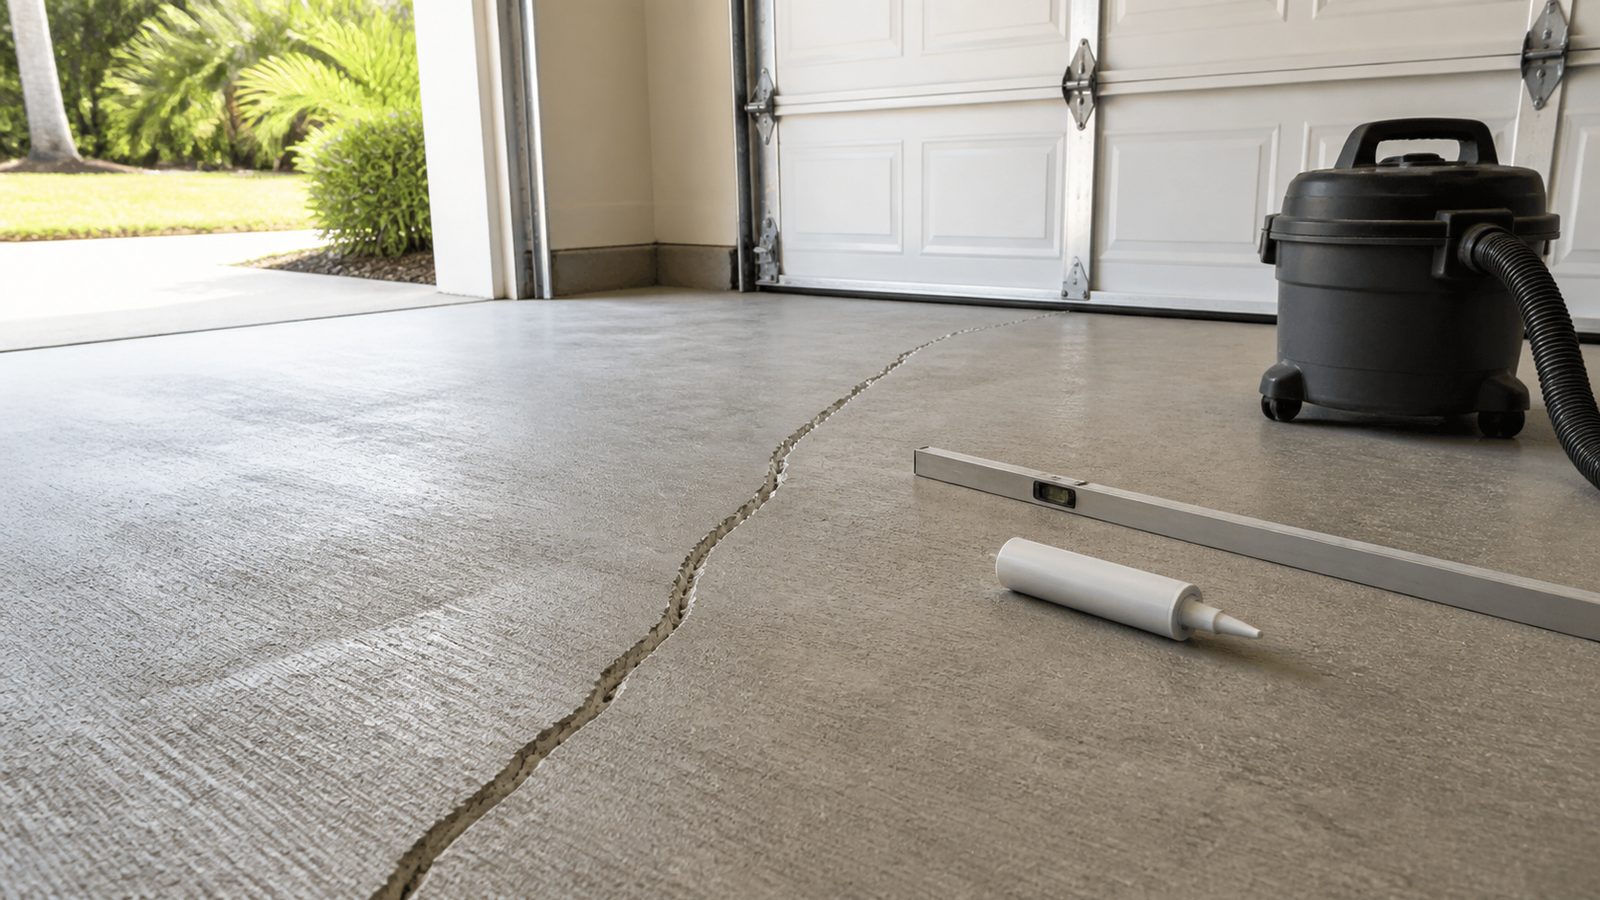
Step 2: Assess and prep the subfloor. This step determines whether the rest of your install goes smoothly. LVP requires a flat subfloor — not perfectly level, but flat. The standard spec is no more than 3/16-inch variation over a 10-foot span. Use your 4-foot level to find high and low spots.
- On concrete: Fill low spots with self-leveling compound or floor patch. Grind down high spots with a concrete grinder or belt sander. Check for moisture with a moisture meter. Concrete in Jacksonville can read high, especially in slab-on-grade homes. Most LVP manufacturers allow up to 75 percent relative humidity at the slab surface, but check your specific product.
- On plywood: Fasten any squeaky or springy areas with screws before you start. Fill seams and low spots with floor patch. Sand down any high spots, nail heads, or staple crowns.
- Over existing tile: You can float LVP over tile as long as all tiles are firmly bonded (tap each one — a hollow sound means it is loose), the grout lines are not too deep (more than 1/8 inch can telegraph through thin LVP), and the added height does not create a trip hazard at transitions.
Step 3: Remove transitions, baseboards, and shoe molding. You do not need to remove baseboards, but pulling the shoe molding or quarter-round gives you room to tuck the flooring underneath and hides the expansion gap cleanly. Label each piece so you know where it goes back.
Phase 2: Layout
Step 4: Plan your layout. The first and last rows of planks should be roughly equal width. Measure the room width and divide by plank width to find how many full rows fit. If the last row would be less than 2 inches wide, rip down your first row so the last row ends up wider. Narrow last rows look sloppy and can pop loose over time.
In Jacksonville homes with out-of-square rooms — which is most of them if you are in an older neighborhood like Avondale or Springfield — snap a chalk line 3-4 plank widths from your starting wall as a straight reference line. Work from that line, not the wall.
Step 5: Decide on direction. LVP looks best running parallel to the longest wall or parallel to the primary light source (a sliding glass door, for example). In open-concept homes, run it parallel to the length of the home. Avoid running it toward a back wall that the eye goes to immediately — it will make the room feel shorter.
Phase 3: Install
Step 6: Lay underlayment if needed. If your LVP does not have pre-attached underlayment, roll it out in rows perpendicular to the plank direction. Tape seams with the manufacturer's recommended tape. Do not overlap underlayment — butt the seams and tape them flat.
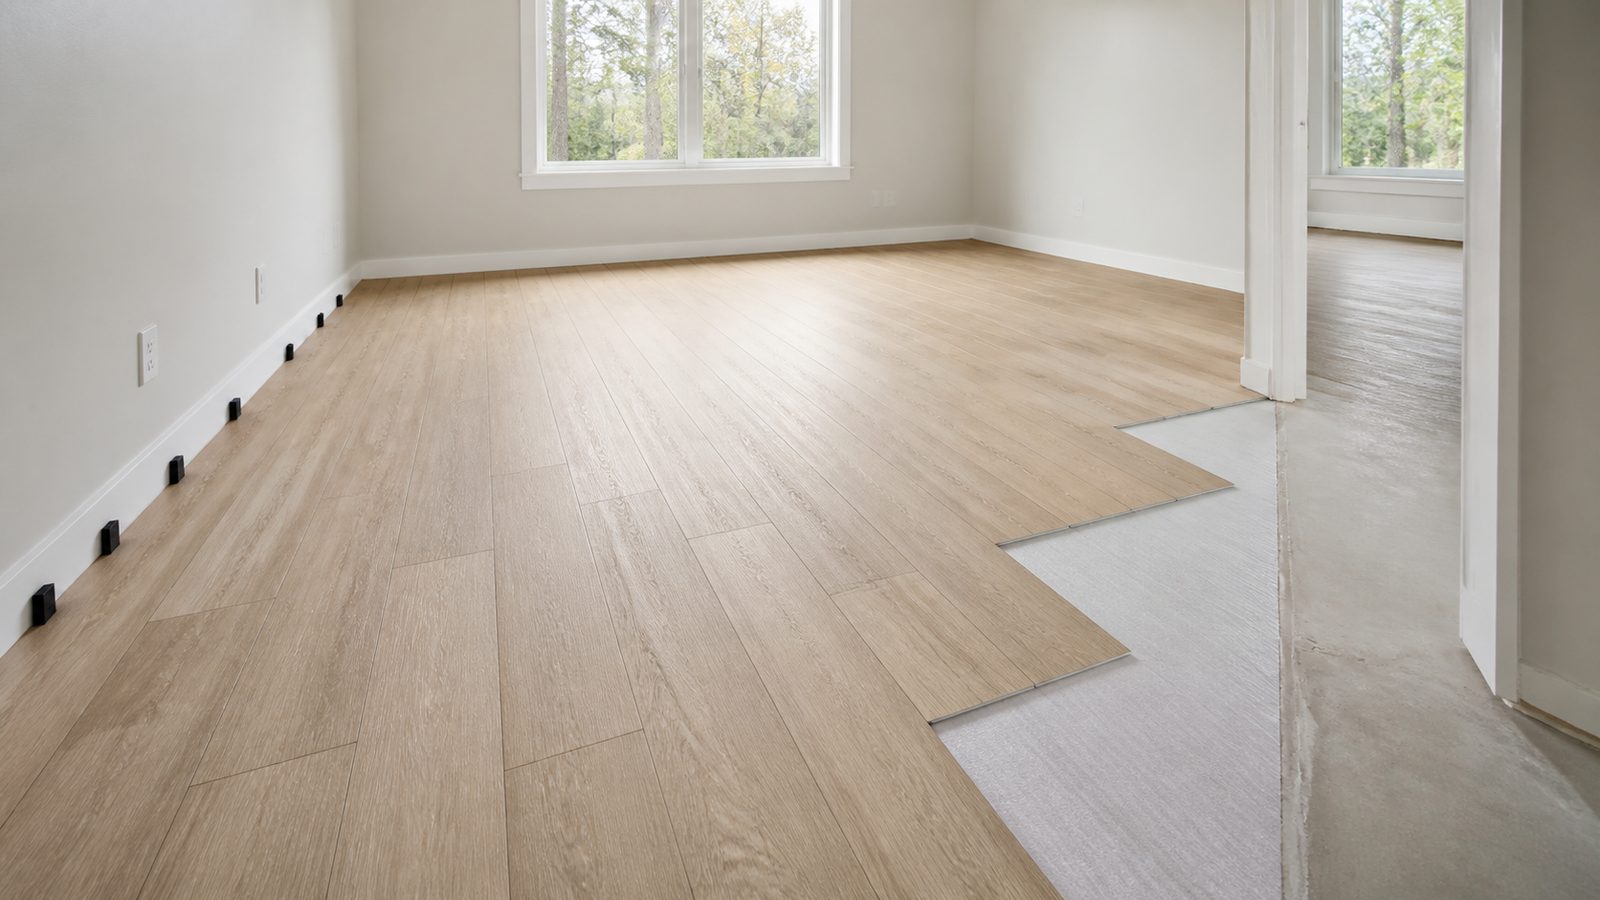
Step 7: Install the first row. Place spacers against the starting wall to maintain the 1/4-inch expansion gap. This gap is not optional. LVP floats, meaning the whole floor will shift slightly with temperature changes. No gap means the floor buckles when summer heat hits a Jacksonville home. Lay the first row with the tongue side facing out toward the room. Cut the last plank in the row to fit, and save the cutoff piece to start the next row if it is at least 6 inches long.
Step 8: Continue row by row, staggering the end joints. End joints in adjacent rows should be staggered by at least 6 inches, and ideally 12 inches or more. Random-length staggering looks most natural. Use the tapping block and mallet to close up the long seams. Use the pull bar to pull the short end joints tight on the last plank in each row.
Step 9: Cut around obstacles. For door casings, undercut the casing with a handsaw or oscillating tool so the LVP slides underneath. This looks much cleaner than cutting the LVP to wrap around the casing. Use a scrap piece of LVP plus the underlayment as a height guide when undercutting. For irregular shapes around hearths or curved walls, make a cardboard template first.
Step 10: Install the last row. Measure and rip the last row to width, remembering to subtract 1/4 inch for the expansion gap at that wall. The pull bar is your main tool here — you cannot fit a mallet swing against a wall.
Phase 4: Finish
Step 11: Install transitions. At doorways and floor height changes, install the appropriate transition strip. T-molding bridges two floors at the same height. Reducer transitions step down to a lower floor. End caps go against walls or in sliding door tracks. Measure twice — transition strips are the finishing detail that most DIYers rush.
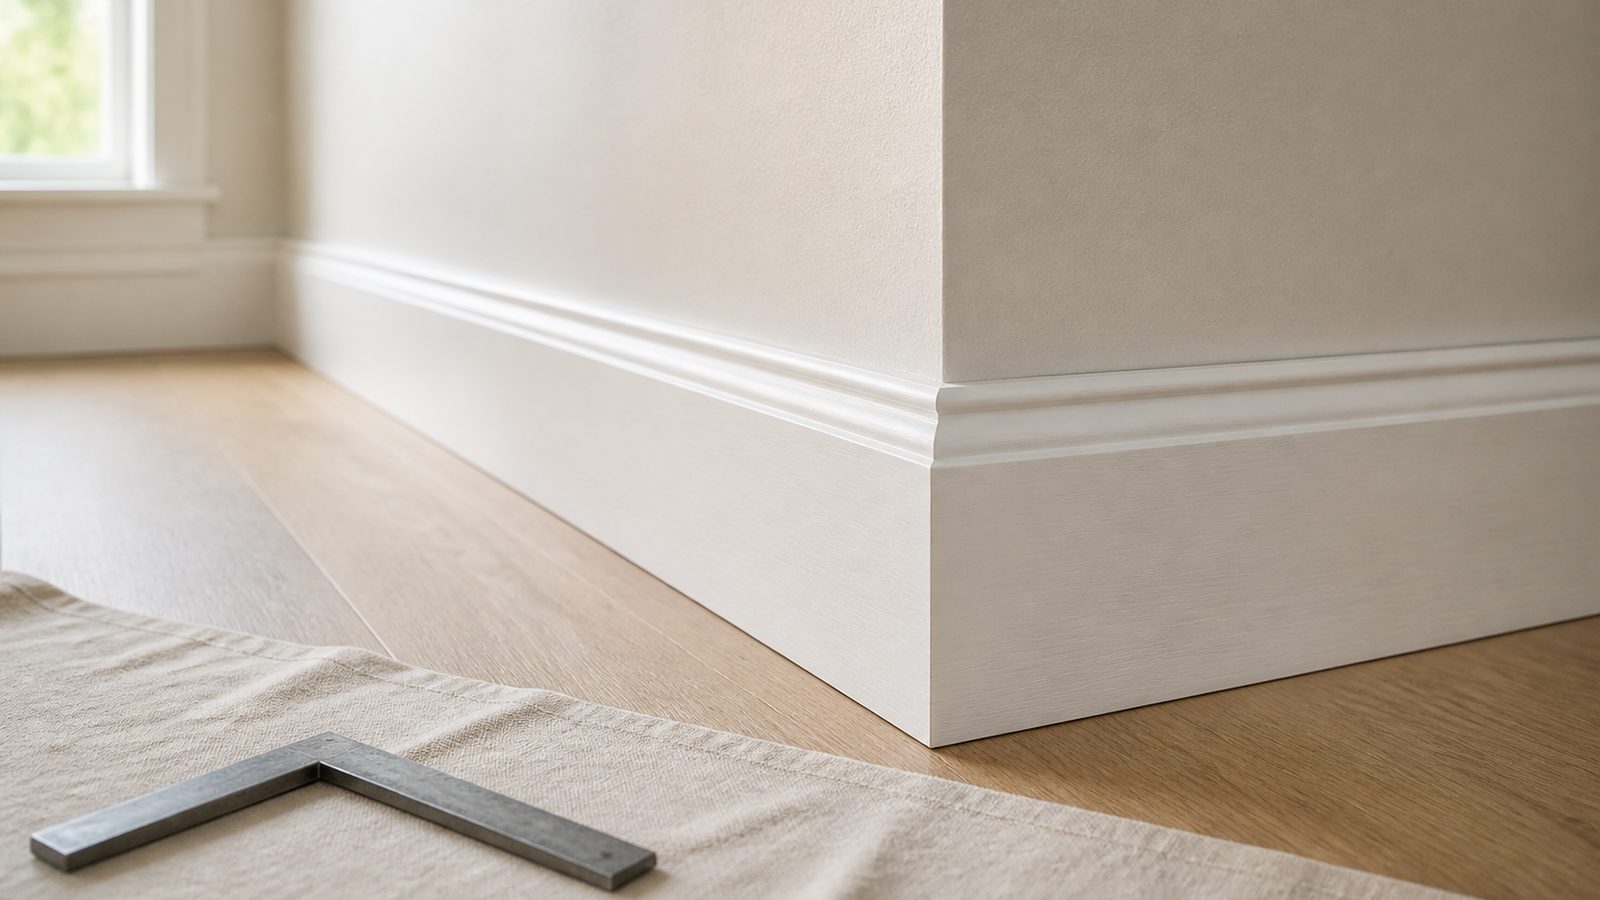
Step 12: Replace shoe molding and do final inspection. Reinstall the quarter-round or shoe molding over the expansion gap. Nail it to the baseboard, not into the floor — this is important. Nailing it into the LVP locks the floor and defeats the purpose of the expansion gap. Walk the entire floor, pressing down every plank and listening for hollow spots or clicking joints that did not seat fully.
Common mistakes to avoid
- Skipping the subfloor flatness check. LVP bridges small dips but will eventually crack the locking joint over a hump or hollow. Spend the time on prep. It is the most important part of the job.
- No expansion gap. In a Jacksonville summer, a floor installed wall-to-wall without gaps will buckle within months. Every wall, column, and fixed object needs that 1/4-inch gap.
- Short stagger on end joints. End joints less than 6 inches apart in adjacent rows create a weak point in the floor. The joints can flex and eventually separate.
- Nailing the shoe molding into the floor. The floor needs to float. Pin the molding to the baseboard only.
- Installing over a wet or recently poured slab. New concrete in Florida can take 60-90 days to dry sufficiently. Check moisture levels before buying materials, not after.
When to hire a pro instead
LVP is forgiving, but some situations are worth handing off to a contractor:
- The subfloor has soft spots, rot, or structural movement. Floating a new floor over a failing subfloor just delays the problem and adds material cost to the eventual repair.
- Moisture readings on the slab are consistently above 75 percent. At that point you are fighting Florida's climate, and even the best waterproof LVP may eventually show moisture-related swelling at the seams.
- The existing floor height transition creates a trip hazard for the threshold of a bathroom or exterior door. A contractor can address the framing or substrate rather than just adding a reducer strip.
- You are tiling over an elevated wood subfloor and there is any spring or flex in the floor when you walk it. Flexible subfloors crack tile and can crack the locking joint on LVP over time.
- You have a large open-concept main floor over 1,000 square feet and are working alone. Layout mistakes on a big floor compound quickly, and some LVP products have a one-time click joint — if you force a plank in wrong, it snaps.
Need a Jacksonville GC for this job? Get a 48-hour free fixed-price estimate from JK Prestige Constructor.
No call center. No coordinator. A JK principal reviews every inquiry and replies with a real number, not a range, not a follow-up form.
Request Free Estimate →