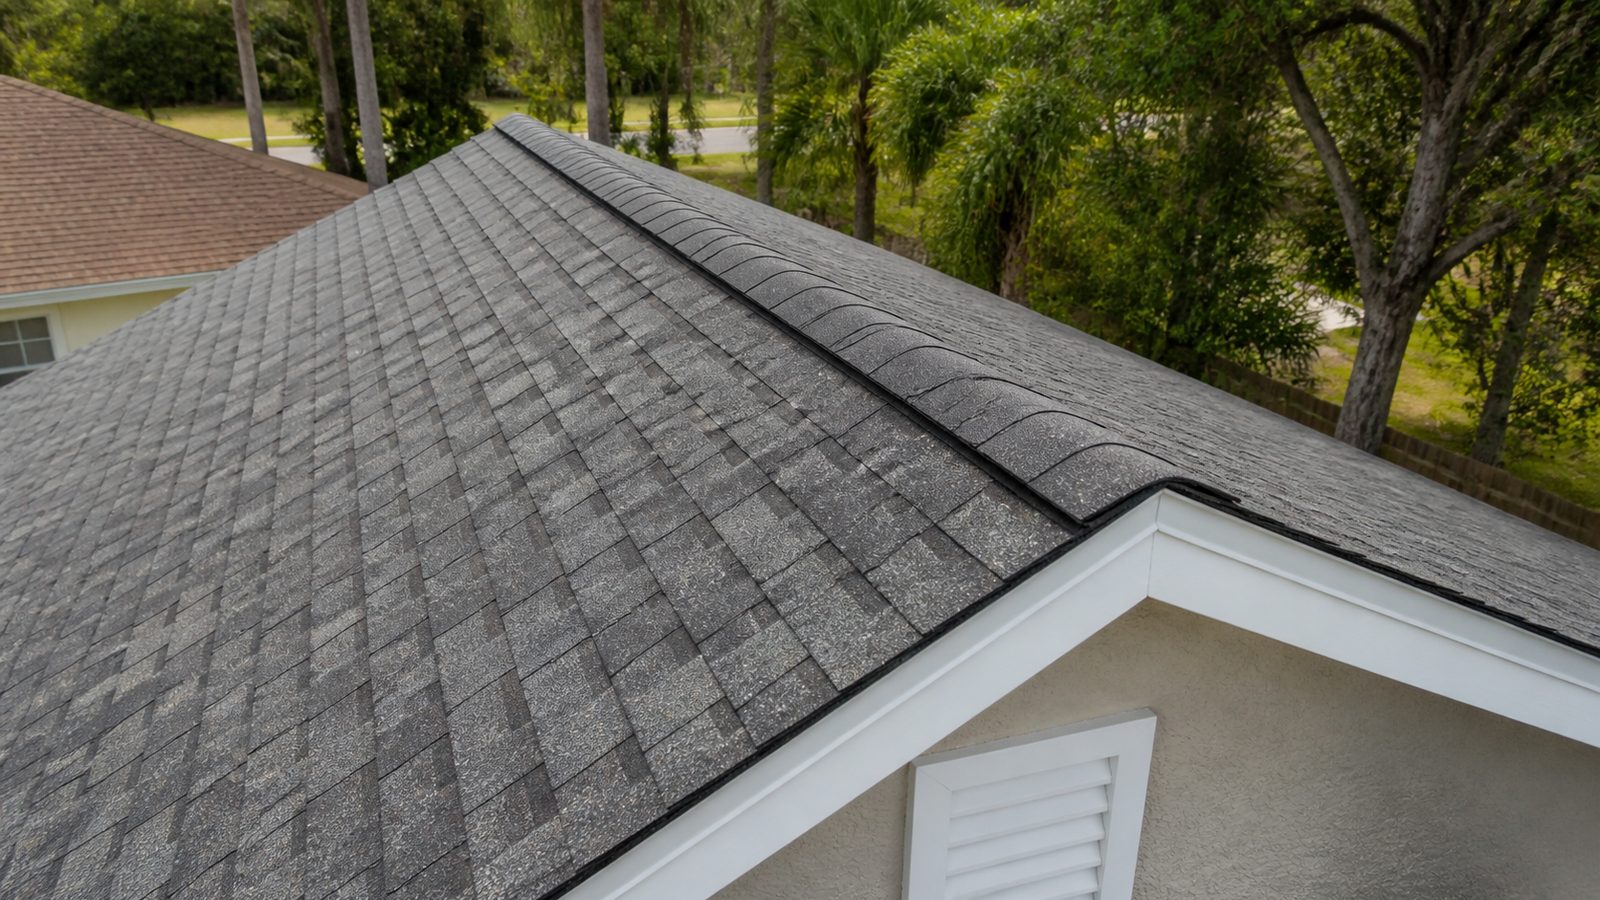
If your attic feels like an oven by June and your energy bills climb every summer, poor attic ventilation is often the culprit. A ridge vent, the long, low-profile vent that runs along the peak of your roof, lets hot, moist attic air escape continuously instead of baking under the shingles. In a Jacksonville summer, attics without adequate ventilation regularly get far hotter than the outdoor air, which stresses shingles, raises cooling costs, and can trap moisture that leads to mold or rotted decking. Installing a ridge vent is a common upgrade during a reroof, but it can also be added to an existing roof if the framing and decking allow it. This guide walks through what the job involves, when you need a permit, and whether it makes sense to do it yourself or call a contractor.
When You Need a Permit in Jacksonville
Cutting into an existing roof deck to add a ridge vent is roofing work, and in Duval County that generally requires a roofing permit through the City of Jacksonville Building Inspection Division, even when it's a homeowner doing the labor on their own house. The city allows owner-builder permits for work on your own residence, but you're still responsible for meeting code and passing inspection.
Two code points matter here. First, the Florida Building Code sets minimum attic ventilation ratios, typically 1 square foot of net free ventilation area for every 150 square feet of attic floor space, or 1:300 if the assembly meets specific conditions such as a vapor retarder or balanced intake and exhaust. Second, any vent installed in Northeast Florida needs to be rated for wind-driven rain intrusion, since ridge vents sit exposed to hurricane-force gusts and driving rain during storm season. Not every ridge vent product sold nationally carries this rating, so check for external baffles and a Florida product approval or Miami-Dade NOA number before you buy.
Skipping the permit is tempting on a small job, but an uninspected roof penetration can complicate insurance claims and home sales later. Pull the permit before you cut.
Tools and Materials
- Circular saw with a demolition or roofing blade
- Chalk line and tape measure
- Pry bar and roofing shovel (to remove ridge cap shingles)
- Ridge vent material rated for wind-driven rain, in the length needed for your ridge
- Ridge cap shingles matching your existing roof
- Roofing nails (galvanized or stainless, sized per the vent manufacturer's instructions)
- Roofing nail gun or hammer
- Caulk gun and roofing sealant
- Full-body safety harness, roof anchor, and rope
- Sturdy extension ladder secured at the top and bottom
Step-by-Step
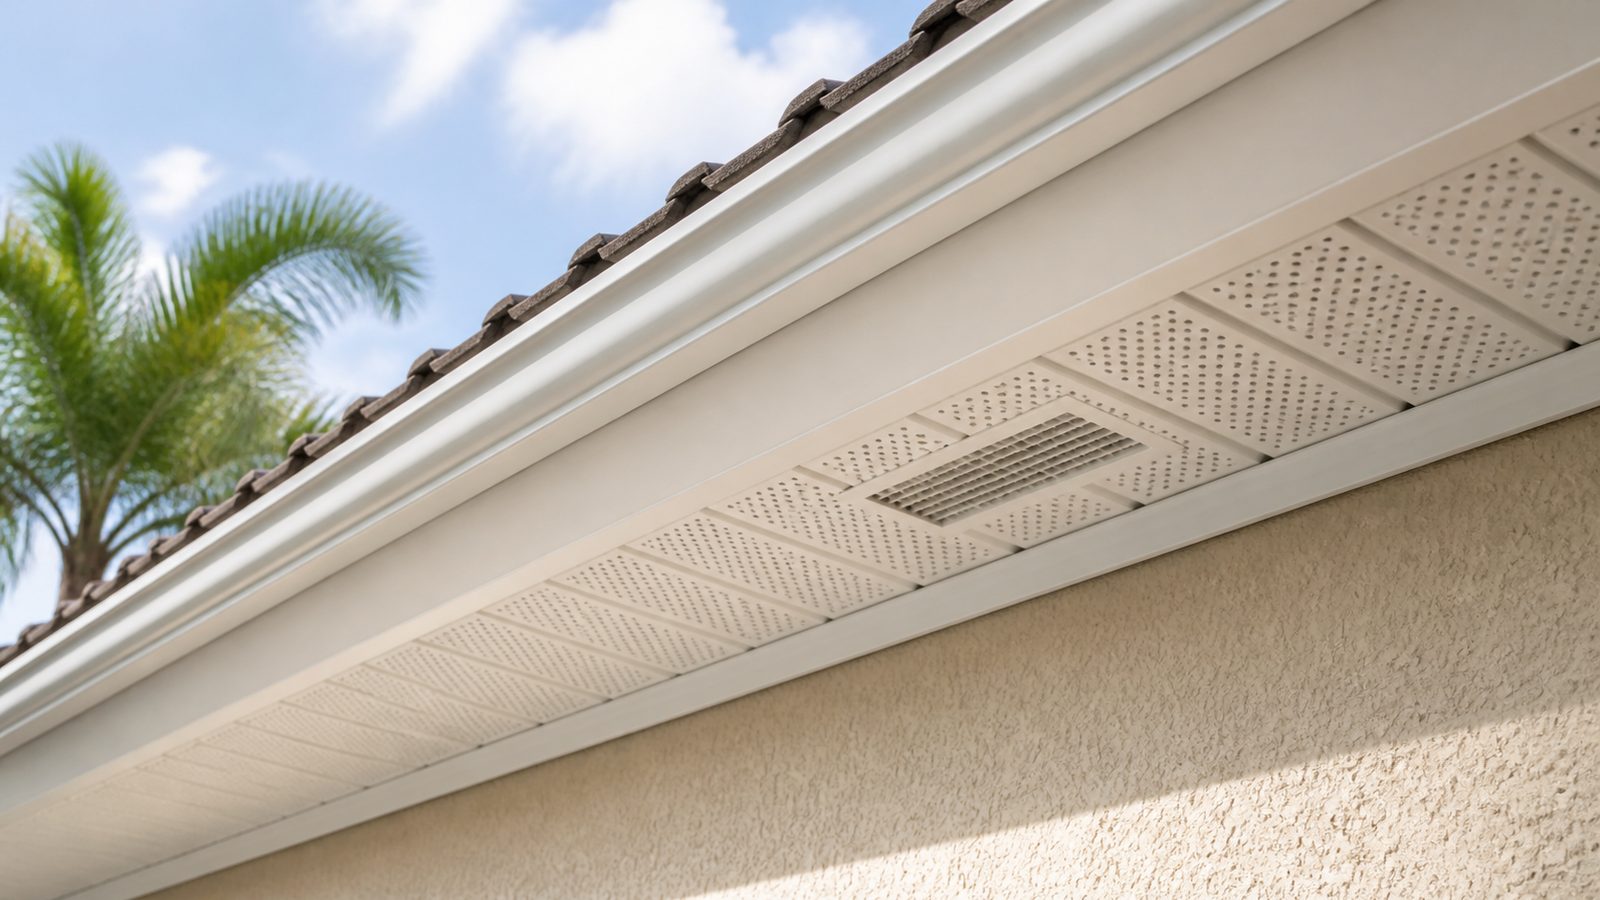
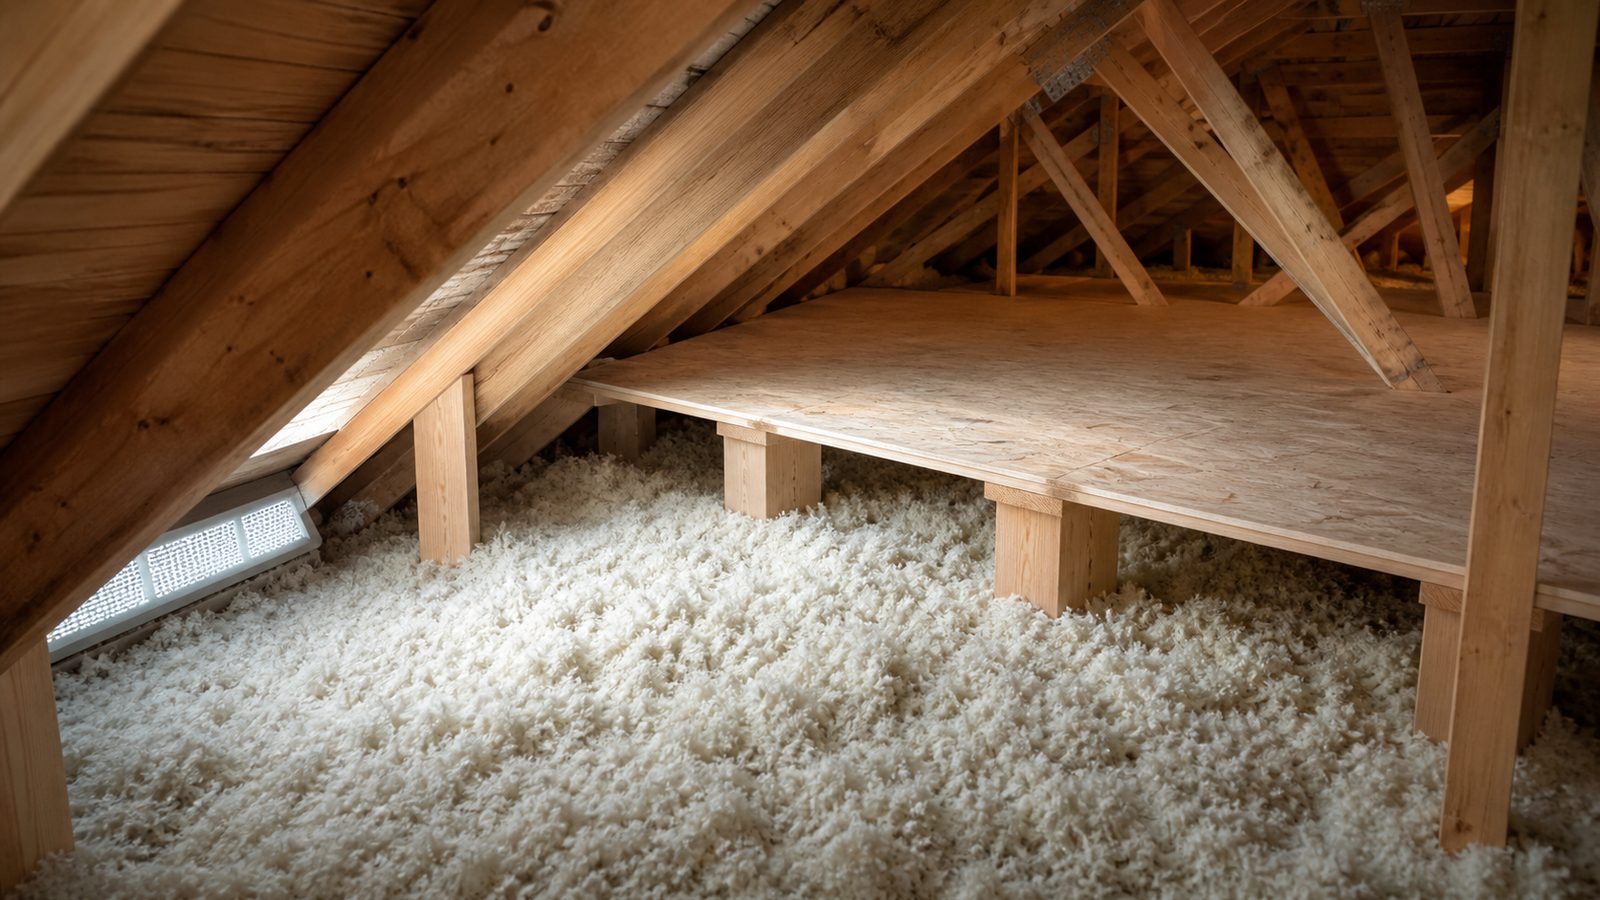
- Verify soffit intake first. A ridge vent only works if it's paired with matching intake ventilation at the soffits (the underside of the roof overhang). Before cutting anything, go into the attic on a sunny day and confirm you can see daylight through the soffit vents, and check that insulation isn't blocking the airflow path near the eaves. Installing a ridge vent without working soffit intake can backfire and pull conditioned air out of the living space instead of venting the attic.
- Mark the cut line. Snap a chalk line about 1 inch on either side of the ridge, leaving the last 12 inches uncut at each end of the roof (or per the vent manufacturer's spec). This keeps the ridge board intact for structural support and prevents water from entering at the gable ends.
- Remove the ridge cap shingles. Pry up the existing cap shingles along the ridge so you can access bare decking to cut.
- Cut the slot. Using the circular saw set to a shallow blade depth so you don't cut into the rafters or ridge board, cut along both chalk lines. Stop short of the gable ends as marked. Clear away the cut decking and check the opening for any protruding nails or debris.
- Install the ridge vent. Center the vent over the slot and fasten it with roofing nails through the nailing flange into solid decking, following the nail pattern in the manufacturer's instructions. Butt vent sections end to end and seal the seams per the product's directions.
- Cap it with ridge shingles. Nail new ridge cap shingles over the vent, working from one end of the ridge to the other, overlapping each shingle to shed water the way standard shingle courses do. Seal any exposed nail heads with roofing sealant.
- Inspect from inside the attic. Climb back into the attic and confirm you can see daylight (or feel airflow) along the new slot, and check that no water staining or gaps are visible around the cut.
Working at height with a circular saw on a sloped roof is genuinely dangerous, and this is not a beginner DIY project. If you're not experienced with roof work, harness use, and safe ladder setup, this is a job worth hiring out.
Jacksonville Climate Considerations
Jacksonville attics routinely climb well above 130 degrees on summer afternoons when ventilation is inadequate, and that heat radiates down into living spaces and shortens the life of shingles and roofing adhesives. Our humidity adds a second problem: warm, moist air trapped in an attic condenses on framing and the underside of the decking, which over time can lead to mold, mildew, and wood rot, especially in homes near the coast or the St. Johns River.
Because we're in a hurricane-prone region, use only ridge vent products with external baffles or storm-rated designs proven to resist wind-driven rain, not just standard shingle-over ridge vent. And remember that a ridge vent is only half the system. Balanced soffit intake at the eaves is what makes the whole thing work; a ridge vent with no intake can actually reduce airflow.
What It Costs in Jacksonville (DIY vs. Hiring a Pro)
| Approach | Typical Cost Range | Notes |
|---|---|---|
| DIY (materials only) | $150 to $400 | Ridge vent material, cap shingles, nails, sealant for an average single-story ridge run; tool rental adds more if you don't own a circular saw |
| Hiring a licensed roofer | $400 to $1,200+ | Includes labor, permit handling, disposal, and warranty; price varies with roof pitch, ridge length, and access |
| Full attic ventilation upgrade (ridge vent plus added soffit intake) | $800 to $2,500+ | If soffit vents need to be added or enlarged to balance the system |
Actual pricing depends on the length of your ridge, roof pitch, how many stories the ladder has to reach, and whether existing soffit vents need upgrading at the same time.
When to Call JK Prestige
If your attic runs hot, your energy bills seem high for the season, or you've noticed moisture or musty odors up there, we can inspect your current ventilation and tell you honestly whether a ridge vent, more soffit intake, or both will solve it. As a principal-led general contractor in Jacksonville, we pull the required permits, use wind-rated materials suited to our storm exposure, and stand behind the work with a warranty, something a weekend DIY attempt can't offer.
No call center. No coordinator. A JK principal reviews every inquiry and replies with a real number, not a range, not a follow-up form.
Request Free Estimate →