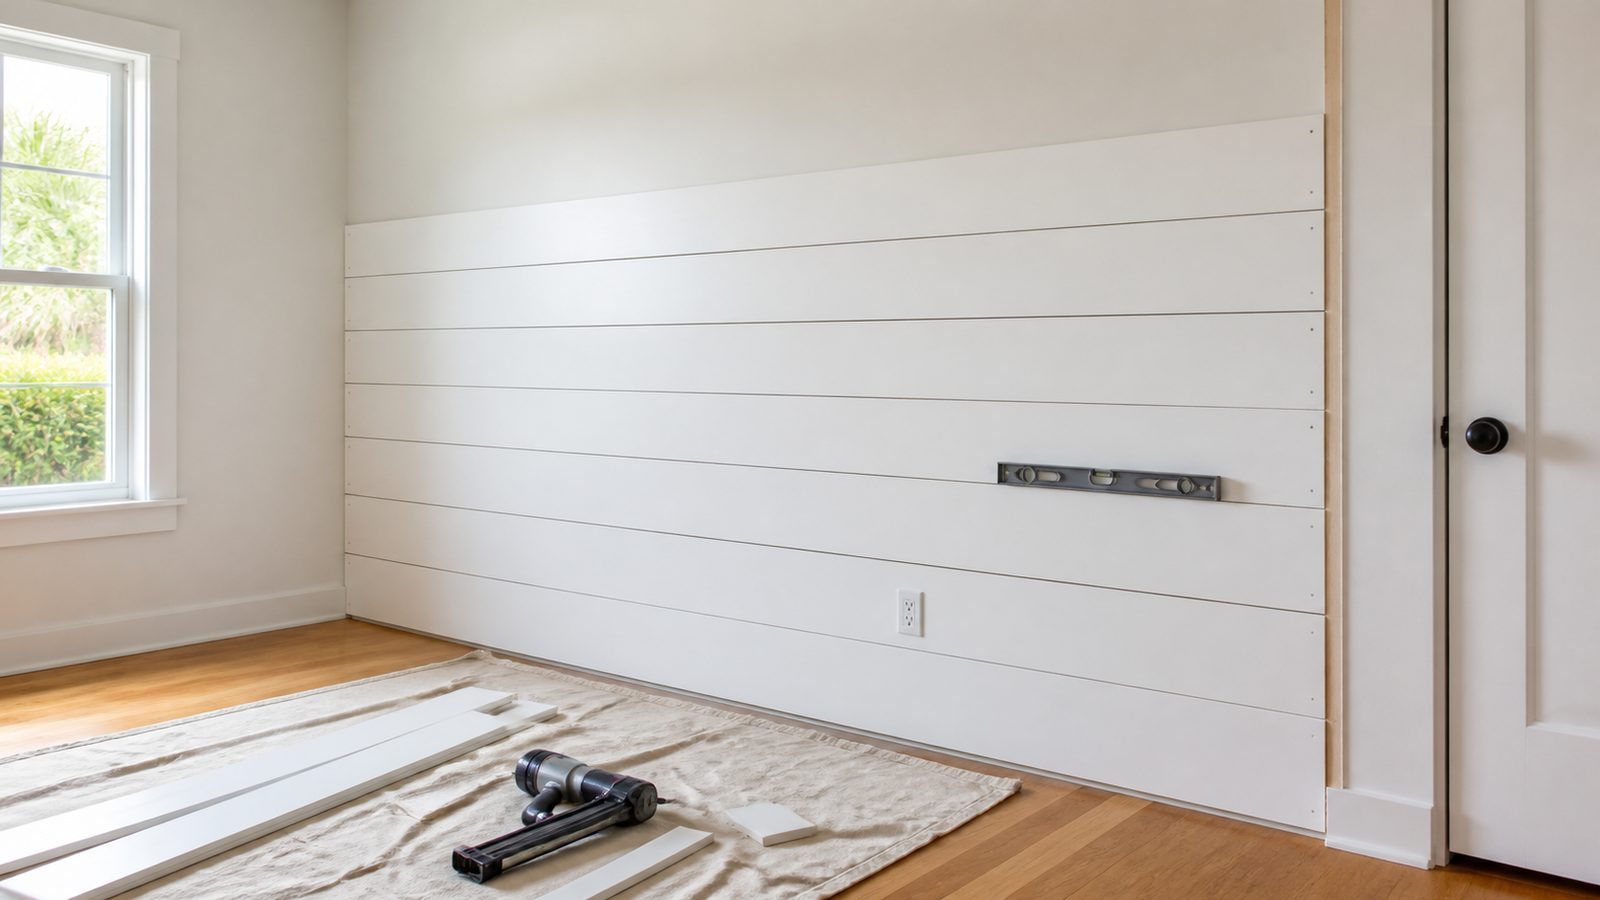
A shiplap accent wall is one of the most popular upgrades we get asked about in Jacksonville living rooms, primary bedrooms, and entryways. It is a weekend-friendly project for a handy homeowner, and it is also one we install professionally for clients who want a clean, tight finish without the trial and error. Doing it right in Northeast Florida means knowing what actually requires a permit here, and understanding how our humidity affects the wood before you pick up a nail gun.
When You Need a Permit in Jacksonville
Here is the short answer: installing shiplap boards over an existing interior wall is decorative finish work, and the City of Jacksonville does not require a building permit for that alone. Duval County operates under a consolidated city-county government, and interior cosmetic finishes like paneling, trim, and accent walls generally fall outside what the Building Inspection Division reviews, because you are not altering the structure and not touching electrical, plumbing, or mechanical systems.
Permitting gets triggered fast, though, the moment your project turns into something bigger. Relocating an outlet or light switch needs a licensed electrician and typically a permit. If you are opening drywall to add blocking or insulation as part of a larger scope, such as a room addition or wall reconfiguration, the whole project may need plan review under the Florida Building Code. Adding furring strips to an exterior wall that affect insulation or vapor management is also worth a conversation with your contractor before you start.
One more thing worth knowing: the Florida Building Code does address flame spread classification for interior wall and ceiling finishes, which mostly comes into play in commercial buildings, multifamily common areas, and assemblies like garages or areas near fireplaces. For a typical living room or bedroom, standard wood or MDF shiplap over existing drywall is not something inspectors will flag. If you are running shiplap into a garage, near a fireplace surround, or as part of a commercial buildout, confirm with the City of Jacksonville Building Inspection Division before you buy materials.
Tools and Materials
- Shiplap boards (real wood, engineered wood, or primed MDF, enough to cover the wall plus 10 percent for waste)
- Stud finder
- Laser level or 4 foot level
- Chalk line
- Miter saw or circular saw with a fine-tooth blade
- Finish nail gun (16 or 18 gauge) or hammer and finish nails
- 1.5 to 2 inch nails or brad nails
- Construction adhesive (paintable, low VOC)
- Caulk gun
- Wood filler and paintable caulk
- Sandpaper (150 to 220 grit)
- Primer and paint, or a pre-primed board
- Tape measure, pencil, spacers (nickels or 1/8 inch shims work well for gapping)
- Safety glasses and hearing protection
Step-by-Step
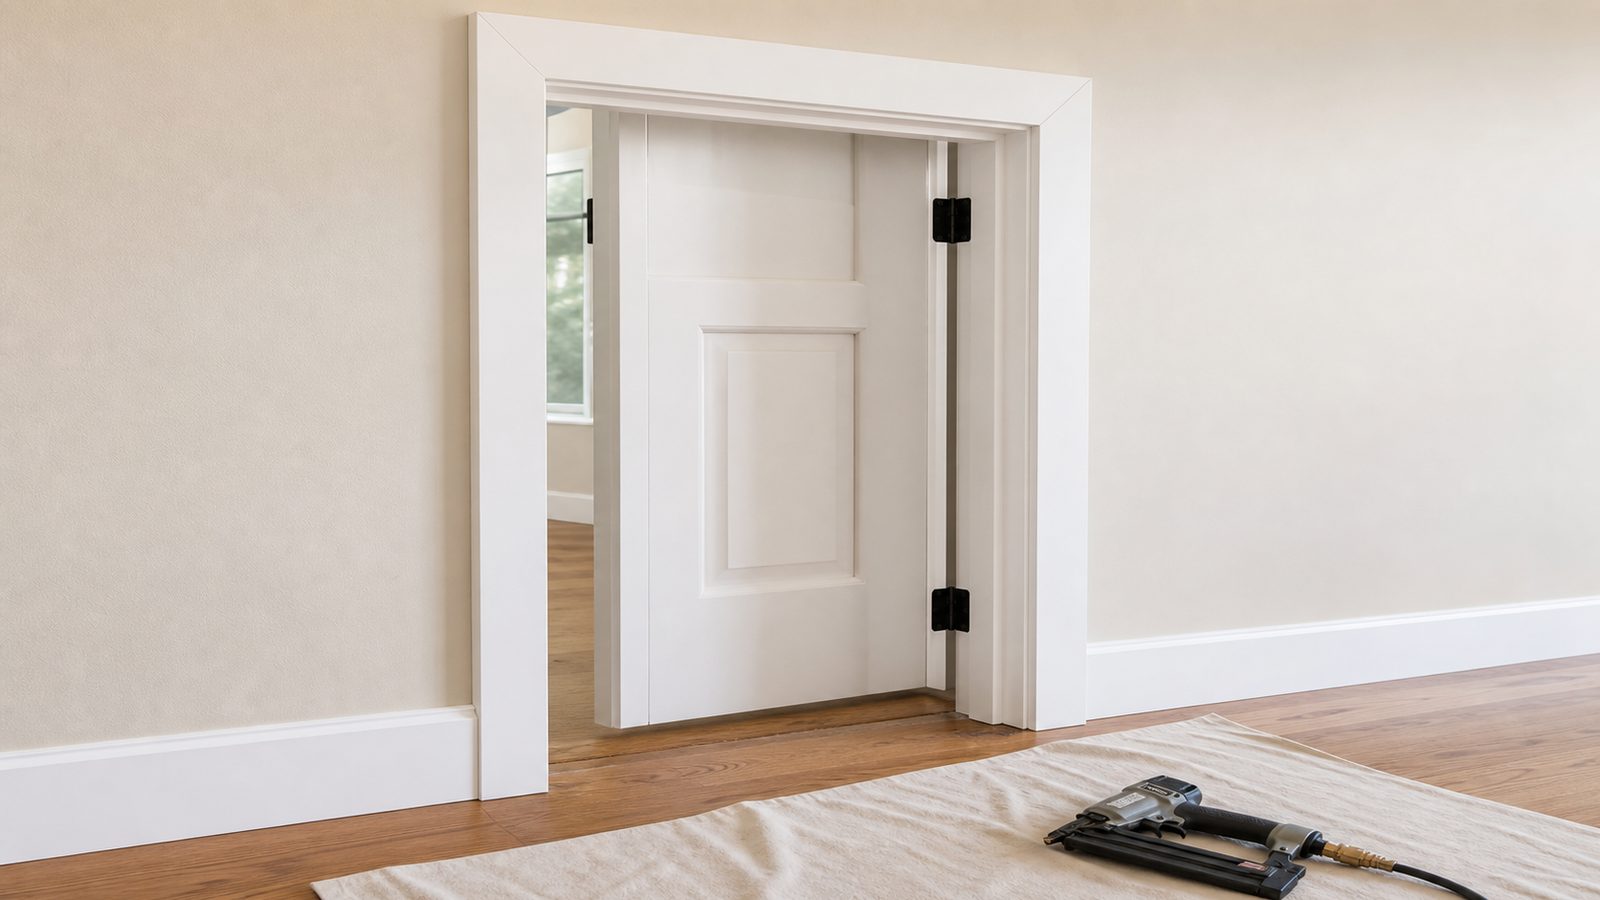
- Plan your layout. Measure the wall and pick a board width and orientation. Most Jacksonville accent walls use horizontal 5 or 6 inch boards, though vertical runs work well in taller rooms or stairwells.
- Find and mark your studs. Mark stud locations above and below where boards will land, using painter's tape as a reference you can still see once boards go up.
- Prep the wall. Remove outlet covers, switch plates, and baseboard as needed, and patch any holes or texture that would telegraph through thin material.
- Start at the bottom. Snap a level chalk line as your reference, since floors in older Jacksonville homes are rarely perfectly level. Your first board sets the tone for every row above it.
- Cut, dry-fit, and attach. Cut boards to length, leaving room for outlets and corners, then dry-fit each run before nailing. Run construction adhesive on the back of each board and nail into studs, using spacers between rows for consistent gapping.
- Work your way up. Continue row by row, checking level every two or three rows since small errors compound over a full wall. Notch boards around outlets and switches, and use outlet extenders if the new surface sits proud of the box.
- Fill, caulk, sand, and paint. Fill nail holes with wood filler, caulk the seams, sand once dry, then apply a coat of quality interior paint even over pre-primed boards.
- Reinstall trim and hardware. Put back outlet covers and switch plates, adding extension boxes if your shiplap added meaningful depth to the wall.
Jacksonville Climate Considerations
Our humidity is the biggest variable most online guides skip. Wood and MDF products absorb and release moisture as humidity swings through a typical Jacksonville year, so boards installed too tight can gap once the air dries out in winter, while boards installed too loose can buckle in humid summer months. Bring material inside and let it acclimate in the room for at least 48 to 72 hours before cutting, with the HVAC running normally during that window.
If you are near the coast in Atlantic Beach, Neptune Beach, Jacksonville Beach, or Ponte Vedra, salt air adds another layer of moisture exposure, so a board fully primed and sealed on all sides, including the back, holds up better than one painted only on the face.
What It Costs in Jacksonville (DIY vs. Hiring a Pro)
| Approach | Typical Range | What Drives the Price |
|---|---|---|
| DIY, MDF shiplap, one wall (12x9 average) | $200 to $600 | Board grade, paint, tool rental |
| DIY, real wood shiplap, one wall | $500 to $1,200 | Wood species, finish, waste factor |
| Professional install, standard wall | $900 to $2,000 | Labor, material grade, prep needed |
| Professional install with electrical relocation | $1,500 to $3,500+ | Adds licensed electrician and possible permit |
These are estimate ranges based on typical Northeast Florida material and labor costs. Get a firm quote before committing, especially if your wall involves outlets, fireplaces, or unusual ceiling heights.
When to Call JK Prestige
If your accent wall touches electrical, structural framing, or is part of a bigger renovation, it is worth having a licensed general contractor involved so the scope gets classified correctly from the start. We also help homeowners who started a DIY shiplap project and hit a snag, whether that is an out-of-level floor or an unexpected wall condition. Reach out to JK Prestige Constructor Corp for a straightforward assessment before or during your project.
No call center. No coordinator. A JK principal reviews every inquiry and replies with a real number, not a range, not a follow-up form.
Request Free Estimate →