This guide is for the handy homeowner who wants to replace a swinging door with a sliding barn door -- or add one to a wide opening where a standard door won't work. Difficulty: moderate. Plan on a full weekend: Saturday for framing and prep, Sunday for hardware and door. Total material cost runs $350 to $900 depending on door style and hardware kit quality.
If your walls are already open or you are comfortable cutting into drywall to add blocking, this is a DIY-friendly project. If you have no idea what is behind your wall, slow down and read the section on header support before you buy anything.
Tools you need
- Stud finder (magnetic and electronic)
- Drill and impact driver
- Level (48-inch minimum)
- Tape measure
- Pencil
- Circular saw or miter saw
- Drywall saw or oscillating tool
- Ladder
- Safety glasses
Materials you need
- Sliding barn door (solid wood or MDF panel) -- $150 to $500
- Barn door hardware kit (track, hangers, floor guide, lag screws) -- $80 to $200
- 2x8 or 2x10 header board (Douglas fir or LVL) -- $20 to $50
- 3/4-inch plywood or OSB for backer panel (optional cosmetic approach) -- $30 to $60
- Drywall screws, construction adhesive -- $15
- Paint or stain to match door -- $20 to $40
- Caulk and touch-up materials -- $10
Step-by-step instructions
Phase 1: Assess your wall and plan the opening
Step 1: Map out your wall framing.
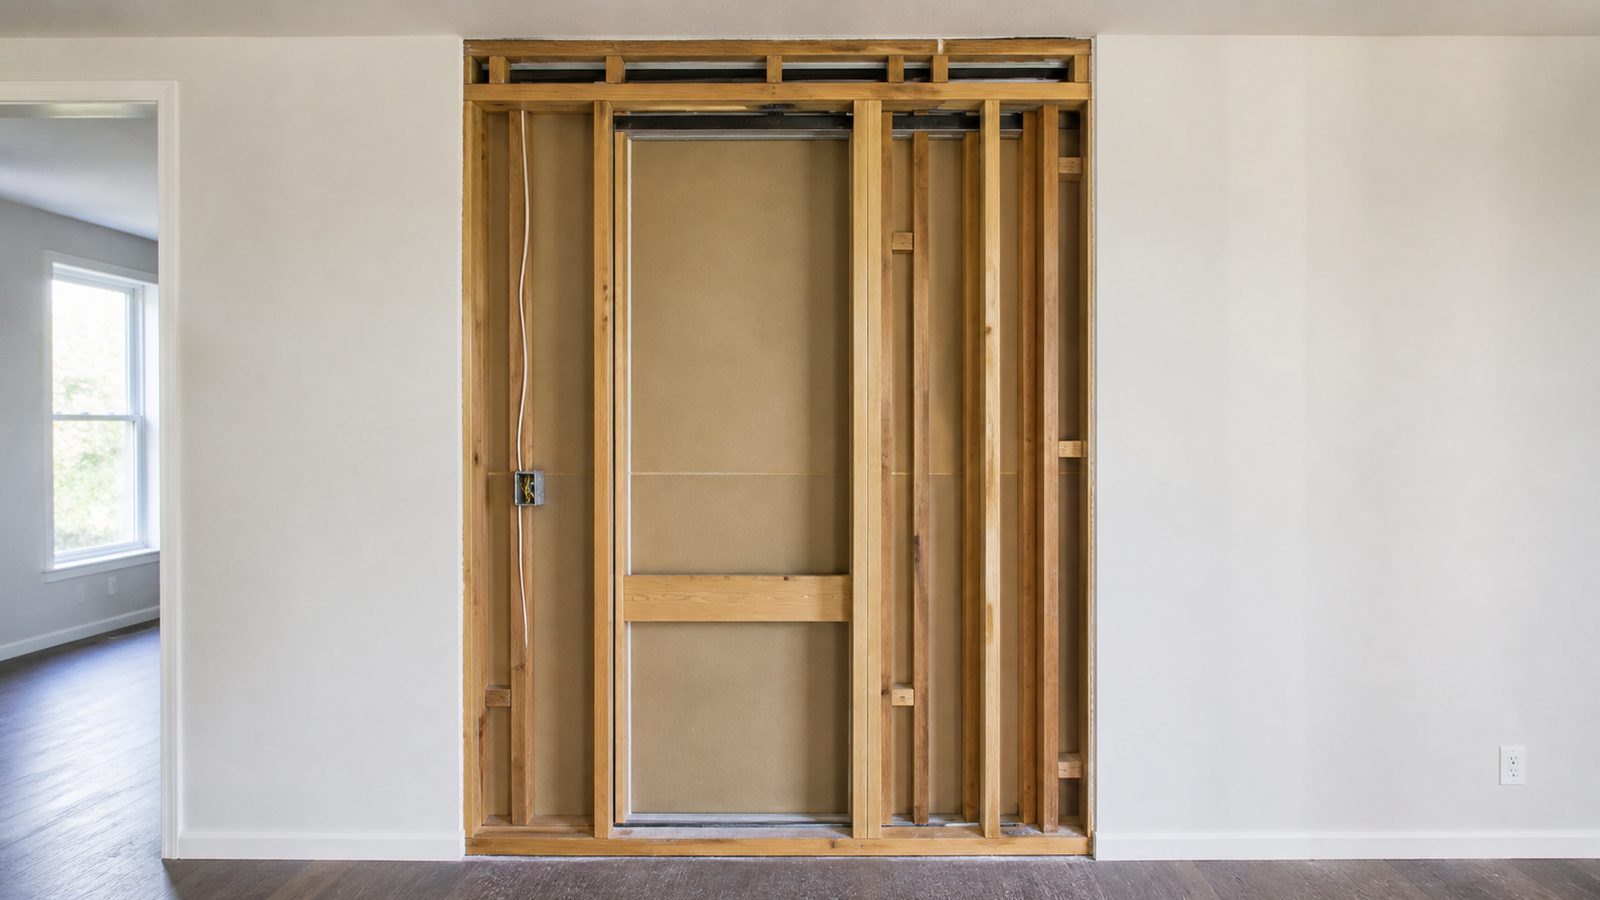
Use a stud finder to locate every stud in the wall above the opening. The track mounts to a continuous header board, and that header board must be lagged into at least two studs -- ideally four. If studs are 16 inches on center and your opening is 36 inches, you have room. If studs are 24 inches on center or your opening is unusually wide, you may need to open the wall and sistering in extra framing.
Mark every stud with a pencil. Double-check with a finish nail poked through the drywall at the stud location to confirm.
Step 2: Check for obstructions in the track path.
The track runs horizontally above the door opening and extends at least one full door width to one side (so the door can fully clear the opening). That zone must be free of light switches, outlets, wall sconces, and HVAC registers. In Jacksonville homes built before 1990, you may find surface-mounted conduit or old knob-and-tube in this zone. Stop and hire an electrician if you find live wiring in your path.
Step 3: Measure twice.
The door height plus the hardware height plus a small gap at the floor must match your ceiling height. Standard barn door hardware assumes 8-foot ceilings. If your ceiling is 9 or 10 feet, you will need extended hangers or a custom track position. Measure from finished floor to ceiling, subtract 1/2 inch for the floor gap, and that gives you your maximum door height.
Phase 2: Install the header board
Step 4: Cut and position the header board.
Cut a 2x8 or 2x10 to the full width of your track, which is typically the door width plus 6 inches on each end. The board sits flat against the wall above the opening, centered vertically so the track hardware can mount cleanly.
Hold it in position with a helper. Mark the stud locations on the board face.
Step 5: Lag the header board into the studs.
Pre-drill through the header board at each stud location with a 3/8-inch bit. Drive 3/8-inch x 3-1/2-inch lag screws through the board and into the studs. You need at least two lags per stud, spaced a few inches apart vertically to resist racking. Tighten until the board is snug and does not rock.
If your studs are not where you need them, you have two options: open the drywall and add blocking between existing studs, or install a full plywood backer panel across the entire wall surface above the door. The backer panel approach looks intentional and works well in farmhouse-style spaces.
Phase 3: Mount the track
Step 6: Attach the track to the header board.
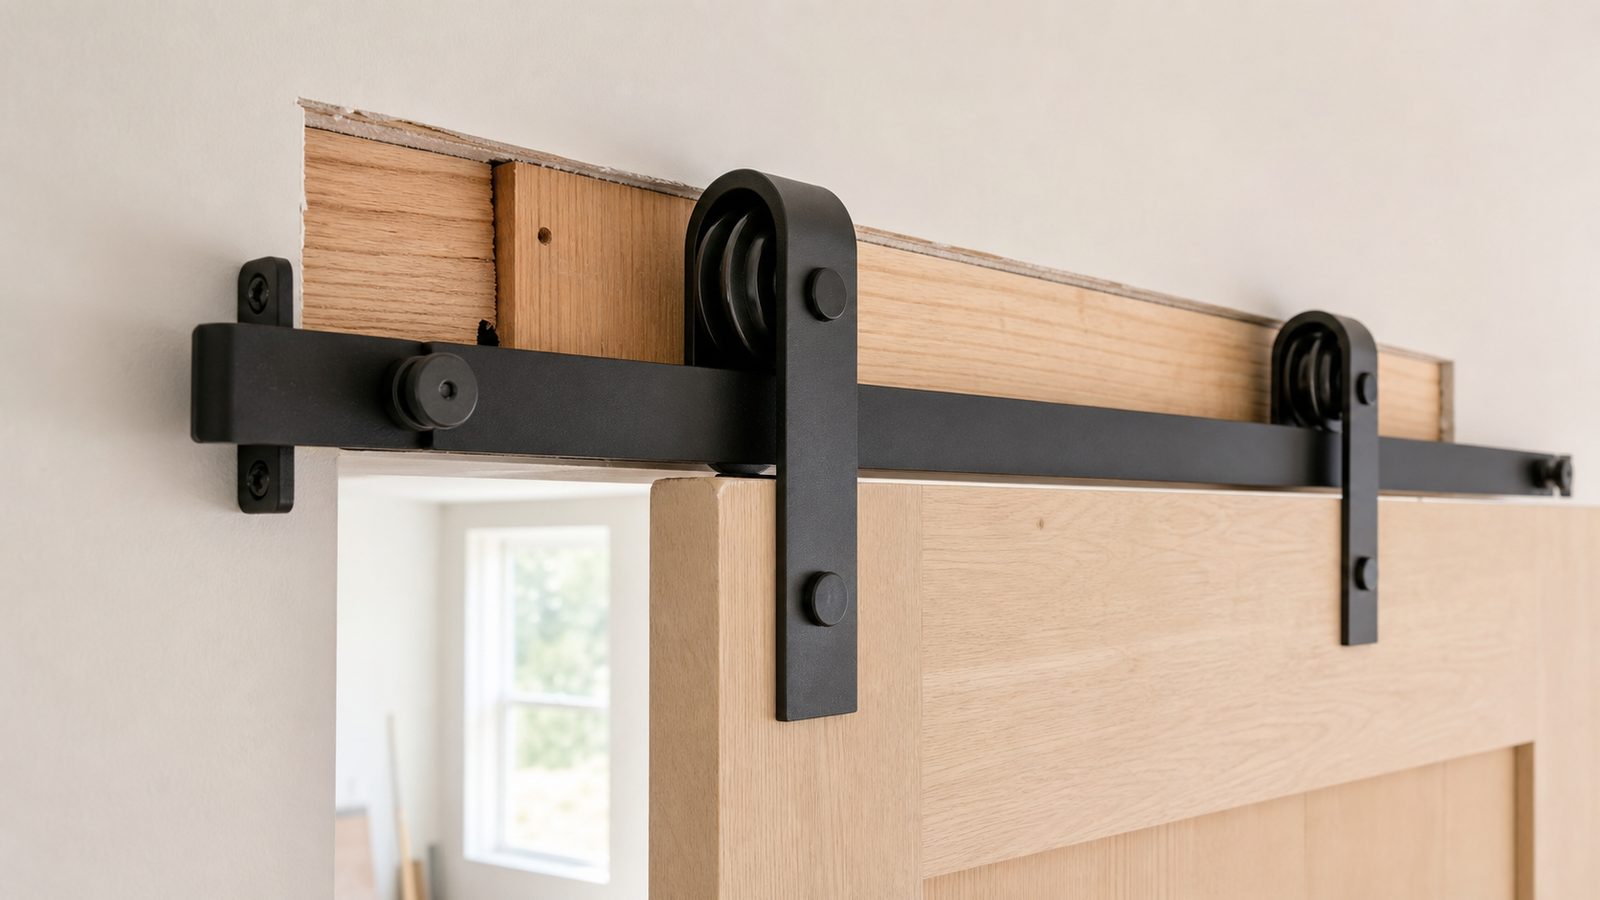
Follow your hardware kit instructions. Most kits provide a spacer bracket system that holds the track away from the wall so the door can hang without rubbing. Set the spacers at the recommended distance and snug them down. Do not fully tighten yet.
Use a level to confirm the track is perfectly horizontal. Even a 1/8-inch slope across 6 feet will make the door drift open or closed on its own. This is the most important alignment step in the whole project.
Once level, fully tighten all fasteners.
Step 7: Hang the door on the track.
Attach the hanger hardware to the top of the door according to kit instructions. Most kits use a bolt that passes through the door top and threads into a hanger wheel assembly. Lift the door and drop the hanger wheels onto the track.
Have a helper hold the door. Confirm it slides smoothly the full travel distance. If it binds, check that the track is parallel to the wall face.
Phase 4: Install guides and stops
Step 8: Install the floor guide.
The floor guide keeps the bottom of the door from swinging out from the wall. Most kits include a small bracket that mounts to the floor and captures a small pin or strip on the door bottom. Position it so the door face sits 1/2 inch off the wall when closed. Drill and anchor it.
Step 9: Install end stops.
Thread the end stops onto the track ends before the door was hung, or install them now per your kit design. They prevent the door from rolling off the track. Test the full open and closed travel against both stops.
Step 10: Adjust the gap at the floor.
Most hardware kits allow you to raise or lower the door by adjusting the hanger bolt. Target a 1/2-inch gap at the floor for clearance over carpet or rugs. On hard flooring, 3/8 inch is fine.
Phase 5: Finish and trim work
Step 11: Paint or stain the door and header board.
If you exposed the header board, paint it to match the wall or stain it to match the door. Caulk any gaps between the header board and drywall. Touch up drywall patches.
Step 12: Install the door pull.
Most barn doors need a flush-mounted pull on each face. Drill at a comfortable height (typically 36 to 40 inches from floor), and install per hardware directions.
Common mistakes to avoid
- Skipping header support. Track screws directly into drywall anchors will pull out. The header board is not optional.
- Buying the door before measuring ceiling height. If your door is too tall for the hardware position, you have an expensive problem.
- Forgetting the track overhang zone. The track needs clear wall space equal to one full door width. Plan that clearance before you commit to the location.
- Mounting the track out of level. A door that drifts will wear out its floor guide and annoy everyone in the house.
- Not accounting for door thickness and wall switches. A 1-3/4-inch door hanging 1/2 inch off the wall may block a nearby light switch. Check before you install.
When to hire a pro instead
Some barn door projects are straightforward. Others are not. Call a licensed GC if:
- You open the wall and find no clear stud path for a header board.
- There is electrical wiring running through the track zone.
- The opening is load-bearing and the header framing is undersized or missing.
- You are converting an arched or irregular opening.
- The door is oversized (over 42 inches wide or 96 inches tall) and requires engineered hardware or custom track.
- Your home was built before 1978 and you need to disturb drywall (lead paint testing required).
Need a Jacksonville GC for this job? Get a 48-hour free fixed-price estimate from JK Prestige Constructor.
No call center. No coordinator. A JK principal reviews every inquiry and replies with a real number, not a range, not a follow-up form.
Request Free Estimate →