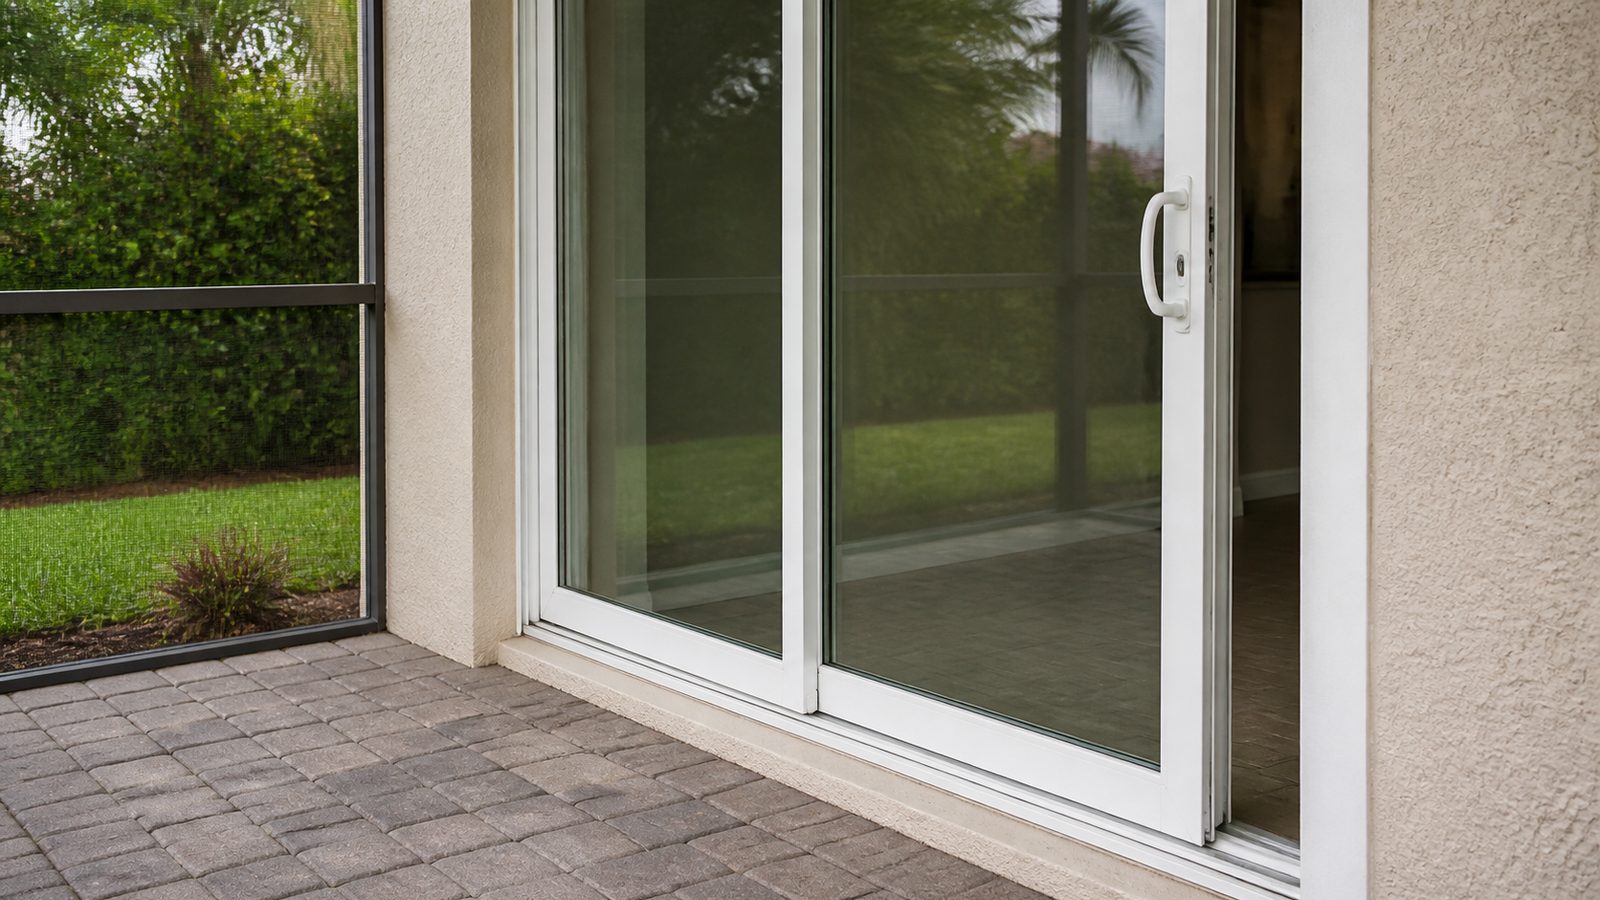
This guide is for Jacksonville homeowners installing a sliding glass patio door -- either replacing an existing unit or installing in a previously framed rough opening. This is an intermediate-to-advanced job. Sliding glass doors are heavy, typically 150 to 300 pounds for the full unit, and the weatherproofing details are more demanding than a standard exterior door. Difficulty: intermediate to advanced. Time estimate: 6 to 10 hours for a two-panel unit, not counting any framing or rot repairs. Total cost range: $800 to $4,500 depending on door size, glass type, hardware, and whether you hire labor.
In Jacksonville, sliding glass patio doors need to meet Florida Building Code requirements for your wind zone. Duval County is in a 120 mph wind zone. Homes east of the Intracoastal in coastal areas may be in a High-Velocity Hurricane Zone with stricter product and glazing requirements. A sliding glass door that does not carry the correct Florida Product Approval for your location is a code violation, a homeowner's insurance issue, and a liability in a storm event.
Tools You Need
- Pry bar set (24-inch and 12-inch flat bars)
- Hammer and nail set
- Oscillating multi-tool
- Reciprocating saw
- 4-foot level
- 6-foot level (preferred for large openings)
- Tape measure
- Drill and driver bits
- Caulking gun
- Utility knife
- Safety glasses and work gloves
- Suction cup handles or panel movers (for lifting glass panels)
- Step ladder
- Circular saw
- Assistant -- this job requires at least two people
Materials You Need
- Sliding glass door unit with frame, panels, and hardware -- $600 to $3,500 depending on size, glass specification, and finish. Confirm the Florida Product Approval (FPA) before ordering.
- Sill pan flashing or self-forming sill pan -- $30 to $60
- Flashing tape (DOW Flexwrap NF or 3M 8067) -- $30 per roll, plan for two to three rolls
- Aluminum drip cap for head -- $15 to $25
- Low-expansion window-and-door spray foam -- $8 per can, plan for three
- Siliconized caulk, paintable exterior grade -- $10 per tube, plan for two
- Composite shims -- one pack
- 3-inch exterior-grade screws
- Exterior trim/casing if replacing -- $40 to $100
- Paint or stain for exposed wood surfaces -- $25
Glass specification matters in Jacksonville. Standard annealed glass is not appropriate for a hurricane-zone installation. You need at least tempered glass, and in many Jacksonville locations, laminated impact-resistant glass or tempered glass with an approved storm shutter system. If your home is in an HVHZ, you need impact-rated glass with the correct FPA designation. Verify with your building department before ordering.
Step-by-Step Instructions
Phase 1 -- Remove the existing door unit
- Remove the sliding panel first. Most sliding glass door panels lift straight up and tilt out of the track at the bottom. Lift the panel as high as it will go, angle the bottom toward you, and lower it out of the opening. Glass panels are heavy and fragile -- have a second person positioned before you start.
- Remove the stationary panel. The fixed panel is typically held by screws through the frame or by a plastic clip system. Remove the interior stop trim that holds it. Slide or tip the panel out.
- Remove the interior trim. Score the paint and caulk lines. Pry the casing off the interior side.
- Remove the exterior trim and caulk. Go to the exterior. Score through the caulk line at the exterior frame edge. Pry off any brick mold or exterior casing.
- Remove the door frame. Cut any fasteners through the frame with a reciprocating saw. Work the frame out of the rough opening. This frame is heavy -- the sill section of a sliding door frame is thick aluminum and has significant weight. Work systematically and have help.
- Inspect the rough opening in detail. The sill of a sliding glass door opening is the highest-risk water entry point in the entire house in a heavy rain event. Check the full sill for rot and water damage. Check the bottom corners of the opening and the lower sections of the jack studs. If the previous door leaked -- and many older Jacksonville sliding doors did -- you will find damage here. Do not install over rot.
Phase 2 -- Structural check and rough opening preparation
- Verify the header. Sliding glass doors span a wide opening. The header above the rough opening must be sized to carry the load above it without deflecting. In most standard residential construction, a doubled 2x10 or LVL beam handles common sliding door widths (6 to 8 feet). If you see the header sagging or the drywall cracking above the opening, have the structure evaluated before proceeding.
- Repair any rot or damaged framing. Replace compromised sill plate sections, jack studs, or sheathing. Treat exposed framing lumber with a borate preservative before you flash.
- Confirm the rough opening dimensions. The rough opening should be approximately 1 inch wider than the door unit width and about 1/2 inch taller, to allow for shimming and level adjustment. Consult the door manufacturer's rough opening specifications -- sliding door manufacturers are specific about this.
- Check the sill for level. A sliding glass door sill must be level or the operating panel will roll on its own when released. Use your 4-foot or 6-foot level across the full width of the sill. If the sill is out of level, use shims to bring it into level before setting the frame.
Phase 3 -- Flash the rough opening
- Install the sill pan flashing. A proper sill pan slopes toward the exterior so that any water that infiltrates drains out rather than into the wall. Use a self-forming sill pan product or fabricate one from sheet metal. Tape all seams with flashing tape.
- Flash the rough opening in the correct sequence. Sill first (across the sill pan, running up the sides a minimum of 6 inches), then the two side jambs (overlapping the sill tape), then the head (overlapping the side tapes). This is the water-shedding sequence. Use DOW Flexwrap at the corners where the tape needs to fold around the rough opening edge. Lap tape onto the framing face a minimum of 2 inches.
- Apply a sealant bead to the sill. Before setting the door frame, run a bead of siliconized caulk along the sill pan where the door frame sill will sit. This is the secondary water seal behind the pan.
Phase 4 -- Set the door frame
- Set the door frame in the rough opening. Sliding glass door frames are typically set as a complete unit -- sill, two side jambs, and a head jamb. The frame is heavy. Position it from the exterior side. Set the sill onto the caulk bed you just applied.
- Level the sill. With the frame in place, confirm the sill is level across its full width. This is the most important single adjustment in the installation. An unlevel sill means the sliding panel will roll. Shim under the sill frame as needed. A composite shim at each end and at the center.
- Plumb the side jambs. After leveling the sill, check both side jambs for plumb. They should be plumb without shimming if the sill is level and the rough opening is reasonably square. If they are not plumb, shim the frame at the head to bring them in.
- Fasten the frame. Drive screws through the frame's pre-drilled holes into the rough framing. Most sliding door frames have fastening flanges at the sides and head. Follow the manufacturer's fastening schedule -- these are the fasteners that hold the unit in place under wind load.
Phase 5 -- Install the glass panels
- Install the stationary panel first. The fixed panel typically sits in the exterior track. Lift it into the top channel, then swing the bottom into the lower track. Install the interior stop trim that locks it in place. Run a bead of caulk on the interior side between the panel frame and the door frame.
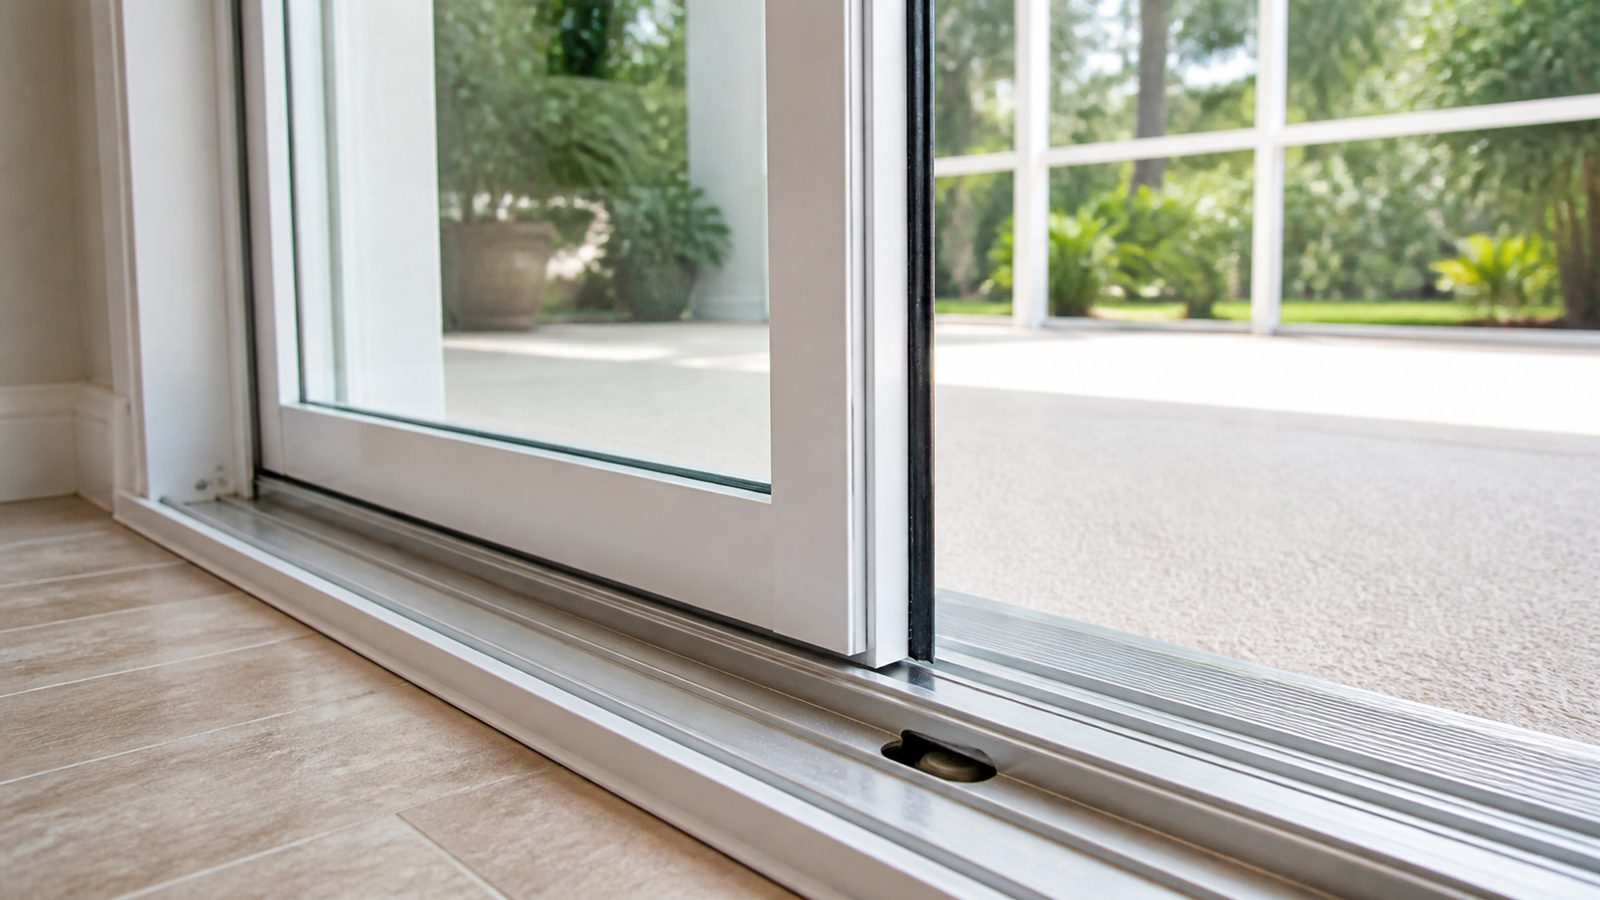
- Install the operating panel. Lift the sliding panel, insert the top rollers into the upper track, then set the bottom rollers into the lower track. Test the slide action. The panel should roll smoothly with light effort. If it binds or drags, the sill is not level or the rollers need adjustment.
- Adjust the roller height. Most sliding door panels have roller height adjustment screws accessible from the interior side of the panel at the bottom corners. Raise or lower the rollers to achieve smooth operation and to set the correct panel-to-frame gap (typically 1/8 inch at the sides and head).
Phase 6 -- Weatherproof and finish
- Flash the exterior side. Run flashing tape from the rough opening framing face, overlapping the exterior edge of the door frame flanges, on the sides and head. Install the head drip cap behind the sheathing above the door, lapping over the head jamb flange.
- Install exterior trim or brick mold. Nail or fasten the casing over the flashing system. The trim face sits against the flashing tape.
- Caulk the exterior perimeter. Apply siliconized caulk at the joint between exterior trim and wall surface on the sides and head. At the bottom, leave weep holes at the sill track -- these are intentional drainage paths. Do not caulk them.
- Foam the gaps on the interior side. Use low-expansion window-and-door foam to air seal the gap between the frame and rough framing on the interior. Work from the top down on each side. Let it cure before trimming.
- Install interior casing. Nail trim to the frame. Caulk the joint between casing and drywall.
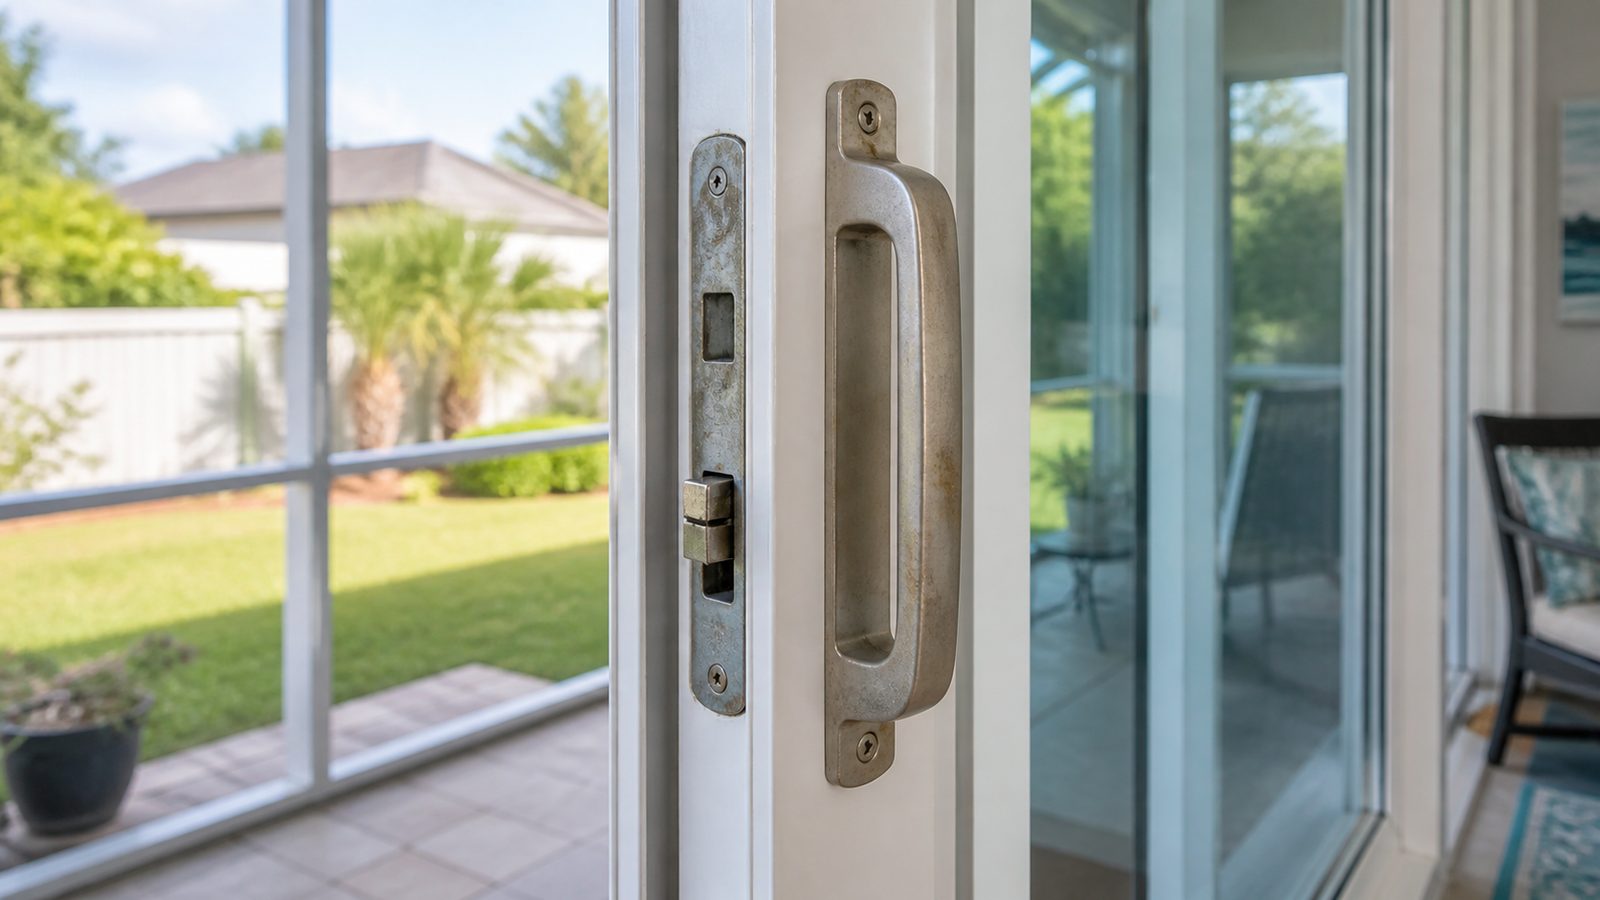
- Install and adjust the locking hardware. Sliding glass door locks engage a keeper in the stationary panel. Adjust the keeper position so the lock engages firmly when the door is in the fully closed position. A poorly adjusted keeper is a security and weather-seal issue.
Common Mistakes to Avoid
- Not leveling the sill before fastening. If the sill is not level, the operating panel will drift open or closed on its own. Level the sill before you drive a single permanent fastener.
- Skipping the sill pan system. The sill of a sliding glass door is a primary water entry point in Florida. A sill pan with exterior drainage is the only thing standing between a rain event and rot in your subfloor framing.
- Ordering without verifying the Florida Product Approval. A sliding glass door without the correct FPA for your wind zone cannot be installed legally. Verify before you order.
- Caulking the sill track weep holes. The weep holes in the sill track are designed to drain water that gets into the track. Caulk them and the track becomes a water basin.
- Handling glass panels without suction cups. Sliding glass panels are heavy and have minimal grip surfaces. Dropping a panel damages the glass edge and can cause the panel to shatter. Use proper suction cup handles.
When to Hire a Pro Instead
Call a contractor when any of these apply:
- You are in a High-Velocity Hurricane Zone. HVHZ installations require impact-rated glazing with documented Florida Product Approval, specific fastening patterns, and installation per the approved product drawings. This is not a standard DIY installation.
- The header above the rough opening is undersized or showing deflection. A sliding glass door spans a large opening. An inadequate header transfers that load to the door frame and causes the frame to rack over time. This needs a structural repair before the door goes in.
- The rough opening sill has rot. Subfloor rot under a sliding glass door can extend into the floor framing. Have a contractor assess the extent before you install.
- You are installing a sliding glass door where there was previously a wall. Cutting a new rough opening for a sliding glass door in a framed wall requires a properly sized header and may require temporary shoring. If the wall is load-bearing, this is a structural job.
- The door spans more than 8 feet. Wider multi-panel sliding systems have more complex installation requirements, heavier components, and more demanding structural conditions at the header.
- You want to add a screen or integrate with an existing deck or patio transition. These finishing details can affect the flashing system and should be planned before, not after, the door is set.
Need a Jacksonville GC for this job? Get a 48-hour free fixed-price estimate from JK Prestige Constructor.
No call center. No coordinator. A JK principal reviews every inquiry and replies with a real number, not a range, not a follow-up form.
Request Free Estimate →