Jacksonville homeowners install storm doors for good reasons: better ventilation during the shoulder seasons, a secondary barrier against tropical downpours, and added protection for an entry door that takes a beating from sun and salt air. But getting the installation right here requires thinking beyond the instruction sheet in the box. The coastal climate, intense UV exposure, and Florida's building code environment all shape what you buy, how you prep the opening, and whether the door performs for a decade or falls apart in three years.
When You Need a Permit in Jacksonville
In Duval County, storm door installations are generally classified as minor work and do not trigger a permit requirement when you are replacing an existing storm door or adding one to an already-framed opening that meets code. The City of Jacksonville's Building Inspection Division draws the line at work that alters the structure — if you need to modify the door frame, widen the opening, or make changes to the rough framing, that crosses into permitted work.
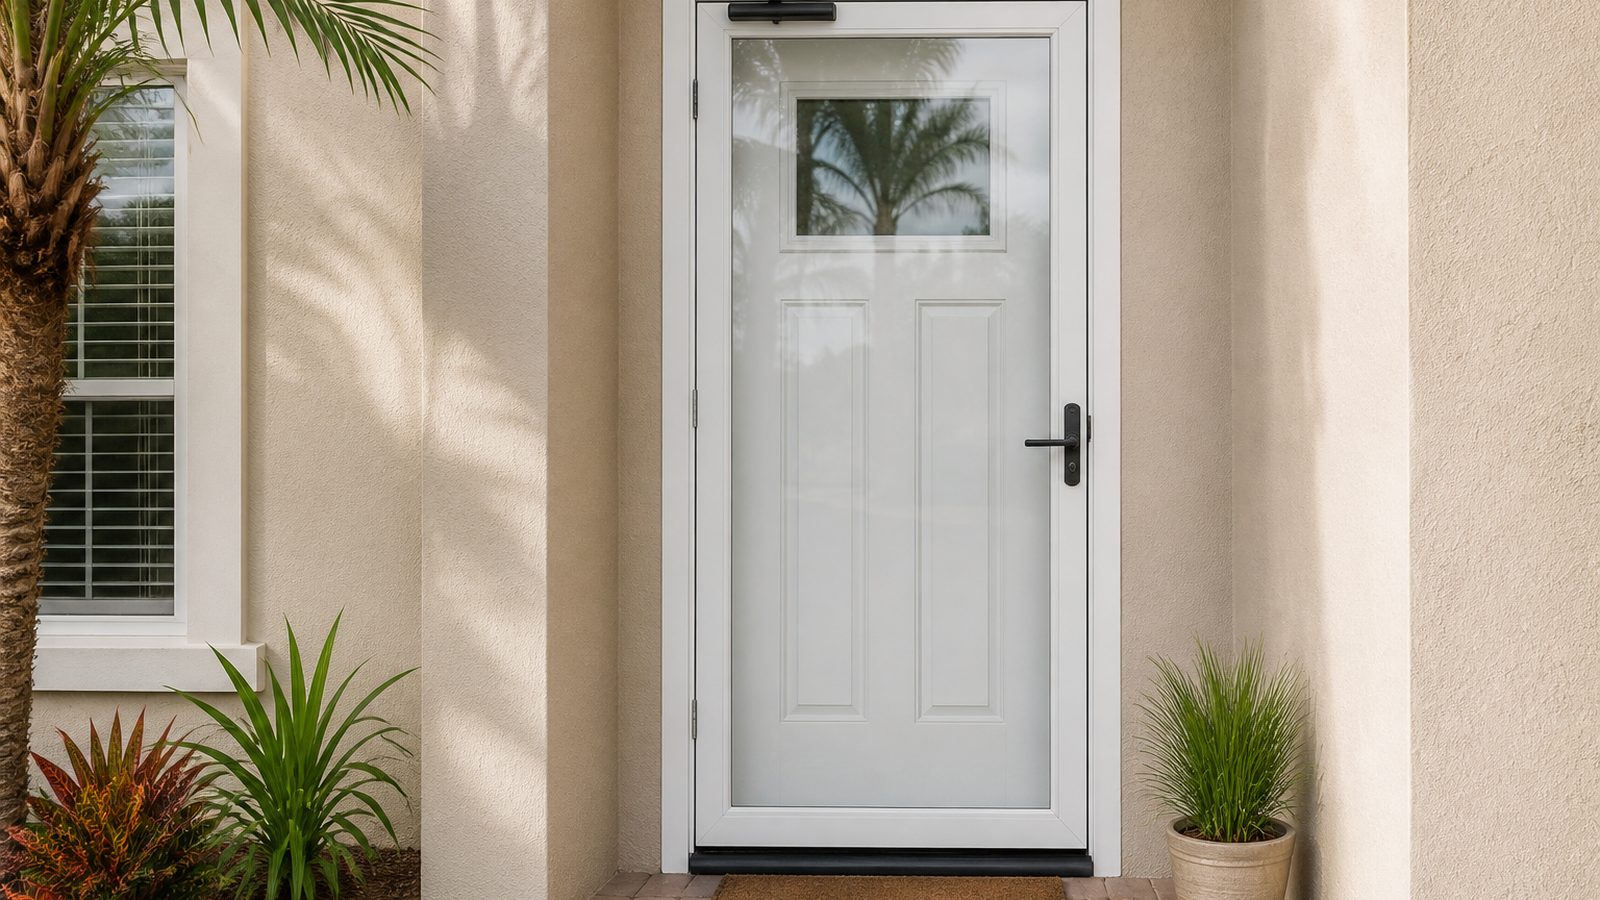
The practical takeaway: a straightforward storm door installation on a standard 32-inch or 36-inch entry door usually does not require a permit. However, if your entry is part of a historic district (San Marco, Riverside-Avondale, Springfield), you may need approval from the Historic Preservation Commission before modifying any exterior element, even something as routine as adding a storm door.
When in doubt, call the City of Jacksonville's permitting office or check the city's online permit portal before you start. A five-minute call is faster than a stop-work order.
Tools and Materials
- Storm door kit (sized to your rough opening, ideally 1/4 inch narrower than the door frame width)
- Tape measure and pencil
- Drill with bits (standard and masonry if needed for a brick or stucco surround)
- Level (4-foot preferred)
- Hacksaw or tin snips (for trimming Z-bar)
- Utility knife
- Screwdriver (flathead and Phillips)
- Caulk gun with exterior paintable caulk
- Safety glasses
- Hammer and wood block (for persuading a tight fit)
- Stainless steel or coated exterior screws (do not use plain zinc in a coastal environment)
Step-by-Step
- Measure the opening. Measure the height and width of your door frame at three points each — top, middle, and bottom for width; left, center, and right for height. Use the smallest measurement. Storm doors are sold in standard sizes (30, 32, 34, 36 inches wide; 80 or 81 inches tall). Your storm door needs to fit within the brick mold or door casing without forcing the frame.
- Determine hinge side. Stand outside facing the door. Identify which side your entry door hinges from. Your storm door should hinge from the same side so both doors open from the same pivot point. Mark your hinge side before unpacking hardware.
- Install the Z-bar on the hinge side. The Z-bar (also called the hinge rail) runs the full height of the door frame on the hinge side. Hold it in place, check for plumb with your level, and drill pilot holes before driving screws. On a Jacksonville home with a wood frame and painted casing, pilot holes prevent splitting. On stucco or brick, use the appropriate masonry bit and anchors.
- Cut the top Z-bar to fit. The top Z-bar typically requires trimming to match your door width. Use a hacksaw. Deburr the cut edge with a file or sandpaper. Install it level across the top of the frame.
- Hang the door panel. Most storm doors come with a temporary hinge pin or clip to hold the door in the frame while you align it. With a helper, lift the door into the hinge Z-bar and seat the hinges. Do not fully tighten until the door swings freely and clears the frame evenly on all sides.
- Install the latch-side Z-bar. Close the storm door and press the latch Z-bar snug against the door edge. Mark the screw locations, drill pilot holes, and secure it. The gap between the door and the latch Z-bar should be consistent — roughly 1/8 inch — from top to bottom.
- Install the door closer. Most storm door kits include one closer; premium models include two. Attach the bracket to the door panel first, then the jamb bracket. Adjust the tension according to the manufacturer instructions. In Jacksonville's wind environment, a heavier tension setting is often appropriate — a door that swings freely in a summer squall will damage itself or your entry door casing in a single storm.
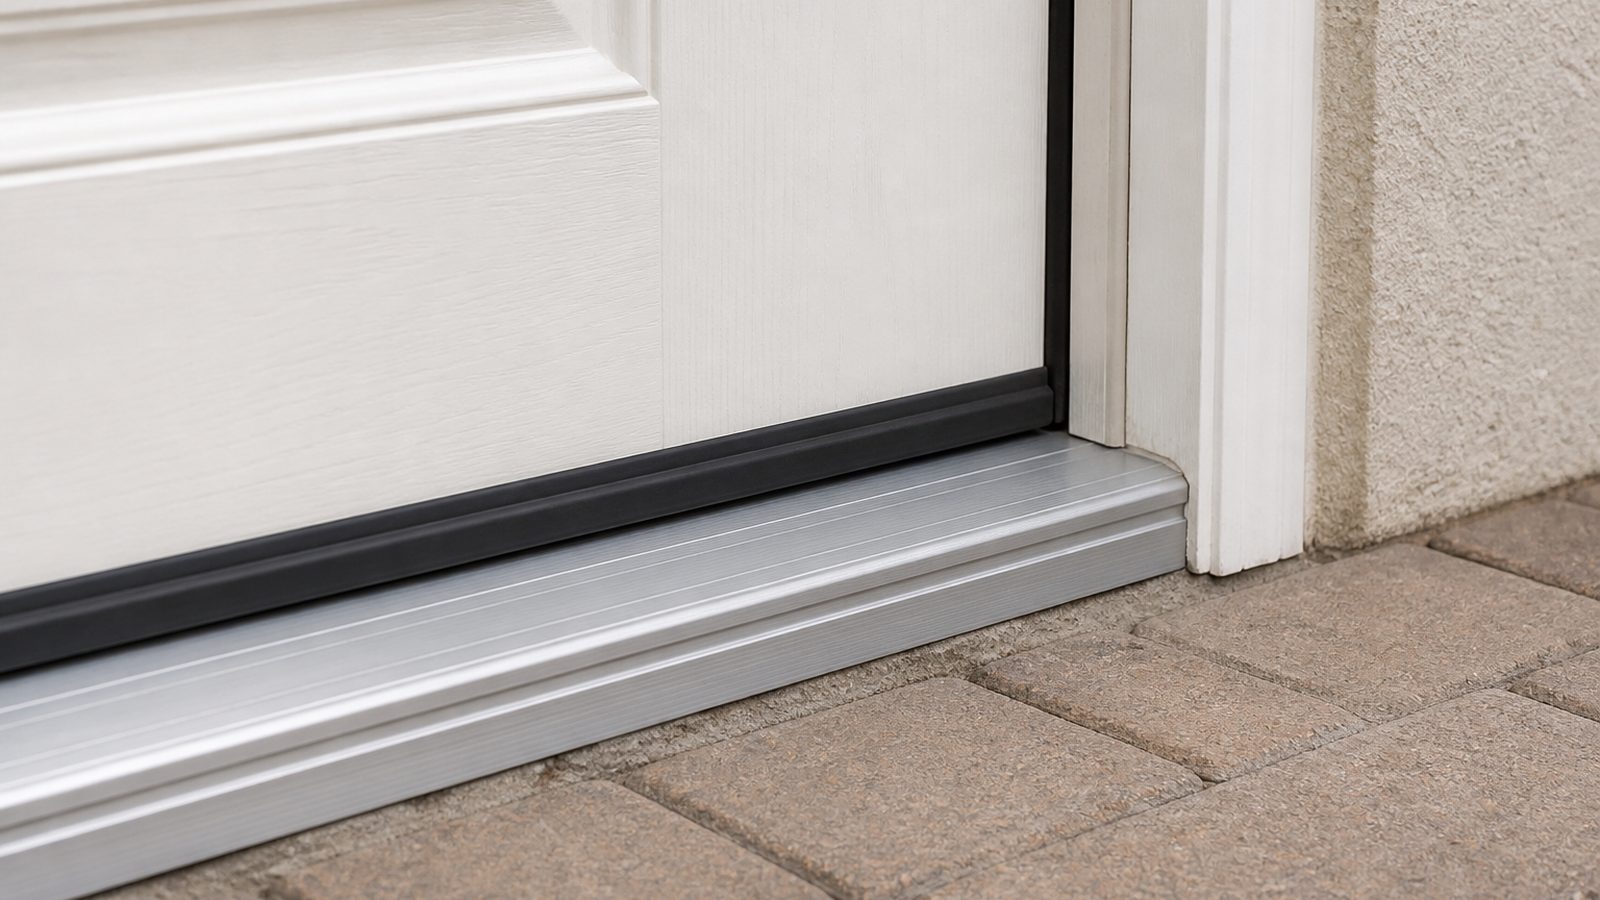
- Install the door sweep and handle hardware. Trim the bottom sweep to fit the door width and attach it so it seals against the threshold without dragging hard enough to prevent smooth operation. Install the handle, latch, and lock per the included template.
- Caulk the perimeter. Apply a continuous bead of paintable exterior caulk along all edges where the Z-bar meets the door casing. Smooth with a wet finger and allow to cure before painting if needed.
Jacksonville Climate Considerations
Jacksonville's combination of intense sun, salt air, and high humidity creates a tougher environment for storm doors than most of the continental United States.
Heat buildup with full-view glass panels: Full-view storm doors — those with a single large glass panel — can trap significant heat against your entry door on a south- or west-facing exposure. In summer, surface temperatures between the storm door and the entry door can exceed 160°F, which is enough to warp fiberglass entry door panels, blister paint, and void manufacturer warranties on some entry doors. If your main entry door faces south or west and gets direct afternoon sun, either choose a storm door with a retractable screen insert rather than fixed glass, or verify that your entry door manufacturer explicitly permits a storm door installation in high-sun exposures.
Glass type: For any fixed-glass panel, look for tempered glass, which is standard on most current storm door models. Avoid any storm door marketed with annealed (standard) glass in a full-view configuration.
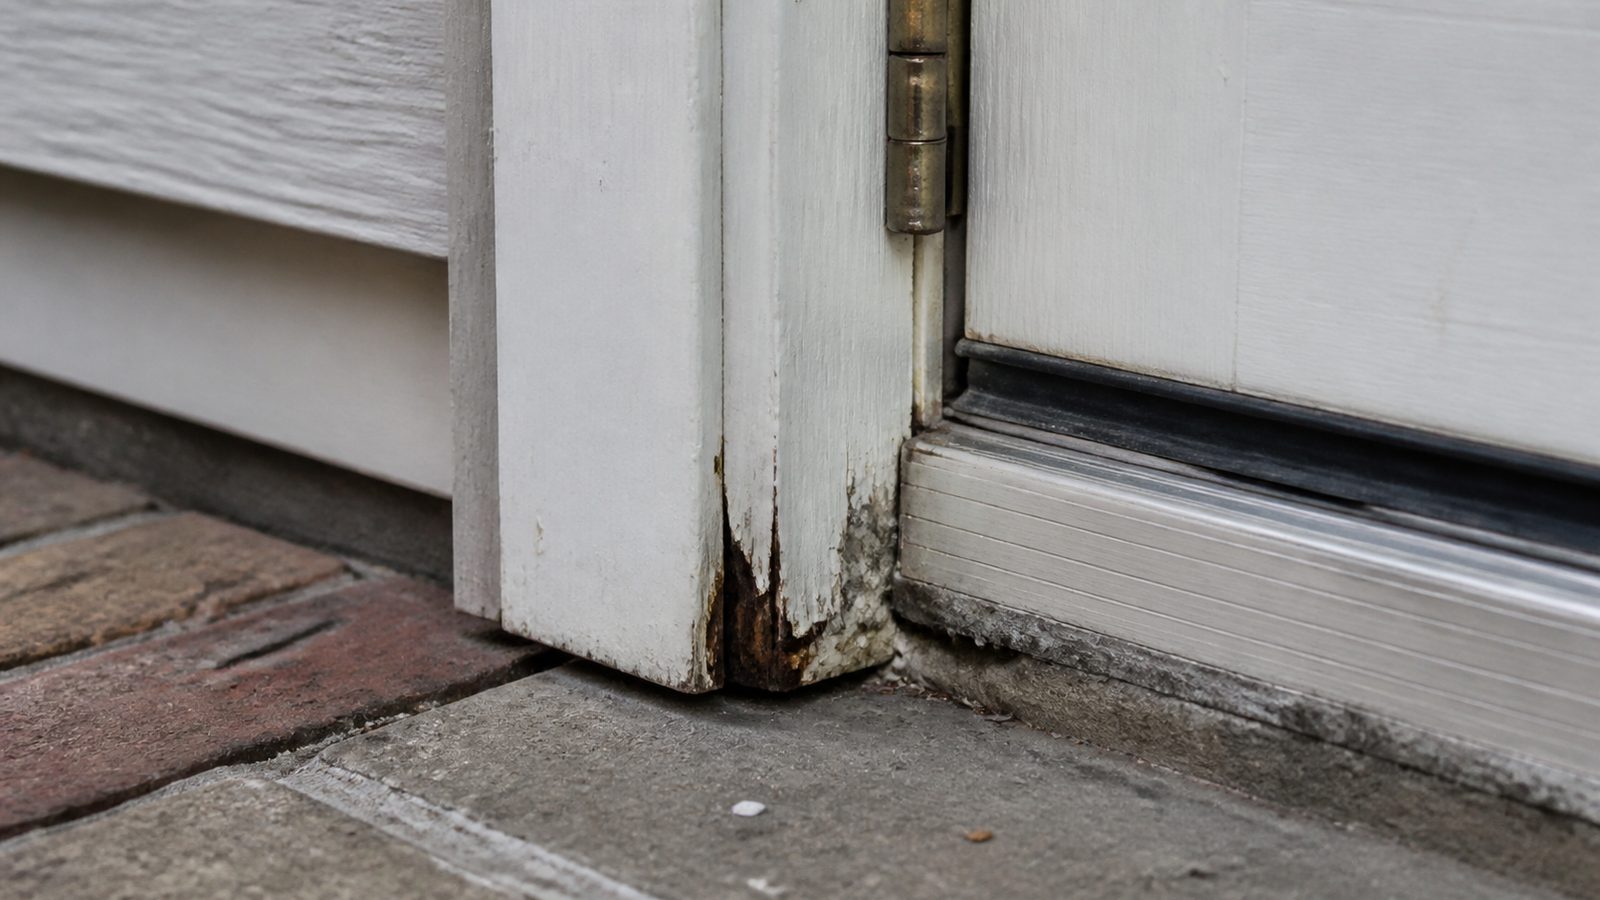
Salt air corrosion: Hardware — hinges, closer arms, latch sets — corrodes faster in Jacksonville than in inland cities. Aluminum frames hold up reasonably well. Steel components without proper coating will rust visibly within a few seasons. Specify stainless steel hardware wherever possible, and use stainless or ceramic-coated screws regardless of what comes in the kit.
Ventilation benefit: On a screened configuration (or a door with an interchangeable screen insert), storm doors provide genuine ventilation value during Jacksonville's spring and fall when temperatures are manageable. Running the house on natural ventilation instead of AC during those windows is a real utility benefit.
What It Costs in Jacksonville (DIY vs. Hiring a Pro)
| Approach | Typical Cost Range |
|---|---|
| DIY — entry-level door + hardware | $200 – $400 |
| DIY — mid-grade aluminum/steel door | $350 – $600 |
| Pro install — basic door, no frame work | $450 – $750 (door + labor) |
| Pro install — mid-grade door, frame prep included | $650 – $1,100 |
| Full-view premium door, pro installed | $900 – $1,500+ |
Labor alone typically runs $150 to $350 in the Jacksonville market for a straightforward installation on a standard opening. Frame repairs, rot remediation, or masonry surround work add to that figure.
When to Call JK Prestige
A storm door installation that looks simple on a YouTube video can surface a rotted sill plate, an out-of-square frame, or a brick-mold profile that doesn't accept standard Z-bar without modification. JK Prestige Construction handles storm door installations as part of larger entry work — new entry door and storm door together, frame repairs, threshold replacement — and we carry the license and insurance Duval County requires for residential exterior work. If your opening has any history of water infiltration or you're combining the storm door with an entry door replacement, reach out before you start.
No call center. No coordinator. A JK principal reviews every inquiry and replies with a real number, not a range, not a follow-up form.
Request Free Estimate →