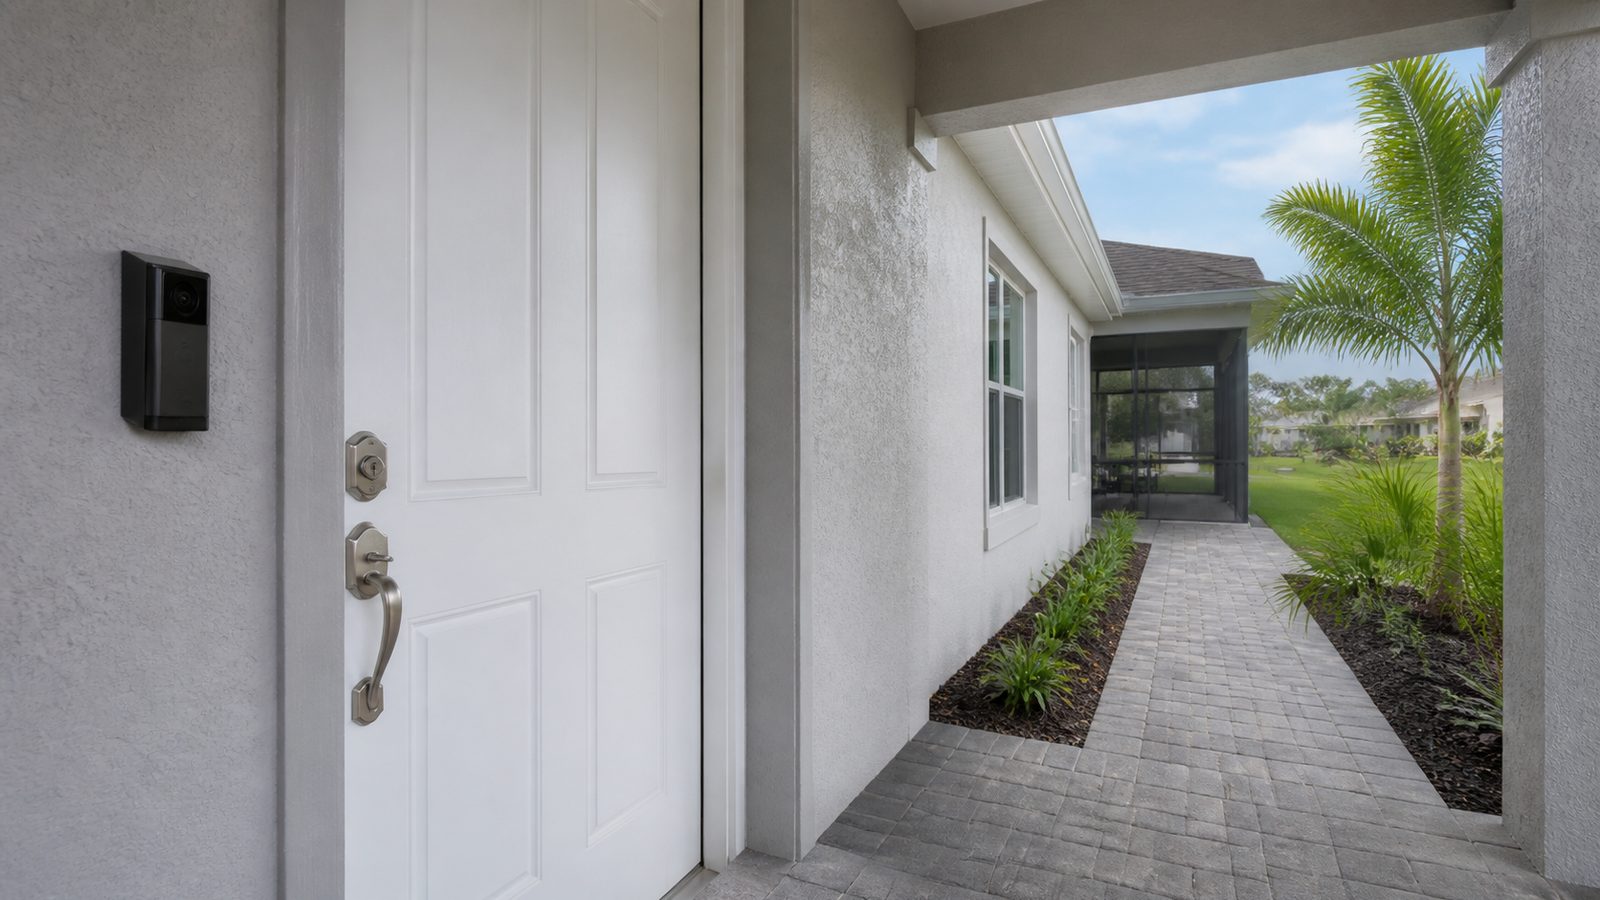
Most video doorbell returns and one-star reviews trace back to the same root cause: a transformer built for a simple mechanical chime, asked to run a camera, speaker, motion sensor, and Wi-Fi radio around the clock. Older Jacksonville homes in neighborhoods like Riverside, Ortega, and San Marco often still carry the original 10 to 16 volt-amp transformer from decades past, and it cannot keep a modern video doorbell powered without flickering, rebooting, or chirping the indoor chime. This guide covers finding your transformer, testing it correctly, upgrading it if needed, and mounting the doorbell on stucco or brick.
When You Need a Permit in Jacksonville
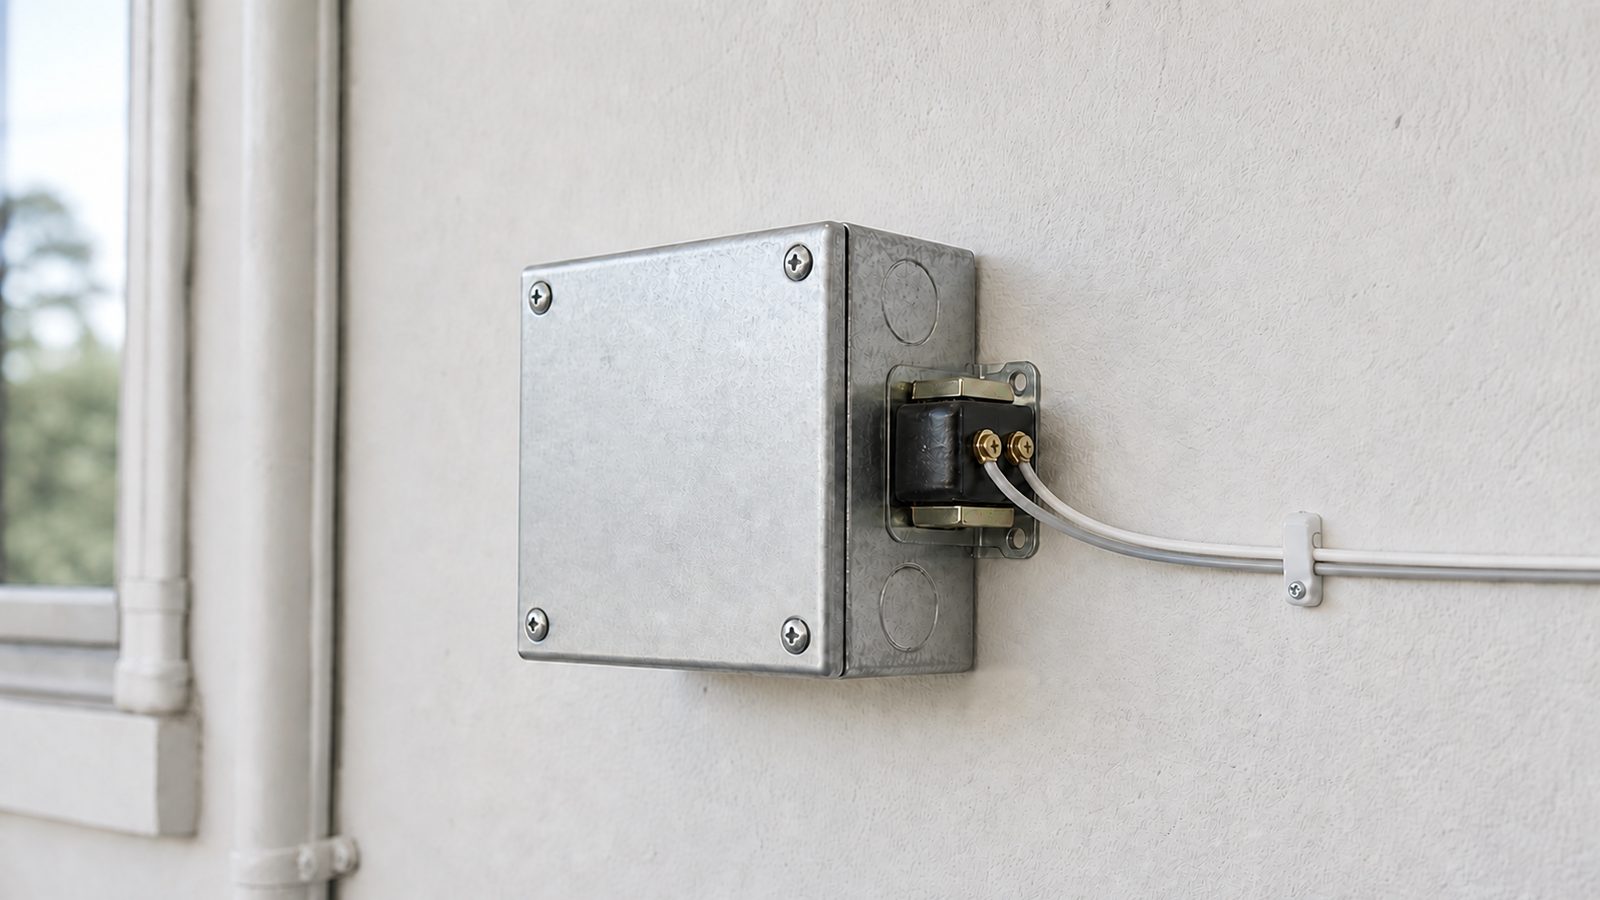
Swapping the doorbell button, the low voltage wiring, and the video doorbell unit itself is generally low voltage work and is not the kind of job that typically requires a homeowner to pull a permit on their own house. Where the line moves is the transformer. It sits on your home's line voltage electrical system on one side, stepping 120 volts down to the 16 to 24 volts the doorbell circuit uses on the other. Working on that line voltage side, including replacing the transformer at a junction box or panel, is electrical work. A homeowner doing this on their own house is generally permitted to under Florida law, but anyone being paid to do it for you must be a licensed electrical contractor. If your transformer sits inside your main panel, the wiring looks aged or brittle, or you are not fully comfortable killing power and verifying it is dead first, stop and call a licensed electrician. Duval County handles most permitting for Jacksonville proper, but Nassau, Clay, and St. Johns counties each run their own separate permit offices, so check locally if the job grows beyond a simple transformer swap.
Tools and Materials
- Non-contact voltage tester and a multimeter that reads AC volts
- New doorbell transformer rated for your video doorbell, commonly 16V to 24V and 30VA or 40VA
- Wire strippers, wire nuts sized for 18-22 gauge wire, and a small screwdriver set
- Masonry drill bit and hammer drill for brick or stucco mounting
- Plastic anchors rated for masonry, or a stucco-specific anchor kit
- Angle mounting wedge if your door faces direct sun or an overhang angle
- Silicone caulk, paintable and exterior rated
- Flashlight for attic or crawlspace transformer hunting
- Label tape for marking wires before disconnecting anything
Step-by-Step
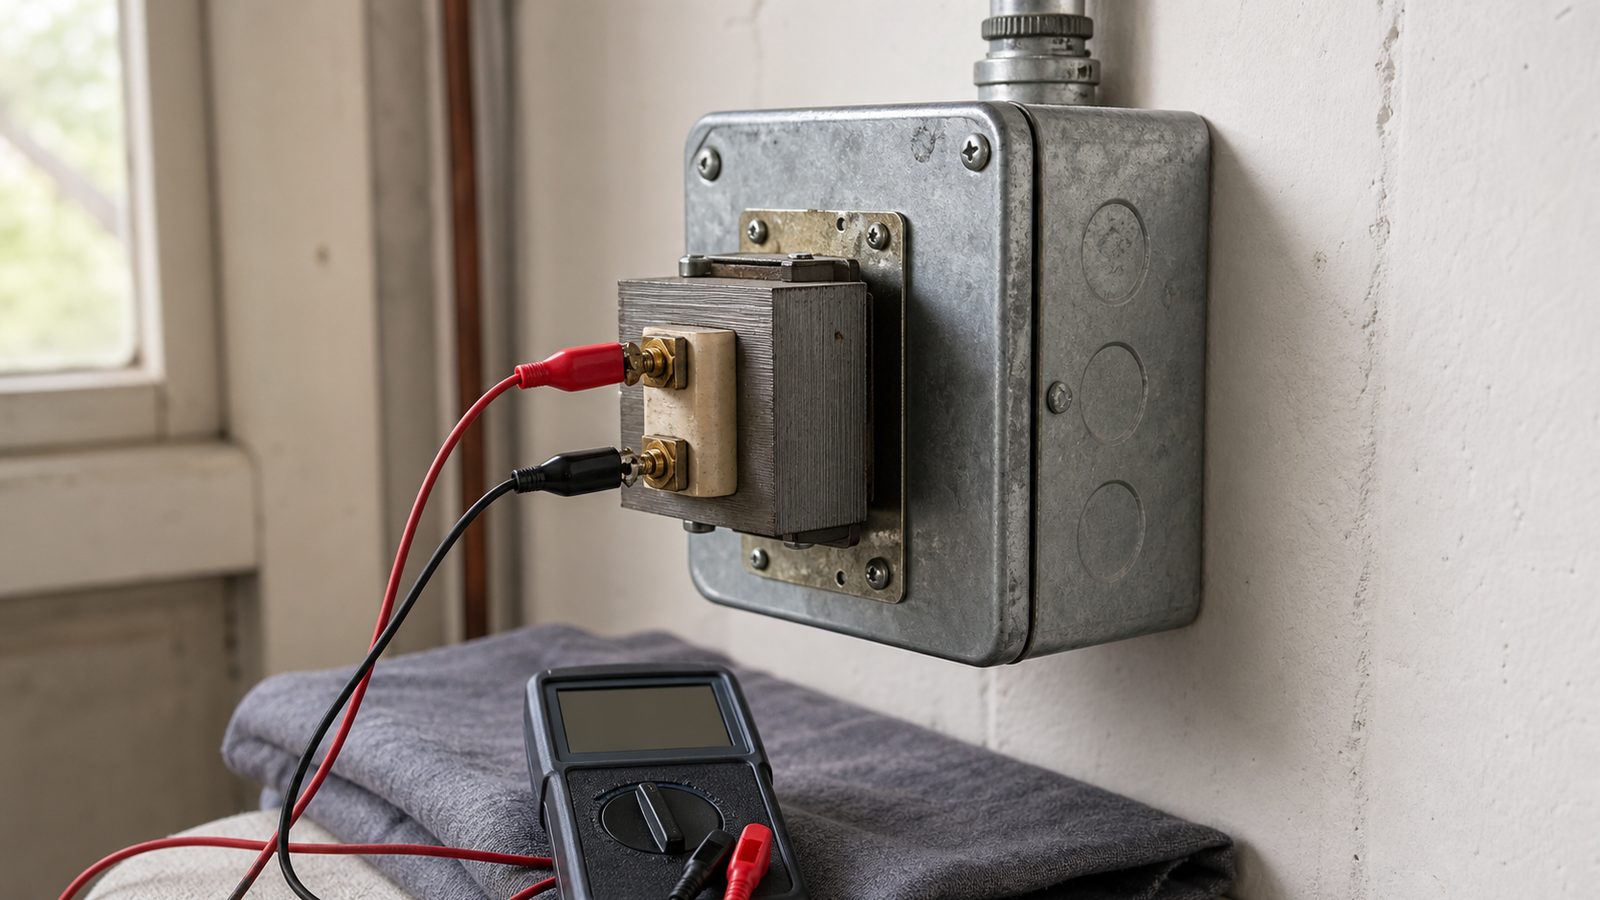
- Locate your existing transformer, commonly mounted near the main panel, in the garage, an attic junction box, or behind the air handler closet.
- Check the label for voltage and VA rating and compare it to the minimum VA your doorbell manufacturer specifies.
- Turn off the breaker feeding the transformer's line voltage side, then confirm it is actually dead with a non-contact voltage tester before touching any wires.
- Disconnect the old transformer's line voltage leads if replacing it, or leave in place if only testing.
- To test a suspected undersized unit, restore power to that circuit only, then read AC volts at the low voltage terminals with a multimeter. A reading noticeably below rated voltage, especially one that sags further when the doorbell is pressed, confirms the problem.
- Turn the breaker back off before making further changes.
- If upgrading, mount the new transformer in the same enclosure, matching the manufacturer's wiring diagram.
- Connect the low voltage wires to the doorbell circuit with properly sized wire nuts, labeling each as you go.
- Restore power and retest the low voltage output to confirm it now matches the doorbell's required range.
- At the front door, remove the old doorbell or chime button and note wire polarity if required.
- Drill mounting holes for the bracket. On stucco, drill slowly with a masonry bit to avoid cracking the finish coat. On brick, aim for the mortar joint rather than the face when possible.
- Attach the bracket, using an angle wedge if the doorbell faces off-axis from foot traffic or gets hit by low sun.
- Connect the low voltage wires, seat the doorbell on the bracket, seal gaps with exterior caulk, and test the full circuit, including the chime and the app's live view and motion alerts.
Common Mistakes to Avoid
- Assuming Wi-Fi is the problem when a sagging transformer is the actual cause
- Buying a "compatible" transformer without checking its VA rating against actual power draw
- Skipping the post-install voltage test and only discovering the fix failed once glitching resumes
- Drilling stucco without a masonry bit, which cracks the finish coat and invites water in
- Mounting on brick face instead of a nearby mortar joint, which is harder to drill and patch
- Leaving low voltage splices exposed without wire nuts, which corrodes in Florida humidity
Jacksonville Climate Considerations
A west or south-facing front door in Jacksonville takes intense afternoon sun much of the year, which can wash out the camera's exposure and push the electronics hot enough to trigger shutdown. An angled wedge that tilts the camera away from direct sun helps on both counts. Northeast Florida's summer storms bring driving rain at an angle under porch overhangs, so that same wedge or a small hood keeps water off the lens and cuts down false motion triggers. Near the beaches or the Intracoastal, salt-laden air accelerates corrosion on exposed contacts, so sealed connectors and a dab of dielectric grease are worth the extra few minutes. Humidity can also cause condensation inside a poorly sealed transformer enclosure, so make sure gaskets seat fully. Jacksonville's summer lightning frequency is among the highest in the country, and an unprotected transformer circuit is a common casualty during a nearby strike, so a surge-protected outlet is worth adding while the panel is already open.
What It Costs in Jacksonville (DIY vs. Hiring a Pro)
| Item | DIY Cost | Hiring a Pro |
|---|---|---|
| Doorbell transformer (parts only) | $15 to $35 | $15 to $35 (same part) |
| Transformer swap, labor | $0 (your time) | $125 to $275 |
| Video doorbell unit | $100 to $250 | $100 to $250 |
| Mounting hardware (wedge, anchors, caulk) | $10 to $25 | Included in labor above |
| Full install, transformer plus doorbell mount | $125 to $310 total | $200 to $450 total |
When to Call JK Prestige
If your transformer is buried inside a panel you are not comfortable opening, your home's wiring is old enough that you are unsure what is behind the wall, or the project turns up bigger issues like a failing panel or damaged siding, bring in a licensed contractor rather than push through it solo. JK Prestige handles these smaller electrical and exterior fixes as part of broader Jacksonville home improvement work, so a transformer upgrade can fold into a larger punch list instead of becoming its own headache.
No call center. No coordinator. A JK principal reviews every inquiry and replies with a real number, not a range, not a follow-up form.
Request Free Estimate →