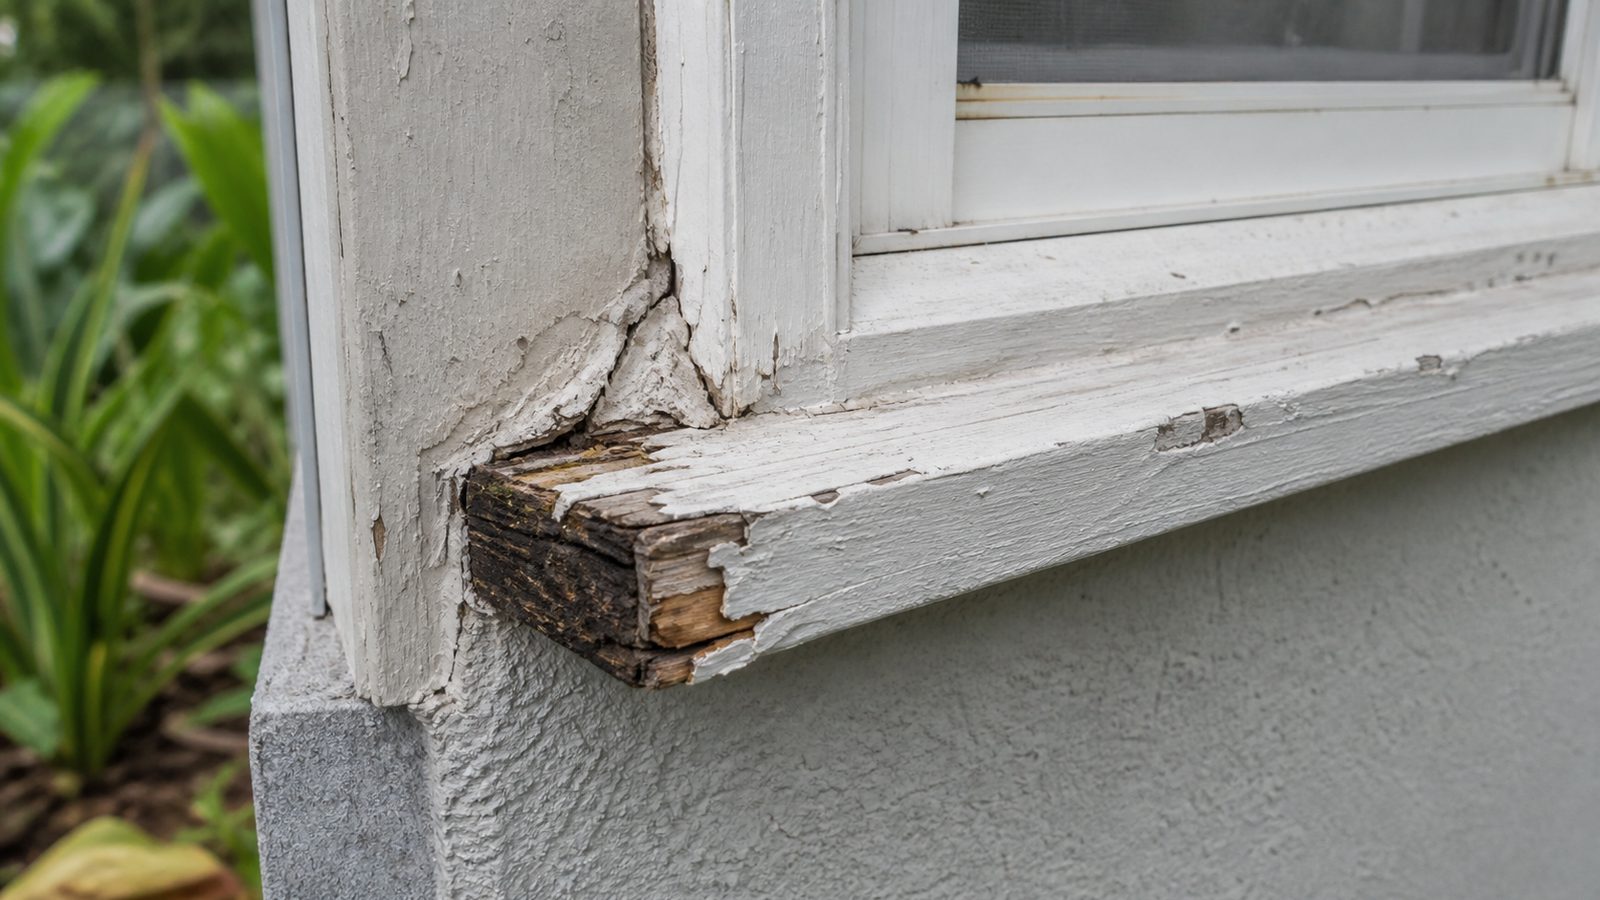
If you're replacing windows in a Jacksonville home, whether it's a 1920s bungalow in Riverside with original wood framing or a 1990s stucco house off San Jose Boulevard, the flashing tape around that window matters more than the window itself. A good vinyl or impact window installed over bad flashing will still let water into the wall cavity, and in our climate that water doesn't dry out fast. It sits, it wicks into the sill and the framing, and a few years later you're looking at a soft, rotted sill nobody can see until the drywall comes off. Here's how the flashing sequence is actually supposed to go, and where most DIY jobs and even some rushed contractor jobs go wrong.
When You Need a Permit in Jacksonville
Window replacement is permitted work in Duval County in almost every case, even a like-for-like swap. The City of Jacksonville Building Inspection Division requires a permit for window replacement because the new unit has to carry a valid Florida Product Approval number (or, if you're near the coast in a wind-borne debris zone, a Miami-Dade Notice of Acceptance) matching the wind load requirements for your specific address. Jacksonville sits in a mix of wind zones depending on distance from the coast, so the design pressure rating that's fine in Mandarin isn't automatically fine at the Beaches. The inspector will also want to see the flashing and rough opening before the window gets sealed up, which is usually a mid-installation inspection separate from the final. Skipping the permit doesn't just risk a fine, it means nobody with training ever looked at your flashing before it got covered. Call the Building Inspection Division or check their site before you start if you're not sure which inspections apply to your job.
Tools and Materials
- Self-adhering flashing tape, both butyl-based and acrylic/synthetic-rubber types on hand
- Sill pan flashing (pre-formed or field-fabricated from flexible flashing membrane)
- Utility knife and a J-roller for seating the tape
- Flashing primer or a caulk-and-prime kit for porous substrates like stucco or old wood sheathing
- Backer rod and a compatible sealant for the exterior perimeter
- Housewrap tape matching your existing house wrap system
- Level, tape measure, and a moisture meter for checking the existing sill and jack studs before you close anything up
- Heat gun (useful in cooler months, rarely needed here) or, more likely in Jacksonville, a way to keep tape and substrate out of direct sun while working
Step-by-Step
- Strip the opening back to sound framing. Remove the old window, then pull back or cut away enough siding, stucco, or trim to expose the rough opening and the housewrap. Check the sill and jack studs with a moisture meter. If the wood reads high or feels soft, that's rot from a prior flashing failure and it needs to be cut out and sistered or replaced before you flash anything.
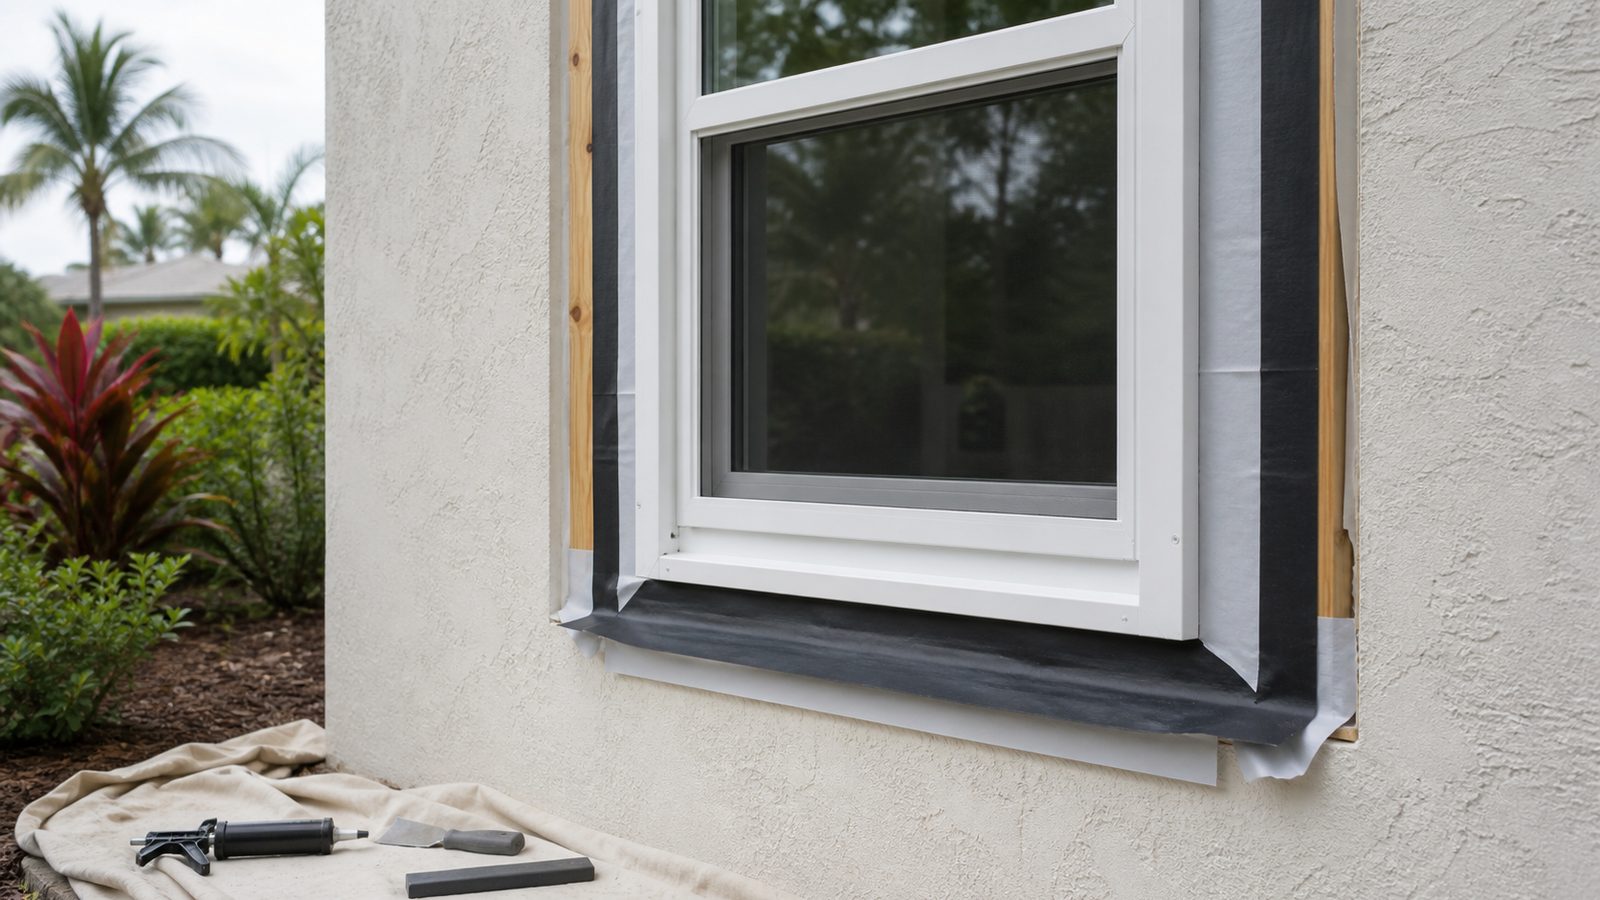
- Cut and dam the sill. Cut the housewrap at the sill in an inverted-box or modified I-cut pattern so the flaps fold up into the rough opening later. Install a sill pan, either a pre-formed pan or one built from flashing membrane, with end dams that turn up the jambs at least an inch or two. This pan is what catches any water that gets past the window's own weep system and directs it back outside instead of into the wall.
- Set the window and flash the jambs. Set the window on the sill pan, level and shim it, then run flashing tape up each jamb. The jamb tape must overlap the sill pan below it, never sit under it. Water runs downhill, and every lap in this job follows that same logic, later pieces overlap earlier ones going down and out.
- Flash the head last, over the jambs. Run a strip of flashing tape across the top of the window, lapping over the top of both jamb flashings. This is the piece people get backwards most often. The head flashing goes on last so it sheds water onto the jamb tape below it, not behind it.
- Fold the housewrap flaps down over the head flashing. The side and bottom housewrap flaps you cut in step 2 fold back down over the jamb tape. The top flap of housewrap comes down last, over the head flashing. This is the part of the sequence that trips up even experienced crews: sill flashing goes under the housewrap, head flashing goes over it, or under the top flap depending on your specific housewrap detail, but always positioned so the top course of material sheds onto the one below. Tape every housewrap seam.
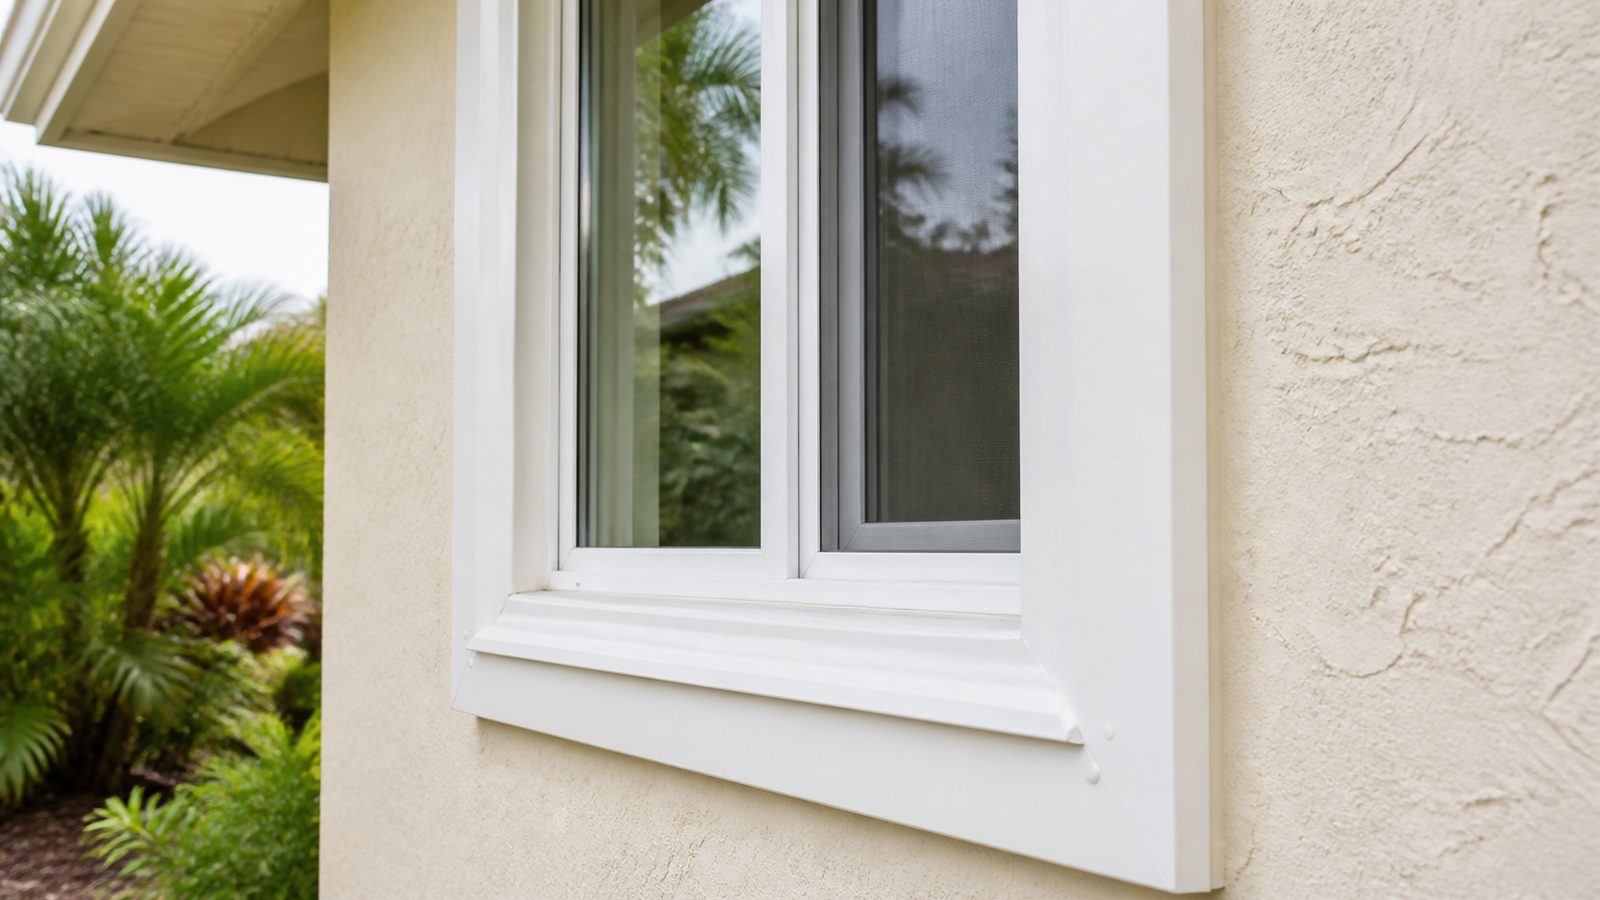
- Seal the exterior and reinstall trim or stucco. Once flashing is confirmed dry-laid correctly, install backer rod and sealant around the exterior perimeter of the window frame, then reinstall trim, stucco stop, or siding. Never caulk the bottom edge of the window trim solid, it needs a weep path.
Jacksonville Climate Considerations
Jacksonville's afternoon thunderstorms in summer and the occasional tropical system push rain sideways against west and south-facing walls, which is exactly the wind-driven rain condition this flashing sequence is designed for. UV exposure is also a real factor, exposed flashing tape left uncovered for even a few weeks in our sun starts to degrade at the edges, so don't flash a window and then let it sit open to weather for long. Adhesion is the other local problem: butyl tape gets soft and easy to work with in 90-plus degree heat, which is good for sealing but bad for precision, it can shift under the roller. Acrylic tapes hold their shape better in heat but need a firmer roll-in and sometimes a primer on stucco or older wood to get a real bond. Near the Beaches, salt air accelerates corrosion on any exposed fasteners and can affect adhesive shelf life, so use fresh tape and stainless or coated fasteners. And in older Springfield and Riverside homes, humidity trapped behind non-breathable tape on old-growth wood sheathing can cause its own problems, so match your tape system to what's already on the wall rather than mixing incompatible products.
What It Costs in Jacksonville (DIY vs. Hiring a Pro)
| Scope | DIY Materials | Hiring a Pro (per window, labor + materials) |
|---|---|---|
| Single window, standard flashing | $40 to $80 | $250 to $450 |
| Single window with sill/framing repair | $100 to $200 | $450 to $900 |
| Whole-house re-flash (10-15 windows) | $600 to $1,200 | $3,500 to $7,500 |
Prices vary with siding type, stucco versus vinyl versus Hardie board affects labor time significantly, and whether framing repair is needed once the wall is opened up.
When to Call JK Prestige
If you're pulling trim off a window and finding soft wood, dark staining, or a musty smell, stop and call us before you go further. We handle window replacement and flashing repair across Jacksonville, including the older wood-frame construction common in Springfield and Riverside, and we pull the permit and coordinate the inspection so the flashing gets checked before it's closed up, not after.
No call center. No coordinator. A JK principal reviews every inquiry and replies with a real number, not a range, not a follow-up form.
Request Free Estimate →