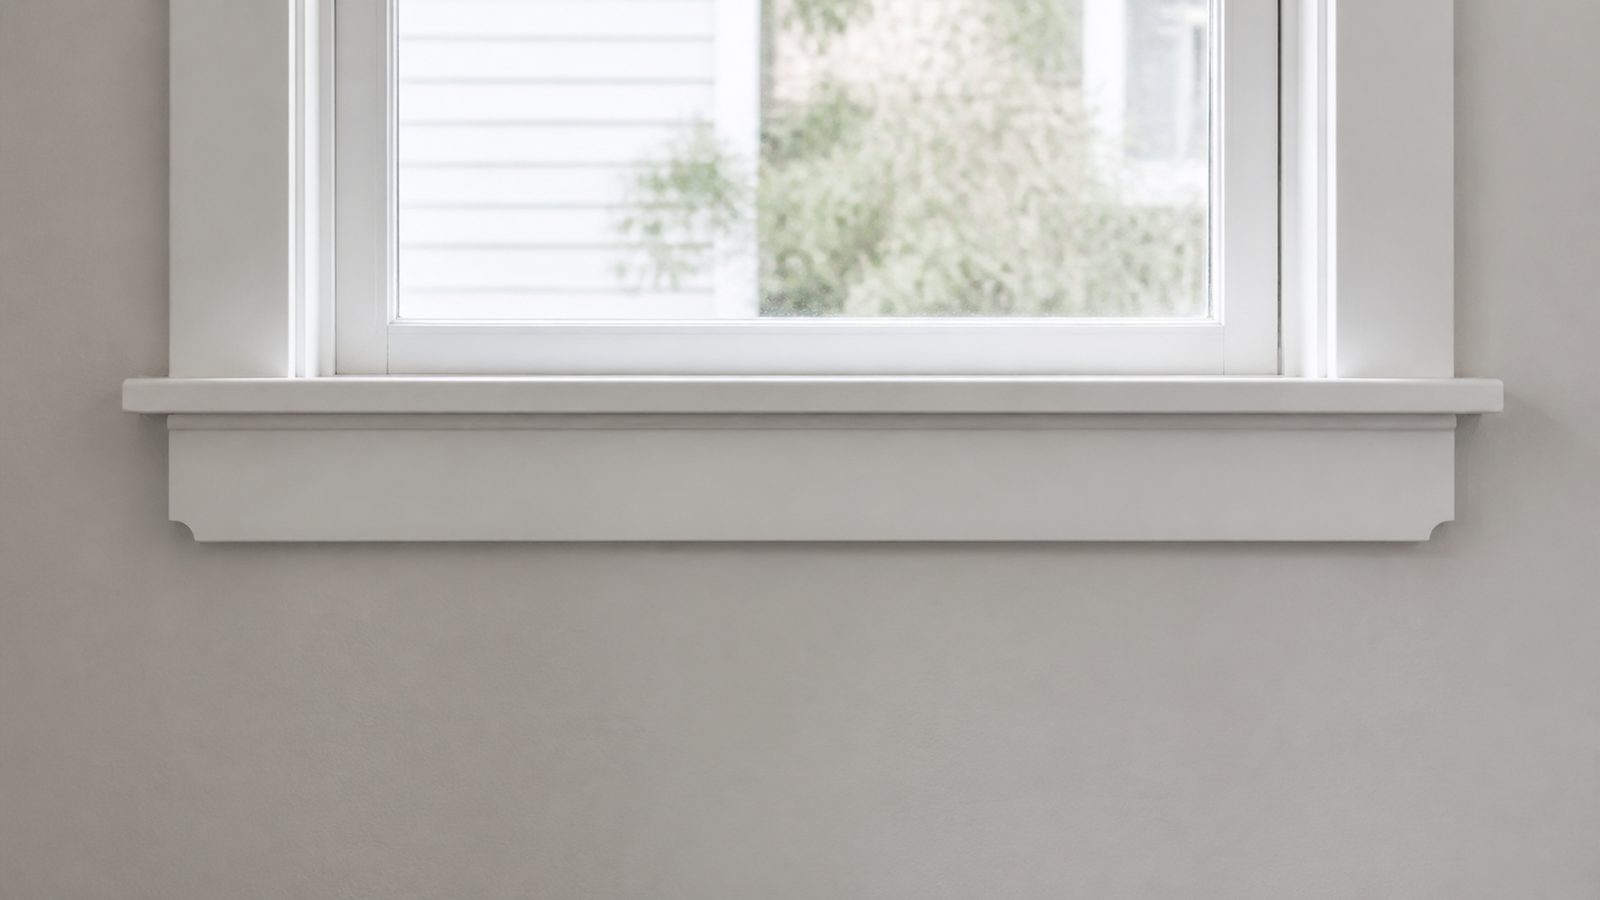
A window stool and apron is the traditional interior trim package that gives a window a finished, built-in look, a flat "sill" that runs past the jambs on each end (the horns) and a decorative apron piece that caps the wall below. Getting it right on an older Jacksonville home means fitting the horns tight against drywall returns that are rarely square, and coping the apron profile so corners close without a gap. This guide covers the process a finish carpenter actually uses.
When You Need a Permit in Jacksonville
Installing or replacing interior window stool and apron trim is cosmetic finish work and does not normally require a permit from the City of Jacksonville or Duval County. You are not altering a window opening, a structural element, or anything covered by the building code, so this is a straightforward DIY or trim carpenter job.
That changes if the project grows beyond trim. Replacing the window unit itself, resizing the rough opening, or any work touching structural framing does require a permit. Homes inside a designated historic district such as Riverside, Avondale, or Springfield face additional design review for exterior-visible changes, including window replacement, even though interior trim swaps typically do not. Outside Duval County, Nassau, Clay, and St. Johns counties each run their own permitting offices, so confirm locally before any related structural work.
Tools and Materials
- Miter saw (10 inch, sharp 60 to 80 tooth blade)
- Coping saw with a fine-tooth blade
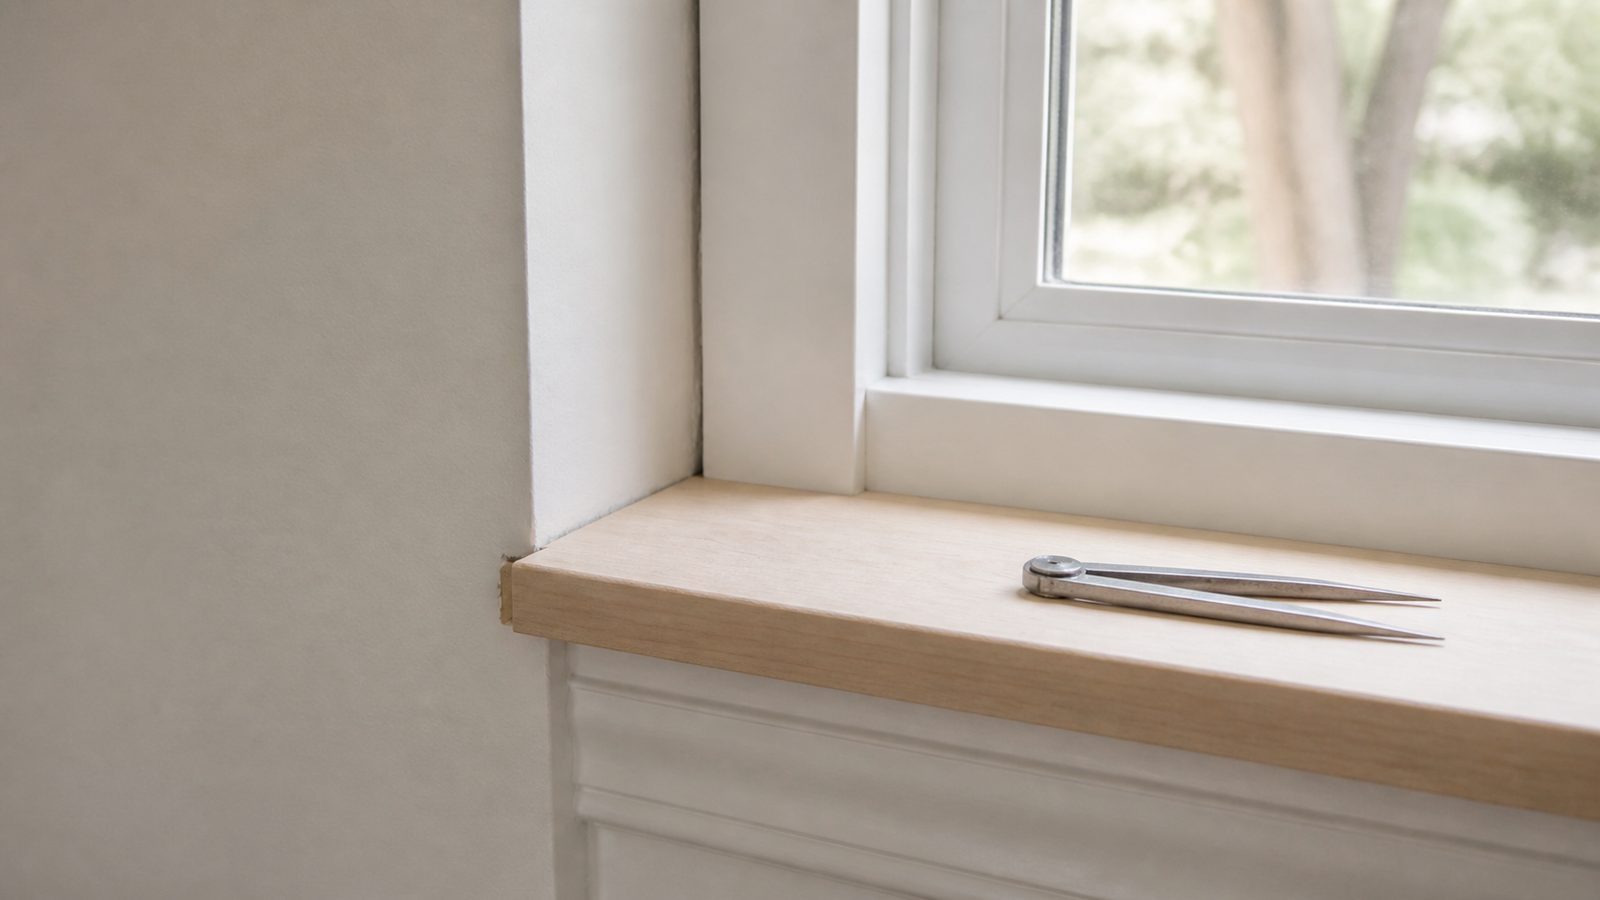
- Compass or scribe tool for marking irregular returns
- Block plane or rasp for fine-tuning scribed cuts
- Tape measure, combination square, and a 4 foot level
- Brad nailer (18 gauge), 1.25 and 1.5 inch brads
- Wood filler or paintable caulk
- Stool stock, poplar, primed finger-joint pine, or PVA in a bath or beach house
- Apron stock matching the casing profile, typically 2.25 to 3.25 inches wide
- Construction adhesive, 120 and 220 grit sandpaper
- Primer and paint, or stain and clear coat if using stain-grade wood
Step-by-Step
- Measure the opening width, including jamb extensions if the wall is deeper than the factory jamb, and note the wall depth on each side.
- Determine horn length. Horns typically extend 3/4 inch to 1.5 inches past where the casing will land.
- Cut the stool to rough length, leaving extra material on both ends for scribing.
- Dry-fit the stool and check it sits level and tight against the sash below.
- Scribe the horns to the drywall returns. Hold the stool in final position, set a compass to the largest gap, and run it along the wall to transfer the wall's contour onto the horn.
- Cut along the scribed line with a coping saw, then fine-tune with a block plane or rasp until the horn sits tight with no gap.
- Repeat the scribe and fit on the opposite horn, then test-fit the whole stool before fastening.
- Set the stool with a small bead of construction adhesive plus brad nails into the framing below.
- Install the side and head casing at your standard reveal, typically 1/8 to 3/16 inch, referencing off the jamb.
- Cut the apron to length, matching or slightly exceeding the outside edges of the side casing.
- Cope the apron's profile at both ends instead of mitering it. Cut a square end, then back-cut along the profile's face so the end grain disappears.
- Nail the apron into the framing below the stool, flush and tight to the stool's underside.
- Fill nail holes and seams with wood filler or paintable caulk, then sand once dry.
- Prime and paint, or stain and finish, matching the room's trim.
Common Mistakes to Avoid
- Cutting the stool to nominal wall width instead of scribing the horns, which leaves gaps since most walls in an older home are slightly out of square.
- Mitering the apron ends instead of coping them, which opens up as the wood moves seasonally.
- Skipping the dry-fit, then discovering the stool rocks or the apron does not sit flush.
- Using a stool profile too shallow to bridge the gap where deeper storm-rated windows sit past the original opening.
- Nailing into drywall alone instead of catching the framing below, leading to a loose apron within a year.
- Painting before filler and caulk are fully cured, which telegraphs every seam once dry.
Jacksonville Climate Considerations
Northeast Florida runs high ambient humidity most of the year, and indoor humidity swings between air conditioning season and the shoulder months move wood trim measurably. Solid wood stock should acclimate in the room for several days before installation, stickered so air reaches all sides, rather than installed straight out of the truck. MDF and PVA (cellular PVC) trim move less with humidity, which is why PVA is the safer choice for bathrooms, laundry rooms, and beach or coastal homes.
Older homes in Springfield and Riverside often still have original or early-replacement single pane windows, which condensate on the glass and sill during cold snaps and humid mornings. A moisture-tolerant stool material, PVA or well-sealed and fully primed poplar, holds up far better than untreated pine on windows like these.
What It Costs in Jacksonville (DIY vs. Hiring a Pro)
| Approach | Typical Cost per Window | Notes |
|---|---|---|
| DIY, standard window | $30 to $70 in materials | Assumes basic tools already on hand |
| DIY, wide or bay window | $60 to $130 in materials | More stock, more scribing complexity |
| Hiring a pro, standard window | $150 to $300 per window | Labor plus materials, single window |
| Hiring a pro, whole-house package | $100 to $200 per window | Lower per-window rate on multi-window jobs |
These are general planning ranges, not quotes. Final pricing depends on wood species, profile complexity, and how many windows need matching returns scribed.
When to Call JK Prestige
If you are trimming more than a couple of windows, matching an existing profile in an older home, or dealing with returns badly out of square, a professional finish carpenter saves material and time. JK Prestige handles interior trim as part of full renovations across Jacksonville, Riverside, Avondale, San Marco, and the surrounding area, and can match existing millwork profiles no longer sold off the shelf.
No call center. No coordinator. A JK principal reviews every inquiry and replies with a real number, not a range, not a follow-up form.
Request Free Estimate →