Most garage doors in Jacksonville left the factory as a single sheet of steel or a hollow aluminum panel with nothing behind it. That's fine until you're storing anything temperature-sensitive out there, using the garage as a workshop, or trying to keep a bedroom that shares a wall with it from turning into an oven every July afternoon. Insulating the door is a cheap upgrade a homeowner can do themselves, but it's also one of the most commonly done wrong, mostly around the springs. Here's how to do it right.
When You Need a Permit in Jacksonville
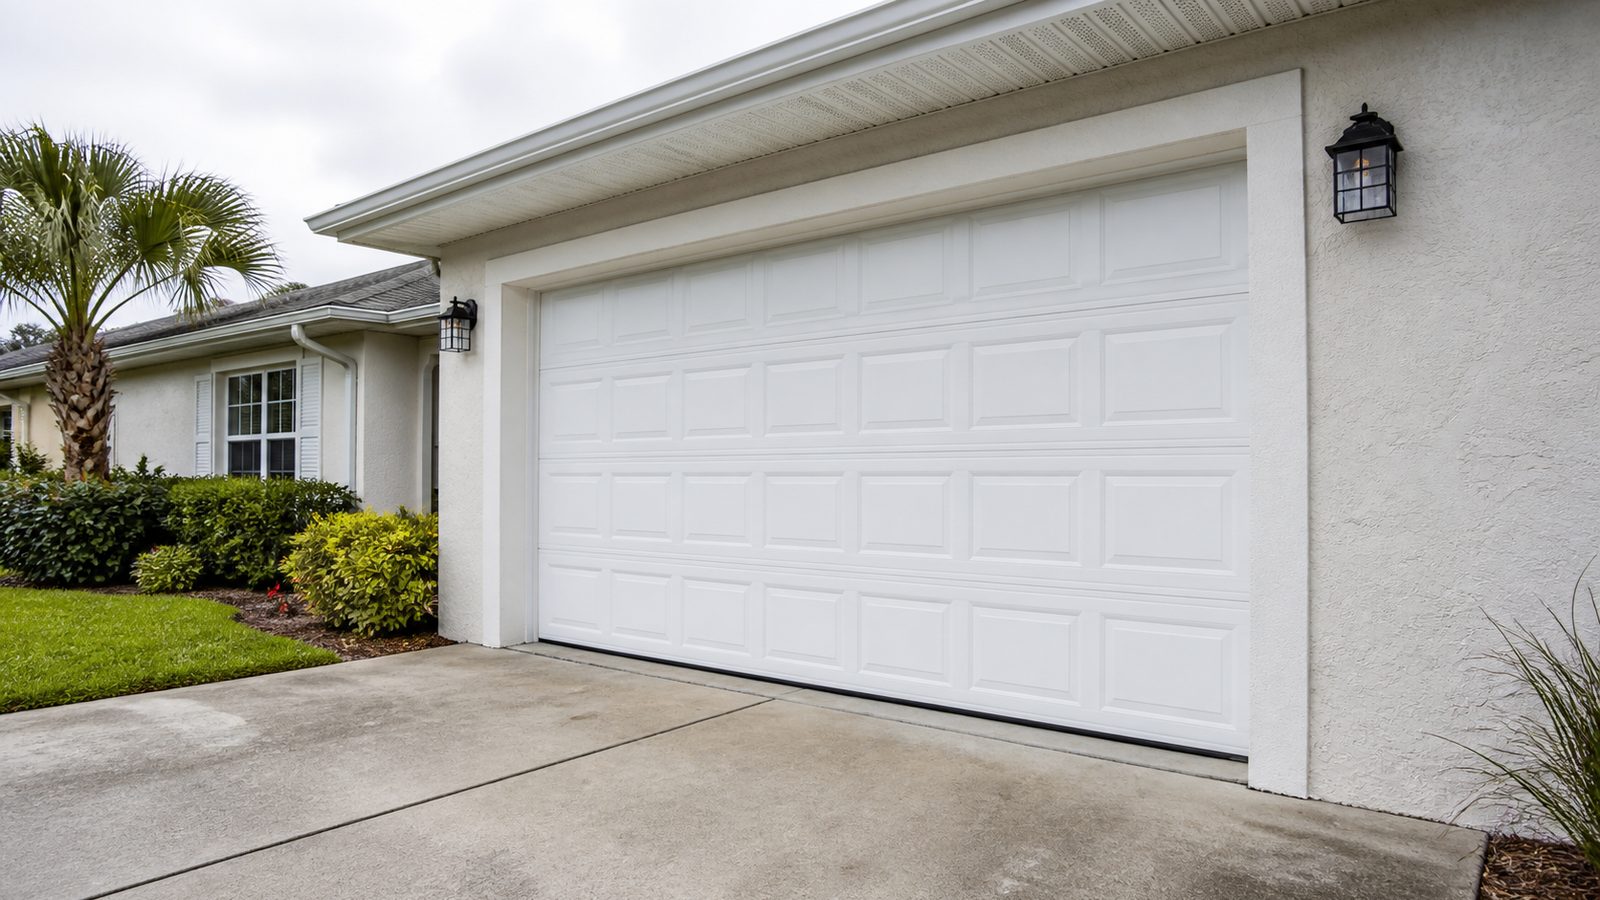
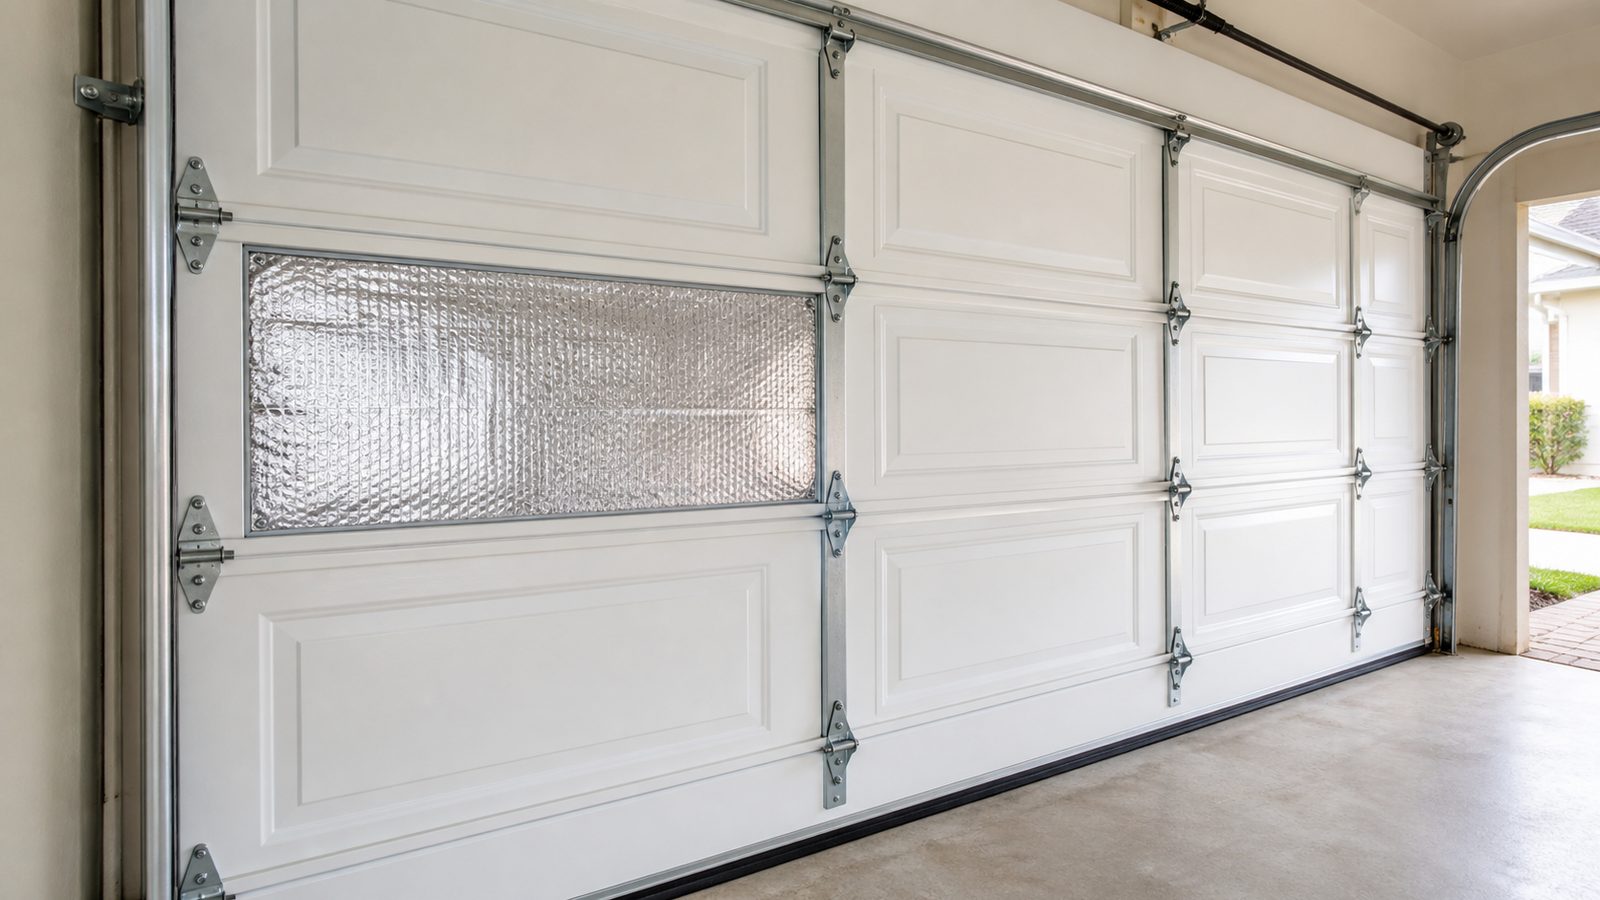
Adding an insulation kit to your existing garage door, foam panels, reflective barrier, or a batt kit set into the panel frames, is generally maintenance work and doesn't trigger a permit in Duval County. You're not changing the structure, the opening, or the door's wind rating in a way the city tracks.
Replacing the door itself is different. A new garage door is permitted work, because it's the largest opening in the exterior wall of your house and it carries a Florida Product Approval number tied to a specific wind load rating for your wind zone. If you're swapping doors and adding insulation at the same time, or buying a pre-insulated replacement door, confirm the approval documentation lists the insulated configuration, not just the bare panel. Adding weight to a door engineered and rated as-is can affect how it performs under wind load, which is exactly what that rating tests.
When in doubt, especially on a door swap, call the City of Jacksonville Building Inspection Division before you buy materials.
Tools and Materials
- Insulation kit sized to your door: radiant barrier (reflective foil-faced foam), rigid foam board (polystyrene or polyiso), or a batt kit (fiberglass in plastic-faced panels)
- Tape measure
- Utility knife with fresh blades
- Straightedge or framing square
- Foam-safe adhesive or the kit's included fasteners/clips
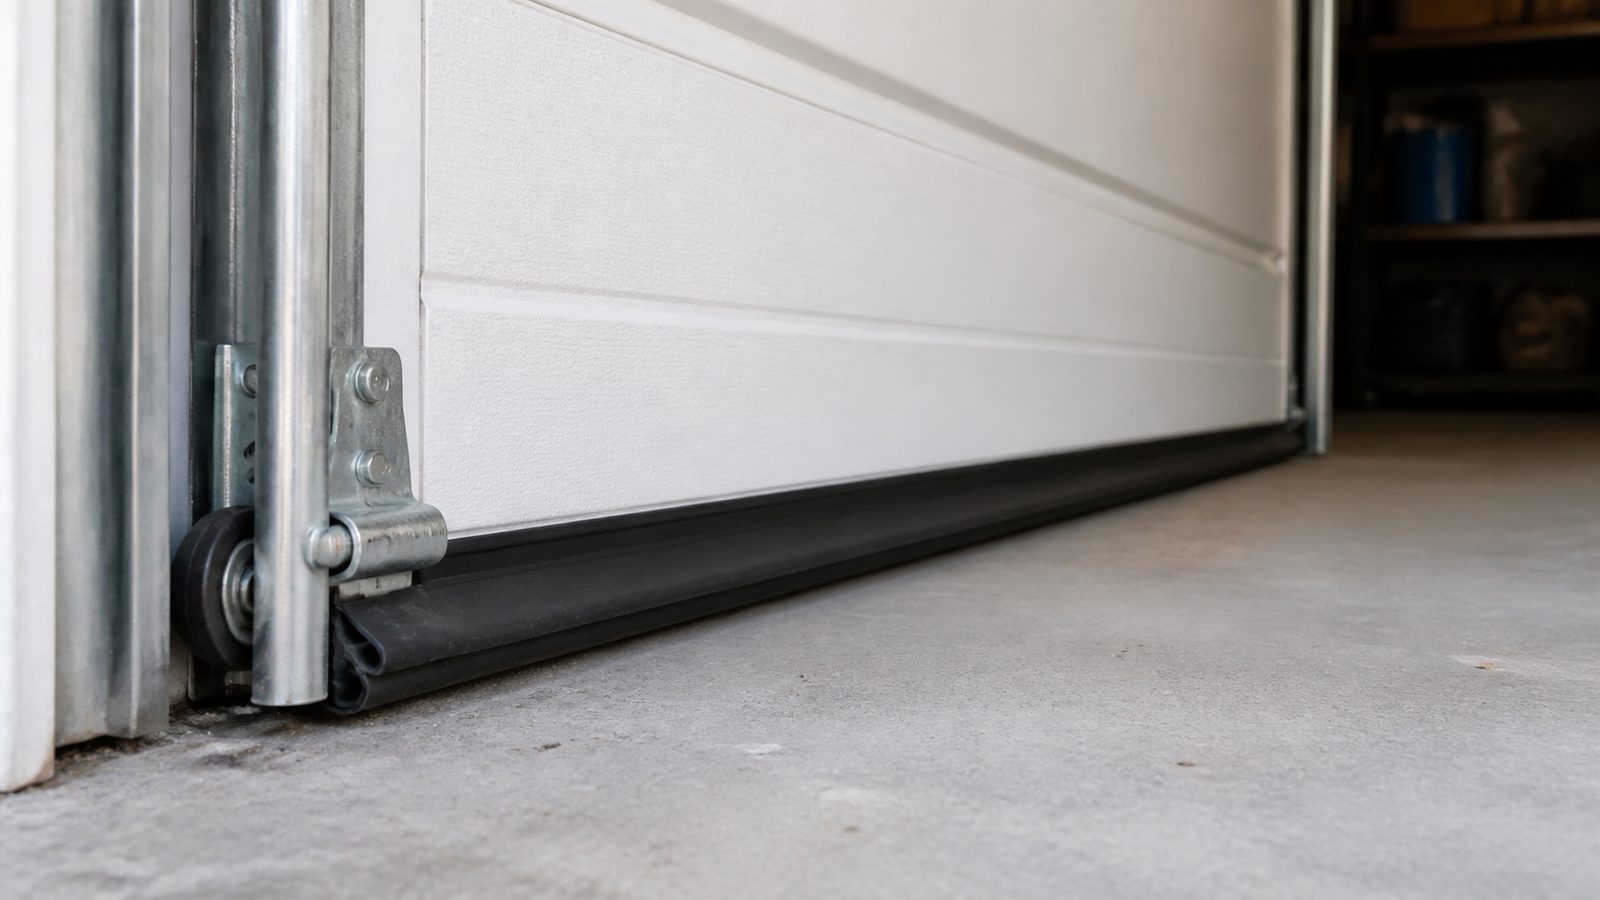
- Weatherstripping for the door bottom (bulb or T-style astragal)
- Perimeter weatherseal for the jambs and header
- Threshold seal if your slab has a gap at the bottom of the door
- Rag and mild cleaner for the panel surface
- Caulk gun and exterior-grade sealant for the frame
Step-by-Step
- Clean each panel first. Wipe down the inside face of every panel with a mild cleaner and let it dry fully. Adhesive-backed kits won't hold to dust or the film that builds up on garage doors near the coast.
- Measure every panel individually. Panels are rarely uniform once you account for ribs and hardware brackets. Measure each one and note where hinges, rollers, and struts sit so you don't cover them.
- Choose your material based on the door and the goal. Radiant barrier suits doors that take direct afternoon sun, since it reflects radiant heat rather than slowing conduction. Rigid foam gives the most stable, consistent result and cuts clean. Batt kits (fiberglass panels with a vinyl backing) are the simplest DIY option and come pre-sized for most standard door brands, but check panel dimensions against your door before ordering.
- Cut around hardware, not through it. Notch the insulation to clear hinges, roller brackets, and the strut if your door has one. Don't compress material against hardware to make it fit; trim it back instead.
- Set the insulation and secure it. Rigid foam and batt kits typically use adhesive-backed clips or retainer pins included with the kit. Press firmly along the full perimeter of each panel so it doesn't work loose with door cycling.
- Seal the door bottom. Replace the bottom weatherstripping if it's cracked, flattened, or pulling away from the track. This is where most outside air, dust, and water get in, more than through the panels themselves.
- Seal the perimeter. Install weatherseal along both jambs and the header. Check the threshold too. Daylight visible at the bottom corners when the door is closed defeats a good part of what you just did to the panels.
- Have the springs checked before you're done. Insulation adds real weight, sometimes 20 to 25 pounds per section, and that changes the balance point the torsion springs were set to hold. Do not attempt to adjust the springs yourself. Torsion springs are wound under extreme tension and have caused serious injuries and deaths when handled without the right tools and training. Call a licensed garage door technician to rebalance the spring tension after insulation is installed. This is not optional and it is not a DIY step under any circumstances.
Jacksonville Climate Considerations
A west-facing garage door in Mandarin, Nocatee, or Orange Park takes direct sun for hours on summer afternoons, and an uninsulated steel panel gets hot enough to make the garage feel like a convection oven. Unconditioned Jacksonville garages regularly climb well past 100 degrees in July and August regardless of what's on the door, so set expectations accordingly: insulation moderates how much heat the door contributes and how fast the garage swings with the outside temperature. It does not air-condition the space, and it won't compensate for an uninsulated attic hatch or an uninsulated wall shared with the house, both of which usually matter more to comfort than the door itself.
Humidity is the other factor. A sealed, insulated door reduces air exchange, which helps temperature but can mean more condensation on the inside face on humid mornings, especially if the garage isn't vented. Keep some air movement going if you store anything moisture-sensitive out there.
At the Beaches, salt air accelerates corrosion on fasteners, hinges, and exposed metal clips faster than it does further inland, so stainless or coated hardware is worth the upcharge near Jacksonville Beach, Atlantic Beach, or Neptune Beach.
And because the garage door is the largest opening in the house, it's the component your wind load engineering leans on hardest during a hurricane. That's the real reason to keep the weight question in mind and get the door rebalanced rather than skip it.
What It Costs in Jacksonville (DIY vs. Hiring a Pro)
| Approach | Typical Range | Notes |
|---|---|---|
| DIY batt kit, single-car door | $50 to $150 | Materials only, kit sized for a standard door |
| DIY rigid foam or radiant barrier, double-car door | $150 to $350 | Materials plus weatherstripping and sealant |
| Professional install, single-car door | $300 to $700 | Labor plus materials, includes weatherseal |
| Professional install, double-car door | $500 to $1,200 | Labor plus materials, includes weatherseal |
| Spring rebalance after insulation (either path) | $100 to $250 | Separate service call, priced by door size and spring type |
When to Call JK Prestige
If you're replacing the door rather than insulating the existing one, or the replacement is part of a larger renovation, that's permitted work with wind load and Florida Product Approval requirements attached. We handle that scope and coordinate the spring and hardware work so the door is balanced and rated correctly the first time. Not sure which situation you're in? Send us a photo and we'll tell you straight.
No call center. No coordinator. A JK principal reviews every inquiry and replies with a real number, not a range, not a follow-up form.
Request Free Estimate →