Painting kitchen cabinets is one of those jobs that looks simple from the outside and humbles most people on the first try. The prep takes three times as long as the painting. The humidity in Jacksonville makes every drying and curing window longer than the instructions say. And a bad paint job on cabinets looks worse than no paint job at all, because you see it every single day.
This guide is for homeowners who want a durable, professional-looking result. Difficulty: moderate to high (the prep is labor-intensive; the painting technique takes practice). Timeline: three to five days including cure time between coats. Total cost range: $200 to $600 for materials on a typical Jacksonville kitchen, not counting spray equipment.
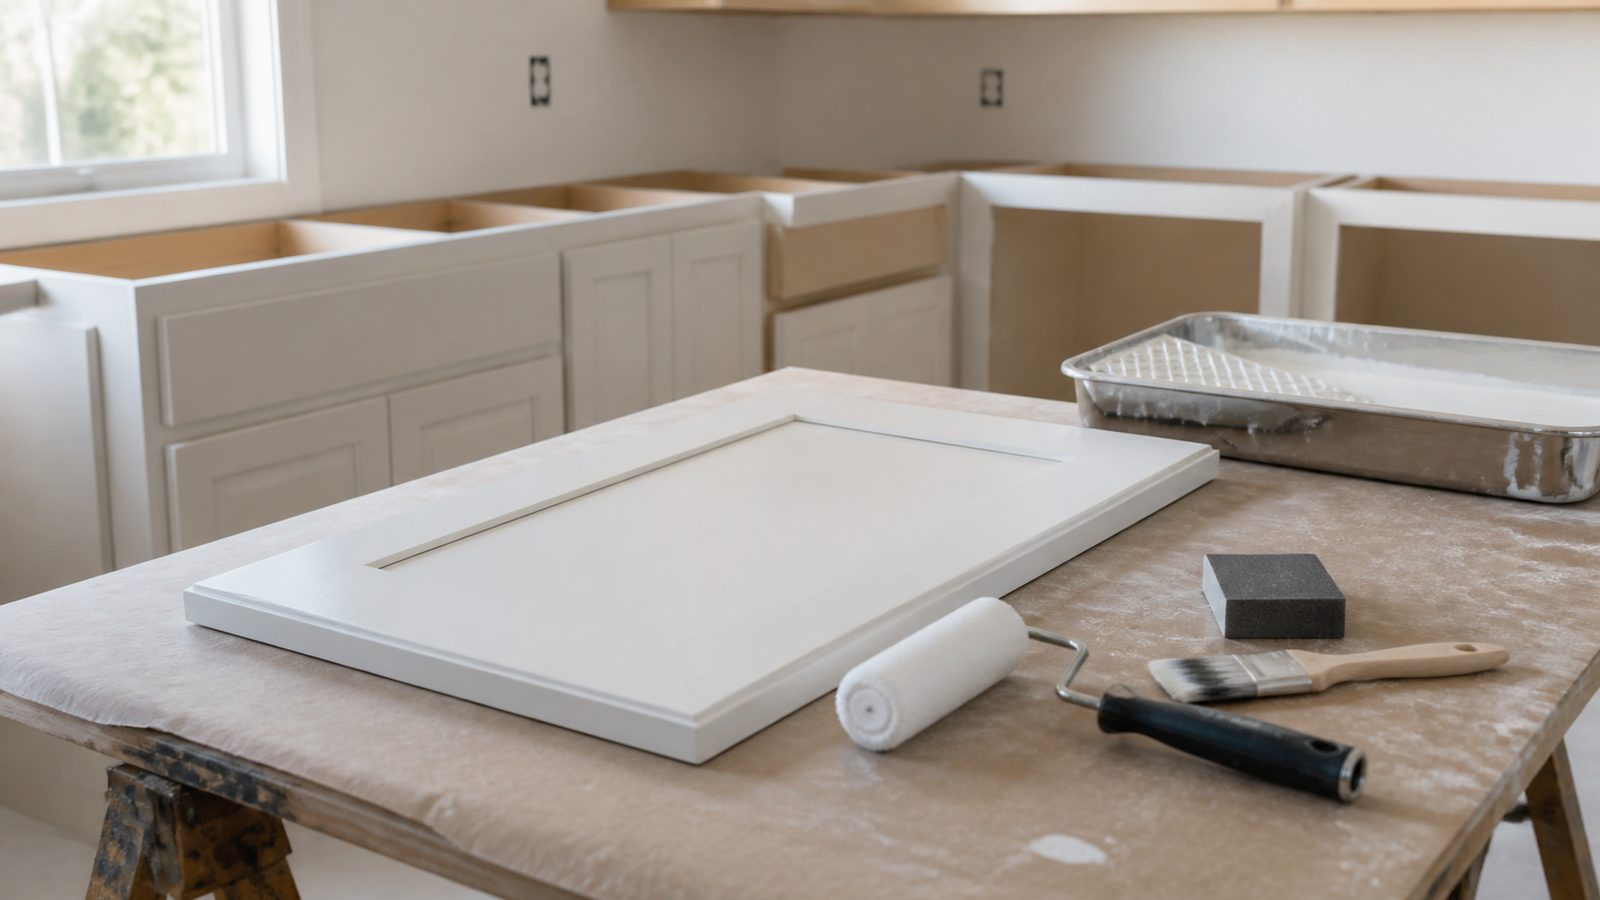
Tools You Need
- Electric palm sander with 120- and 180-grit sanding discs
- Sanding sponges and hand sanding blocks (for details and profiles)
- Screwdrivers (for removing doors, drawers, and hardware)
- Cordless drill
- Plastic drop cloths and masking tape
- Tack cloths
- Cleaning rags and buckets
- Paint roller (4-inch, high-density foam roller for flat panels)
- 2.5-inch angled brush (for frames and profiles)
- Paint sprayer (HVLP turbine or airless, if spraying — see below)
- Respirator (N95 minimum; P100 half-face respirator if spraying)
- Gloves
- Stir sticks
Materials You Need
- TSP substitute or heavy-duty degreaser (Krud Kutter or equivalent): $10 to $20
- 120-grit sandpaper: one sleeve: $10 to $15
- 180-grit sandpaper: one sleeve: $10 to $15
- 320-grit sanding block (for between coats): $8 to $12
- Bonding primer (Zinsser BIN shellac-based or Zinsser Bulls Eye 1-2-3): two quarts to one gallon: $30 to $55
- Cabinet-specific topcoat paint (Benjamin Moore Advance, Sherwin-Williams Emerald Urethane, or comparable alkyd-waterborne hybrid): one to two gallons: $70 to $120
- Tack cloths: one pack: $8 to $12
- Caulk (paintable, for any gaps in the frame): $8 to $12
- Wood filler (for dings, screw holes, or grain raising on MDF): $8 to $12
- Tip and nozzle cleaner (if spraying): $10 to $15
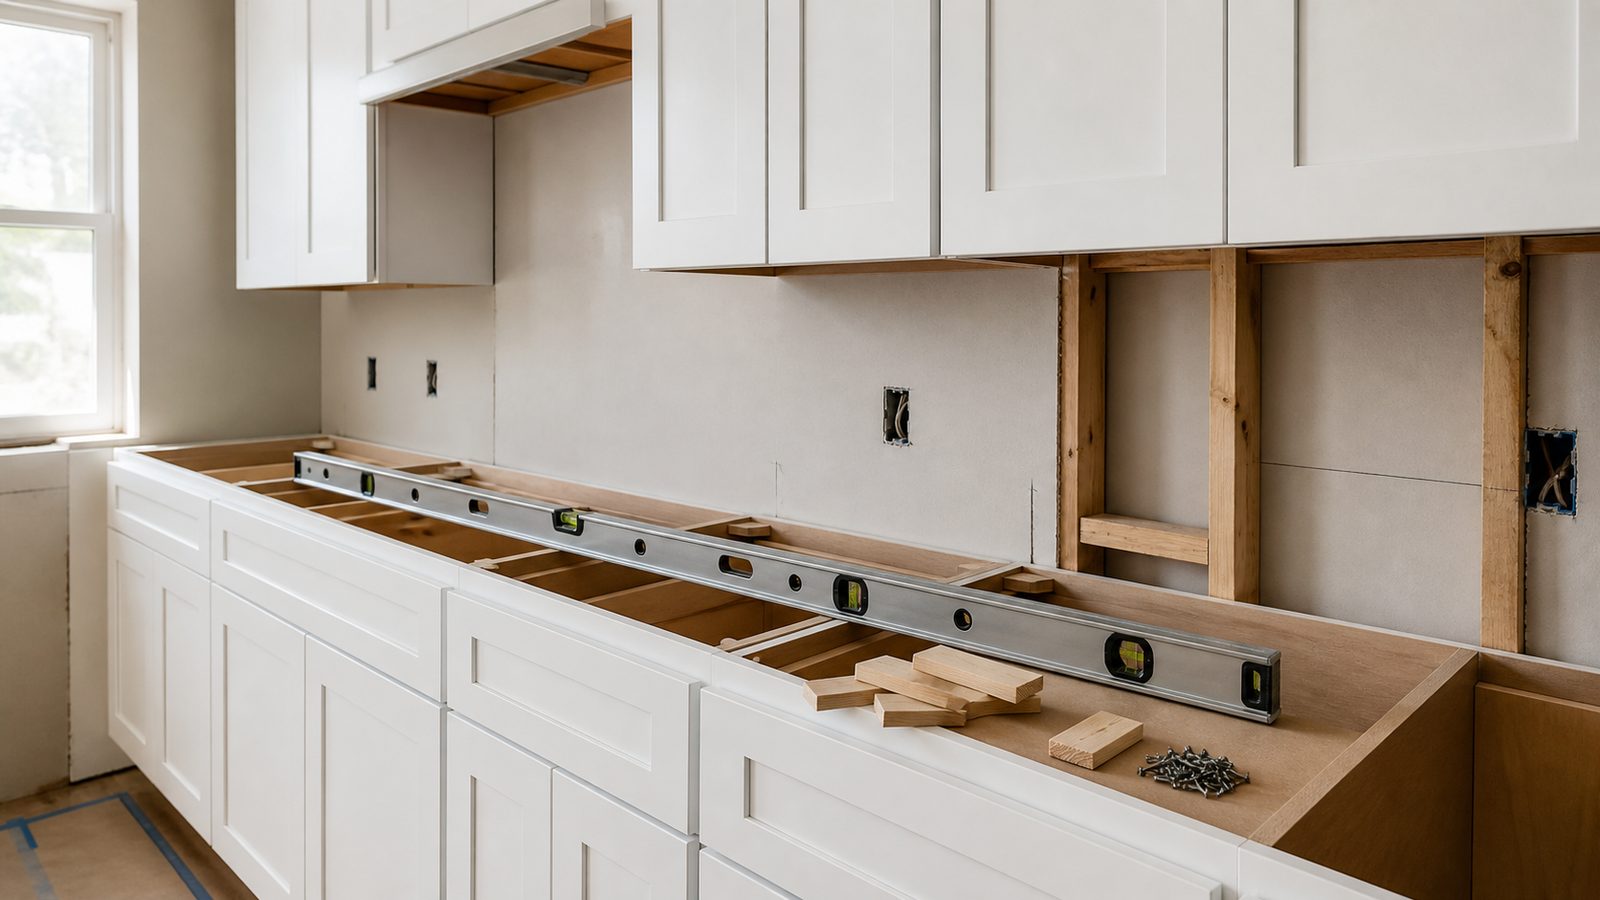
Step-by-Step Instructions
Phase 1: Disassembly and Surface Prep
Step 1: Remove everything from the cabinet faces.
Remove all doors and drawer fronts. Use a screwdriver to take off hinges and pull out drawer slides where needed. Number each door on the inside face with a pencil so you know exactly which opening it came from — doors often vary slightly in size even in the same kitchen. Remove all hardware: handles, knobs, hinges.
Lay doors flat on sawhorses or a clean surface. Never try to paint cabinet doors while they are vertical and hanging.
Step 2: Degrease everything.
Kitchen cabinet surfaces are coated in cooking grease, oil residue, and cleaners. This film is invisible but it will cause paint to fish-eye, peel, or fail to bond.
Mix a TSP substitute or Krud Kutter with water per the product directions and scrub every surface — door faces, door backs, cabinet frames, sides, and top rails. Two passes minimum. Rinse with clean water and let dry completely. In Jacksonville humidity, "dry" means dry to the touch plus 30 minutes.
Step 3: Sand all surfaces.
Sand with 120-grit to scuff the existing finish and give the primer something to grip. You are not trying to remove the existing finish entirely — you are breaking the surface sheen. Focus on flat panels and face frames. Use a sanding sponge for profiled or routed edges.
Follow with 180-grit to smooth the 120-grit scratches. Wipe everything with a tack cloth after sanding. Do not blow off sanding dust with compressed air — you will spread it onto other surfaces.
Fill any dings, gouges, or holes with lightweight wood filler. Let dry, sand flush with 180-grit, tack again.
Step 4: Caulk the frames.
Inspect the cabinet frames for gaps at corners, scribe molding joints, or where frames meet the wall. Caulk these with a paintable acrylic caulk. Smooth with a wet finger. Let dry per the product time before priming.
Phase 2: Primer
Step 5: Apply bonding primer.
Primer is the most important step in cabinet painting and the one most homeowners skip or shortchange. A proper bonding primer sticks to the existing finish, seals the substrate, and gives the topcoat something to bite into.
Two options work consistently in Florida's climate:
- Zinsser BIN shellac-based primer dries in 45 minutes, blocks stains, and bonds to almost any surface. It is the best choice for laminate, thermofoil, or previously painted cabinets that have had adhesion failures. Shellac-based primer requires denatured alcohol for cleanup and has strong fumes — work in a ventilated space.
- Zinsser Bulls Eye 1-2-3 or similar water-based bonding primer is easier to clean up and has lower odor. It works well on raw or previously painted wood cabinets. Dry time is longer in Jacksonville humidity — allow one to two hours between coats.
Apply primer thin and even. Two coats are better than one thick coat. A thick coat of primer sags, takes forever to dry, and sands poorly.
On the face frames, use a brush or a 4-inch foam roller. On door panels, a foam roller on the flat field and a brush for the profile edges gives the cleanest result. Let the primer fully cure before sanding.
Step 6: Sand primer with 220-grit and tack off.
After primer is fully dry (not just touch-dry), sand lightly with 220-grit to remove any nibs, brush marks, or raised grain. Wipe with a tack cloth. The surface should feel like smooth glass before topcoat goes on.
Phase 3: Topcoat Application
Step 7: Choose your application method.
You have two real options: brush and roller, or spray.
Brush and roller is accessible for anyone. Use a high-quality 4-inch foam roller on flat panels. Use a 2.5-inch angled brush for face frames, profiles, and edges. Roll the panel, then tip it off with light brush strokes in one direction to remove roller texture. Quality alkyd-waterborne paints like Benjamin Moore Advance level out well and minimize brush marks if you work wet edges and do not overwork the paint.
Spraying produces a factory-level finish with no brush or roller marks. An HVLP turbine or a good airless sprayer with a fine-finish tip (310 to 415 tip) atomizes the paint into a fine mist. The result is smoother than any brush-and-roller application. The tradeoffs: setup and masking take significantly longer, overspray requires protecting every surface in the kitchen, and technique matters — runs and sags from spraying are harder to fix than brush marks. If you have not sprayed before, practice on cardboard first.
In both cases: thin coats. Two or three thin coats beat one heavy coat every time.
Step 8: Apply first topcoat.
Paint door backs first, let them dry face-down, then paint door faces. This keeps you from putting a wet face on a surface that is not ready.
Work in a clean, dust-free environment. In Jacksonville, keep the AC running to control humidity. High humidity slows dry times and can cause paint to sag or blush (turn milky). Do not paint when exterior humidity is driving moisture into the space.
Apply one coat, working systematically from top to bottom. Let dry fully per product instructions. Alkyd-waterborne hybrids typically need two to four hours between coats; shellac-based primer is faster.
Step 9: Sand between topcoats.
Light sanding with 320-grit between topcoats knocks down any dust nibs or raised grain and improves the adhesion of the next coat. Wipe with a tack cloth before the next application.
Step 10: Apply second and third topcoats.
Three topcoats on doors and visible frame surfaces gives you a finish that holds up to daily use. Two coats minimum. The final coat should be smooth and even. Allow a full 24 hours before handling doors. Allow 7 to 14 days for full cure before reinstalling and putting contents back in the cabinets.
Phase 4: Reassembly
Step 11: Reinstall doors, hardware, and drawer fronts.
Hang doors and check alignment. Most modern hinges adjust in three directions — use these adjustments to get consistent reveals between doors. Install drawer fronts per your measurements. Install new hardware. Step back and inspect in multiple light conditions — a good cabinet paint job should look like it came from the factory.
Common Mistakes to Avoid
- Skipping degreaser and relying on sanding alone. Grease contamination is invisible and causes paint failure. Degrease before you sand.
- Applying one thick coat instead of two or three thin coats. Thick coats run, sag, and do not cure properly.
- Using regular wall paint instead of a cabinet-specific product. Sherwin-Williams Emerald Urethane, Benjamin Moore Advance, and similar alkyd-waterborne products are formulated to harden into a durable surface that resists chipping. Wall paint stays soft and damages easily.
- Not letting primer cure fully before sanding or painting. Touch-dry and ready-to-sand are different things. Check the technical data sheet for the product, not just the label.
- Painting in high humidity without climate control. Jacksonville summers will ruin a paint job if you do not control the environment. Run the AC.
When to Hire a Pro Instead
Bring in a professional painter or GC for any of the following:
- The existing cabinet finish is thermofoil, RTF, or melamine laminate that is already peeling. Painting over a failing substrate is a temporary fix. A pro can assess whether the cabinets are worth painting at all or whether new boxes are the right call.
- You want a spray finish and have no experience. Overspray on your stainless appliances, granite countertops, or tile backsplash is expensive to fix. Masking and spraying cabinet doors correctly takes skill.
- The cabinets have water damage, swollen MDF, or delaminating veneer. These problems need to be addressed before paint, and the fixes often require replacement panels, not just filler.
- Your timeline is tight. A professional two-person crew can strip, prime, spray, and rehang a full kitchen in three to four days. The DIY version with proper drying times runs five to seven days.
- You want the job under warranty. Professional painters working with specified materials can provide a workmanship warranty. A DIY job has no warranty.
Need a Jacksonville GC for this job? Get a 48-hour free fixed-price estimate from JK Prestige Constructor.
No call center. No coordinator. A JK principal reviews every inquiry and replies with a real number, not a range, not a follow-up form.
Request Free Estimate →