Most homeowners building a custom home think finish selections are something they handle leisurely during construction — browsing tile showrooms while the framing goes up. That assumption produces change orders, schedule delays, and awkward conversations with your GC.
Finish selections drive rough-in decisions. The location of a drain, the placement of a junction box, the height of a blocking strip inside a wall — all of these are determined during rough framing and rough mechanical, electrical, and plumbing (MEP) work, which happens weeks before any finish material goes on the truck. If your tile, cabinets, or fixtures are not selected when your GC needs that information, either work stops or your GC makes a default decision and you live with it.
This guide maps the full selection timeline for a custom home in Florida and explains what happens when you miss each window.
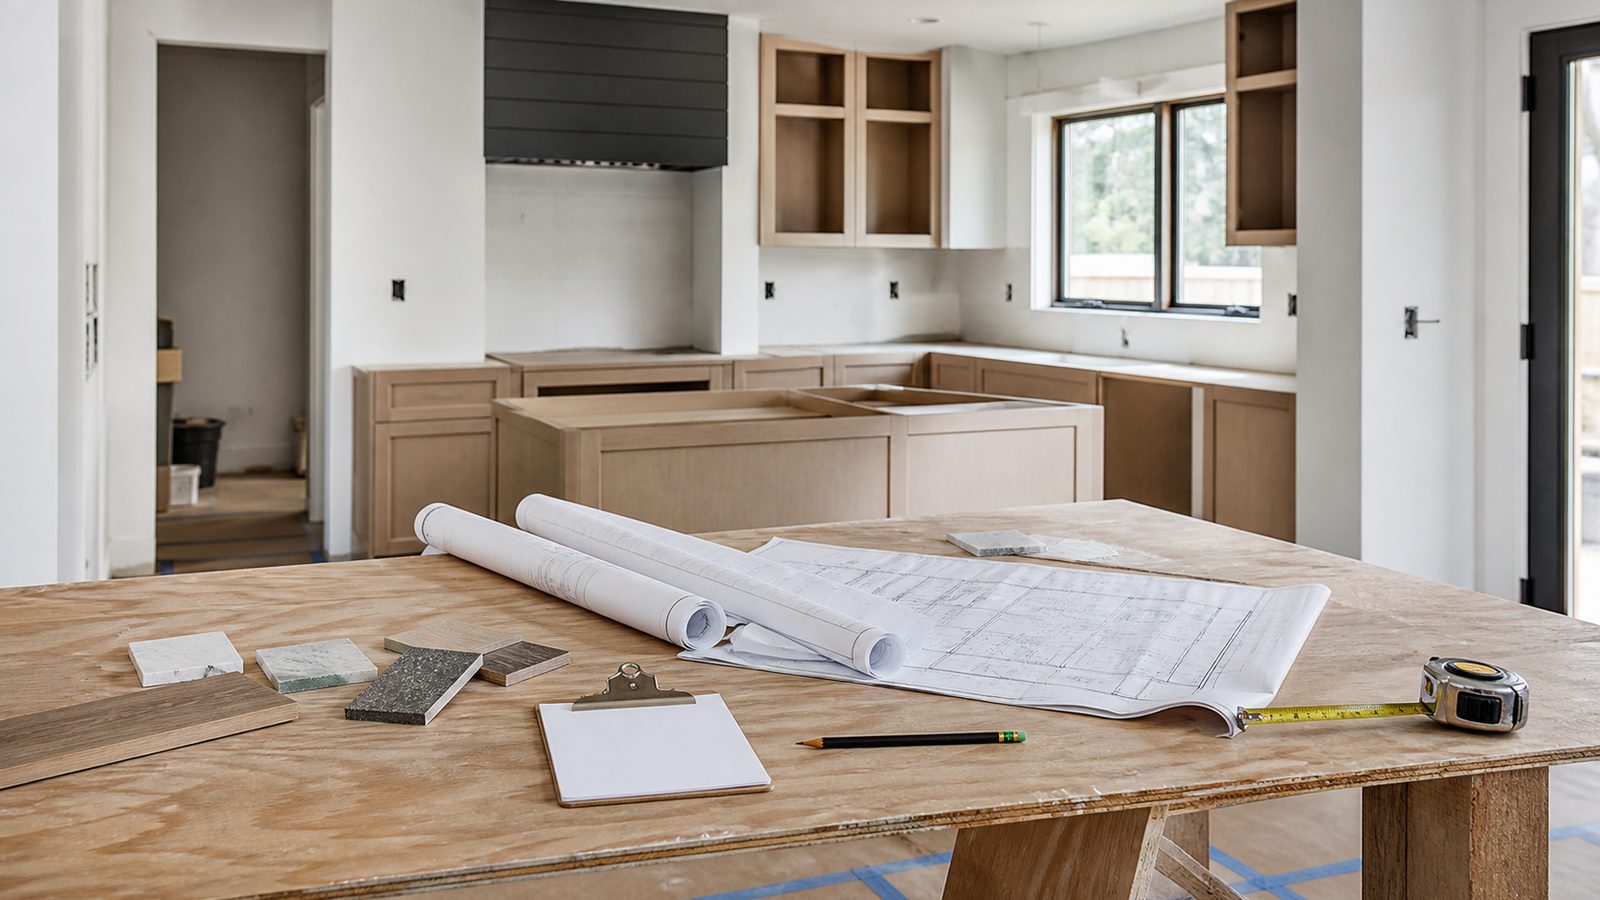
Step 1: Understand Your GC's Selection Schedule Before Design Begins
The first document to request from your general contractor is the selection schedule — a list of every finish category, the latest date each selection can be made without affecting the project schedule, and who is responsible for coordinating each one.
A well-run GC provides this at or before contract signing. If yours does not, ask for it. The schedule will show that selections cluster into two waves:
Wave 1 — Before or at rough framing: Floor tile size and layout, plumbing fixture rough-in locations, electrical panel size, heavy structural finishes like fireplace surrounds and built-in cabinetry.
Wave 2 — Before or at drywall: Lighting fixtures, door hardware, paint colors, countertop material, appliance models for cutout dimensions.
Everything with a long lead time — typically custom cabinetry, stone countertops, specialty tile, and fixture sets from European manufacturers — belongs in Wave 1 regardless of when it technically gets installed. Lead time and installation date are not the same thing. Order early; install when ready.
Learn more about how JK manages the pre-construction process to understand how selection timelines integrate with the build schedule.
Step 2: Lock Tile and Flooring Before Framing Is Finished
Floor tile selection is one of the earliest deadlines and the one most often missed. Here is why it matters structurally:
Large-format floor tiles — anything 24 inches by 24 inches or larger — require a stiffer subfloor than standard 12-inch tile. The Tile Council of North America (TCNA) specifies maximum deflection ratios for tile installations. If you select a 48-by-48-inch porcelain tile after the framing is complete and the floor joist spacing is already set at 16 inches on center, you may need to double the joists or add a layer of cement board, both of which cost money and time.
Your GC needs to know the tile size before the floor framing is finalized. This means you need to have a tile direction, a pattern, and a general size range selected during the design phase — not after permit issuance.
For hardwood flooring, the selection deadline is less structural but still time-sensitive. Engineered hardwood and solid hardwood both require acclimation time (3 to 7 days on-site before installation), and some exotic species have 12 to 20-week lead times from specialty suppliers.
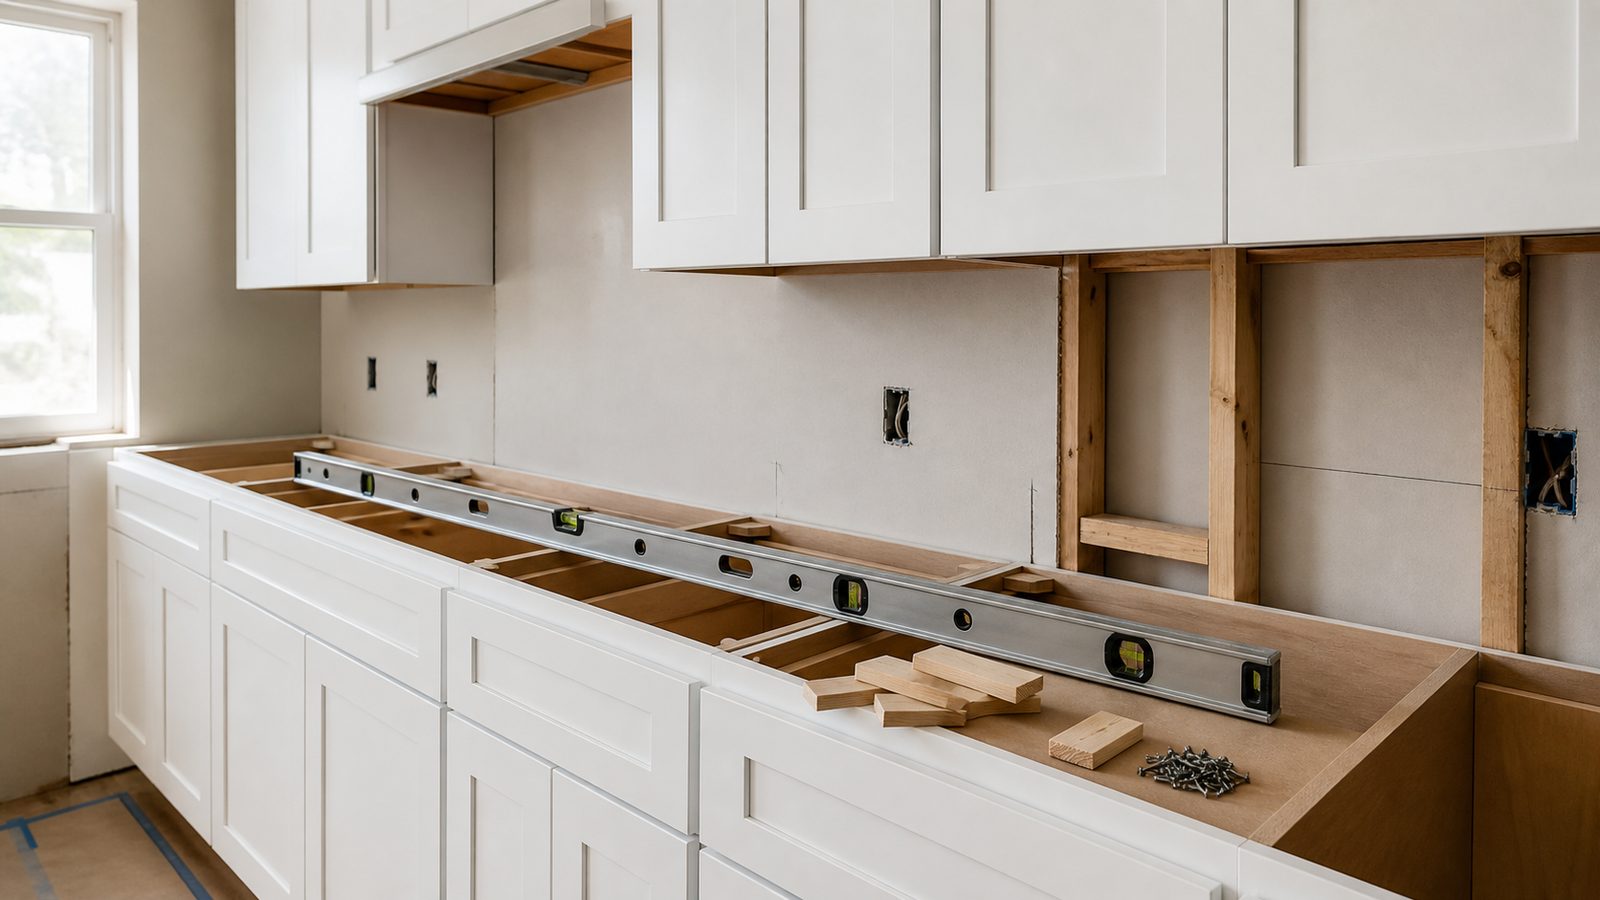
Step 3: Place Cabinet and Countertop Orders 10 to 16 Weeks Before Install
Custom cabinetry is the longest lead-time item in a typical residential build. Semi-custom cabinets from domestic manufacturers run 6 to 10 weeks. Full custom cabinets run 10 to 16 weeks, sometimes longer for inset door styles or furniture-grade painted finishes.
The cabinet order cannot go in until the drawings are finalized and approved by both the homeowner and the GC, because cabinet dimensions determine the electrical rough-in for under-cabinet lighting, the plumbing rough-in for the kitchen sink drain and dishwasher connection, and the blocking requirements inside the walls for upper cabinet mounting.
Countertop fabrication follows cabinet installation. Stone — granite, quartzite, marble, engineered quartz — is templated after the cabinets are set, then fabricated over 1 to 2 weeks. If your countertop material requires a long lead time (certain imported stones can take 4 to 8 weeks to arrive at a local fabricator), order the slab before the cabinets arrive and store it.
Do not assume a big-box store cabinet lead time applies to your custom home. A GC building at a quality level appropriate for custom construction is not sourcing from a home improvement warehouse.
Step 4: Select Plumbing Fixtures Before Rough-In
Rough plumbing establishes the drain, waste, and vent (DWV) system and the supply rough-in locations. Once concrete is poured or subfloor is laid over the rough-in, changing drain locations requires cutting — which costs $500 to $2,000 per location depending on slab or framed floor construction.
Your plumber needs to know:
- Toilet location and rough-in dimension (the distance from finished wall to the center of the drain; standard is 12 inches, but some fixtures require 10 or 14 inches)
- Shower pan size and drain location
- Freestanding tub drain and supply location (freestanding tubs often have floor-mounted supply rather than wall-mounted, which changes rough-in entirely)
- Kitchen sink type (undermount requires different countertop cutout coordination than drop-in)
Fixture selection at rough-in does not mean the fixtures have to be on-site. It means the model numbers are confirmed so your plumber can set the rough-in to match. Have your plumbing selections made no later than 2 weeks before rough-in begins.
Step 5: Select Electrical Fixtures Before Rough-In
Electrical rough-in sets the junction box locations, which are fixed once drywall goes up. If you select a dining room pendant after rough-in and its chain point is 8 inches to the left of where the box was placed, you are looking at a drywall repair, new box location, and re-patch — a $300 to $600 nuisance that was entirely avoidable.
Critical electrical selections to make before rough-in:
- Ceiling fan locations and box type (fans require a fan-rated box with a brace bar; a standard light box is not adequate for a ceiling fan)
- Pendant lights over islands (the number and spacing of pendants determines junction box placement)
- Recessed lighting layout (work with your GC or electrician to lay out the ceiling plan before wiring begins)
- Under-cabinet lighting (requires a low-voltage transformer location and wiring path behind the cabinets, coordinated with cabinet layout)
- Exterior lighting (junction box locations tie to framing and exterior cladding)
For smart home systems — structured wiring, home automation, audio/visual rough-in — these require pre-planning before any wall is closed. If you want in-wall speakers or a central control system, the wire goes in during rough-in or not at all without major remediation.
Step 6: Understand How Allowances Work Versus Fixed Selections
Some GC contracts include an allowance for a finish category rather than a specific selection. An allowance is a dollar placeholder — the contract says "tile allowance: $8.00 per square foot installed" and you make the selection later, with any cost above the allowance billed as a change order.
Allowances are convenient at contract signing but become a source of friction mid-project. A $8.00 per-square-foot installed allowance sounds reasonable until you fall in love with a $14.00 per-square-foot tile and the change order arrives.
At JK Prestige Construction, we prefer to convert allowances to fixed selections during pre-construction so the contract price is real. Where allowances are unavoidable because the homeowner is still deciding, we document the allowance level clearly and flag it as a budget risk.
If your contract has many allowances, list them, assign realistic cost estimates, and treat any amount above the allowance as potential overage. Add that total to your contingency calculation.
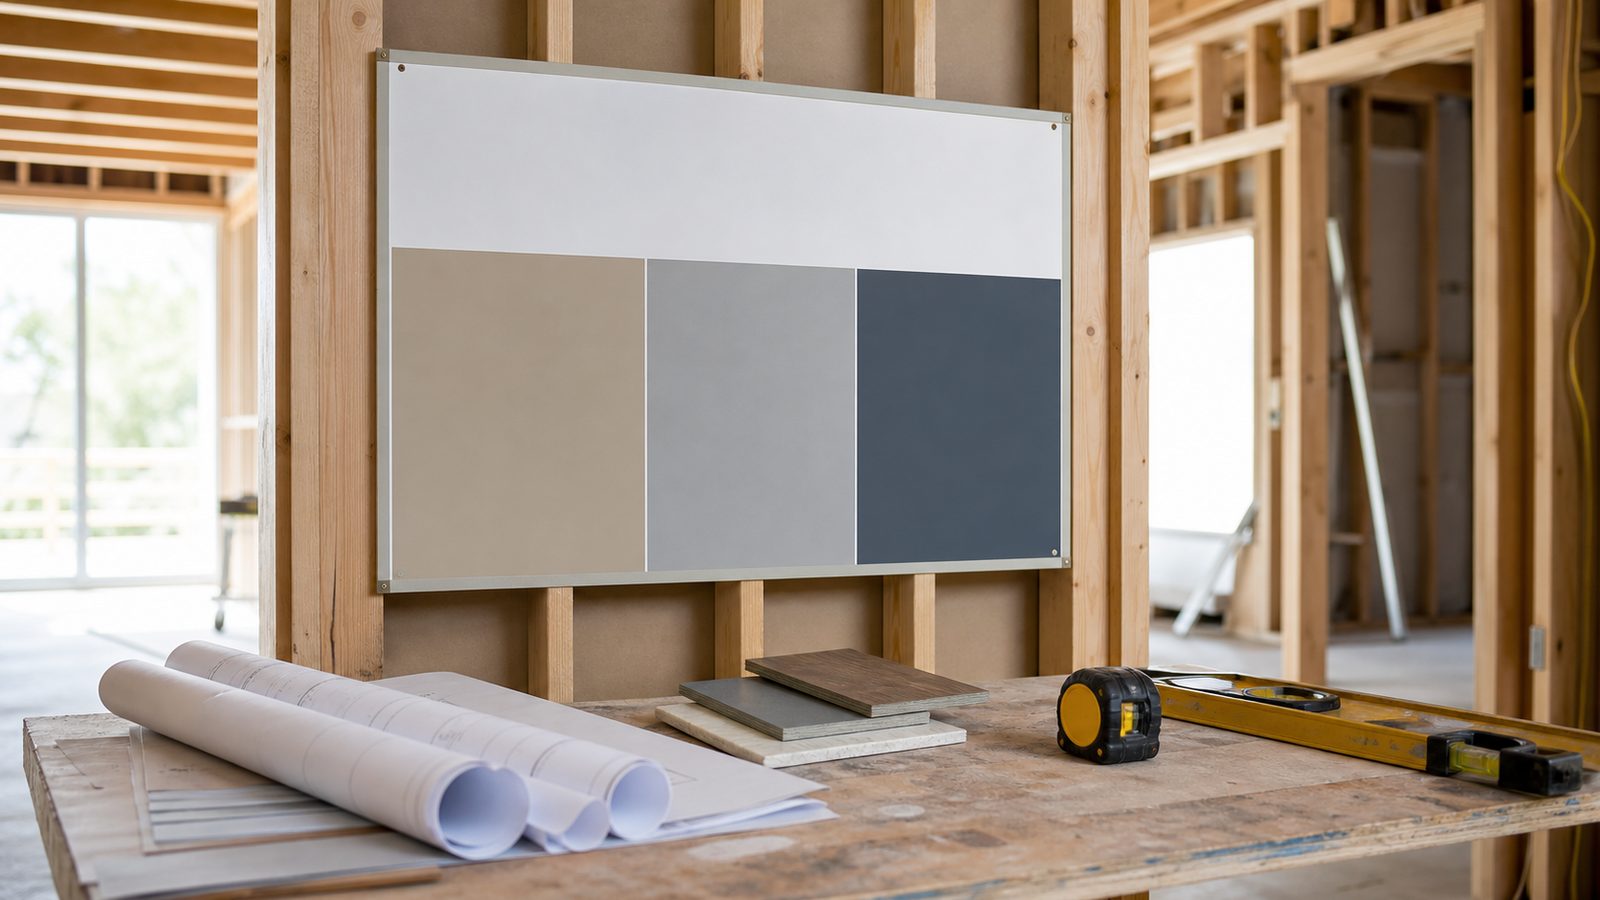
Step 7: Understand What Happens When You Miss a Selection Deadline
When you miss a selection deadline, your GC has three options, none of them free:
- Stop work and wait. The crew moves off your job to another project. When you make the selection, the crew returns — but their schedule may have filled in, pushing your restart by days or weeks.
- Make a default decision. The GC selects a standard option to keep work moving. You may or may not like it. Changing it later is a change order.
- Issue a change order for the delay. If your contract includes a schedule-delay provision, missed selection deadlines can generate a daily cost charge.
The professional way to handle this: treat the GC's selection schedule as a hard deadline, the same way you treat a permit submittal or a bank draw deadline. Put every selection deadline in your personal calendar 3 weeks before the GC's deadline. That gives you time to visit showrooms, get samples, and confirm lead times before you commit.
Pro tip: Build a selections tracker spreadsheet the day you sign the contract. Columns: category, selection deadline (GC's date), your target decision date (3 weeks prior), vendor, model number, lead time, order date, expected delivery. Update it weekly.
Warning: Florida humidity affects material acclimation. Do not store hardwood flooring, cabinetry, or interior millwork in a garage, an unconditioned shell, or an outdoor staging area. Materials must acclimate at the humidity level of the finished interior — which means the HVAC system must be operational before sensitive materials arrive on-site.
Get a written estimate in 48 hours. Call (904) 944-0278 or request a consultation.
No call center. No coordinator. A JK principal reviews every inquiry and replies with a real number, not a range, not a follow-up form.
Request Free Estimate →