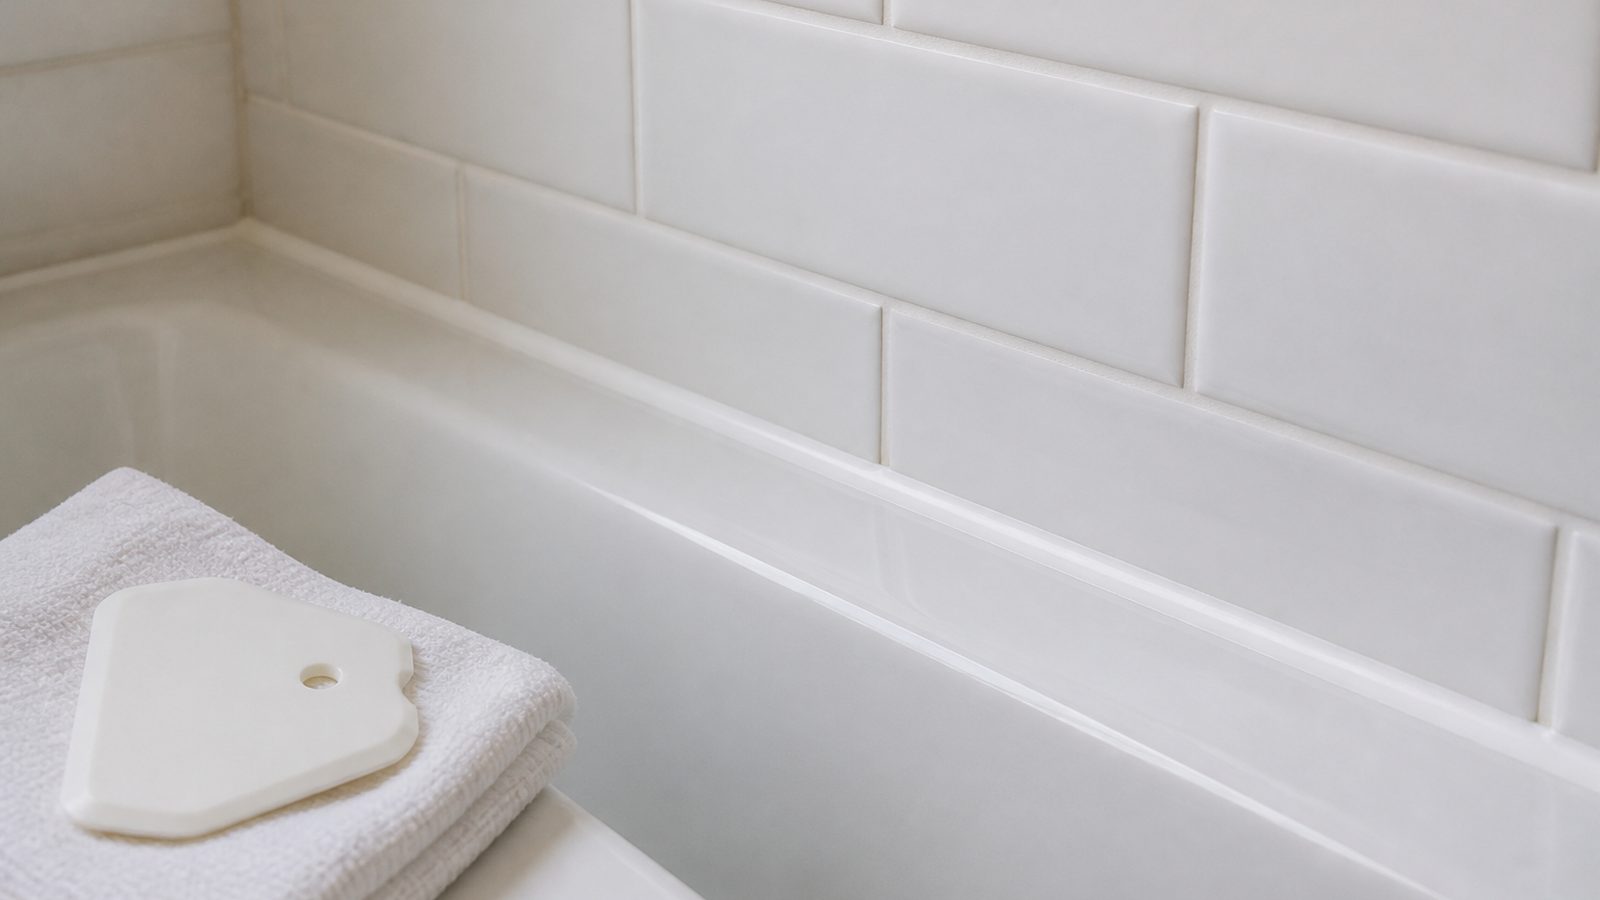
If the caulk around your tub or shower has turned gray, cracked, or started peeling away from the tile, it is doing more than looking bad. Once that seal breaks, water gets behind the tub surround and into the wall cavity, and in a Jacksonville home that moisture rarely dries out on its own given the humidity already in the air. Re-caulking a tub or shower is an approachable DIY project, but it has to be done in the right order, with the right product, or it fails again within months. Here is how to do it correctly, what it should cost, and when the problem is bigger than a caulk gun can fix.
When You Need a Permit in Jacksonville
Re-caulking a bathtub or shower is routine maintenance, similar to painting or replacing a faucet handle. Neither the City of Jacksonville's Building Inspection Division nor Duval County requires a permit for it, since no plumbing, electrical, or structural work is involved.
That changes if, once you pull the old caulk, you find soft or spongy drywall, a subfloor that gives when you press on it, or staining that traces back to a leaking tub spout or shower valve rather than a failed caulk joint. Those conditions point to an active leak, and repairing the plumbing or replacing damaged framing and drywall does require a permit through the City of Jacksonville. Do not caulk over rot or hidden water damage. Sealing the surface without addressing the cause just traps moisture in the wall and lets the damage spread out of sight.
Tools and Materials
- Caulk removal tool, or a stiff plastic putty knife and a utility knife
- 100% silicone, mildew-resistant caulk rated for kitchen and bath use (avoid acrylic latex caulk here, it does not hold up to constant water exposure)
- Caulking gun
- Painter's tape
- Isopropyl alcohol (90% or higher) and clean rags
- Oxygen bleach or a bathroom-safe mold and mildew remover, if staining is present
- A caulk smoothing tool, or a finger in a nitrile glove
- A small fan or the bathroom's exhaust fan, to help the joint dry and cure faster in humid conditions
Step-by-Step
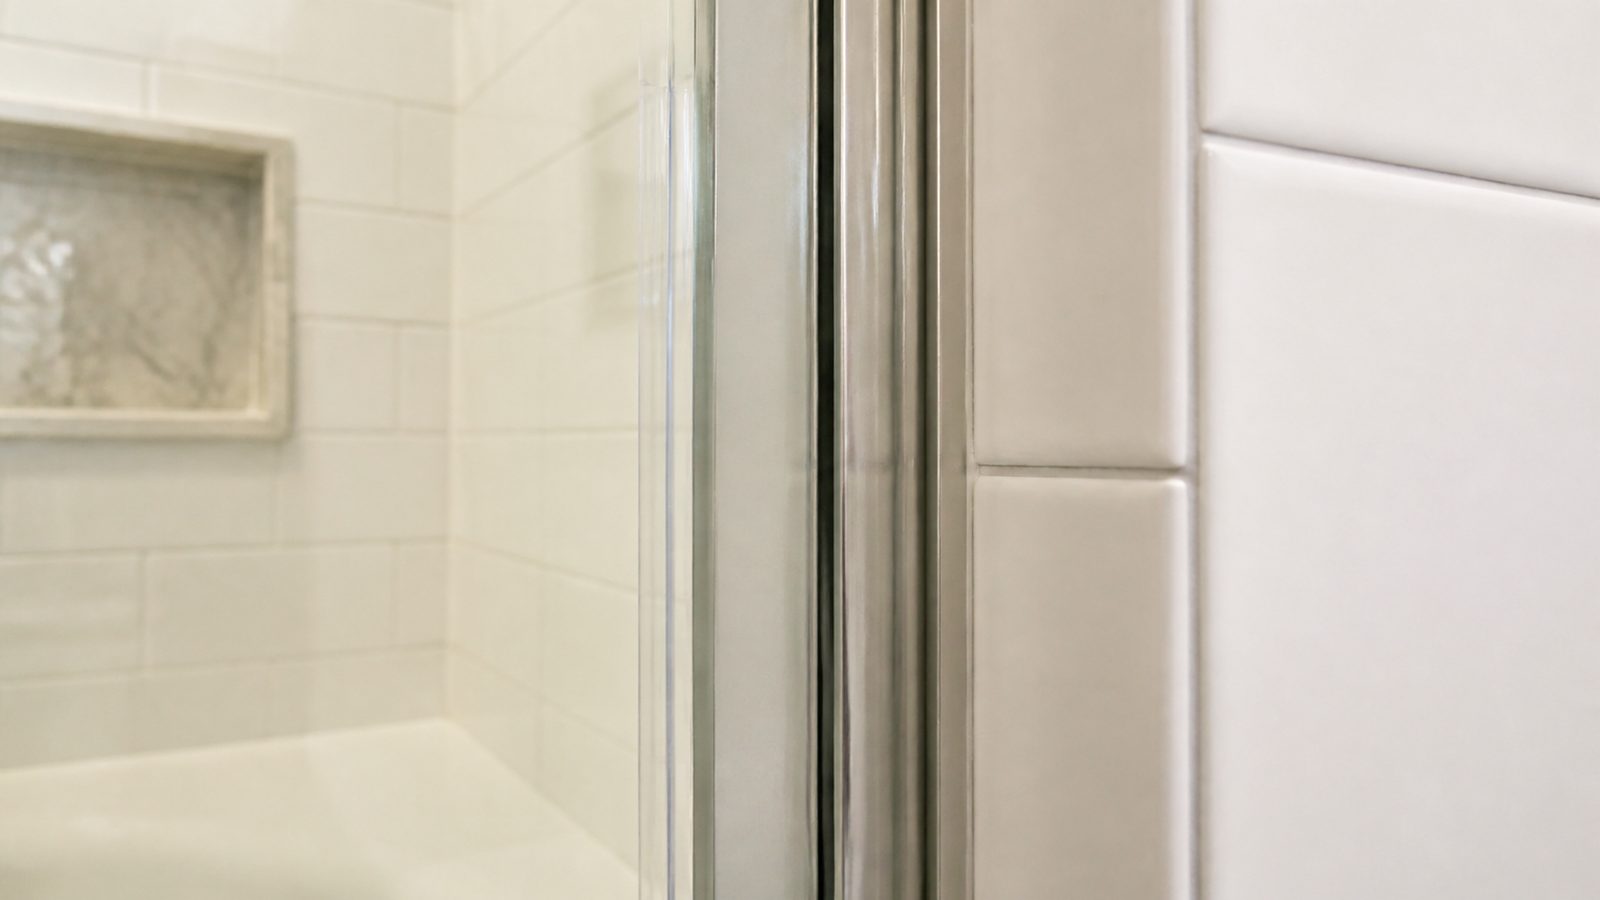
- Ventilate first. Turn on the bathroom exhaust fan or open a window before you start. You'll be using alcohol and possibly a bleach-based cleaner, and Jacksonville bathrooms without good airflow trap fumes and moisture fast.
- Remove the old caulk. Score along both edges of the existing bead with a utility knife, then work the removal tool or putty knife underneath to peel it away in strips. Take your time at the corners, where old caulk builds up thickest.
- Clean the joint completely. Scrape off any residue, then wipe the joint with isopropyl alcohol and a clean rag. Let it dry fully. In Jacksonville's humidity, surfaces that feel dry can still hold moisture in the grout or tile pores, so give it a few hours with the fan running before moving on.
- Treat any mold or mildew staining. If you see black or pink staining in the grout or along the tub edge, treat it with an oxygen bleach solution or bathroom mold remover before recaulking. Rinse well and let the area dry completely, ideally overnight with ventilation running. Sealing new caulk over active mold just seals the mold in.
- Tape the lines. Run painter's tape about an eighth of an inch back from the joint on both the tub and tile side. This keeps your bead straight and makes cleanup easier.
- Cut the tube and load the gun. Cut the tip at a 45-degree angle, keeping the opening small, about the width of the joint you're filling.
- Apply the bead. Run a steady, continuous line of caulk along the joint in one pass if you can, without stopping and restarting midway.
- Tool the bead. Smooth it with a caulk tool or a gloved finger dipped in soapy water, pressing it into the joint rather than just spreading it across the surface. This is what creates the actual seal.
- Pull the tape immediately. Remove the painter's tape while the caulk is still wet, pulling it away at an angle so you don't drag the fresh bead.
- Let it cure before using the tub or shower. Most 100% silicone caulk needs at least 24 hours before contact with water, and manufacturers often recommend longer for a full cure. Check the tube's instructions and plan to skip showers in that bathroom during the window.
Jacksonville Climate Considerations
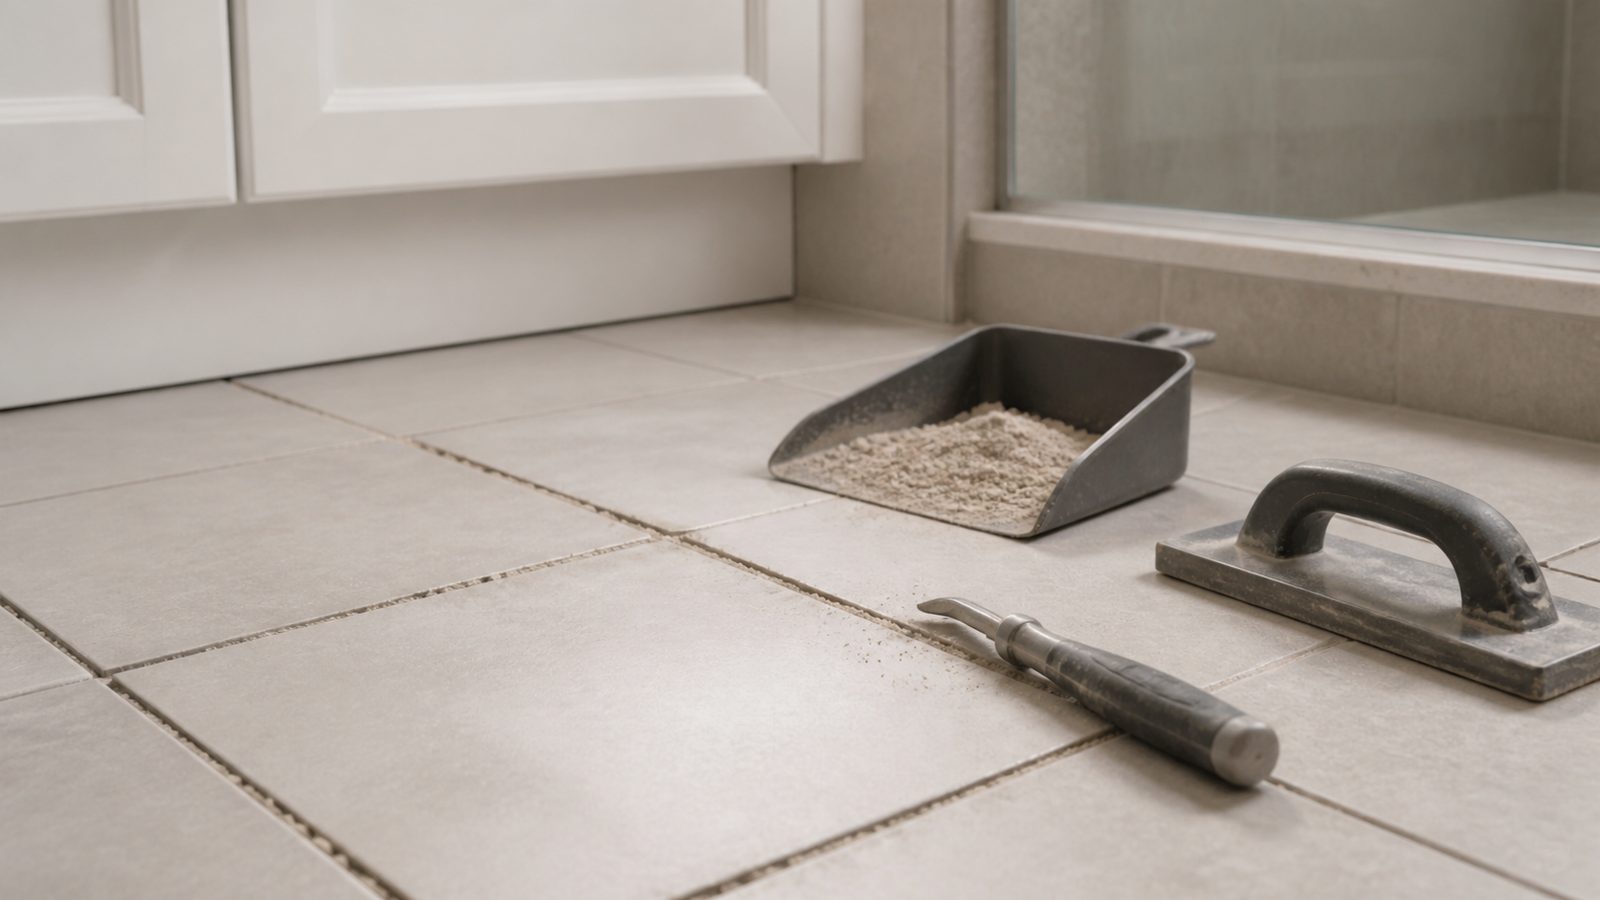
Jacksonville sits in a humid subtropical climate, and indoor relative humidity in bathrooms without strong ventilation stays elevated for much of the year, especially in summer. That constant moisture is exactly what mold and mildew need to take hold in a caulk joint, which is why a caulk labeled specifically mildew-resistant matters more here than in a drier climate. Standard caulk without that additive will often show mildew again within months.
Ventilation matters just as much as the product. If your exhaust fan vents into the attic instead of outside, or there isn't a working fan at all, which is common in older Jacksonville homes, moisture has nowhere to go after every shower. Running the fan during a shower and for 20 to 30 minutes afterward gives new caulk a much better chance of lasting, and protects the surrounding drywall and framing too.
What It Costs in Jacksonville (DIY vs. Hiring a Pro)
| Approach | Typical Cost | Notes |
|---|---|---|
| DIY materials | $15 to $40 | One or two tubes of quality silicone caulk, tape, and alcohol; less if you already own a caulking gun |
| Hiring a local contractor | $150 to $350 | Covers full removal, cleaning, mold treatment if needed, and reapplication for a standard tub or shower surround |
| Hiring a pro with mold remediation or minor tile repair | $350 to $700+ | Price rises if grout, drywall, or tile needs repair alongside the caulk |
DIY makes sense for a straightforward recaulk on a tub or shower in good condition. It makes less sense if you're unsure whether you're looking at surface mildew or a deeper moisture problem, since a rushed job just means redoing it in six months.
When to Call JK Prestige
If you pull back the old caulk and find soft drywall, a subfloor that flexes underfoot, or mold that keeps returning no matter how often you reseal the joint, that's a sign of an ongoing leak, not a caulk failure. JK Prestige inspects the tub surround, valve, and framing to find the actual source, then handles the repair properly instead of papering over it with another bead of caulk. Reach out if your bathroom shows any of these signs before they become a bigger repair.
No call center. No coordinator. A JK principal reviews every inquiry and replies with a real number, not a range, not a follow-up form.
Request Free Estimate →