If you live in Jacksonville and have noticed water stains on your interior trim, soft drywall near a window, or paint peeling on the exterior siding, failed caulk is one of the first things to check. Northeast Florida's combination of intense UV exposure, high humidity, and seasonal wind-driven rain — including tropical storms that push water sideways against your walls — is unusually hard on exterior sealants. Caulk that performs fine in a northern climate can crack, shrink, or delaminate here in two to three years. Re-caulking exterior windows is a maintenance task most homeowners can handle themselves, but doing it correctly matters more here than anywhere else.
When You Need a Permit in Jacksonville
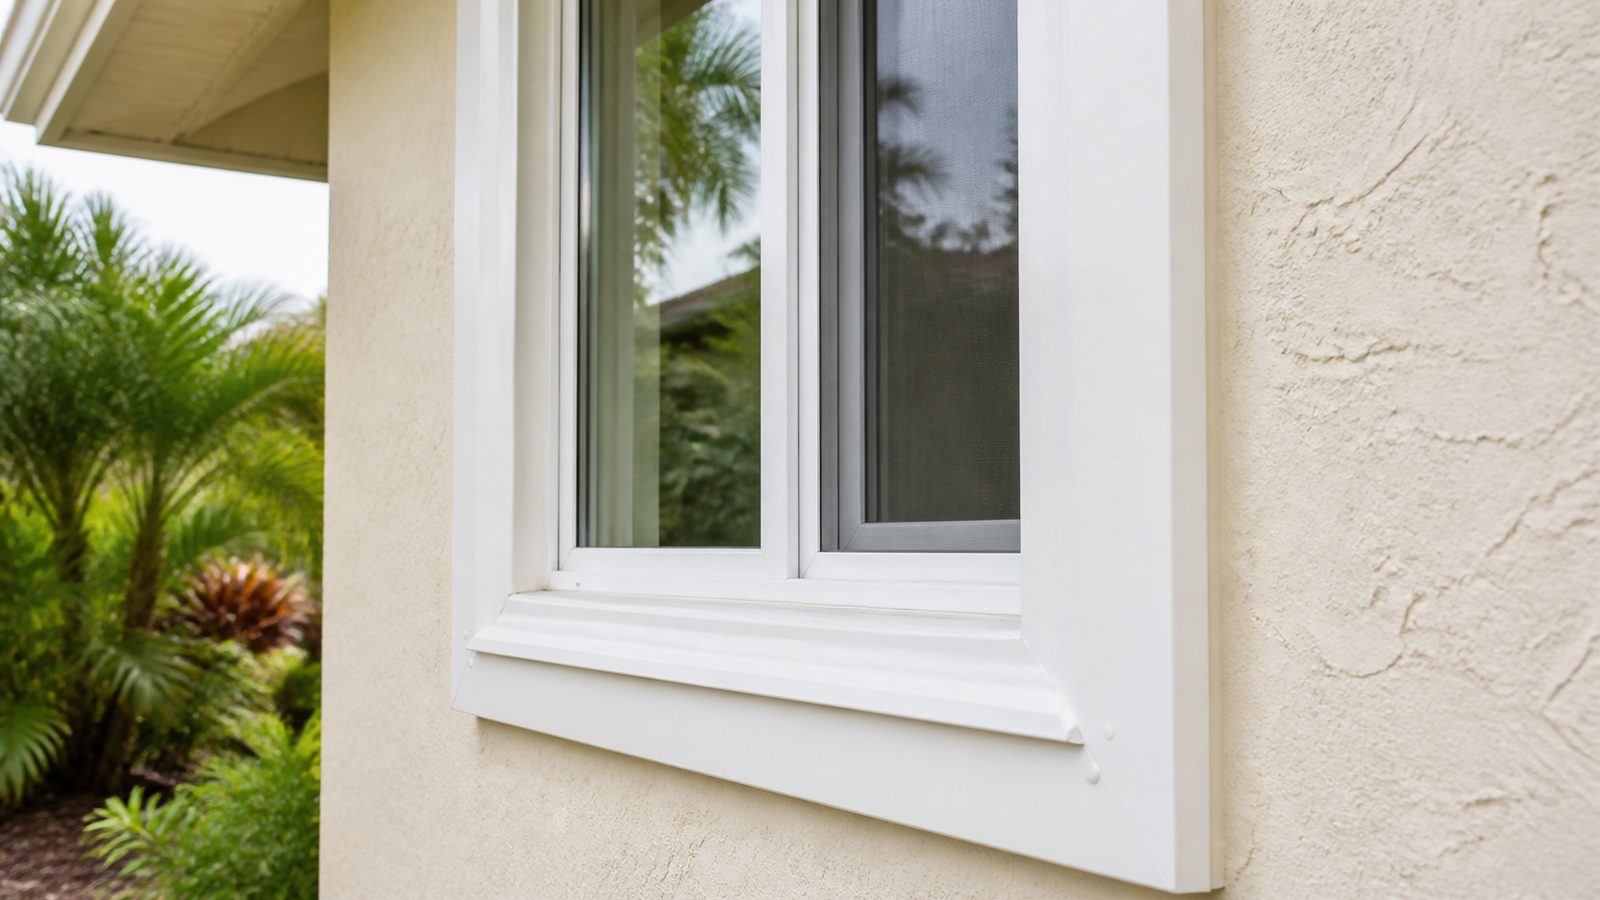
Re-caulking existing windows does not require a permit in Jacksonville. It is considered routine maintenance, not a structural or mechanical alteration. You can buy materials and start the same day.
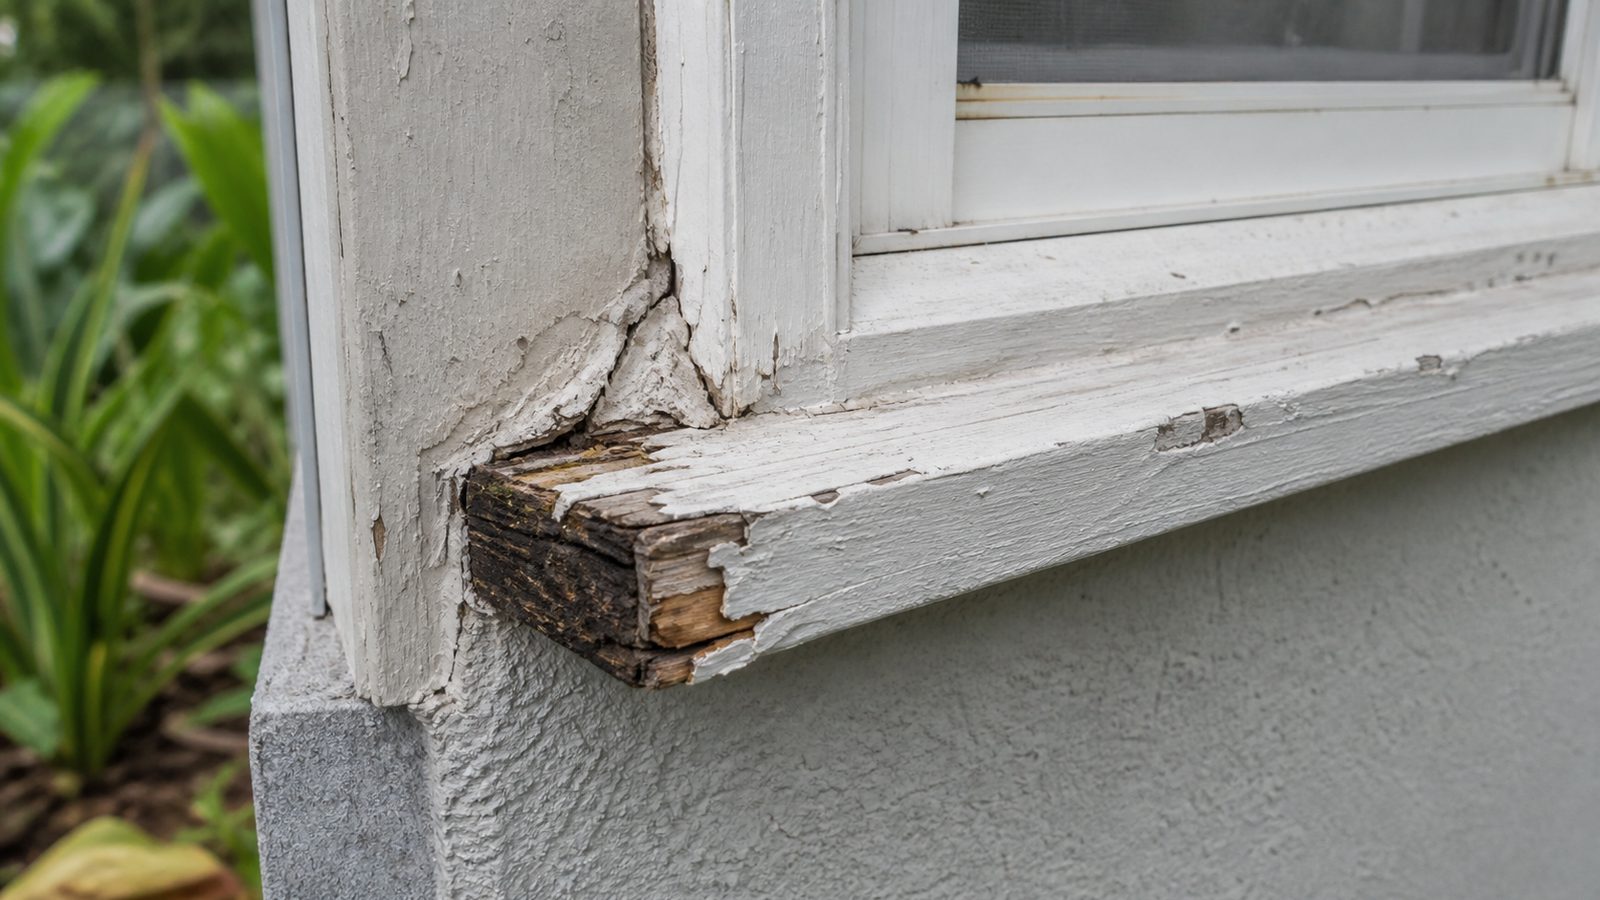
The line changes when you replace a window. Replacing any window unit in Jacksonville-Duval County requires a building permit and, in most cases, a licensed contractor. If your caulk inspection reveals rot in the rough opening, damaged sill framing, or a window that has shifted out of square, you have moved past a caulk job and into repair or replacement territory. At that point, pulling a permit protects your insurance coverage and your ability to sell the home.
Tools and Materials
Gather everything before you start. Stopping mid-job to run to the store often means the exposed joint dries out or collects debris before you seal it.
- Utility knife or oscillating multi-tool with a scraper blade
- Caulk removal tool or 5-in-1 painter's tool
- Wire brush
- Rubbing alcohol or a residue-free solvent wipe
- Painter's tape (optional, for clean lines)
- Backer rod (closed-cell foam, sized to fill gaps wider than 3/8 inch)
- High-quality polyurethane or hybrid polymer caulk rated for exterior use and paintable — do not use plain silicone on most painted surfaces because paint will not bond to it; do not use interior acrylic latex outside
- Caulk gun with a smooth-rod ratchet or dripless mechanism
- Spray bottle with water (for tooling some formulas)
- Finger or rounded caulk tool for smoothing
What NOT to caulk: the weep holes along the bottom of window frames and between sill pan sections. Those small openings are intentional drainage paths. Sealing them traps water inside the frame and causes rot and mold — exactly the damage you are trying to prevent.
Step-by-Step
- Inspect the full perimeter of each window from outside. Look for gaps, cracks, sections that have pulled away from the frame or siding, and any caulk that crumbles when pressed.
- Remove all old caulk completely. Score along both edges with a utility knife, then work a caulk removal tool underneath the bead and peel it away. An oscillating tool with a scraper blade speeds this up on long runs. Do not caulk over existing failed caulk — it will fail again quickly.
- Clean the joint. Use a wire brush to remove any residue, dust, or loose paint. Wipe both surfaces with rubbing alcohol and let them dry fully. Adhesion depends on a clean, dry substrate.
- If any joint is wider than about 3/8 inch, press in a closed-cell foam backer rod first. The backer rod gives the caulk something to bridge against, controls the depth of the bead, and prevents the three-sided adhesion that causes premature cracking.
- Apply painter's tape along both edges if you want a clean line. Load your caulk gun, cut the tip at a 45-degree angle to match your joint width, and run a steady bead in one continuous pass. Move at a consistent pace to avoid thin spots or thick globs.
- Tool the bead immediately. Run a wet finger or a rounded caulk tool along the full length to press the caulk into the joint and create a smooth concave profile. A concave bead sheds water better than a flat or convex one.
- Remove painter's tape before the caulk skins over, usually within a few minutes. Let cure fully before any rain contact — check your product label; most polyurethane formulas need 24 to 48 hours for a full cure, though they skin over in an hour or two.
Jacksonville Climate Considerations
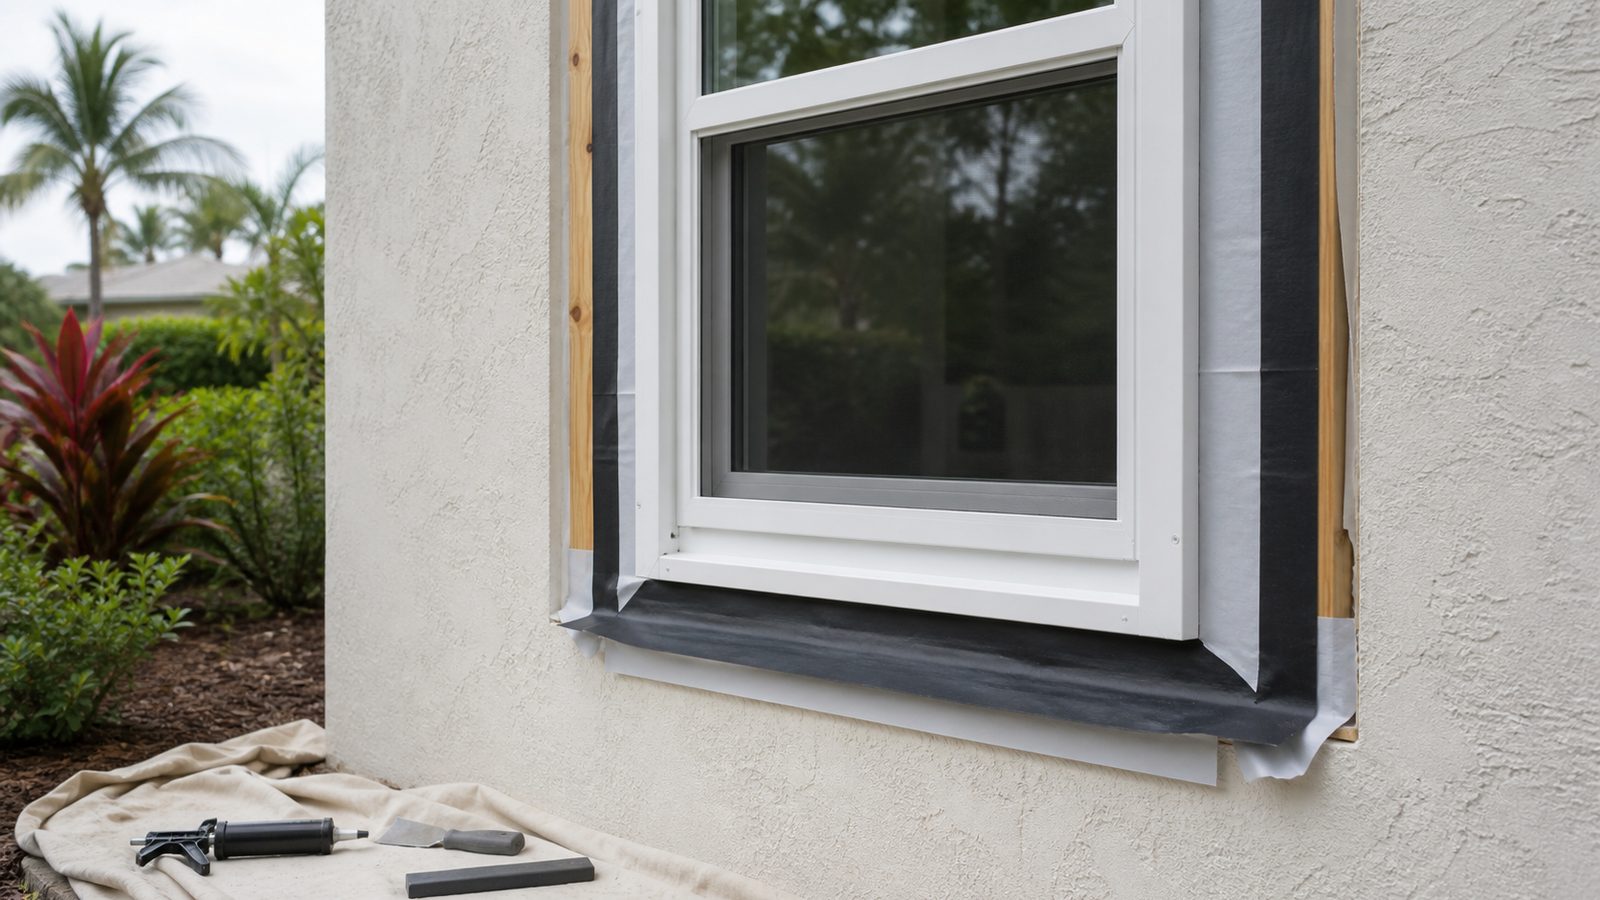
Florida's UV index is among the highest in the country. Ultraviolet radiation breaks down sealant chemistry faster here than in most of the United States, which is why Jacksonville homeowners should plan to inspect exterior caulk every one to two years rather than every five. A caulk that looks intact can have lost most of its elasticity and be allowing micro-infiltration long before it shows visible cracks.
Humidity matters during application, not just after. Applying caulk to a damp surface or on a day with very high humidity can prevent proper adhesion. Try to work after a dry stretch of weather and avoid applying caulk if rain is forecast in the next 48 hours.
Wind-driven rain is the defining test for Jacksonville window caulk. Tropical systems and strong nor'easters push water against walls at angles that expose every small gap. The top corner joints of windows are especially vulnerable — water driven from above runs into the joint and then migrates horizontally. Pay extra attention to these areas and make sure the caulk is pressed fully into the corner.
Weep holes on the sill deserve a second mention here: during a heavy storm, those holes actively drain water that has entered the frame system. Blocking them with caulk turns your frame into a reservoir.
What It Costs in Jacksonville (DIY vs. Hiring a Pro)
| Approach | Typical Cost Range |
|---|---|
| DIY materials (4-6 windows) | $25 – $60 |
| Handyman service (per visit) | $150 – $350 |
| GC or window contractor (full house) | $300 – $800+ depending on home size and condition |
Prices vary based on the number of windows, accessibility (second-story work requires ladders or staging), and whether any wood repair is needed before caulking. Homes with Hardie board, stucco, or impact windows may have specific requirements that affect labor time.
When to Call JK Prestige
If your inspection turns up soft wood around the rough opening, stucco that sounds hollow near the frame, or windows that have shifted, caulk alone will not solve the problem. JK Prestige handles the full scope — framing repair, flashing correction, window replacement if needed, and final sealing — so the fix addresses the cause rather than masking symptoms. We work across Jacksonville and the surrounding area and can give you a straight assessment of what is maintenance versus what is a repair.
No call center. No coordinator. A JK principal reviews every inquiry and replies with a real number, not a range, not a follow-up form.
Request Free Estimate →