A kitchen renovation is the most disruptive project most homeowners ever tackle. You lose your kitchen for weeks, you make decisions under pressure, and every trade stacks on top of the one before it. Do it in the right order and the job flows. Do it out of order and you end up tearing out finished work.
This guide is for the homeowner who wants to understand the full scope before calling contractors, or who genuinely plans to self-manage portions of the work. Difficulty: moderate to high. Timeline: 4 to 10 weeks depending on scope. Total cost range: $15,000 to $75,000 for a typical Jacksonville kitchen, depending on size, finishes, and how much structural work is involved.
Tools You Need
- Pry bar and demo hammer
- Reciprocating saw
- Cordless drill and impact driver
- Stud finder
- 4-foot and 8-foot levels
- Chalk line
- Tape measure (25 ft minimum)
- Laser level (strongly recommended for cabinets)
- Safety glasses, gloves, dust respirator
- Shop vacuum
- Putty knife and caulk gun
- Angle grinder (for tile removal if applicable)
Materials You Need
Costs below are rough Jacksonville-area estimates for mid-grade materials.
- Cabinets (stock or semi-custom): $3,000 to $15,000 depending on linear footage
- Countertops (quartz or granite): $50 to $120 per square foot installed
- Tile backsplash: $4 to $20 per square foot for tile; $10 to $15 per square foot labor
- Flooring (LVP or tile): $3 to $8 per square foot materials
- Sink and faucet: $300 to $1,500
- Appliances: $2,500 to $10,000 for a full package
- Drywall and joint compound: $50 to $80 per sheet installed
- Paint and primer: $30 to $60 per gallon
- Plumbing rough materials (if relocating): $200 to $800
- Electrical materials (outlets, breakers, wiring): $300 to $1,200
- Under-cabinet lighting: $200 to $600
- Miscellaneous hardware, fasteners, caulk: $200 to $500
Step-by-Step Instructions
Phase 1: Planning and Permits
Step 1: Lock your layout before you buy anything.
Most kitchen mistakes happen at the planning stage. Before ordering cabinets or scheduling demo, nail down every decision: cabinet layout and dimensions, appliance specs (especially the range hood rough-in height and refrigerator depth), countertop material, sink location, and lighting plan.
In Jacksonville and Duval County, a permit is required any time you move plumbing, move electrical panels or add circuits, remove a load-bearing wall, or change the exterior envelope. Pull the permit before work starts. Inspectors here are active, and unpermitted kitchen work will complicate your sale. Apply through the City of Jacksonville Building Inspection Division online portal. Budget two to four weeks for permit approval.
Measure your kitchen three times. Draw it to scale. Confirm that your cabinet order matches your actual wall dimensions, not the nominal dimensions from the builder floor plan.
Step 2: Order materials with lead time in mind.
Semi-custom cabinets take four to ten weeks. Countertops are templated after cabinets are installed, then fabricated in one to two weeks. Appliances from major retailers can take two to six weeks for delivery. Order everything before demo starts so materials arrive in sequence.
Phase 2: Demo and Rough Work
Step 3: Demo the kitchen.
Shut off the water supply at the main or at the shutoffs under the sink. Turn off the breakers for the kitchen circuits at the panel. Photograph all existing plumbing and electrical before touching anything.
Remove appliances first. Disconnect the dishwasher water supply and drain line. Pull the range. Cap the gas line if present — this is not a DIY step unless you are a licensed plumber. Cap water lines.
Remove upper cabinets first, then lower cabinets. Cabinets are typically screwed into studs through a mounting rail. Use the drill to back out screws; do not pry them loose unless you plan to replace the drywall.
Remove the countertop by cutting any caulk at the wall seam and working a pry bar under the front edge. Disconnect the sink drain and supply lines first.
Bag and haul debris as you go. A 10-yard dumpster handles most kitchen demos.
Step 4: Rough plumbing and electrical.
If you are moving the sink location or adding a pot-filler line, rough plumbing goes in now. A licensed plumber must perform this work in Florida and pull the plumbing permit separately.
Electrical rough-in covers adding circuits for the dishwasher (dedicated 20A), garbage disposal (15A dedicated), microwave or range hood (dedicated 20A), refrigerator (dedicated 20A), and any GFCI-protected counter outlets. The National Electrical Code requires GFCI protection on all kitchen counter-level outlets. Your electrician will also run any wiring for under-cabinet lighting. Licensed electrician required in Florida.
Do not close walls until inspections pass.
Step 5: Rough HVAC if needed.
If you are adding or relocating an island exhaust hood with exterior venting, the duct rough-in happens now. Confirm duct sizing matches the hood's CFM rating. In Jacksonville's humid climate, exterior venting is essential — recirculating hoods are a band-aid.
Phase 3: Walls, Floors, and Prep
Step 6: Close walls and prep surfaces.
After rough inspections pass, hang drywall or repair existing drywall. Use moisture-resistant drywall (MR board or greenboard) behind the backsplash area. Tape, mud, and sand. Prime all new drywall before painting.
Install flooring before lower cabinets if you want a clean look and easy future cabinet replacement. Install flooring after cabinets if you want to use less material and are confident the layout will never change. Either approach is acceptable; just decide before you order.
Phase 4: Cabinets and Countertops
Step 7: Install upper cabinets before lower cabinets.
This is the rule that most DIYers get backwards. Uppers installed first means you are not leaning over base cabinets, and you have access to the wall for your ledger board.
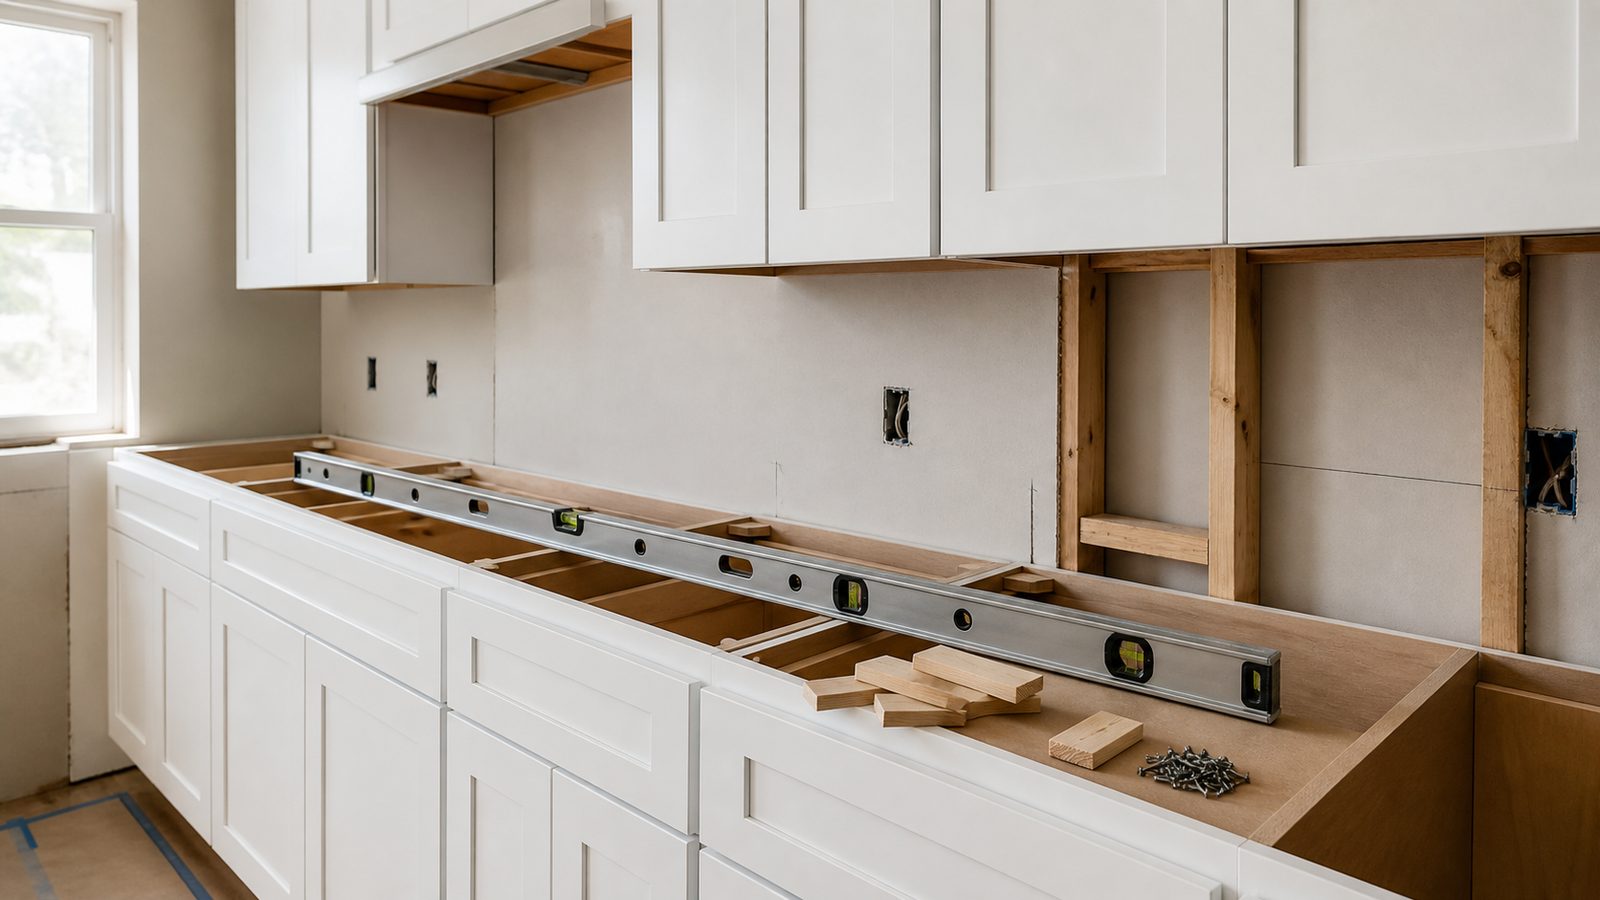
Snap a level line on the wall at the bottom of your upper cabinet run. Screw a temporary ledger board (a straight 1x4) to this line to support the cabinet weight while you fasten it. Find every stud and mark them clearly with tape. Upper cabinets fasten through the mounting rail into studs with 3-inch screws. Clamp adjacent cabinets together face-to-face before drilling pilot holes for connection screws, so faces stay flush.
Step 8: Install base cabinets.
Find the high point of your floor. Set your first base cabinet at the high point and shim all subsequent cabinets to that level. A kitchen floor that is a half-inch out of level across 12 feet will produce doors that swing open or closed on their own and countertops that look tilted. Take the time to shim and level before fastening.
Connect cabinets face-to-face the same as uppers. Fasten to studs through the back mounting rail and through the toe kick.
Phase 5: Countertops, Backsplash, and Fixtures
Step 9: Template and install countertops.
After cabinets are set and final, call the countertop fabricator for templating. They will take precise measurements and create a digital or physical template. Fabrication takes one to two weeks. Countertops are set in place and fastened with construction adhesive and small brackets. The sink cutout is made by the fabricator based on your sink dimensions.
Step 10: Set plumbing and electrical trim.
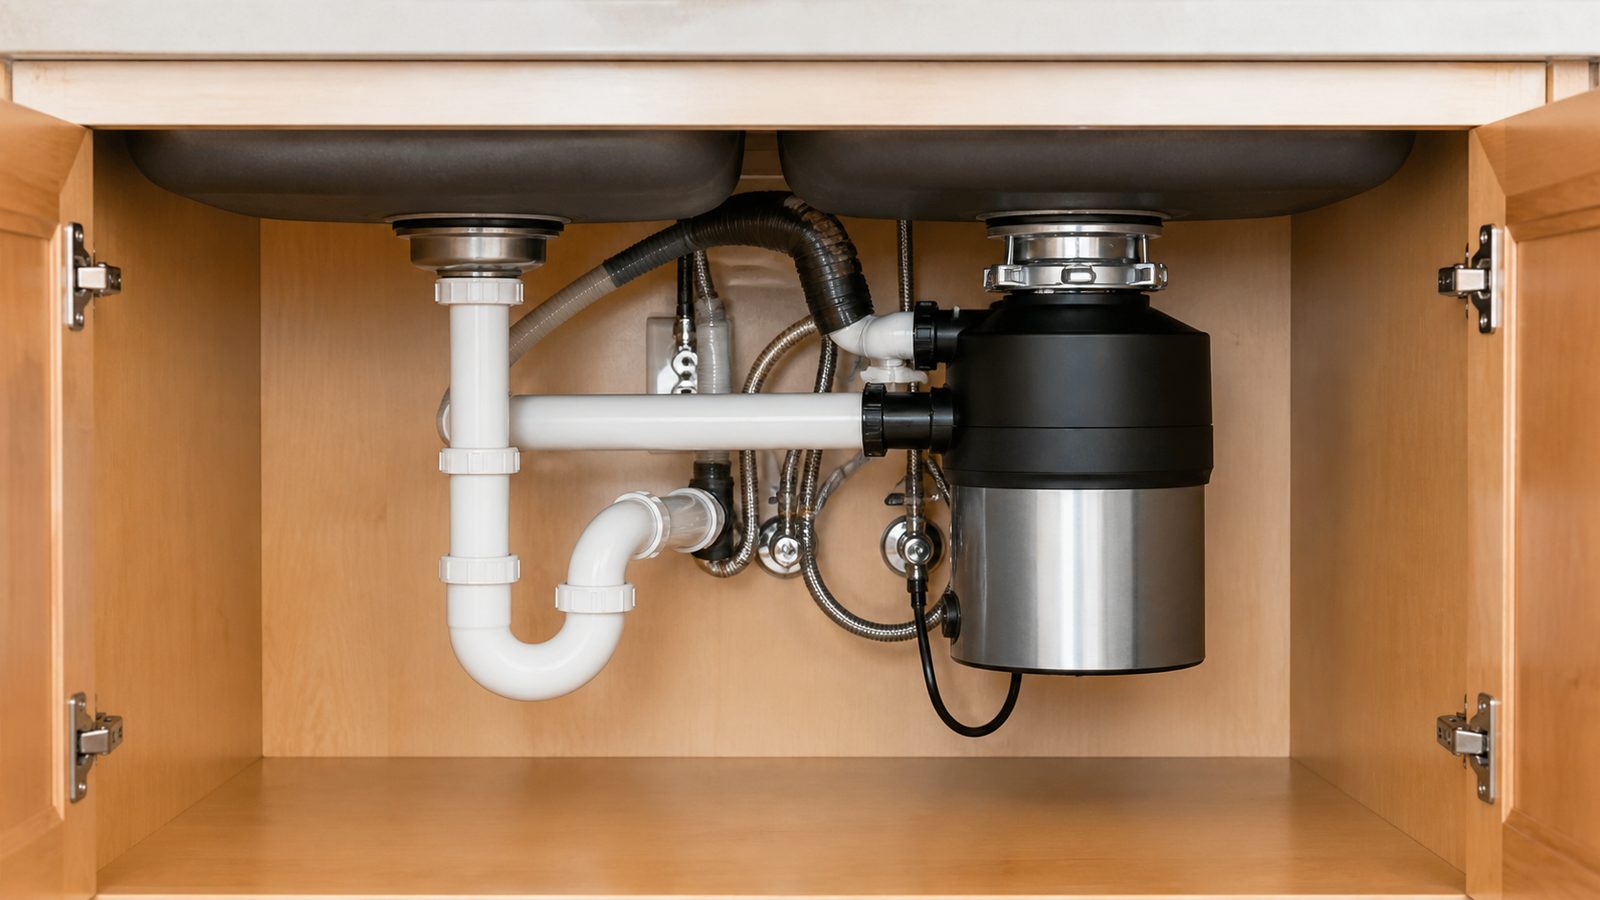
After countertops are in, your plumber sets the sink, connects the drain and supply, and installs the garbage disposal and dishwasher supply line. Your electrician installs outlet covers, switch plates, under-cabinet lighting, and the dishwasher circuit connection.
Step 11: Install backsplash tile.
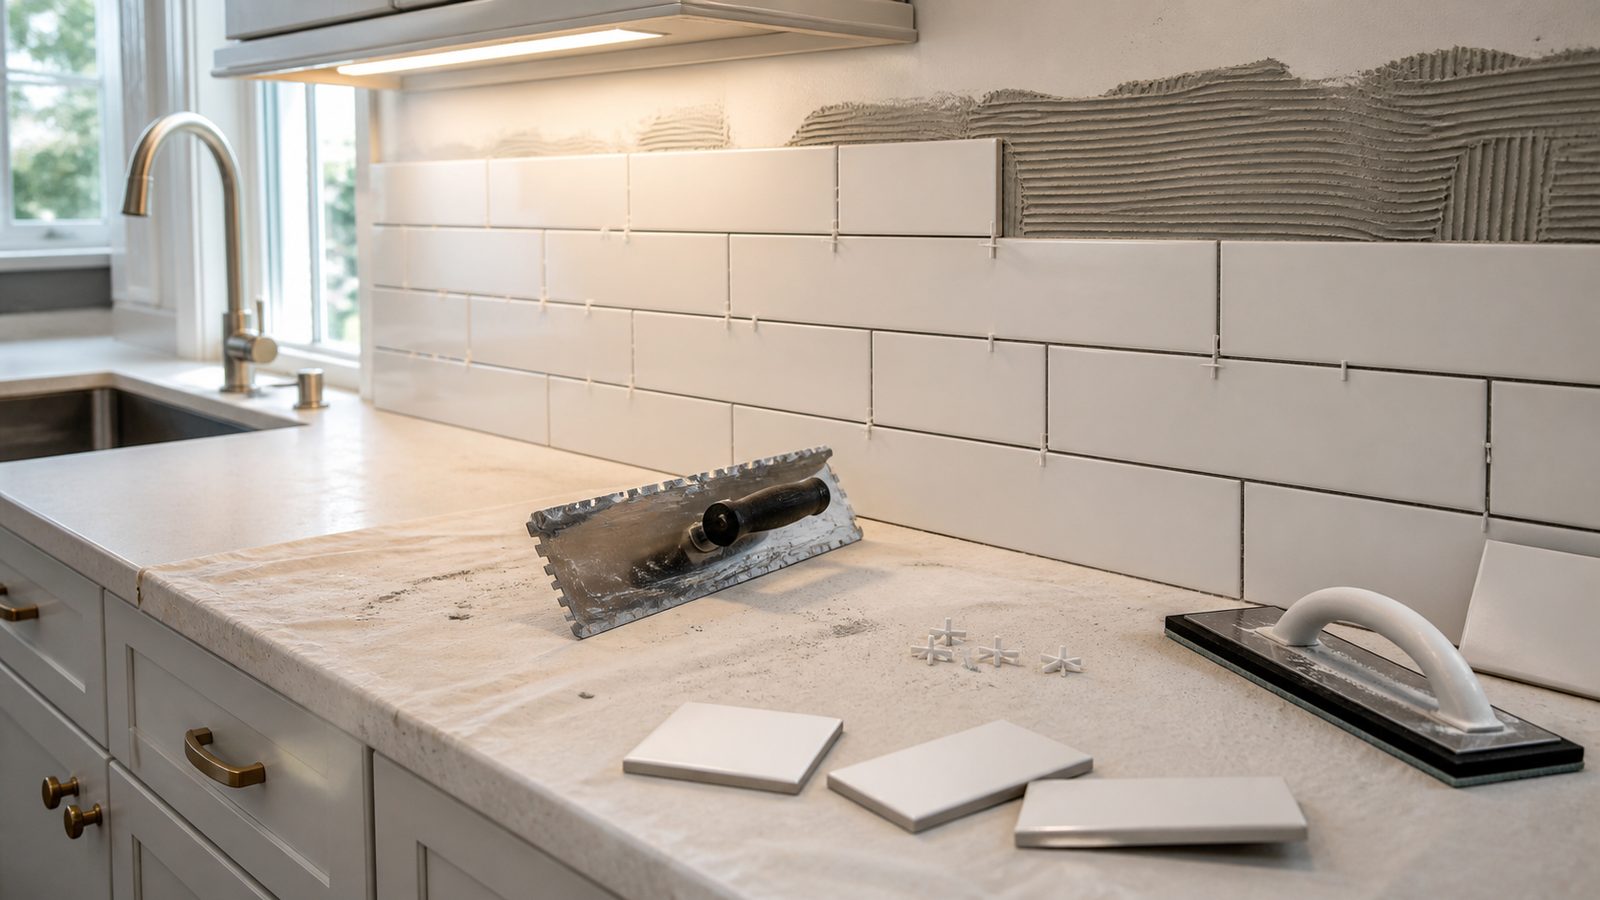
See the separate backsplash guide for full detail. At minimum: use a notched trowel and polymer-modified thinset, keep grout joints consistent, and seal natural stone before grouting. Allow 24 hours before grouting, 72 hours before sealing.
Phase 6: Finish Work
Step 12: Paint, hardware, and punch list.
Paint walls before installing appliances. Two coats of a quality eggshell or satin finish. Install cabinet hardware after paint is dry. Set and level appliances. Install the range hood and connect venting. Caulk at all wall-to-counter seams and wall-to-cabinet seams with a paintable siliconized acrylic. Walk the space and write a punch list of everything incomplete before calling the job done.
Common Mistakes to Avoid
- Ordering cabinets before measuring three times. Even a half-inch error throws off an entire run.
- Skipping the permit on electrical or plumbing work. Jacksonville inspectors will catch it on resale, and you will pay to open walls.
- Installing flooring under appliances. The dishwasher and range need to be serviceable without cutting flooring.
- Closing walls before rough inspections. Do not do this. You will tear out drywall.
- Grouting tile too soon. Thinset needs 24 hours minimum before any grout is applied. In Jacksonville humidity, sometimes longer.
When to Hire a Pro Instead
You should bring in a licensed contractor for any of the following:
- Load-bearing wall removal. If the wall between your kitchen and dining room is structural, removing it without a beam and proper columns is a safety issue and a code violation. Engineers, permits, and inspected steel beam work are required.
- Gas line relocation. Florida law requires a licensed plumber for any gas work. A leak in a finished kitchen can kill people.
- The project spans multiple trades and you do not want to manage scheduling. Coordinating plumber, electrician, cabinet installer, countertop fabricator, and tile setter on your own is a part-time job for four to six weeks.
- Your timeline is fixed. A GC with established trade relationships can compress the schedule because subs show up when called.
- Your budget is over $30,000. At this level, mistakes cost more than contractor fees.
Need a Jacksonville GC for this job? Get a 48-hour free fixed-price estimate from JK Prestige Constructor.
No call center. No coordinator. A JK principal reviews every inquiry and replies with a real number, not a range, not a follow-up form.
Request Free Estimate →