This guide covers drywall repair for three scenarios: small holes (nail holes, picture hooks, minor dents under 1 inch), medium holes (door handle dings, light anchors, 1-4 inches), and large holes (fist-size or bigger, 4 inches and up, or anything that went through to the stud cavity). Texture matching is covered separately, because it is where most DIY drywall repairs fail.
In Jacksonville, texture is everywhere. Most homes built from the 1970s through the 2000s have some form of orange peel, knockdown, or skip-trowel texture on the walls and ceilings. Matching that texture is the hardest part of any drywall repair, and it takes practice.
Difficulty: Small holes are easy. Medium patches are moderate. Large patches with texture matching are hard.
Time estimate: Small holes take 30-60 minutes including dry time. Medium patches take 3-4 hours spread over two days due to mud dry time. Large patches take a full weekend.
Total cost range: $20-$80 for materials on most residential repairs. Large multi-hole repairs may run $50-$150 in materials.
Tools you need
- 4-inch and 6-inch putty knives (for small and medium repairs)
- 8-inch and 12-inch drywall knives (for large repairs)
- Sanding block or pole sander
- Drywall saw (for large repairs)
- Utility knife
- Drill
- Mixing paddle (for larger mud jobs)
- Texture sprayer or pump sprayer (for orange peel matching)
- Primer roller and small paint roller
- Safety glasses
Materials you need
- Lightweight all-purpose joint compound ("mud"), pre-mixed ($8-$15 per gallon)
- Spackling compound (for small holes only; $5-$10 per container)
- Self-adhesive mesh drywall tape or paper tape (for cracks and medium patches)
- Drywall repair patches (self-adhesive metal or fiberglass; 4-inch and 6-inch; $4-$8 each; for medium holes)
- California patch material (scrap drywall cut to size; for large patches)
- 1x3 or 1x4 furring strips to back large patches
- 1-5/8-inch drywall screws
- Drywall primer (water-based; $10-$18 per quart)
- Texture spray can (orange peel style; $8-$12; for small to medium patches)
- Matching paint
Step-by-step instructions
Phase 1: Small holes (under 1 inch)
Step 1: Clean the hole and apply spackling or lightweight compound. Use a putty knife to remove any loose paper or drywall debris around the hole. For nail holes and small dings, a single application of lightweight spackling is often enough. Press the compound into the hole slightly overfull and drag the knife flat across the surface, leaving a slight crown that will shrink as it dries. Let it dry completely — white and hard, not gray and soft.
Step 2: Sand and repeat if needed. When dry, sand with 120-grit sandpaper on a sanding block. If the fill sunk below the surface, apply a second thin coat. One fill is usually enough for nail holes. Sand again after the second coat if used.
Step 3: Prime and touch up paint. Apply a spot of drywall primer with a small brush or roller. Without primer, the patch absorbs paint differently than the surrounding wall and shows as a flat spot under light. Once the primer is dry, touch up with matching paint.
Phase 2: Medium holes (1 to 4 inches)
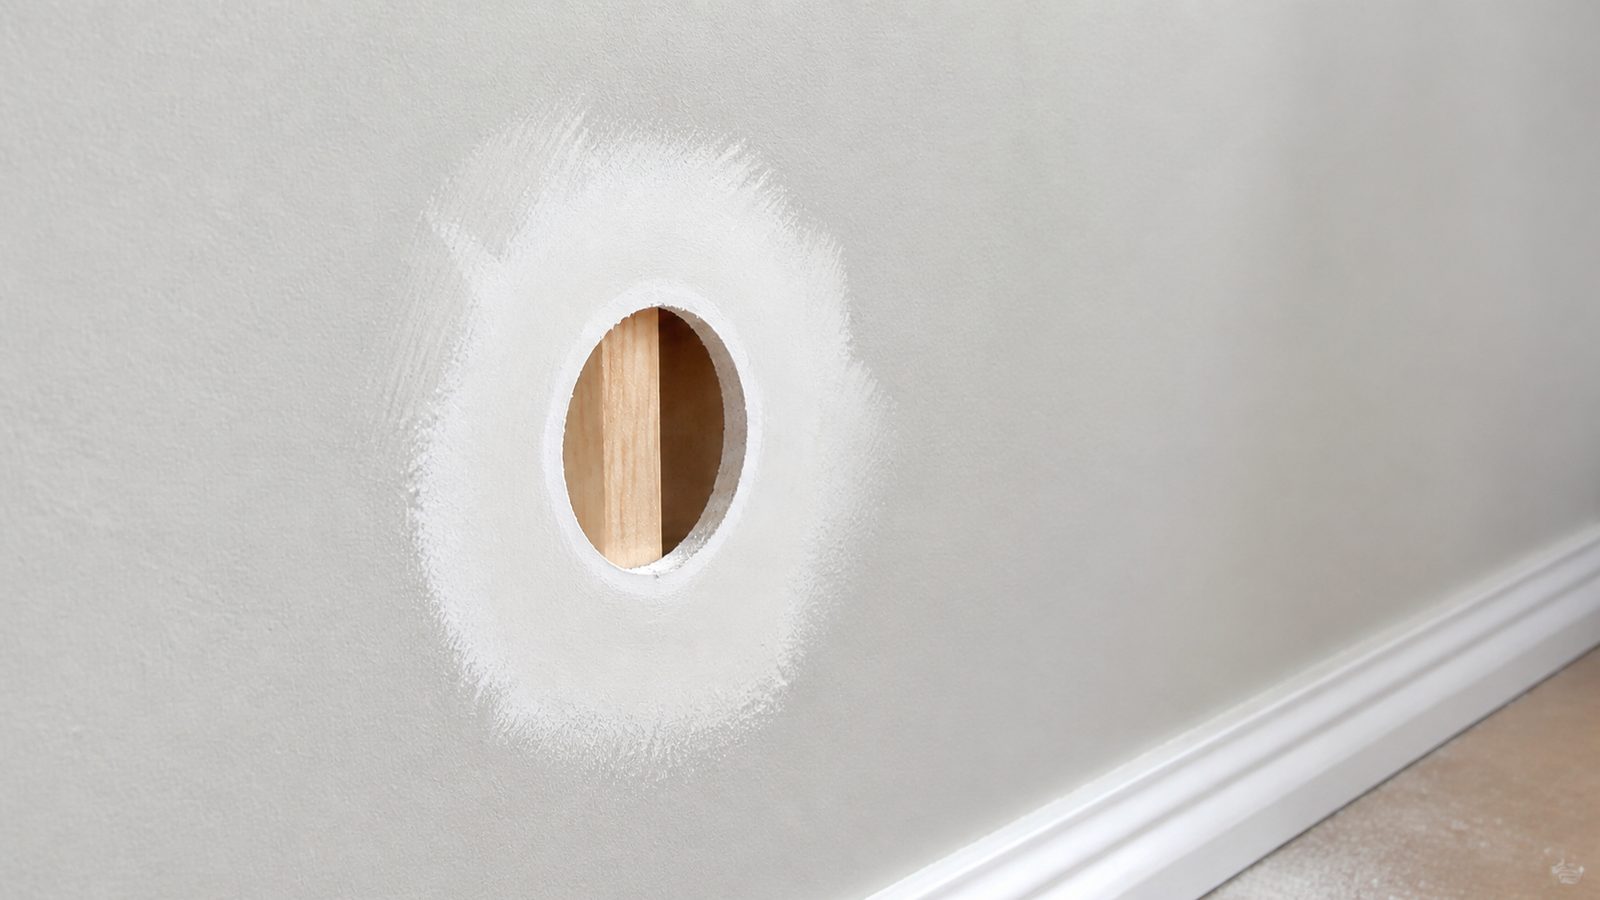
Step 4: Prepare the hole. Use a utility knife to trim away any torn or loose drywall paper around the hole edges. The cleaner the edge, the less the patch will show.
Step 5: Apply a self-adhesive patch. Self-adhesive metal or fiberglass patches are sold at every hardware store and work well for holes in this range. Center the patch over the hole and press it firmly to the wall. The patch has a mesh or metal face that the compound bonds to.
Step 6: Apply joint compound in thin coats. Load the 6-inch knife with lightweight joint compound and spread it over the patch, feathering the edges out 3-4 inches on all sides. The goal is to build the patch up flush to the wall surface without creating a visible bump. Thin coats dry flatter than thick coats. Let each coat dry fully before adding another. In Jacksonville summer, mud can dry in 3-4 hours in an air-conditioned room; add time in winter or high-humidity conditions.
Step 7: Apply two or three coats, each coat wider than the last. First coat covers the patch. Second coat feathers out 2-3 additional inches on each side. Third coat (if needed) feathers further and smooths everything. Sand lightly between coats with 120-grit. Final sand is 150-grit.
Step 8: Prime the patch. Apply drywall primer to the entire patched area before texture. Without primer, the compound will absorb the texture differently than the surrounding wall, causing texture flashing that shows under light.
Phase 3: Large holes (4 inches and up)
Step 9: Cut a clean square or rectangle. Use a drywall saw or utility knife to cut the damaged area into a clean rectangle or square. Straight edges are easier to patch than irregular shapes. Try to extend the cut to the nearest studs on the left and right sides so you have solid framing to fasten your new piece to. If the hole falls between studs, you need to add backing.
Step 10: Add backing if needed. If you cannot extend the cut to studs, use 1x4 furring strips as backing. Slide a furring strip through the hole, hold it against the back face of the drywall on each side of the hole, and drive drywall screws through the existing drywall into the strip. You now have a solid surface to fasten the patch to.
Step 11: Cut and install the patch piece. Cut a piece of drywall to fit the opening exactly. Screw it into the studs or the backing strips. Use enough screws — one every 8 inches around the perimeter of the patch. The patch must be flush with the surrounding wall.
Step 12: Tape the seams. Apply a thin bed coat of joint compound over each seam. Embed paper tape (better strength than mesh for large patches) and smooth it flat with the putty knife. Paper tape should be fully embedded with no air bubbles. Let this bed coat dry fully.
Step 13: Second and third coats, feathered wide. Apply joint compound in successively wider coats, feathering the edges out at least 8-12 inches from the seam on each side. Large patches need wide feathering to blend invisibly. Sand between coats.
Step 14: Final sand. When the final coat is dry, sand the entire patched area smooth with 120-grit, then 150-grit. Run a work light at a raking angle across the wall to find any humps, ridges, or edges you need to knock down. A ridge that seems minor in diffuse light shows clearly under a raking light and will show under paint.
Phase 4: Texture matching
Step 15: Identify your existing texture. This is the step most people skip and then regret. Look at the wall closely and in raking light:
- Orange peel: tiny random bumps, like the surface of a citrus fruit. Applied with a spray gun or aerosol can.
- Knockdown: flat islands of compound separated by depressed lines, like a Spanish stucco. Applied by spraying and then lightly troweling before fully dry.
- Skip trowel: irregular flat patches applied by hand with a trowel, no spray.
- Smooth: no texture. Rare in older Jacksonville homes; more common in newer high-end construction.
Step 16: Apply texture. For orange peel on a small or medium patch, a texture spray can set to the right nozzle distance and overlap pattern will often get you close. Practice on cardboard first. The key variables are distance from the wall (12-24 inches for most cans), air pressure (hold the can at a consistent angle), and overlap. Apply lightly — it is easier to add more than to remove.
For knockdown, thin down joint compound to a loose consistency, apply it with a sprayer or by hand with a texture brush, let it set for 5-10 minutes until the surface starts to lose its sheen, then lightly drag a knockdown knife or trowel across the surface to flatten the peaks. Practice on cardboard.
For skip trowel, load a pool trowel or wide drywall knife with thin compound and apply random flat patches that match the size and density of the existing texture. This one is purely about eye and hand coordination.
Step 17: Prime and paint. Once the texture is dry, prime the entire repair area with drywall primer. Then paint. For small repairs, try to feather the paint beyond the texture edge slightly so the sheen difference blends.
Common mistakes to avoid
- Applying mud too thick. Thick coats crack as they dry and take days longer. Three thin coats beats one thick coat every time.
- Not feathering wide enough. A patch that is perfectly smooth but only feathered 3 inches wide shows clearly as a bump under raking light. On large patches, feather out 12-16 inches from the seams.
- Skipping primer before texture. Unprimed compound is more absorbent than the surrounding painted wall. Texture applied over bare compound either flashes or falls off.
- Matching texture before the prime coat. Apply primer first, then texture. It binds better and dries more evenly.
- Painting without letting compound fully cure. Joint compound needs to be completely white and hard before paint goes on. Gray areas are still wet inside even if the surface looks dry. In Jacksonville's summer humidity, give large repairs extra time.
When to hire a pro instead
Most drywall holes are fair game for a careful homeowner. But call a professional GC or drywall contractor if:
- The hole or damage covers more than 4-6 square feet. At that size, matching the texture by hand is very difficult without a spray rig, and the joint work requires enough skill that visible seams become likely without experience.
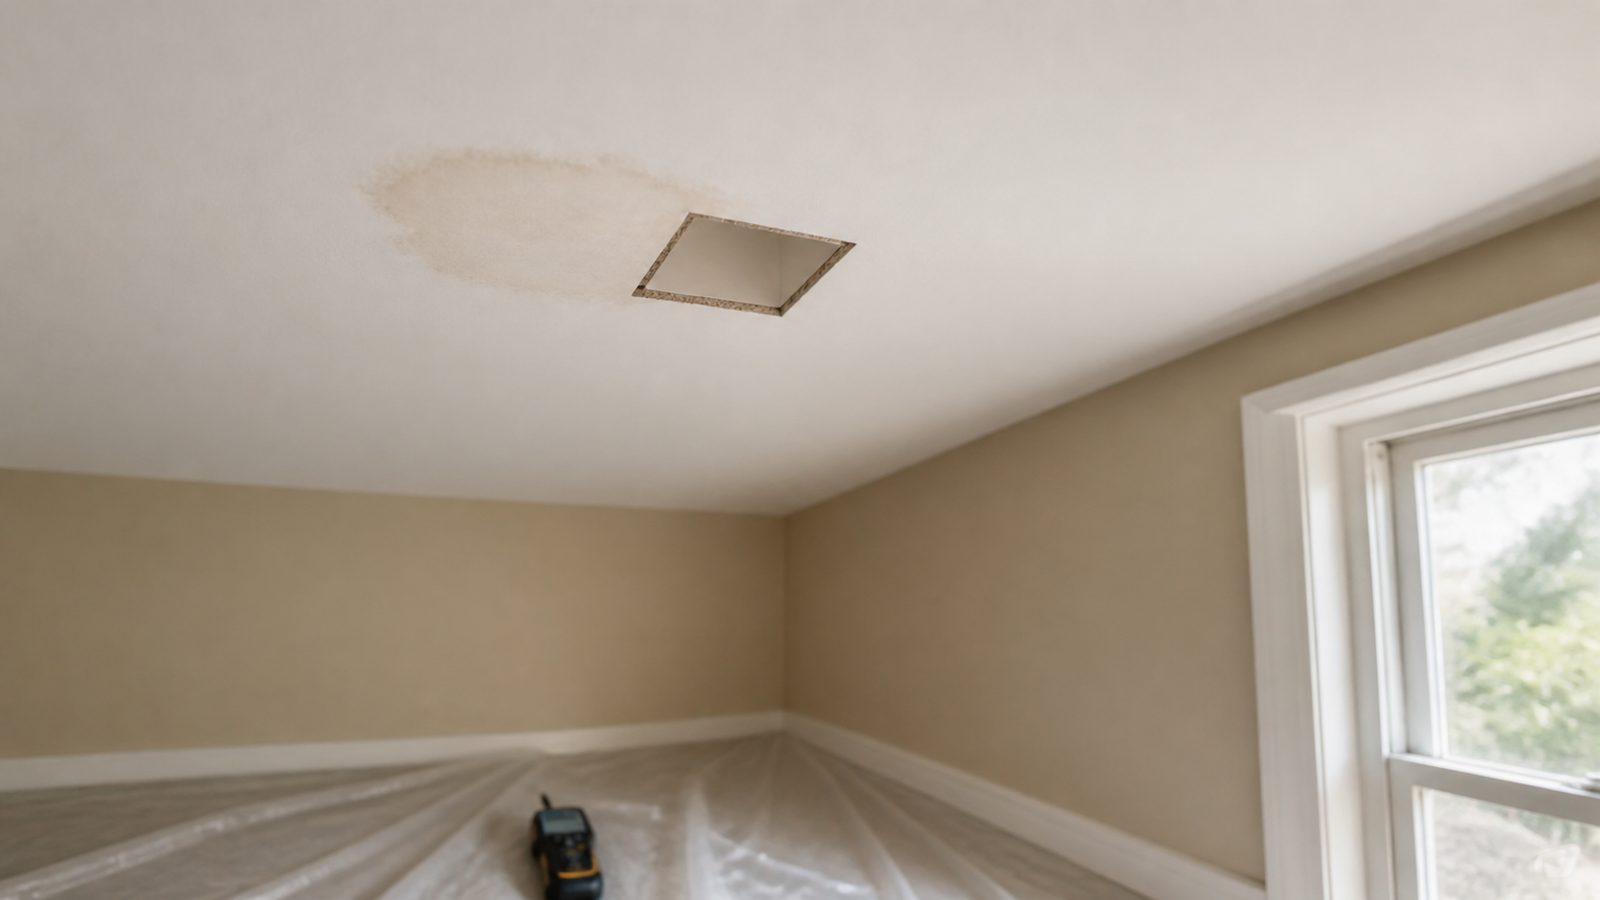
- The damage is on a ceiling. Working overhead with compound, sanding above your head, and matching ceiling texture are all significantly harder than wall work. Orange peel ceiling texture applied by a novice looks different from the existing texture 100 percent of the time.
- You see mold behind the drywall. Patching over mold is not a repair — it is just covering a problem that will keep growing. Mold remediation needs to happen before any new material goes in, and in Jacksonville's humidity, the moisture source causing the mold has to be identified and corrected first.
- The damage is near the bottom of a wall and the drywall feels soft or crumbles when you press it. This usually means moisture has wicked up from the floor and compromised the drywall and possibly the framing. This is a water intrusion problem, not just a patch job.
- The damage is in a bathroom or high-humidity area and the existing wall is cement board or fiberglass mat-faced drywall. Repairs to cement board require different materials and technique than standard gypsum drywall.
- The texture on your walls is a complex custom skip trowel or venetian plaster finish applied by a skilled plasterer. These finishes are essentially impossible to blend without the same technique and matching materials, and most GC plasterers who can match them are worth the cost.
Need a Jacksonville GC for this job? Get a 48-hour free fixed-price estimate from JK Prestige Constructor.
No call center. No coordinator. A JK principal reviews every inquiry and replies with a real number, not a range, not a follow-up form.
Request Free Estimate →