Almost every garage slab in Jacksonville has at least one crack in it, and most of the time that is not a crisis. It is concrete doing what concrete does as it cures and the ground beneath it shifts a little with the seasons. The trouble is that a small number of cracks are not cosmetic, they are the first visible sign of a settling slab or a stressed foundation, and no amount of caulk or epoxy fixes that. Before you buy a tube of crack filler, figure out which kind of crack you actually have, chase and clean it properly, and pick a repair material that matches the situation. This guide walks through that process the way we approach it on a service call in Jacksonville.
When You Need a Permit in Jacksonville
Cosmetic crack repair, chasing a crack, filling it, and coating the floor over it, is maintenance. Duval County does not require a permit for that work. Permitting comes in when the crack is a symptom of something structural. Repairing a structural slab, underpinning a footing, or any work touching the structural integrity of the foundation is permitted work in the City of Jacksonville. The other case that trips people up is converting the garage into living space, which is a change of use with its own requirements, including egress windows or doors, ventilation, and in some parts of Jacksonville, flood zone compliance for the finished floor elevation. If you are unsure which category your project falls into, call the City of Jacksonville Building Inspection Division and describe the scope before you start.
Tools and Materials
- Diagnostic tools: a level, a flashlight held at a low angle, a crack gauge or feeler gauge, painter's tape and a marker to date-stamp the crack width
- Crack chaser or diamond blade angle grinder to open the crack into a V or U-shaped channel
- Wet/dry shop vacuum with HEPA filtration for dust extraction
- Half-face or full-face respirator rated for silica dust, safety glasses, hearing protection
- Wire brush and stiff push broom
- Degreaser or concrete cleaner for any oil staining
- Polyurea or epoxy crack filler for hairline and narrow cracks
- Vinyl concrete patching mortar or a polymer-modified repair mortar for wider or spalled cracks
- Backer rod for cracks wider than about a quarter inch that need a flexible joint instead of a rigid fill
- Plastic sheeting, tape, and a moisture meter for a vapor test before coating
- Putty knife or margin trowel, caulk gun if using a cartridge-applied filler
Step-by-Step
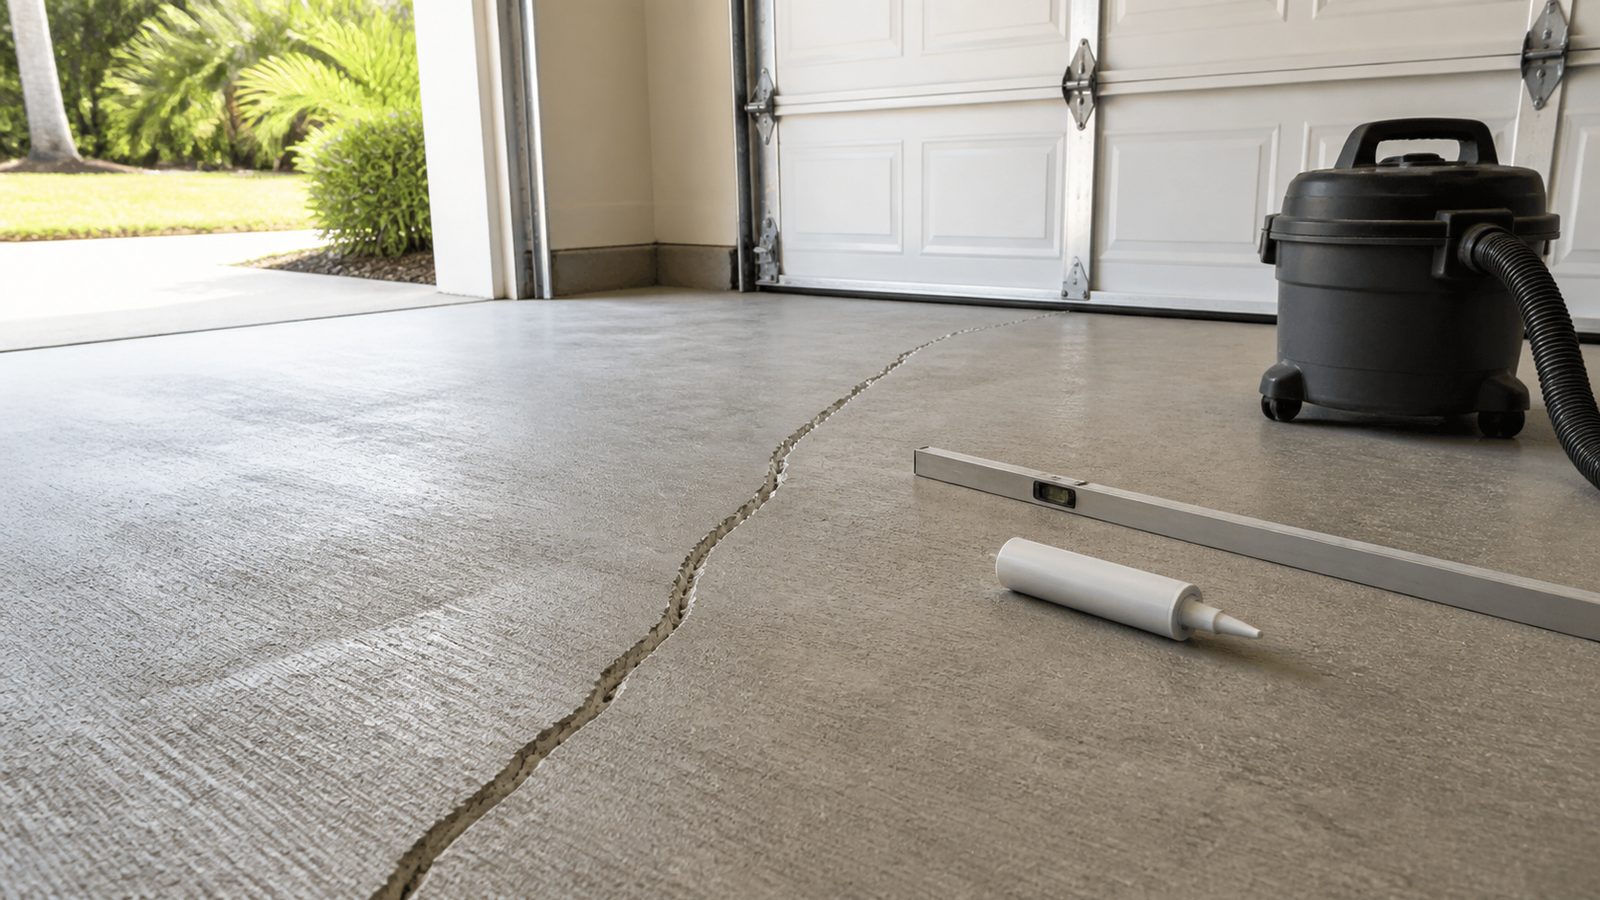
- Diagnose first. Mark the ends of the crack with tape and note the date and width. Check whether it runs off a control joint or a corner, in a straight, roughly hairline line. That pattern, along with fine map cracking across a broad area of the slab, is normal shrinkage from curing and is not a structural concern.
- Watch for the warning signs. A crack with one side higher than the other, a crack that is visibly wider than it was a few weeks ago, a crack that continues up the garage wall or through the door frame, or a garage door or man door that has started sticking, are all signs of settlement or foundation movement. A filler will not stop that movement and it will just crack again. Stop here and call a structural engineer.
- Chase the crack. For a crack you have confirmed is a shrinkage crack, use a crack chaser or grinder to open it into a shallow V or U channel about a quarter to a half inch wide and deep. This gives the filler something to grip instead of sitting on a hairline surface.
- Manage the dust. Grinding concrete produces silica dust, which is a serious respiratory hazard with repeated exposure. Run a shop vac with dust extraction at the grinding head, wear a properly fitted respirator, and work with a window or garage door open for airflow.
- Clean the channel. Vacuum out all dust and debris, then wire brush and vacuum again. Any dust left in the crack will keep the filler from bonding.
- Choose your material. For hairline to eighth-inch cracks with no ongoing movement, a semi-rigid polyurea or epoxy crack filler bonds well and resists re-cracking better than caulk. For wider cracks, spalled edges, or chunks of missing concrete, use a polymer-modified patching mortar instead, feathered flush with the surrounding slab. For cracks with any active movement expected, such as near an expansion joint, use a flexible polyurethane sealant over a backer rod rather than a rigid filler.
- Cure and level. Let the repair cure per the product's data sheet, typically 24 to 72 hours, then grind or sand flush with the surrounding slab if needed before coating.
Jacksonville Climate Considerations
Jacksonville sits on sandy soil with a high water table across much of Duval County, and that moisture moves up through a slab constantly through what is called moisture vapor drive. This is the single most common reason garage floor coatings fail here, the coating traps vapor underneath it and delaminates in bubbles or peeling sheets months later. Before you coat a repaired slab, tape a two-foot square of plastic sheeting to the floor, seal the edges, and leave it for 24 hours. Condensation under the plastic means the slab is still transmitting moisture and needs a vapor-mitigating primer, or the coating should wait. Jacksonville's summer humidity and dew point also limit when epoxy can be applied correctly, most epoxy systems need the slab surface temperature to stay a few degrees above the dew point during cure or the finish blushes. If you are near the beaches, road salt and sand tracked in on tires accelerates wear at the slab edges and around control joints, so check those areas closely when diagnosing cracks. Also look at the slab perimeter for a termite pretreatment line, common in this area, and avoid disturbing it when chasing a crack near the foundation wall.
What It Costs in Jacksonville (DIY vs. Hiring a Pro)
These are rough planning estimates for the Jacksonville area, not quoted or surveyed figures, and actual pricing depends on crack length, access, and material choice.
| Item | DIY Estimate | Professional Estimate |
|---|---|---|
| Materials only (chaser tip, filler, PPE) | $60 to $150 | Included in labor quote |
| Single crack repair (per crack) | $30 to $75 in materials | $150 to $400 |
| Multiple cracks or whole-slab assessment | $150 to $300 in materials | $500 to $1,500 |
| Full moisture test and coating prep | Not typically DIY | $400 to $900 |
When to Call JK Prestige
Call a contractor when a crack shows any of the warning signs above, when you are not confident diagnosing shrinkage versus structural movement, when the crack runs into a wall or footing, or when you want a floor coating applied and want the moisture testing done correctly the first time. JK Prestige has worked enough Jacksonville slabs to know which cracks are routine and which ones need an engineer's opinion before anyone touches a grinder, and we can handle the permitting conversation with the City if the repair turns out to be structural.
No call center. No coordinator. A JK principal reviews every inquiry and replies with a real number, not a range, not a follow-up form.
Request Free Estimate →