A storm hits Jacksonville at 2 a.m. You wake up to water in your hallway and a section of your roof that is no longer where it was. The contractor cannot arrive until tomorrow at the earliest. What you do in the next 12 to 48 hours determines how much additional damage you will sustain, how smoothly your insurance claim will go, and whether you accidentally signed away your rights before anyone showed you a contract.
This is not the time to improvise. This guide gives you the specific steps to execute — and the specific mistakes to avoid — while you wait for a licensed contractor to arrive.
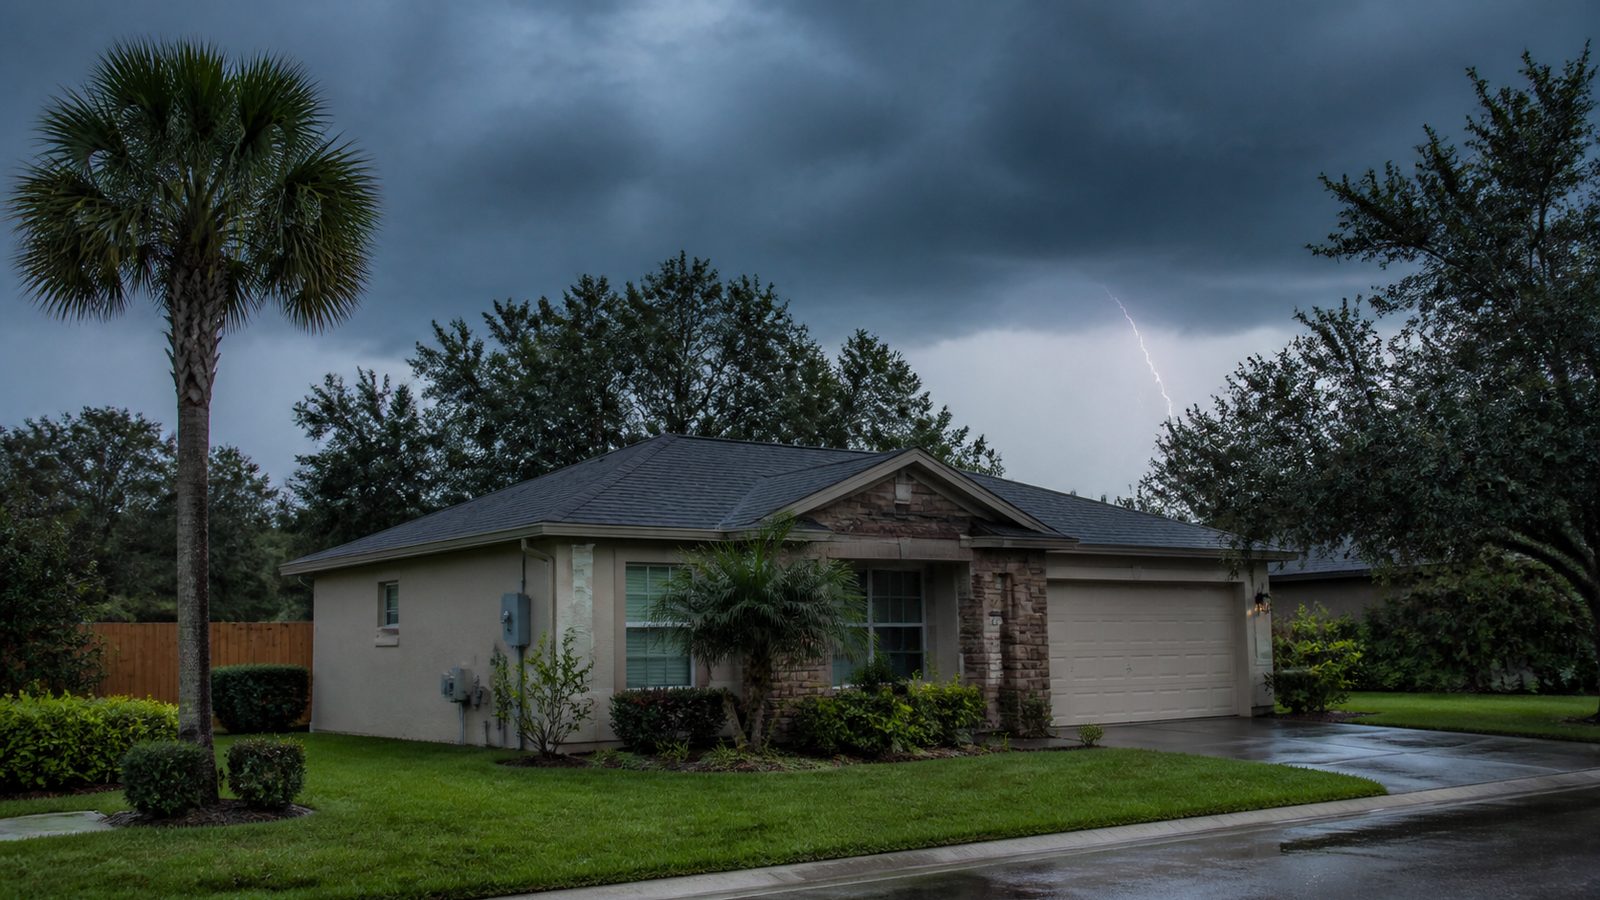
Step 1: Safety Assessment First — Do Not Enter If the Structure Is Compromised
Before anything else: assess whether the building is safe to enter and occupy.
Do not re-enter a home if:
- There are cracks in the foundation, exterior walls, or masonry that were not present before the storm
- The roof structure shows visible deflection or sag in the ceiling below
- There is visible electrical damage — downed wires on the roof or in the yard, sparking outlets, water visible in the electrical panel
- Gas lines may have been damaged — if you smell gas, do not enter; call 911 and Jacksonville Electric Authority (JEA) from outside the structure
If you are not certain the structure is safe, stay outside and call the City of Jacksonville's Building Inspection Division to request an emergency structural assessment. JEA's emergency line for gas leaks is 24-hour. Do not assume safety — confirm it.
Once you have determined it is safe to enter, move systematically. The goal is damage assessment and emergency mitigation, not repair.
Warning: Structural damage from a storm is not always visible immediately. A roof that appears intact from the inside may have rafter connections that were compromised. If the storm involved wind speeds above 75 mph or there are visible uplift marks or missing shingles in one area, have a structural assessment done before working on or near the roof.
Step 2: Emergency Tarping — 6-Mil Poly Over the Ridge, Extended 2 to 3 Feet Past Damaged Area
The purpose of emergency tarping is to prevent additional water intrusion while permanent repairs are arranged. Done correctly, a temporary tarp can protect your home through multiple additional rain events. Done incorrectly, it can blow off, allow additional water in, and create a false sense of security.
The standard emergency tarp protocol:
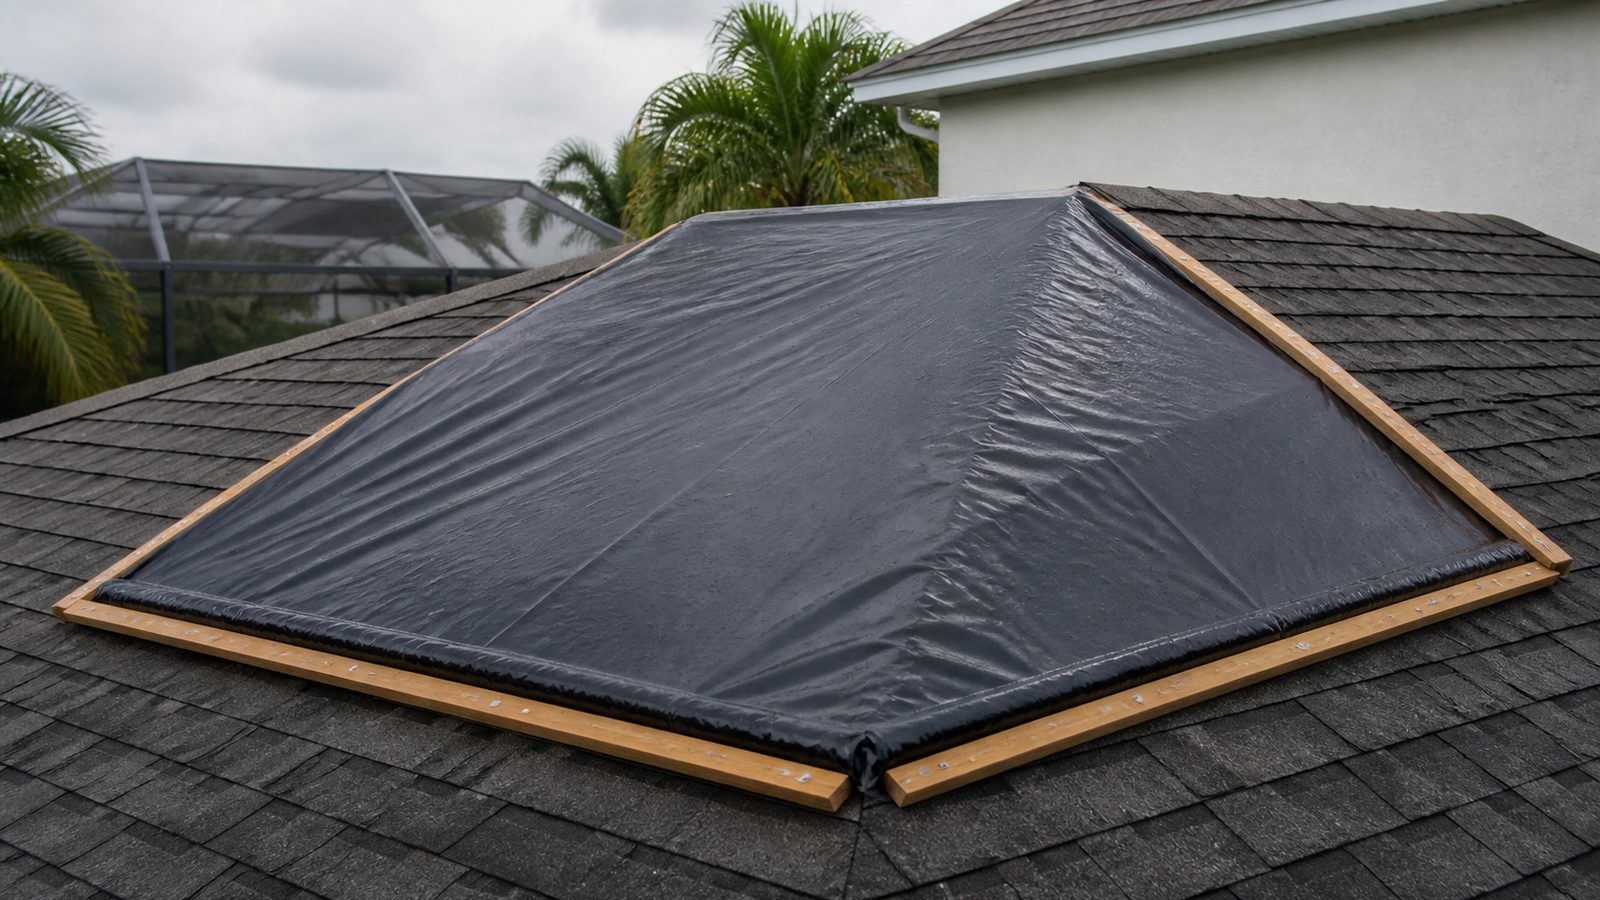
- Use 6-mil polyethylene sheeting minimum. Tarps labeled "light duty" or thinner than 6-mil will not survive a second storm or high winds.
- Extend the tarp from the ridge of the roof, down over the damaged area, and at least 2 to 3 feet past the edges of the visible damage on all sides. Damage often extends further than what is visible from the inside.
- Do not nail the tarp directly into shingles — this creates additional penetrations. Instead, fold the edge of the tarp over a 2x4 or 2x6 board and secure the board to the roof deck with screws. The board distributes the load and allows the tarp to be removed without additional nail holes.
- At the ridge, fold the tarp over the peak and secure it on both sides with boards.
- Secure the edges of the tarp with additional boards or sandbags placed on top — wind uplift is the primary failure mode for emergency tarps.
If the roof pitch is steep or the damage area is extensive, do not attempt to tarp it yourself. Call a licensed roofing contractor for emergency service. Falls from residential roofs are one of the most common causes of serious injury during post-storm cleanup.
Pro tip: Photograph the damage area before the tarp goes on. You need documentation of the pre-tarp condition for your insurance adjuster. A tarp placed before photos are taken obscures the damage evidence you need for your claim.
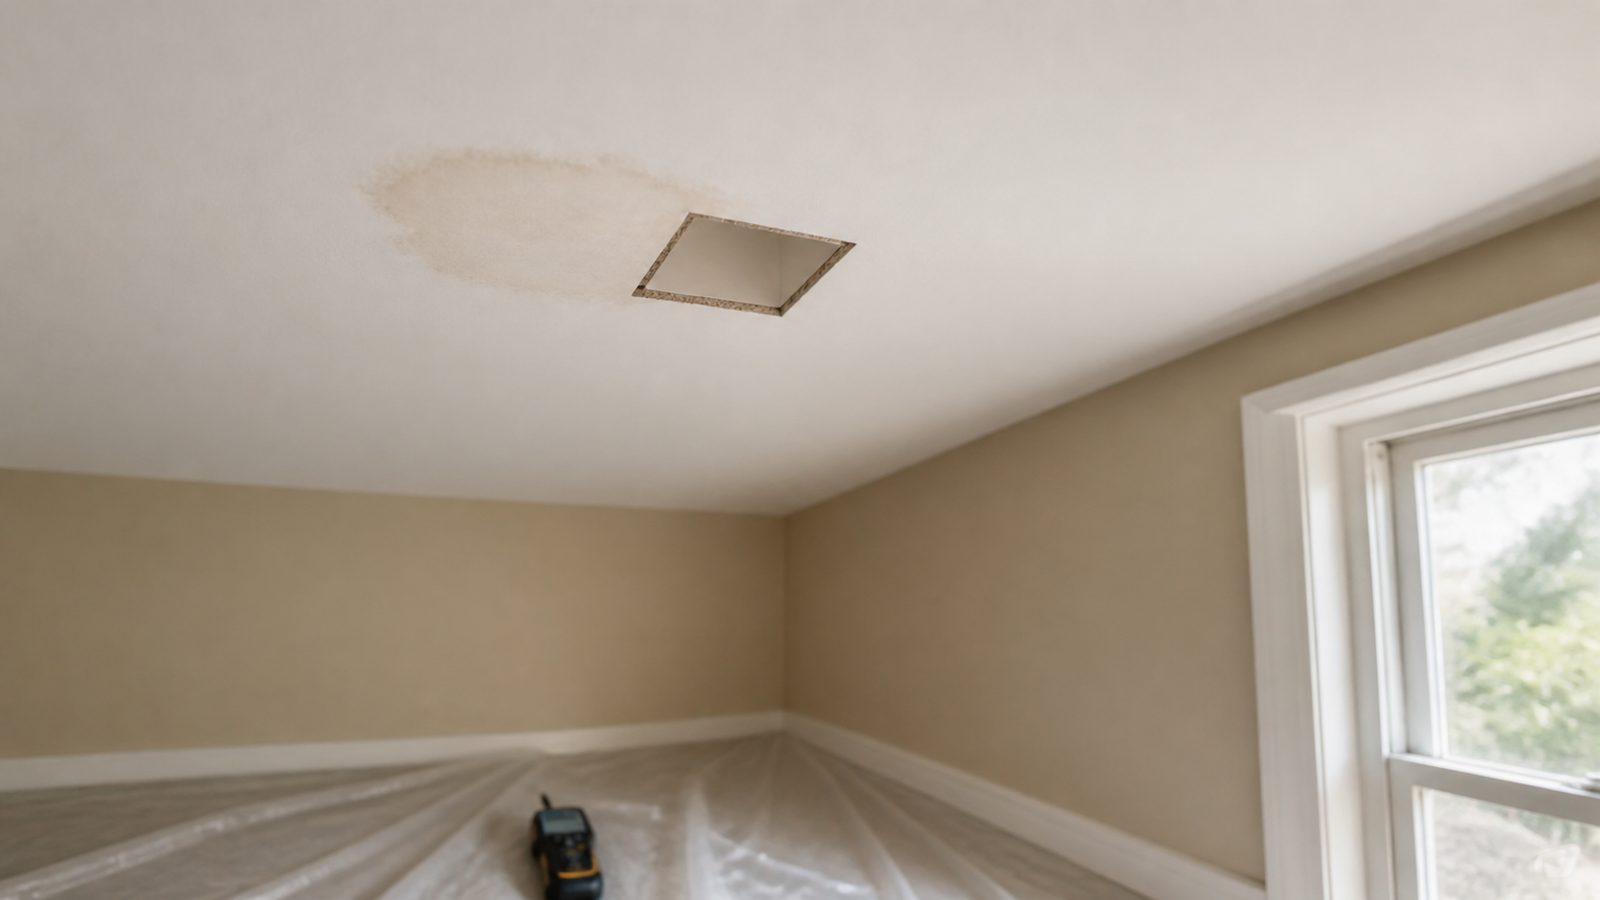
Step 3: Address Interior Water Intrusion — Lift Wet Carpet and Remove Wet Drywall Within 24 to 48 Hours
Water in the interior of a structure begins growing mold within 24 to 48 hours under Florida's temperature and humidity conditions. The remediation clock starts immediately, not when the contractor arrives.
What to do with water intrusion:
- Remove standing water with a wet/dry vacuum if accessible
- Lift wet carpet from the tack strip and pull it back to allow the subfloor to dry — wet carpet left in place traps moisture against the subfloor and promotes mold growth beneath it
- Remove wet drywall within 24 to 48 hours of saturation — a circular saw or utility knife can cut out the affected section 12 inches above the highest visible water line. Wet drywall that stays in place grows mold within 48 to 72 hours in a Jacksonville summer
- Remove wet insulation from wall cavities — saturated fiberglass or cellulose insulation retains moisture and must be replaced; it cannot be dried and reused
- Run fans and dehumidifiers in affected areas if you have them; rent industrial drying equipment if the volume of water intrusion warrants it
Warning: Mold remediation is far more expensive than water damage remediation. A water intrusion event that is not dried out within 48 hours commonly requires mold testing, professional remediation, and air quality clearance before reconstruction can begin. A $3,000 water event can become a $15,000+ mold remediation project if the response is delayed.
Step 4: Photograph Everything Before Tarping or Drying
Documentation is your insurance claim. Before you move anything, tarp anything, or begin any drying, photograph the damage comprehensively.
Photograph: the exterior damage from multiple angles; the interior water intrusion from multiple angles; the transition between damaged and undamaged areas; any wet or damaged personal property (document serial numbers and model numbers of electronics and appliances if visible); the street-level view showing the storm's general impact on the neighborhood (useful for confirming the event was widespread and not a maintenance issue).
Date and time stamps on photographs are automatic on most smartphones. Confirm your phone's camera timestamp is accurate before the storm season starts, not after damage occurs.
Upload the photographs to cloud storage immediately — do not rely on a device that may be damaged or lost. Email them to yourself, upload to Google Photos or iCloud, or send to a family member.
Pro tip: Take a brief video walkthrough of the damage before any mitigation work begins. A single 3-minute video showing the full scope of damage from interior and exterior provides context that a set of still photographs alone cannot fully convey.
Step 5: Do Not Make Permanent Repairs Before the Adjuster Visits
Your insurance policy almost certainly requires you to provide the adjuster with an opportunity to inspect damage before permanent repairs are made. If you permanently repair the roof before the adjuster visit, the carrier may deny or reduce the claim on the grounds that the extent of damage cannot be verified.
Emergency mitigation — tarping, water extraction, temporary drying — is not a permanent repair and will not jeopardize your claim. In fact, your policy likely requires you to mitigate to prevent additional damage, and failure to mitigate can give the carrier grounds to reduce the claim for damages that occurred after the storm because you failed to take reasonable protective measures.
The line: temporary and protective measures are required and appropriate. Permanent restoration of the damaged condition is not permitted before the adjuster documents the pre-repair state.
When you report the claim, ask the carrier for an adjuster appointment date. In the aftermath of a major storm event in the Jacksonville market, adjusters can be scheduled 7 to 14 days out. Your tarp should be capable of surviving that window.
Warning: Some contractors who show up unsolicited after a storm will offer to "get started on repairs right away" and have you sign authorization forms on the same day. Do not sign anything before the adjuster visit. Permanent repairs made before adjuster inspection, particularly if made by a contractor who chose scope without adjuster involvement, can create a dispute about covered damage that is very difficult to resolve in the homeowner's favor.
Step 6: Keep All Receipts for Emergency Materials
Every dollar you spend on emergency mitigation materials — tarps, lumber, screws, wet/dry vacuum rental, dehumidifier rental, temporary lodging if the home is uninhabitable — may be reimbursable under your homeowners insurance policy as Additional Living Expenses (ALE) or emergency mitigation costs.
Keep every receipt. Write a brief note on each receipt describing what the item was used for. Submit all receipts with your initial claim documentation.
In Duval County after significant storm events, some insurance policies also cover emergency board-up of broken windows and doors — ask your adjuster specifically whether this coverage applies.
Pro tip: Create a dedicated folder — physical or digital — for all storm-related documentation: photographs, receipts, contractor communications, adjuster notes, and your claim number. Claims that involve multiple supplemental submissions (common in significant storm damage events) benefit from organized documentation from day one.
Step 7: Understand What Insurance Reimburses for Emergency Mitigation
Most homeowners insurance policies cover reasonable emergency mitigation costs — the actions you take to prevent additional damage after the covered loss. Covered mitigation typically includes: tarping, temporary boarding, water extraction, and temporary drying equipment.
What is typically not covered as mitigation: permanent repairs, improvements to the pre-storm condition, repairs to systems that were already in a deteriorated condition before the storm.
In Florida, the Claims Bill of Rights (Section 627.70131, Florida Statutes) requires carriers to acknowledge claims within 14 days, conduct inspections within a specified period, and provide coverage decisions within 90 days. If your carrier is not meeting these timeframes, document the gap in writing.
If you have an ACV — Actual Cash Value — policy rather than an RCV — Replacement Cost Value — policy, your payout will be reduced by depreciation. A 15-year-old roof with a 20-year rated shingle may be depreciated to 25% of replacement cost under ACV terms. Know which policy type you have before you need it.
JK Prestige Construction provides written estimates within 48 hours of site visit for storm damage repair. See our full roofing services at jkprestigeconstruction.com/#/roofing or learn about our process at The JK Way.
Step 8: The AOB Warning — Do Not Sign AOB Paperwork from Unknown Contractors
AOB — Assignment of Benefits — is a legal document that transfers your insurance claim rights from you to a third party, typically a contractor. Florida substantially restricted AOB in 2019 and again in 2023, but solicitation still occurs.
An AOB-soliciting contractor will often show up within hours of a storm, offer free or heavily discounted emergency work, and present paperwork that includes an AOB clause. Once you sign an AOB, the contractor — not you — controls the insurance claim. They negotiate directly with the insurer, and your ability to dispute their scope or negotiate on your own behalf is severely limited.
The rule: do not sign any paperwork from an unsolicited contractor who arrives after a storm without reading it fully, without consulting your insurance agent, and without understanding exactly what rights you are transferring.
A reputable contractor does not need an AOB to do legitimate storm damage work. JK Prestige Construction provides written, fixed-price contracts. We do not use AOB agreements.
Get a written estimate in 48 hours. Call (904) 944-0278 or request a consultation.
No call center. No coordinator. A JK principal reviews every inquiry and replies with a real number, not a range, not a follow-up form.
Request Free Estimate →