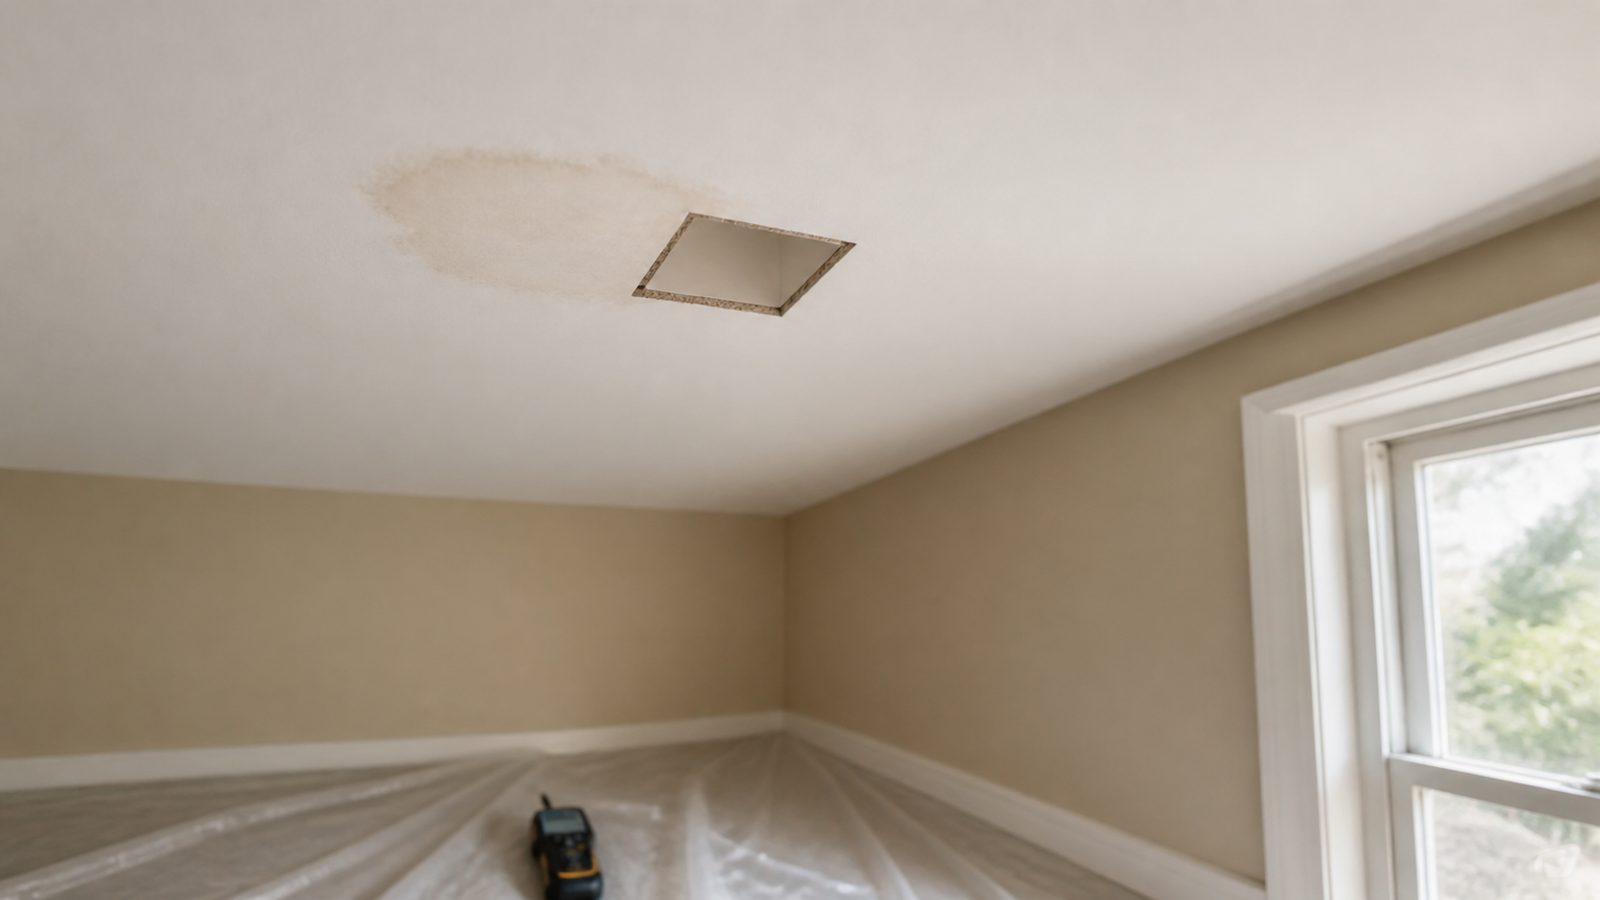
If you have found a brown ring on your ceiling, a soft spot that gives when you press it, or drywall that has started to sag, you are dealing with one of the most common repair calls we get in Jacksonville. Between summer thunderstorm season, aging roofs, and AC systems that run nearly year round here, water-damaged ceilings show up in almost every neighborhood, from Riverside to Mandarin to the Southside. A contained leak is usually fixable, but the mistake most homeowners make is patching drywall before they have solved the problem that caused it. Here is how to approach it the right way.
When You Need a Permit in Jacksonville
Not every ceiling repair needs a permit. Cutting out a small section of damaged drywall, taping, mudding, and repainting is generally treated as routine repair and does not typically trigger a permit from the City of Jacksonville Building Inspection Division, which handles permitting for all of Duval County under the Florida Building Code.
That changes once the scope grows. Cutting into roof trusses or joists, replacing a significant portion of the ceiling assembly, running new electrical for a fixture or fan, or folding the repair into a larger reconstruction after a roof or plumbing failure will likely require a permit. Call the Building Inspection Division or check the City's current permit matrix before you start.
Mold is the other trigger. Florida regulates mold assessment and remediation under Chapter 468, Part XVI of the Florida Statutes, which sets size thresholds for when the work must go to a licensed mold assessor and a separately licensed remediation contractor rather than a general repair. Our humid climate lets mold begin colonizing wet drywall within 24 to 48 hours, so if the ceiling has been wet more than a day or two, do not just paint over it. Have a licensed mold assessor evaluate the area first, and confirm current thresholds with DBPR rather than guessing.
If the damage came from a covered event like a storm or burst pipe, loop in your insurance adjuster before tearing anything out. Photograph the damage and get the claim documented first. Repairing before the adjuster inspects is a common reason claims get reduced or denied.
Tools and Materials
- Moisture meter (confirms the area is dry before you close it back up)
- Utility knife, drywall saw, and stud finder
- Ladder or scaffold rated for ceiling work
- Replacement drywall, matched to existing thickness (typically half-inch)
- Drywall screws and a screw gun
- Joint compound, paper or mesh tape, and taping knives
- Sanding sponge or pole sander
- Stain-blocking primer (shellac-based is worth the extra cost)
- Ceiling paint matched to existing sheen
- Fans or a dehumidifier for drying the cavity
- PPE: N95 respirator, gloves, eye protection
Step-by-Step
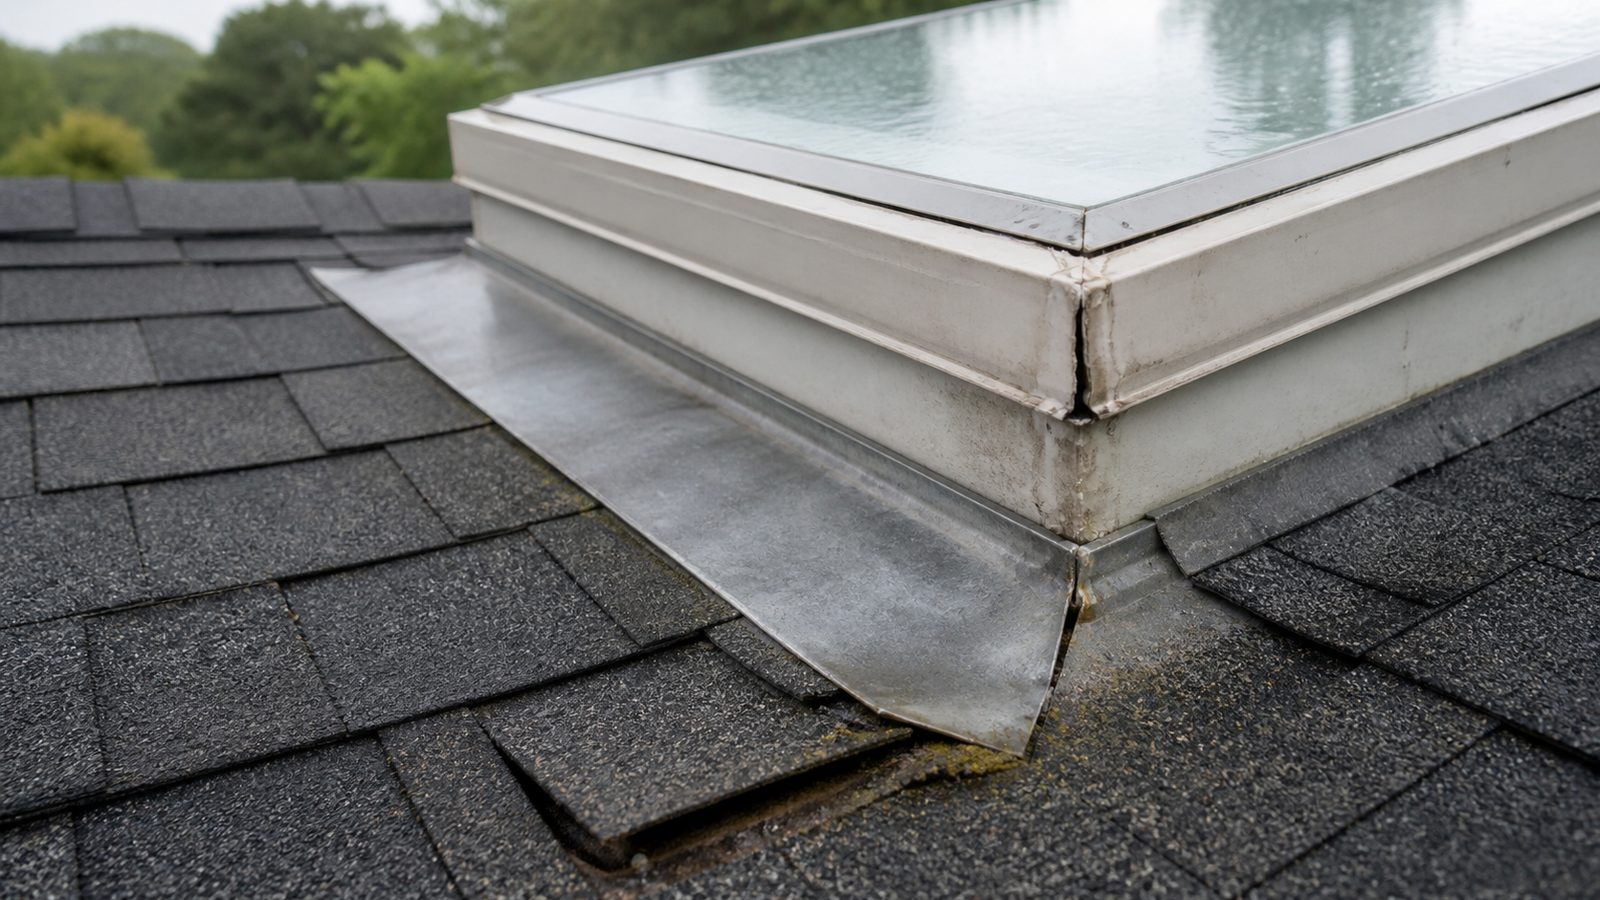
- Find and stop the source. Check the roof, attic, AC condensate line and drain pan, plumbing above the ceiling, and any fixtures on the floor above. Do not repair drywall until the source is fixed, or you will be doing this twice.
- Cut back to sound material. Use a moisture meter to find the true edge of the wet drywall, then cut back to the nearest ceiling joists for solid framing to screw into.
- Dry the cavity completely. Run fans and, if humidity is high, a dehumidifier for 24 to 72 hours before closing anything up. Closing in moisture is how repeat mold problems start.
- Inspect framing and insulation. Water-stained or soft wood should be treated or replaced. Wet insulation loses its R-value and should generally be replaced, not dried in place.
- Address visible mold. Small surface mold on framing can often be cleaned and dried in place. Anything beyond a small, contained spot should go to a licensed mold professional first.
- Cut and hang new drywall. Match the existing thickness and screw into joists on 12 to 16 inch centers.
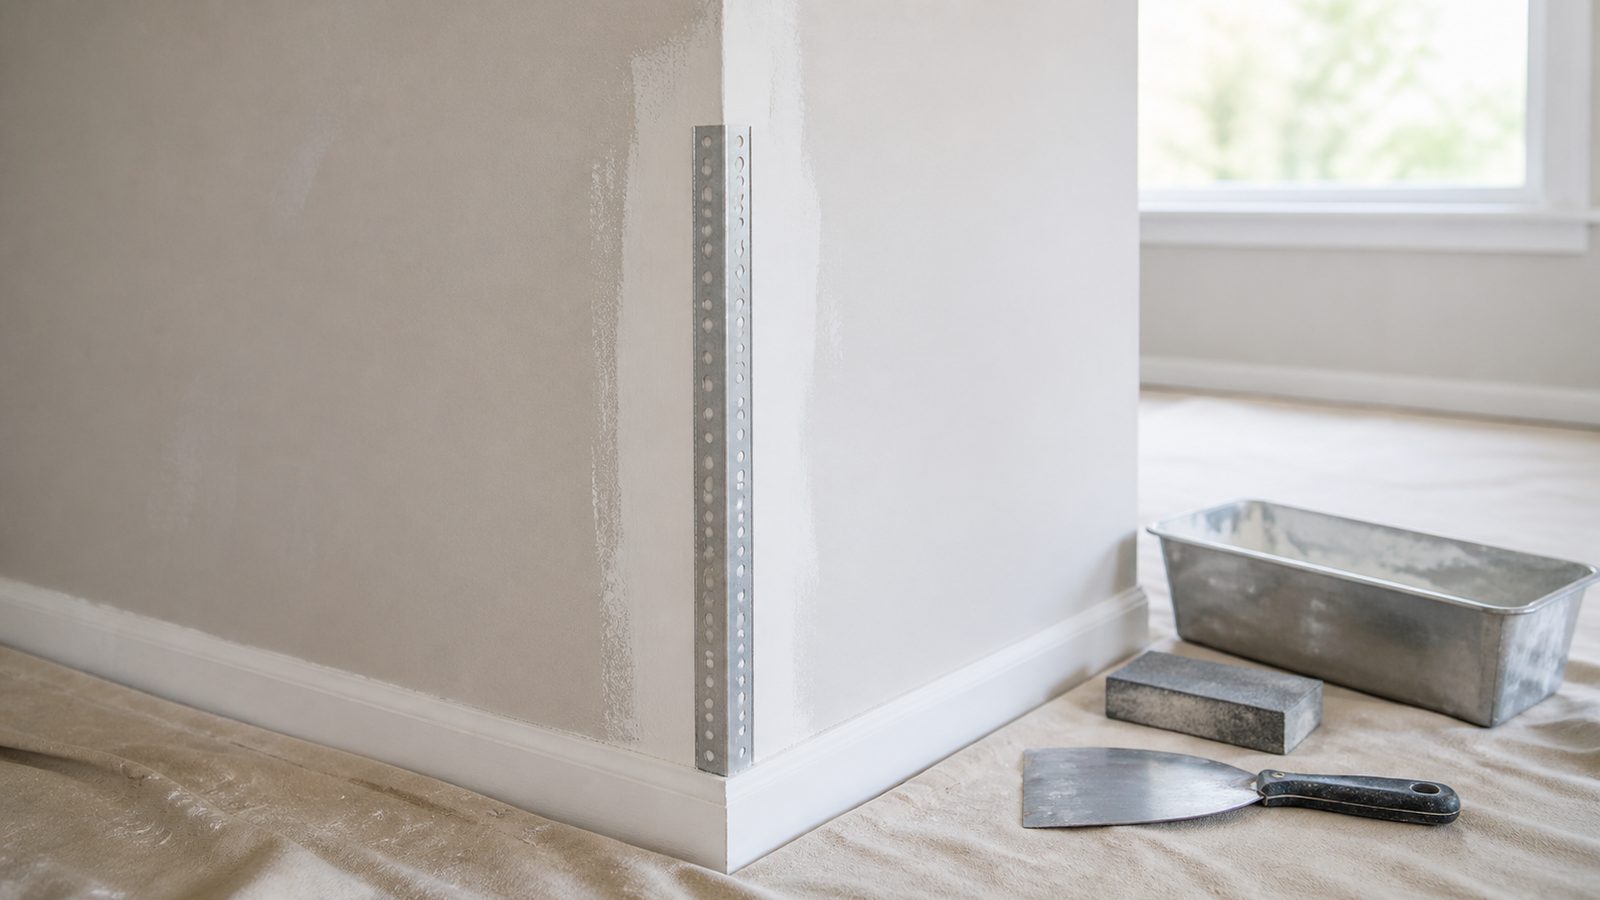
- Tape, mud, and sand. Apply at least two, ideally three coats of joint compound, feathering each coat wider than the last, and sand between coats.
- Prime with a stain blocker. Old stains can bleed through standard paint even after the leak is fixed. A shellac or oil-based stain-blocking primer solves this in one coat.
- Paint to match. Use the same sheen as the surrounding ceiling so the patch does not read under lighting.
Jacksonville Climate Considerations
Northeast Florida's humidity works against you at every stage of this repair. Ambient moisture slows drying time in the cavity, which is why rushing that step is the single biggest cause of repeat mold problems in local homes. Our summer storm pattern, June through September thunderstorms and the occasional tropical system, makes roof leaks and wind-driven rain intrusion the most common cause of ceiling damage we see, followed by condensation and line failures on attic-mounted AC systems that run nearly year round here. If a stain sits directly under an attic AC unit or its drain line, check that connection and the condensate pan before assuming it is a roof leak. Given how fast mold takes hold here, treat any ceiling wet more than a day or two as a mold risk until proven otherwise.
What It Costs in Jacksonville (DIY vs. Hiring a Pro)
| Scope | DIY Materials Cost | Hiring a Pro (Jacksonville Market) |
|---|---|---|
| Small patch (under 2 sq ft, no structural or mold issues) | $30 to $75 | $250 to $500 |
| Moderate section (2 to 10 sq ft, texture and paint match) | $75 to $200 | $500 to $1,200 |
| Large section or full ceiling replacement | $200 to $600+ | $1,200 to $4,000+ |
| Mold assessment and licensed remediation (if triggered) | Not DIY-appropriate | $500 to $3,000+, scope dependent |
These ranges are general estimates and will vary with ceiling height, texture matching, access, and whether framing or insulation replacement is needed. Get a written quote before committing.
When to Call JK Prestige
If the leak has come back more than once, you are unsure whether the damage reached the framing, or the repair is tangled up with an insurance claim, have a licensed general contractor look at it before you start cutting. We can identify the source, coordinate with a mold professional if needed, and handle the permit question.
No call center. No coordinator. A JK principal reviews every inquiry and replies with a real number, not a range, not a follow-up form.
Request Free Estimate →