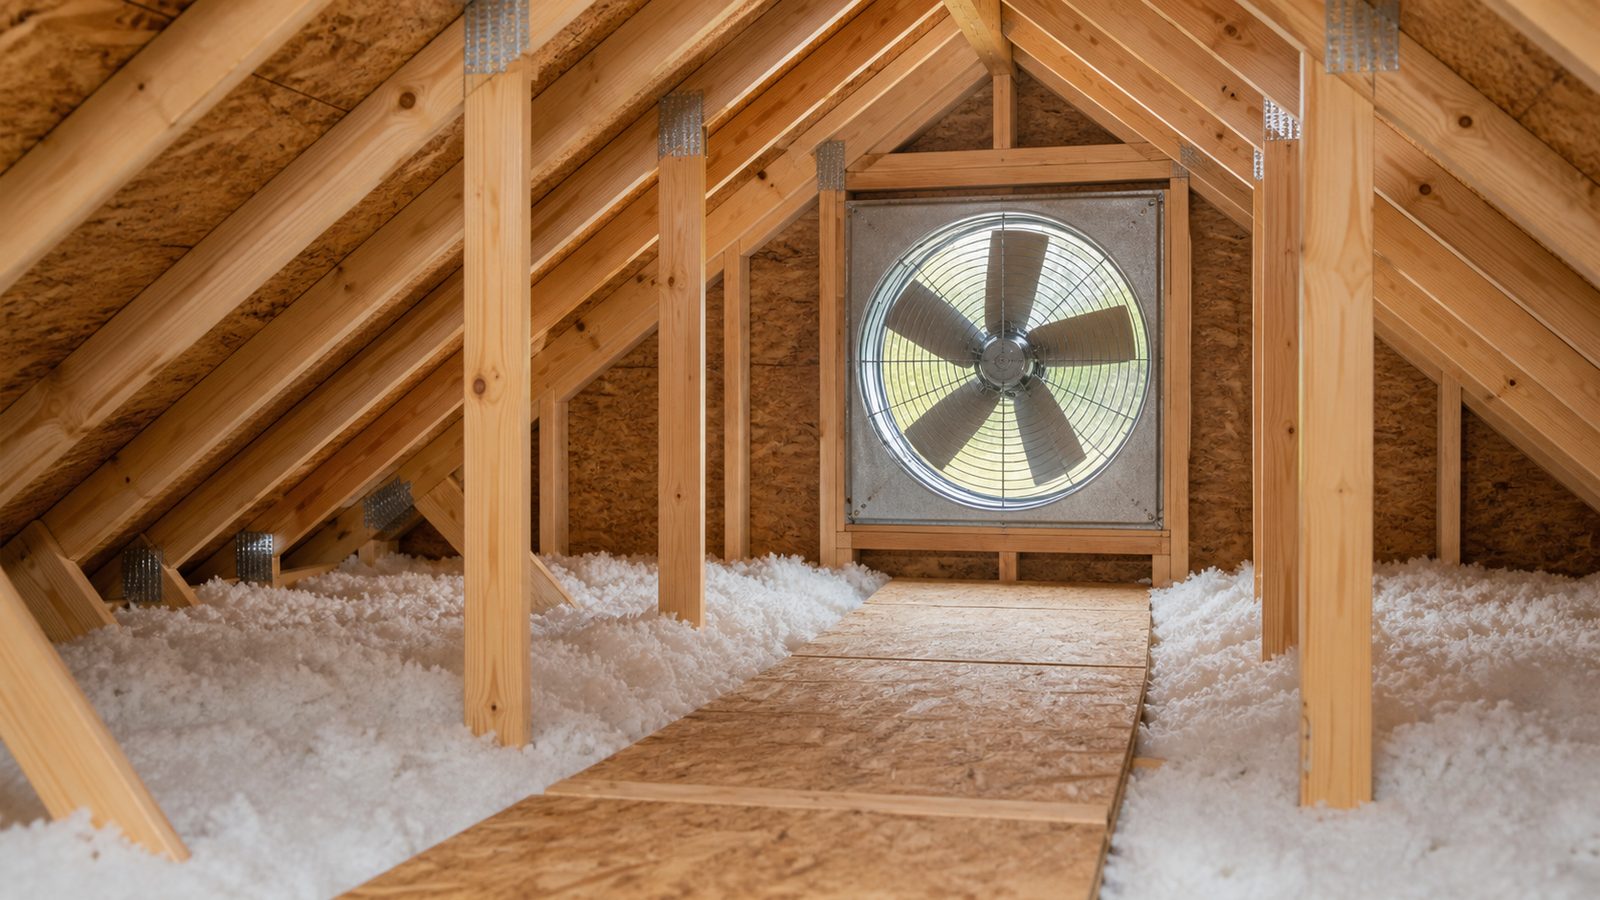
If you've been up in the attic this August and it felt like standing in a pizza oven, your power vent fan might not be doing its job. These roof-mounted fans pull hot, moist air out of the attic so your shingles, insulation, and HVAC system aren't fighting a 140-plus degree space all summer. When they die, most Jacksonville homeowners assume the whole unit is shot. Half the time it's just the motor or the thermostat, and either one is a straightforward swap if you're comfortable on a ladder and around 120-volt wiring. Here's how to figure out which part failed, size the replacement correctly, and reseal the roof so you're not trading one problem for a leak.
When You Need a Permit in Jacksonville
A straight like-for-like replacement of an existing attic power vent fan, same location, same size opening, generally falls under routine maintenance and doesn't trigger a permit from the City of Jacksonville or Duval County Building Inspection Division. Once you start cutting a new roof opening, upsizing the unit, or converting from a hardwired fan to a solar unit that requires new roof penetrations or electrical work beyond the existing circuit, you're into permitted territory under the Florida Building Code. Roofing work in Duval County also has to meet the wind-load and uplift requirements for our wind zone, which matters for how the flashing and fan base are fastened down. Don't guess on this one. A five-minute call to the Building Inspection Division before you start will tell you whether your specific job needs a permit, and it's cheap insurance against a problem at resale.
Tools and Materials
- Replacement power vent fan motor (if only the motor failed) or a complete fan unit sized to your attic
- New bi-metal or adjustable thermostat switch
- Roofing cement or asphalt plastic roof cement (elastomeric-compatible if reroofing later)
- Replacement flashing/base if the old one is cracked or rusted
- Cordless drill, screwdrivers, wire strippers, wire nuts
- Multimeter for testing the motor and thermostat
- Caulk gun, utility knife, wire brush for cleaning the old cement off the roof deck
- Sturdy extension ladder, roof harness or rope-and-grab if your pitch is anything steeper than a walkable slope
- Work gloves and eye protection
Step-by-Step
1. Confirm it's actually not running. On a hot afternoon, put your hand near the vent louver. No air movement means the fan isn't cycling. Rule out a tripped breaker or a blown fuse in the attic junction box first.
2. Test the thermostat before you blame the motor. Most fans cycle on around 100 to 110 degrees Fahrenheit attic temperature. Pull the fan cover and use a multimeter to check for continuity across the thermostat switch when the attic is hot. If it shows no continuity despite the heat, the thermostat is the failure, not the motor, and it's a much cheaper fix, often under $30 for the part.
3. Bench-test the motor. With the thermostat bypassed or confirmed good, apply power directly to the motor leads. If it hums but doesn't spin, the bearings are likely seized. No response at all usually means a burned-out winding. Either way, the motor needs replacing.
4. Size the replacement to your attic, not just the hole in the roof. Attic ventilation is generally figured on roughly 1 CFM per square foot of attic floor area for power ventilation. A 1,500 square foot attic footprint wants a fan rated around 1,500 CFM, sometimes a bit more in our climate given how much heat the sun is loading onto the roof deck. Undersizing is the single most common mistake we see on service calls, homeowner and contractor grade alike.
5. Shut off power at the breaker before touching any wiring, and if your attic's junction box or wiring looks original to the house, or you're not fully confident reading a wiring diagram, this is where a licensed electrician earns their fee. A mis-wired fan connection is a fire risk you don't want to troubleshoot after the fact.
6. Remove the old unit and clean the roof deck. Pry up the fan base carefully, scrape off the old roofing cement down to bare decking, and inspect the plywood underneath for soft spots or water staining. Rot here means a repair beyond the vent fan itself.
7. Set the new base and reseal the penetration. Slide the new flashing under the upper course of shingles and over the lower course, never the reverse, then apply roofing cement generously around the entire perimeter of the base and over every exposed nail head. This is the step that determines whether you get five years or fifteen out of the install.
8. Wire the new motor and thermostat, restore power, and test. Run the fan through a full cycle, confirm it kicks on near the thermostat's set point, and check the attic for airflow at the soffits, since a power fan without enough intake can actually pull conditioned air up from the living space instead of hot air out.
Jacksonville Climate Considerations
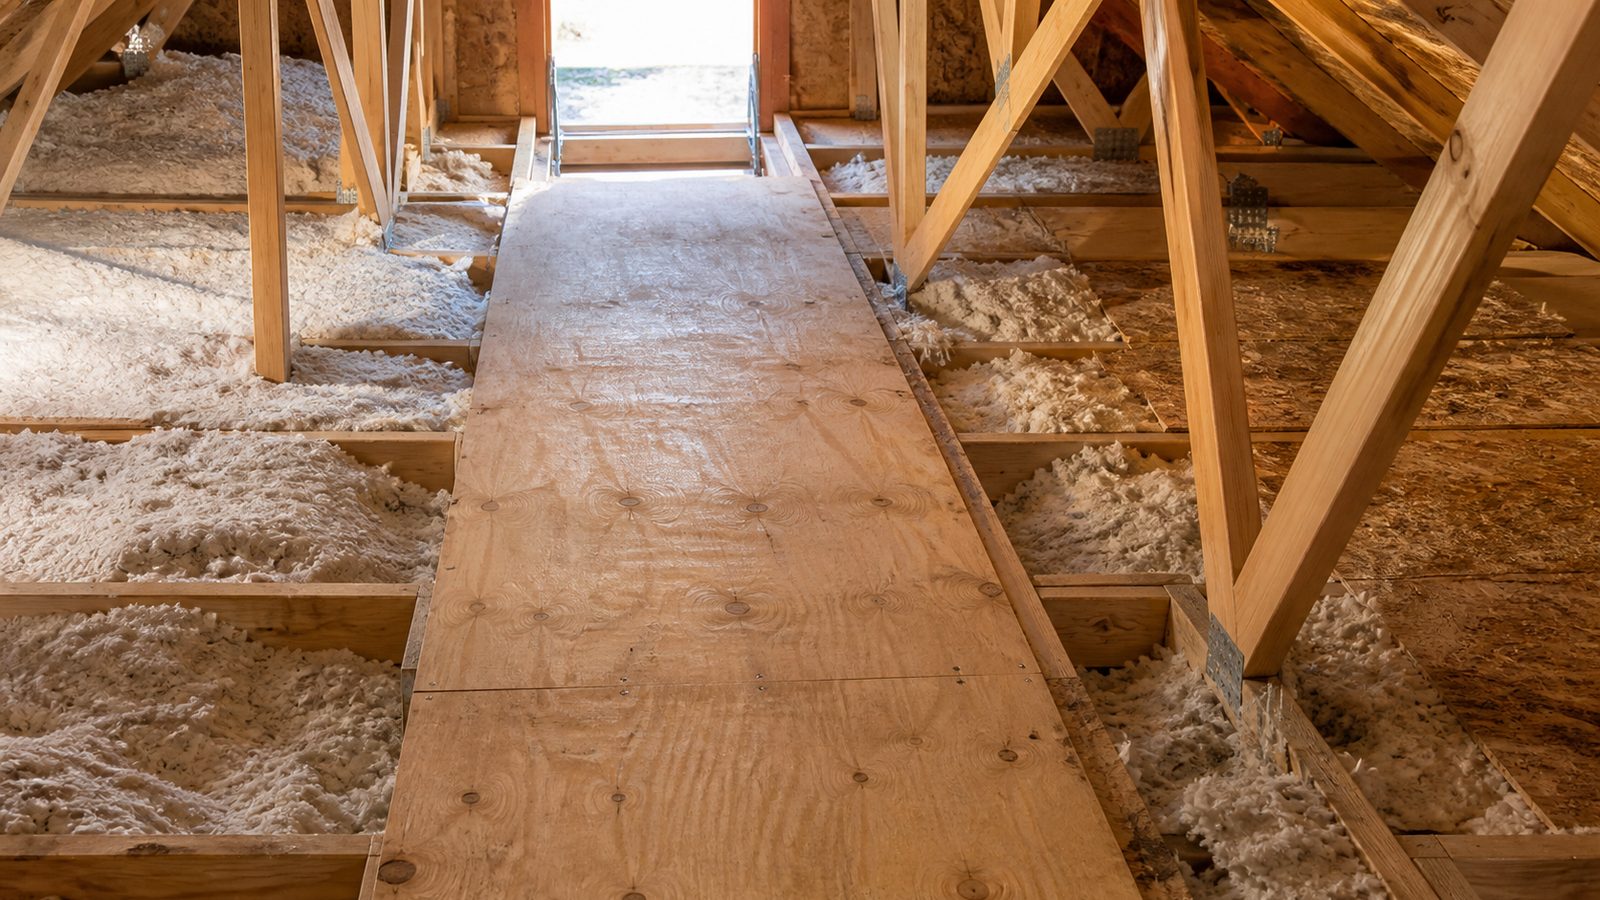
Our attics run brutally hot from June through September, easily 140 degrees or more by mid-afternoon, which is exactly why a working power vent fan matters more here than in a lot of the country. Humidity is the other half of the equation. A fan that's cycling but underpowered still leaves moist air sitting in the attic, which shows up as mildew on the roof deck or a musty smell in upstairs rooms. If you're within a few miles of the beaches in Atlantic Beach, Neptune Beach, or Jacksonville Beach, salt air accelerates corrosion on any exposed metal fasteners and motor housings, so a marine-grade or coated unit is worth the upcharge. And with hurricane season running June through November, make sure whoever reseals the roof penetration understands Florida Building Code wind uplift requirements for our zone, not just a generic bead of caulk.
What It Costs in Jacksonville (DIY vs. Hiring a Pro)
| Scope of Work | DIY Cost | Professional Cost |
|---|---|---|
| Thermostat only | $20 to $40 in parts | $150 to $250 |
| Motor replacement | $60 to $150 in parts | $250 to $450 |
| Full hardwired fan unit | $150 to $300 in parts | $400 to $700 installed |
| Full solar-powered fan unit | $250 to $450 in parts | $550 to $900 installed |
These are general 2026 Jacksonville-area ranges and will move depending on attic access, roof pitch, and whether flashing or decking repair is needed.
When to Call JK Prestige
If the diagnosis points to more than a motor or thermostat, if your attic has soft decking under the old fan base, or if you're not comfortable working at height on a roof in our climate, that's when it makes sense to bring in a licensed contractor. We handle the electrical connection, the roof penetration, and the CFM sizing as one job, so you're not left guessing whether the fix will actually cool the attic down.
No call center. No coordinator. A JK principal reviews every inquiry and replies with a real number, not a range, not a follow-up form.
Request Free Estimate →