If your bathroom exhaust fan is louder than it used to be, barely moves air, or has stopped working, replacing it is one of the more approachable projects a homeowner can take on. It is also one we get asked about constantly, usually after someone notices mildew along the ceiling or a musty smell that will not go away. In a city as humid as Jacksonville, a weak or dead exhaust fan is not a small annoyance, it is the difference between moisture leaving your house and moisture soaking into your drywall and framing. This guide covers what the job involves, when the City wants a permit, and when it makes sense to call a pro.
When You Need a Permit in Jacksonville
For most homeowners, a straight swap, taking out an old fan and installing a new one of similar size in the same location, using the existing circuit and duct run, does not require a building permit through the City of Jacksonville Building Inspection Division. This is generally treated as a like-for-like appliance replacement rather than new construction.
Several related scenarios do trigger permitting under the Florida Building Code and the City's electrical code adoption:
- New electrical wiring or a new circuit for the fan, rather than reusing existing wiring, typically requires an electrical permit.
- Relocating the fan, which means new ductwork or a new roof or soffit penetration, generally requires a permit.
- Cutting a new roof penetration for venting almost always requires a permit and inspection, given how strict Duval County is about roof integrity in this hurricane-exposed market.
- Any work tied into a larger bathroom remodel that touches plumbing, electrical panels, or structural framing needs its own permits regardless of the fan.
Permit requirements shift, so do not take our word as final. Check with the City of Jacksonville Building Inspection Division before you start, especially if your project goes beyond a simple swap. It takes ten minutes and saves you from a stop-work order later.
Tools and Materials
- New bathroom exhaust fan rated for the room's square footage and, if the fan will be near the shower or tub, rated for damp or wet locations
- Non-contact voltage tester
- Screwdrivers (Phillips and flathead)
- Wire strippers and wire nuts
- Drywall or step ladder tall enough to comfortably reach the ceiling
- Dust mask and safety glasses (attic insulation and old duct debris are not fun to breathe)
- Foil duct tape (not cloth-backed "duct tape") for sealing the vent connection
- Caulk rated for bathroom or exterior use if resealing a ceiling gap
- Work gloves, especially if you will be in the attic
Step-by-Step
- Kill the power. Switch off the breaker that controls the fan and confirm it is dead at the fixture with a non-contact voltage tester before touching any wiring.
- Remove the old fan cover and housing. The grille usually pops off with light pressure or a couple of clips. Remove the screws holding the housing to the ceiling joists or mounting bracket.
- Disconnect the wiring and duct. Note the wire connections, typically black to black, white to white, and a ground, then disconnect them. Detach the flexible duct from the housing.
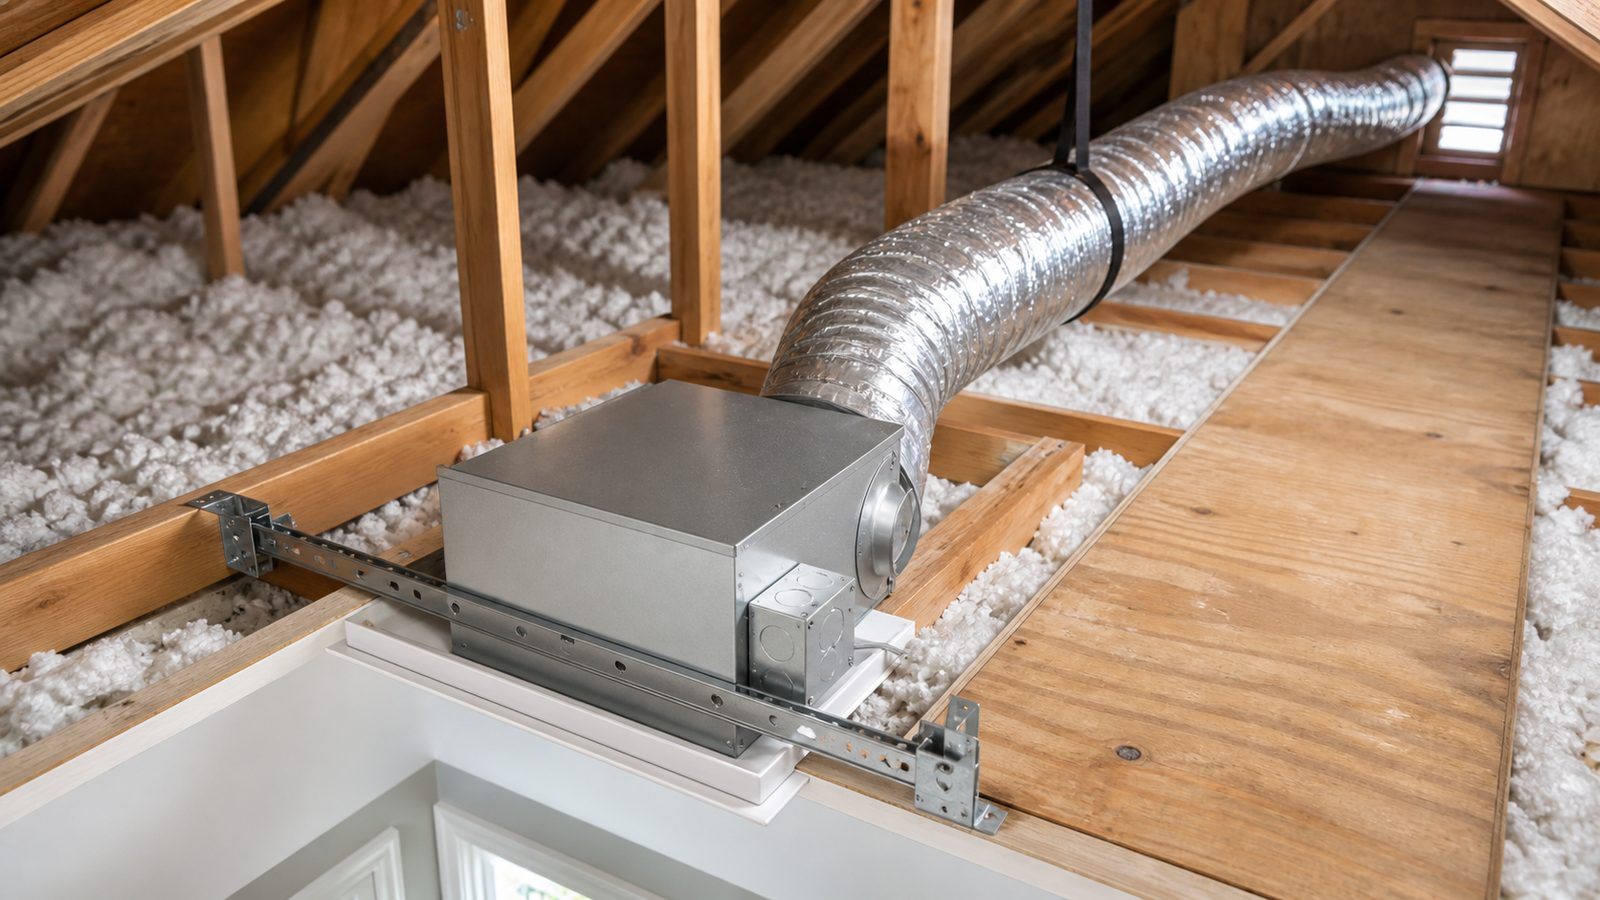
- Access the space above, if possible. Attic access is the easiest way to confirm duct condition and whether the existing hole fits your new unit. Jacksonville attics run brutally hot most of the year, so work early in the morning if you can.
- Set the new housing. Many replacement fans fit the existing ceiling opening without cutting drywall. Secure it to the joists or bracket per the manufacturer's instructions.
- Reconnect the wiring. Match wire colors, twist on wire nuts, and attach the ground wire inside the junction box.
- Reconnect and seal the duct. Slide the flexible duct over the new exhaust port and seal it fully with foil tape. A loose duct connection is one of the most common reasons a new fan still fails to solve a moisture problem.
- Attach the grille and restore power. Turn the breaker back on and test the fan. Listen for rattling and confirm air is genuinely moving.
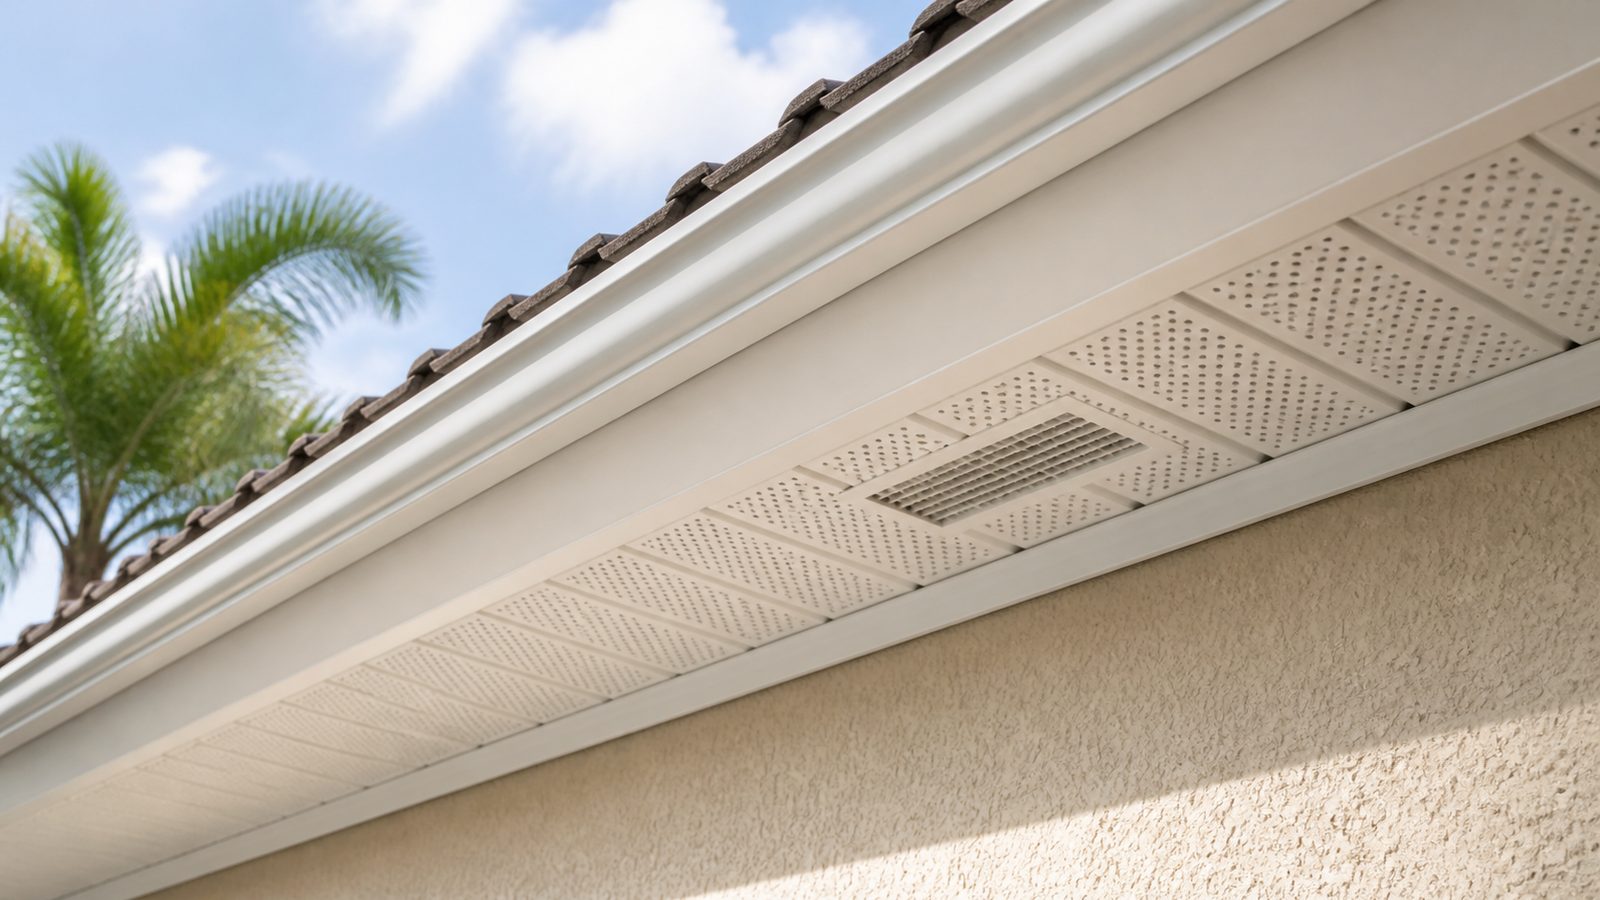
- Confirm exterior exhaust. Check outside or in the attic that air is actually exiting through the roof or wall vent cap, not dumping into the attic. This step gets skipped often, and it defeats the whole purpose of the fan.
Jacksonville Climate Considerations
Northeast Florida's humidity is the whole reason bathroom fans matter more here than in drier climates. A fan that is undersized or not venting properly cannot keep up with the moisture load from daily showers, and that moisture has nowhere to go but into drywall, paint, and eventually framing, where it becomes a mold problem.
If your duct terminates at a roof cap, salt air and UV exposure near the coast degrade cheaper plastic caps faster than inland areas, so a metal cap with a corrosion-resistant finish holds up better. And if you are cutting a new roof penetration, remember that Duval County's wind-load and roof-integrity standards exist for a reason, every unnecessary hole in a roof deck is a future leak point in a hurricane-prone market, which is why we flagged that scenario as permit territory above.
What It Costs in Jacksonville (DIY vs. Hiring a Pro)
These are general market estimate ranges for the Jacksonville area, not fixed prices. Your actual cost depends on fan quality, attic access, and whether any electrical or duct work is needed beyond a straight swap.
| Approach | Typical Cost Range | Notes |
|---|---|---|
| DIY, fan unit only | $60 to $200 | Basic to mid-grade quiet fan, no permit needed for like-for-like swap |
| DIY, fan plus new ducting materials | $100 to $300 | If old duct is damaged or disconnected |
| Hiring a licensed contractor or electrician | $250 to $600 | Labor, disposal of old unit, and correct sealing included |
| Hiring a pro with new wiring, relocation, or roof penetration | $500 to $1,200+ | Permit and inspection fees vary and should be confirmed with the City |
When to Call JK Prestige
If your project involves relocating the fan, tying into new wiring, or coordinating exhaust venting as part of a larger bathroom renovation, that is where a licensed contractor earns their fee. We handle the permitting conversation with the City, make sure the venting actually solves your moisture problem instead of recirculating air into the attic, and catch issues like inadequate duct sizing before they turn into a mold remediation job. If you are not sure whether your situation is a simple swap or something more, send us a photo and we will tell you straight.
No call center. No coordinator. A JK principal reviews every inquiry and replies with a real number, not a range, not a follow-up form.
Request Free Estimate →