This guide is for homeowners replacing an existing vanity with a new one in roughly the same footprint. If you are moving the vanity to a different wall, adding a new sink, or changing the drain location, that is a plumbing rough-in project and requires a licensed plumber and a permit in Florida.
A standard vanity swap is a weekend project that most homeowners with basic tool comfort can handle. The goal is simple: old unit out, new unit in, plumbing reconnected, no leaks.
Difficulty: Moderate. The plumbing connections are straightforward, but older Jacksonville homes sometimes have surprises behind the drywall or under the floor tile, so expect a few detours.
Time estimate: 4-8 hours for the swap itself. Add time if the old vanity is caulked to tile, if the shut-off valves are corroded, or if drywall repair is needed after removal.
Total cost range: $200-$1,500 depending on the vanity you choose. Freestanding or pre-assembled vanities from a box store run $200-$600. A custom or semi-custom vanity with solid wood and a stone top is $800-$2,500 installed.
Tools you need
- Adjustable wrench (two recommended)
- Channel-lock pliers
- Utility knife
- Putty knife or oscillating multi-tool (for cutting old caulk)
- Pry bar
- Screwdrivers (Phillips and flathead)
- Bucket (2-gallon minimum) and old towels
- Flashlight
- Level
- Drill and bits
- Stud finder
- Silicone caulk gun
Materials you need
- New vanity with sink and top, or separate components (vanity base, countertop, sink)
- New faucet if not included with the vanity or if updating ($50-$300)
- New supply lines (flexible braided stainless, 3/8-inch compression to 1/2-inch FIP; buy 2; ~$8-$12 each)
- P-trap kit (if the existing one is old or does not fit the new drain location; $10-$20)
- Drain assembly if not included with the new sink ($15-$30)
- Plumber's putty or silicone for the drain
- Silicone caulk for perimeter sealing (100 percent silicone, not latex/acrylic)
- Wall anchors or toggle bolts if attaching to drywall without studs
- Shims for leveling
Step-by-step instructions
Phase 1: Shut off water and remove the old vanity
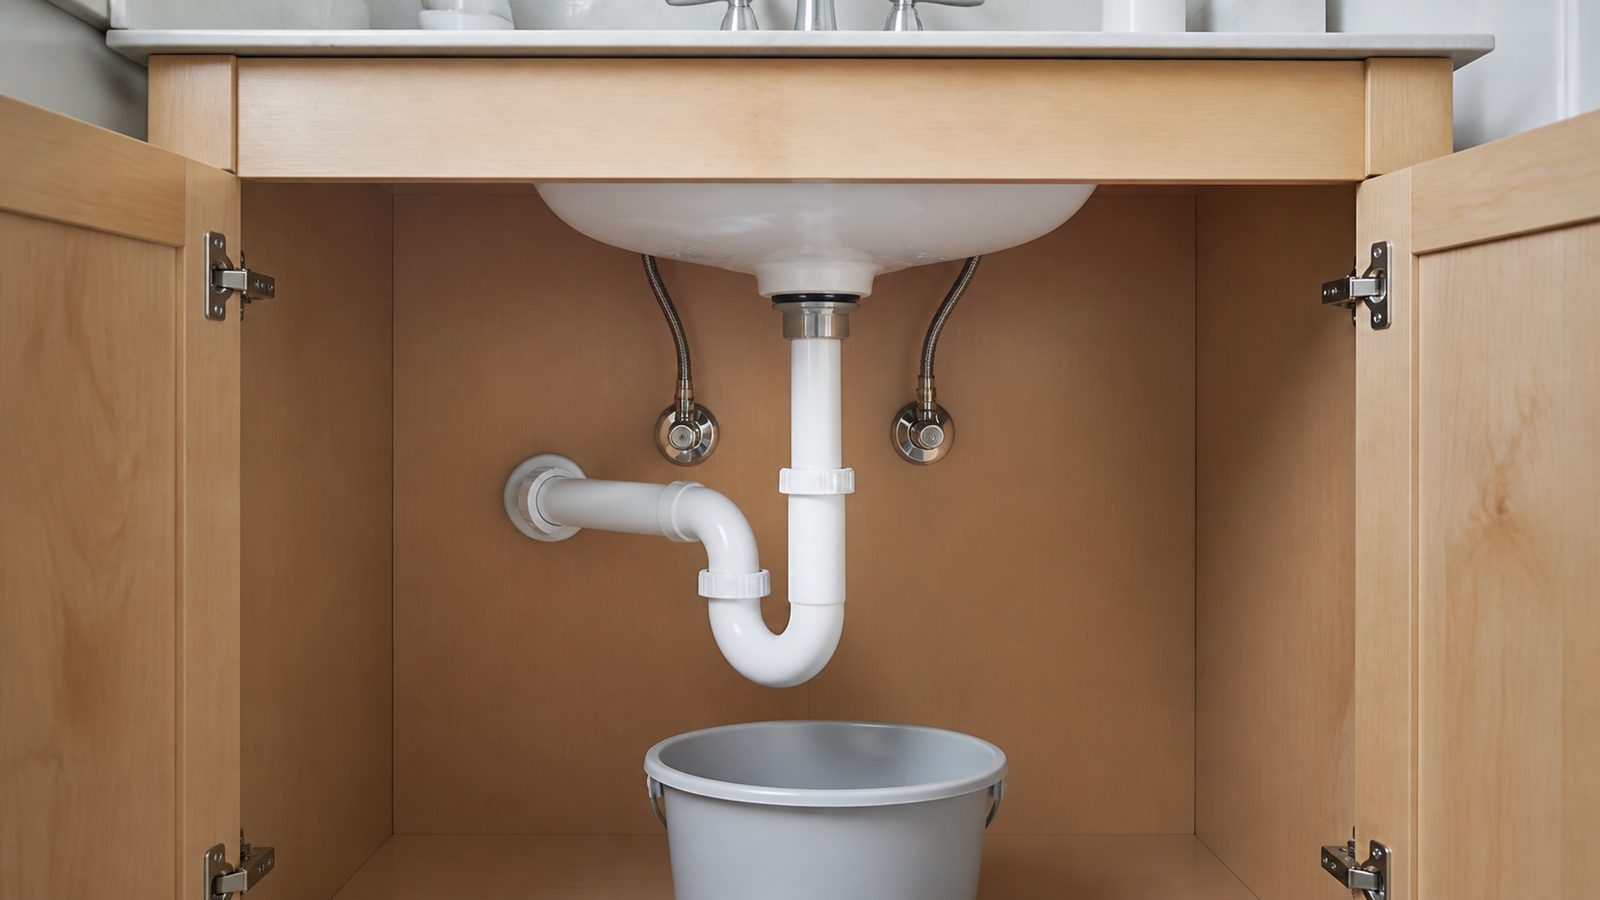
Step 1: Locate and close the shut-off valves. Under the sink you will find two angle stop valves, one for hot and one for cold. Turn them clockwise until they stop. Turn on the faucet to release pressure and confirm the water is off. If the valves do not close fully (water keeps dripping), shut off water at the main. Make note of this — those valves need to be replaced while you have the vanity out, and it is the perfect time to do it.
In Jacksonville, homes built before 1990 often have older gate-style angle stops that can fail or seize. If yours look corroded, budget $40-$60 per valve for replacements and plan on having a plumber or handy person swap them while access is open.
Step 2: Disconnect supply lines. Place your bucket under the valves. Use an adjustable wrench to loosen the nuts connecting the flexible supply lines to the angle stops and to the faucet inlet shanks. Water will drain out — a cup or two per line. Wrap the valves with a towel after disconnection.
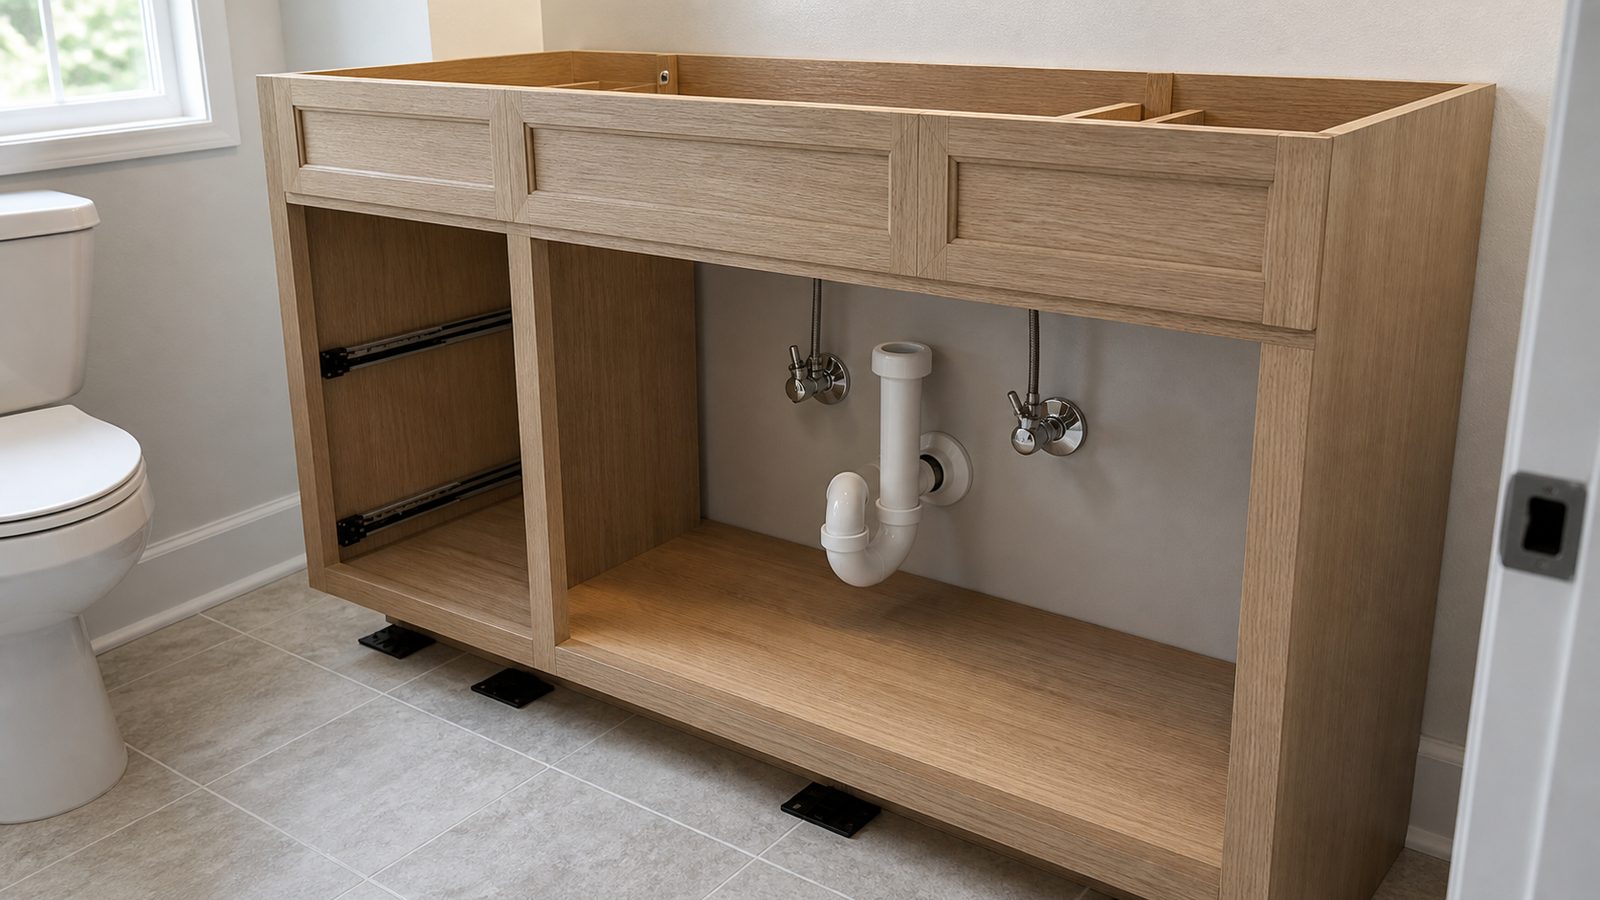
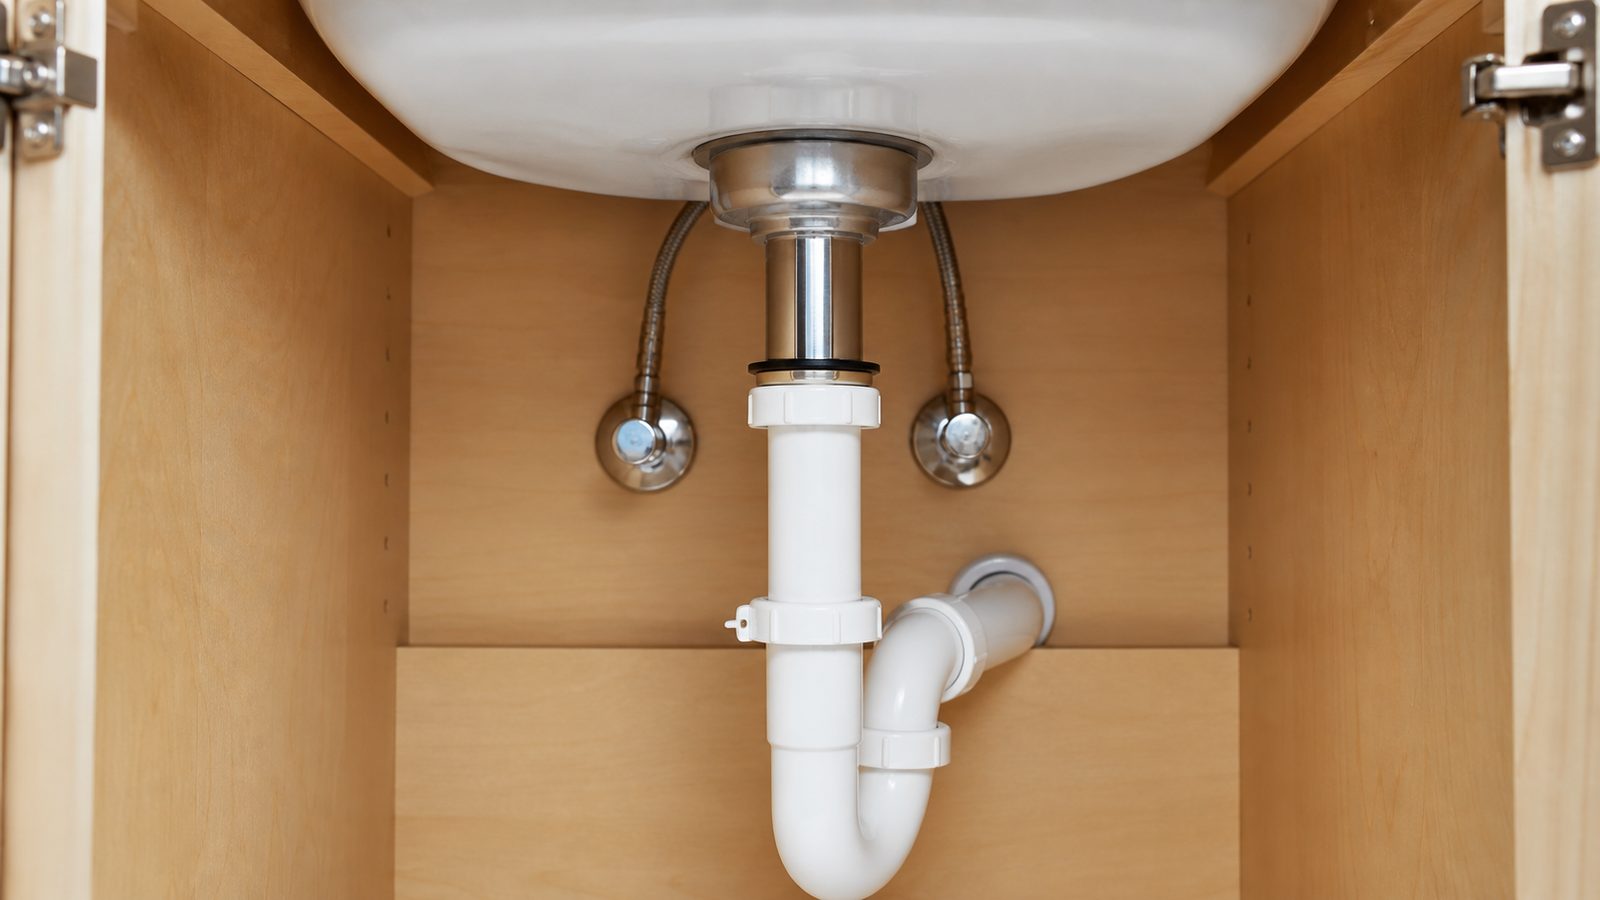
Step 3: Disconnect the drain. Under the sink, find the P-trap — the curved pipe that holds water to block sewer gas. It is usually connected to the drain tailpiece coming out of the sink and to the drain stub in the wall. Loosen the slip-joint nuts by hand or with channel-lock pliers. Have the bucket ready because the P-trap holds water. Remove the P-trap and set it aside or discard it.
Step 4: Cut the caulk and pry the vanity free. Most vanities are caulked to the wall and sometimes to the floor. Score around the perimeter with a utility knife or the oscillating tool. Work the pry bar gently behind the vanity, protecting the wall with a putty knife. Old vanities in Jacksonville bathrooms are sometimes caulked heavily or even glued down — take your time to avoid tearing the drywall.
Step 5: Locate the wall fasteners. Most vanities are screwed into wall studs through the back panel. Find and remove those screws before pulling the unit forward. The vanity should now slide or lift away from the wall.
Step 6: Assess the wall and floor. With the vanity out, check the drywall for mold, water stains, or soft spots. Florida bathrooms trap humidity, and a slow drip under the old vanity for years can cause significant drywall and framing damage. This is your best opportunity to fix it. If the drywall is damaged, cut back to the next stud on each side and patch with moisture-resistant drywall (greenboard or cement board).
Check the floor tile or vinyl. If the vanity has been there for years, there may be a gap in the flooring where the old unit sat. Depending on your new vanity's footprint, this may or may not be visible after the new unit is in.
Phase 2: Prep and install the new vanity
Step 7: Install faucet and drain before mounting the vanity. It is much easier to install the faucet and drain assembly while the top is at bench height than after it is mounted to the wall. Follow the faucet manufacturer's instructions. Use plumber's putty or silicone under the drain flange per the drain kit directions. Hand-tighten the faucet mounting nut and drain nut, then snug them with a wrench. Do not over-tighten.
Step 8: Set the vanity in position and level it. Slide the new vanity into place, feeding the supply lines and drain tailpiece through the back or bottom opening. Set a level on top of the cabinet and on the front face. Use shims under the base to bring it level front-to-back and side-to-side. Minor out-of-level conditions in Jacksonville homes are common, especially in older houses with settled slabs. The shims will be hidden by the baseboard or caulk.
Step 9: Fasten to the wall. Drive screws through the hanging rail or back panel of the vanity into wall studs. Use a stud finder to locate them first. If studs do not line up with your mounting holes, use toggle bolts into the drywall. The vanity should not rock or pull away from the wall at all.
Step 10: Mount the countertop (if separate). Drop-in sinks rest on the countertop cutout with a mounting clip system. Undermount sinks require the countertop to be installed first, then the sink is caulked and clipped from underneath. For pre-assembled vanity tops, the top usually attaches to the cabinet box with adhesive or mounting brackets. Apply a bead of silicone caulk along the top of the cabinet walls before setting the top.
Phase 3: Reconnect plumbing
Step 11: Connect the P-trap and drain. The drain tailpiece from the new sink needs to connect to the wall drain stub at the right height. Most P-trap kits are adjustable. Cut the tailpiece or adjust the trap arm length as needed so the trap outlet lines up cleanly with the wall stub. Do not create excessive offsets or uphill sections in the drain — the water has to flow downhill by gravity. Tighten all slip-joint nuts by hand plus a quarter turn with pliers.
Step 12: Connect supply lines. Attach new braided stainless supply lines to the hot and cold faucet inlet shanks. Hand-tighten and then snug with a wrench. Connect the other ends to the angle stop valves the same way. Do not over-tighten braided supply lines — the fittings are compression style and stripping them requires cutting the line.
Step 13: Open valves slowly and check for leaks. Turn the angle stops on slowly. Let water fill the supply lines, then turn on the faucet and let it run for 30 seconds. Shut the faucet off. Now get under the vanity with a flashlight and inspect every connection — the angle stops, both supply line fittings, the drain tailpiece, the P-trap connections, and the wall stub connection. Run the faucet again and watch the drain connections while water is flowing.
Do not skip this step. A slow drip that runs for months is how Jacksonville bathrooms end up with mold in the cabinet and rot in the subfloor.
Step 14: Caulk the perimeter. Apply a bead of 100 percent silicone caulk between the wall and the countertop backsplash (if any), along the wall-to-vanity seam, and anywhere the top meets a tile surface. Silicone will flex with movement and resist Florida humidity better than latex caulk. Smooth it with a wet finger.
Common mistakes to avoid
- Not replacing old shut-off valves. If your angle stops are 20-plus years old and the packing is dried out, they may not close fully and may fail weeks after the job. Replace them while the access is open.
- Skipping the leak check. Even hand-tight connections that look fine can weep slowly under water pressure. Check thoroughly before closing the cabinet doors.
- Setting the vanity without leveling it. An unlevel vanity will cause doors to swing open or closed on their own and can put stress on the plumbing connections over time.
- Using latex caulk in a wet area. Latex caulk in a Florida bathroom will fail within a year. Use 100 percent silicone.
- Not checking for hidden damage before the new vanity goes in. Once the new unit is in place and caulked, finding mold or rot behind it becomes a much bigger project.
When to hire a pro instead
Some vanity replacements go smoothly. Others reveal problems that are beyond a DIY fix. Call a GC or licensed plumber if:
- The wall behind the old vanity has water damage, soft drywall, or visible mold. Mold remediation in a bathroom requires more than cutting out one panel and patching. A contractor can assess whether the framing and subfloor are affected.
- You want to move the drain or supply lines to a different location. Moving drain rough-in requires opening the wall and possibly the subfloor, plus a plumbing permit.
- The existing drain stack or vent is cast iron and showing corrosion where the drain stub connects to it. Old cast iron in Jacksonville homes can be brittle, and cutting into it can crack the pipe and turn a vanity swap into a full plumbing repair.
- The floor shows evidence of a long-term slow leak — soft spots, discoloration, tile that moves when you step on it. The subfloor may be compromised and will need structural repair before a new vanity goes in.
- You want to significantly upsize the vanity (wider cabinet, double sink) in a small bathroom. Changing the vanity footprint usually means new flooring, new plumbing rough-in, and possibly moving an outlet.
Need a Jacksonville GC for this job? Get a 48-hour free fixed-price estimate from JK Prestige Constructor.
No call center. No coordinator. A JK principal reviews every inquiry and replies with a real number, not a range, not a follow-up form.
Request Free Estimate →