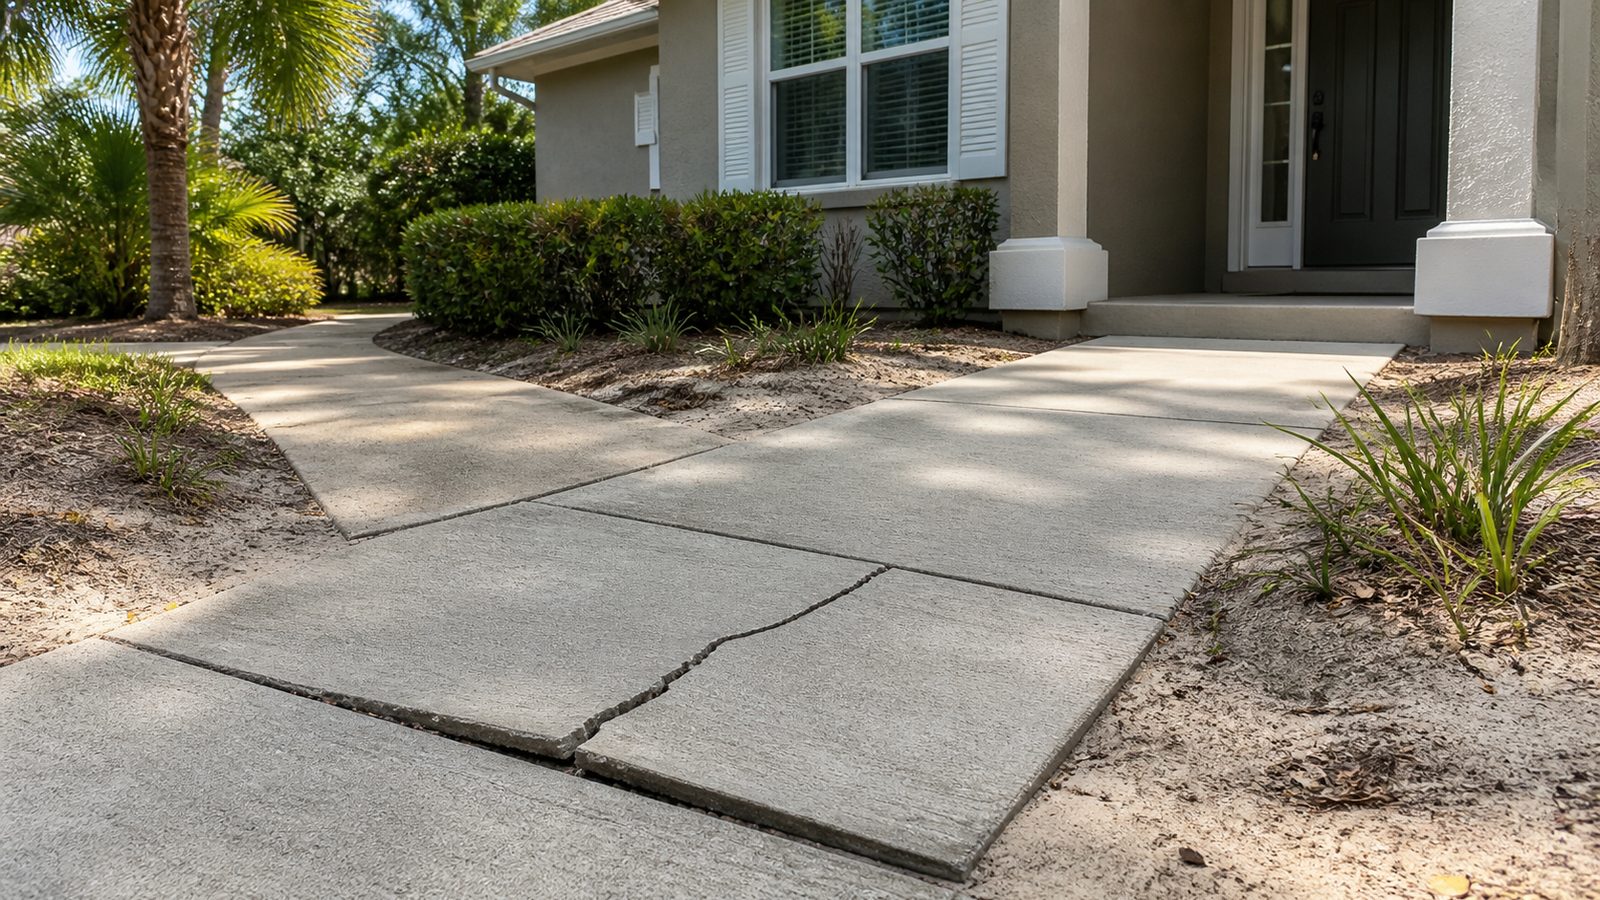
A single heaved or cracked slab in an otherwise sound walkway does not usually call for tearing out the whole run. Cutting out and repouring just the damaged section is faster and cheaper than a full replacement, provided the joints are cut clean and the base underneath is compacted properly. In Jacksonville's sandy, tree-root-heavy yards, that base work matters more than the pour itself.
When You Need a Permit in Jacksonville
Replacing a slab in kind, meaning the same size and location on private property away from the street, is generally handled differently than work touching the public right of way. If your walkway crosses the sidewalk strip between the property line and the street, or ties into a driveway apron, that portion typically falls under city right-of-way rules and usually needs sign-off before you cut, even for a repair. A walkway confined to your own yard is more likely treated as routine maintenance, but do not assume that from square footage alone. Call the City of Jacksonville's Building Inspection Division or check their permit portal before you cut.
A few other things to check first. Added impervious surface can count against a lot's impervious area limits and trigger a stormwater review. If you are in a platted subdivision with an HOA, check your covenants, since some require architectural approval for hardscape changes regardless of city permitting. By Florida law, you must call Sunshine 811 and get underground utilities located before any digging or saw cutting, no exceptions, even for a small slab. Locates are free and typically take a couple of business days. If your property sits in Nassau, Clay, or St. Johns County rather than inside Jacksonville proper, those counties run their own permit offices, so do not assume Duval County rules apply.
Tools and Materials
- Handheld gas saw with a diamond concrete blade
- Demolition hammer or rented electric jackhammer
- Pry bar and digging bar
- Wheelbarrow and flat shovel
- Crushed limerock or #57 stone base, 4 to 6 inches
- Plate compactor (rentable locally)
- 2x4 or 2x6 form lumber, plus stakes
- 3,000 to 4,000 PSI ready-mix or bagged concrete
- 1/2-inch expansion joint filler
- Rebar or fiber mesh reinforcement
- Bull float, hand float, edger, and groover
- Broom for finish texture
- Concrete bonding agent
Step-by-Step
- Confirm permit status, then call Sunshine 811 and wait for locates before marking cut lines.
- Mark the removal area, cutting back to the nearest existing joint so the new pattern reads naturally.
- Score the cut lines with the diamond saw at one-third depth, then cut full depth to isolate the section.
- Break up the section with the demo hammer, working center outward to protect the saw-cut edges.
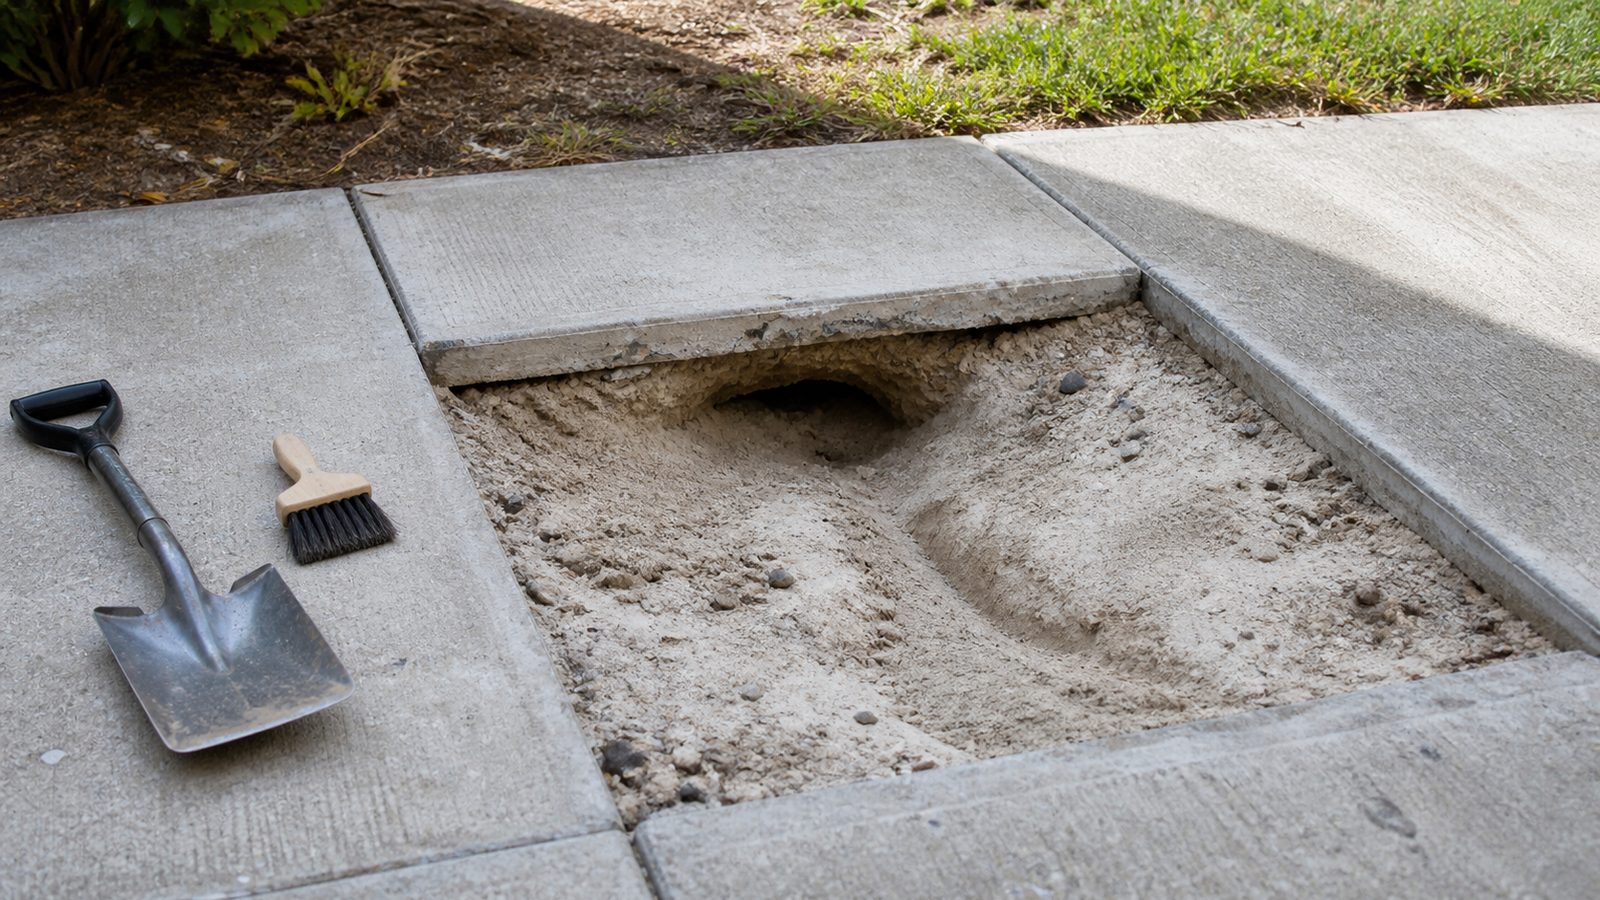
- Remove the broken concrete and dig out the old base to expose stable subgrade.
- Identify the cause of failure, usually a root, a downspout washout, or poor compaction, and address it first.
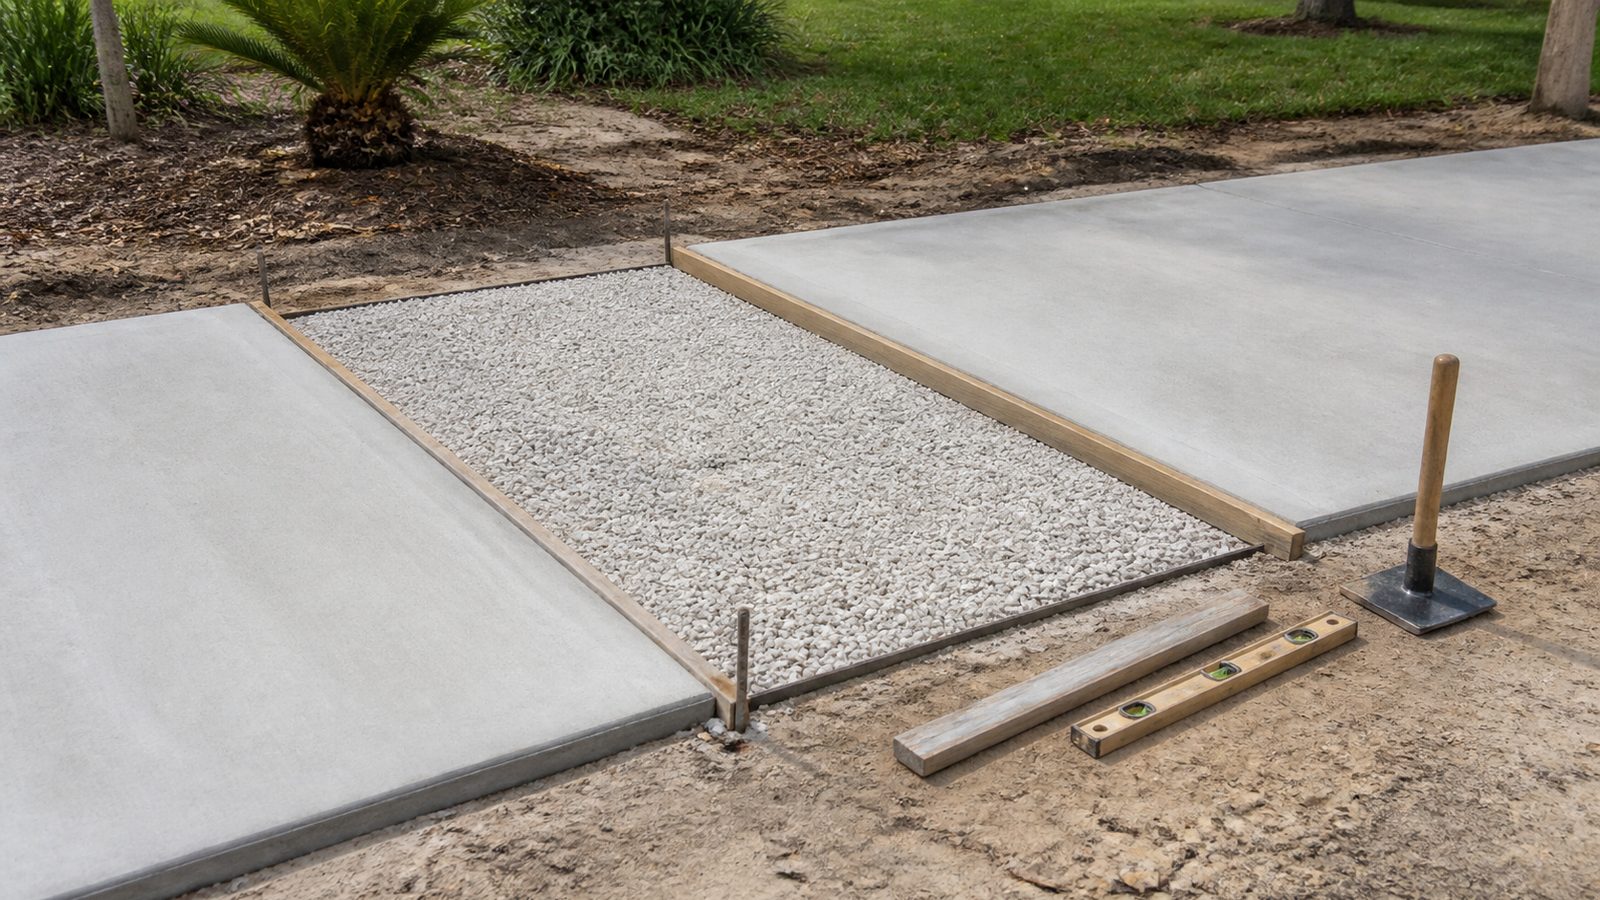
- Add crushed limerock or #57 stone in two-inch lifts, compacting each until it does not deflect underfoot.
- Set form boards flush with the surrounding slab, matching the existing drainage slope.
- Apply a bonding agent to the cut edges where the new pour meets the old slab.
- Set rebar or fiber-reinforced mix, matching the rest of the walkway.
- Place the concrete, working it into corners and against the old edge, then screed level.
- Bull float once bleed water has mostly disappeared, not before.
- Cut a control joint if needed, edge the perimeter, and broom finish to match.
- Cover the section and keep it damp for several days, especially in a hot, dry stretch.
Common Mistakes to Avoid
- Cutting a jagged removal line instead of squaring it at a real joint
- Skipping compaction because the hole looks solid enough, the top cause of a repeat crack
- Pouring against a dry cut edge with no bonding agent, leaving a weak cold joint
- Ignoring the root or drainage issue that caused the crack in the first place
- Finishing with a different broom texture or edge profile than the rest of the walkway
Jacksonville Climate Considerations
Summer pours in Duval County fight the clock. Heat and humidity accelerate slump loss, so ready-mix delivered on a 95-degree afternoon can start stiffening before you finish floating it. Pour early morning, with tools and help staged before the truck arrives. Afternoon thunderstorms are just as much of a threat, since a fresh, un-set surface caught in a downpour can wash out the finish, so plan pours for mornings during the wet season. The sandy subgrade common across most Jacksonville yards drains fast but compacts poorly if not wetted and tamped properly, and it is prone to washout where a downspout discharges near the walkway, worth correcting while the section is open. Live oak and laurel oak roots are a recurring cause of heaved sections in older neighborhoods like Avondale, Riverside, and San Marco, so cutting the root back prevents a repeat failure. Homes near the beaches also see faster wear from salt air and blowing sand, a good reason to seal a new section once cured.
What It Costs in Jacksonville (DIY vs. Hiring a Pro)
| Item | DIY Estimate | Professional Estimate |
|---|---|---|
| Small section (roughly 4x4 ft) | $150 to $350 in materials and rental | $500 to $900 |
| Medium section (roughly 4x10 ft) | $350 to $700 | $900 to $1,800 |
| Saw and compactor rental (per day) | $120 to $220 combined | Included in quote |
| Root removal or drainage fix add-on | $50 to $150 in materials | $200 to $500 additional |
When to Call JK Prestige
If the cracked section is tied to a root system, drainage problem, or settling under a porch, driveway, or foundation, that is worth a professional look before you pour anything. JK Prestige handles concrete flatwork repair across Jacksonville and can evaluate whether a section repair will hold or the underlying cause needs a bigger fix. We also pull permits and coordinate right-of-way approvals when a repair touches the sidewalk strip.
No call center. No coordinator. A JK principal reviews every inquiry and replies with a real number, not a range, not a follow-up form.
Request Free Estimate →