A few missing or cracked shingles after a summer storm do not always mean you need a new roof. In most cases a homeowner or licensed contractor can pull the damaged tabs, tuck in matching replacements, and reseal the course without touching the rest of the field. This guide covers the mechanics of swapping individual shingles on a Jacksonville roof: breaking the old sealant bond, freeing the nails under the course above, and hand sealing the new shingle so it holds through the next northeaster off the Atlantic.
When You Need a Permit in Jacksonville
A small, in-kind repair to a handful of cracked or lifted tabs is generally treated by Duval County as maintenance, not a permitted roofing job. Florida building code, though, sets a point at which a repair is reclassified as a re-roof, tied to how much of a roof section is worked on and the condition of the deck beneath it. That threshold can shift with code cycles, so do not rely on a number from an old post. Call the City of Jacksonville Building Inspection Division, or check their current guidance online, before starting if you are replacing more than a few isolated shingles.
Two other things change the calculus. Florida law generally requires roofing work sold to a homeowner to be performed by a licensed contractor once it crosses from maintenance into repair, so a larger job is not just a DIY call. And if you plan to file an insurance claim, the adjuster and your policy usually drive the scope, so settle that process before pulling shingles.
Outside Duval County, in Nassau, Clay, or St. Johns County, permitting runs through that county's own building department, and thresholds are not identical across the four, so confirm with the correct office for your address.
Tools and Materials
- Matching replacement shingles, saved from the original install or matched by manufacturer and profile
- Flat pry bar or a dedicated shingle removal tool
- Roofing hammer or a coil nail gun
- Roofing nails, 1-1/4 inch galvanized, ring shank
- Roofing cement in a caulk tube, plus a caulk gun
- Utility knife with a hooked shingle blade and a chalk line
- Stabilized extension ladder with standoff stabilizer
- Roof harness, rope grab, and anchor for anything steeper than a low-slope walk
- Soft-soled shoes, work gloves, safety glasses, and a helper to foot the ladder
Step-by-Step
- Check the weather. Do not work a roof that is wet, dewy, or expecting rain, wind, or lightning within your work window.
- Set the ladder on level ground with a standoff stabilizer, and have someone foot it while you climb. Never lean it directly on a gutter.
- Clip into a roof anchor and harness before moving past the ridge or working anything steeper than a gentle walk-up slope.
- Locate each damaged shingle and note the shingles directly above it, since those hold the nails you need to reach.
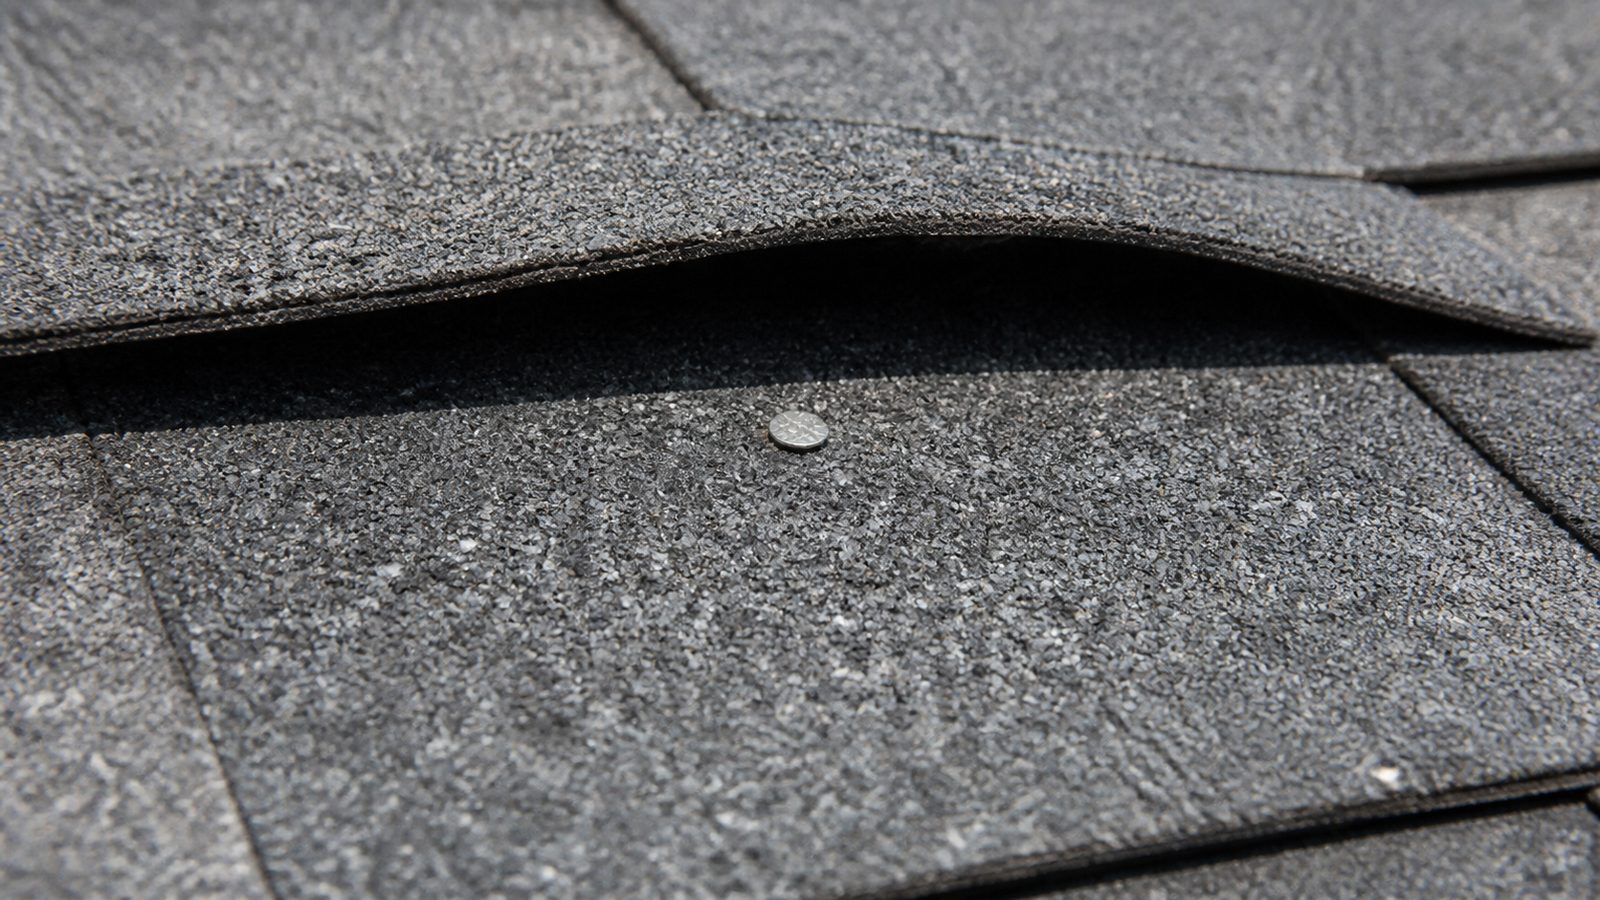
- Slide the pry bar under the tab above the damaged shingle, over each nail head, and gently pop the sealant bond loose. Cool sealant is stiff, so work slowly to avoid tearing the tab.
- With that tab lifted, pry out the exposed nails holding the top of the damaged shingle, typically four nails driven just below the sealant line of the course above.
- Slide the bar under the damaged shingle and lift it free once its nails are pulled. Check the shingle below for leftover nails or debris.
- Inspect the exposed deck for soft spots or staining before installing the new shingle. If you find soft decking or daylight through the sheathing, stop and call a licensed contractor.
- Slide the new shingle into place, aligning it with the chalk line and surrounding courses so tab lines and reveal match.
- Nail it in the same four spots used by the original, driven flush and straight, never angled, and never through the exposed tab below the nailing line.
- Lift the tab of the course above, run a bead of roofing cement on its underside, and press it back down firmly over the new shingle's nail heads.
- Run a small bead of cement under the tabs of the new shingle itself and press down, since factory sealant strips need heat and time to bond on their own.
- Check adjacent shingles for lifted edges or cracks while you are up there, and reseal or replace as needed.
- Come down, clear nails and scraps from the ground and gutters, and confirm the repair lines are flat and tight from the ground.
Common Mistakes to Avoid
- Working a hot roof in the afternoon, when shingles soften and tear under foot traffic instead of flexing cleanly
- Face-nailing through the exposed part of the shingle instead of hiding nails under the tab above, which leaves heads exposed to rust and leak
- Treating roofing cement as a substitute for correct nail placement instead of a supplement to it
- Mismatching shingle color or profile so the repair is visible from the street
- Skipping fall protection because the job looks quick, which is when most roof falls happen
- Reusing bent or pulled nails instead of driving fresh ones into clean wood
Jacksonville Climate Considerations
Jacksonville's long, hot, humid summers soften shingles enough that they tear or crease under foot traffic by midafternoon. Plan for early morning, while the deck is still cool, both for shingle integrity and your own safety in the heat.
Hurricane season runs June through November, and wind uplift is the most common reason for this repair in the first place. A shingle that lifted once, even if it presses back down looking fine, has likely broken its sealant bond and will lift again unless hand sealed. Sealant strips also need direct, warm sun to fully re-bond, so a repair done on a cool or overcast day may need a follow-up check.
Northeast Florida's UV exposure and humidity also mean granule loss and algae streaking show up faster here than in drier climates, worth knowing when color-matching an older roof. Near the beaches, in Atlantic Beach, Neptune Beach, or Ponte Vedra, salt air accelerates corrosion on exposed fasteners, so galvanized or coated nails are worth the small upcharge.
What It Costs in Jacksonville (DIY vs. Hiring a Pro)
| Scope | DIY Cost | Professional Cost |
|---|---|---|
| 1 to 3 individual shingles | $30 to $75 in materials | $150 to $350 minimum service call |
| Small cluster (4 to 10 shingles) | $75 to $150 in materials | $300 to $600 |
| Larger scattered repair across roof | Not recommended without experience | $600 to $1,500+ depending on access and pitch |
Most licensed roofers carry a minimum trip charge covering the ladder, harness setup, and safety time regardless of how few shingles need replacing, which is why small jobs often cost more per shingle than larger ones.
When to Call JK Prestige
If the damage covers more than a handful of shingles, if soft decking or exposed underlayment turns up once the old shingle is off, or if you are filing an insurance claim and need documentation an adjuster will accept, it is worth having a licensed professional handle it. JK Prestige Constructor Corp inspects the full roof while we are up there, not just the visible damage, so a wind event that lifted a few tabs does not turn into a repeat call six months later.
No call center. No coordinator. A JK principal reviews every inquiry and replies with a real number, not a range, not a follow-up form.
Request Free Estimate →