Jacksonville homeowners deal with a problem that most online deadbolt guides ignore: the coastal climate eats hardware fast. Whether you're a mile from the Intracoastal or sitting in the Southside, humidity and salt air accelerate corrosion on exterior locks, leaving bolts sticky, trim pitted, and keyways stiff within a few years. Replacing a deadbolt is a straightforward Saturday project for most doors in good condition, but the material choices you make here matter more in Northeast Florida than they do in Phoenix or Denver. This guide walks you through the process with those conditions in mind.
When You Need a Permit in Jacksonville
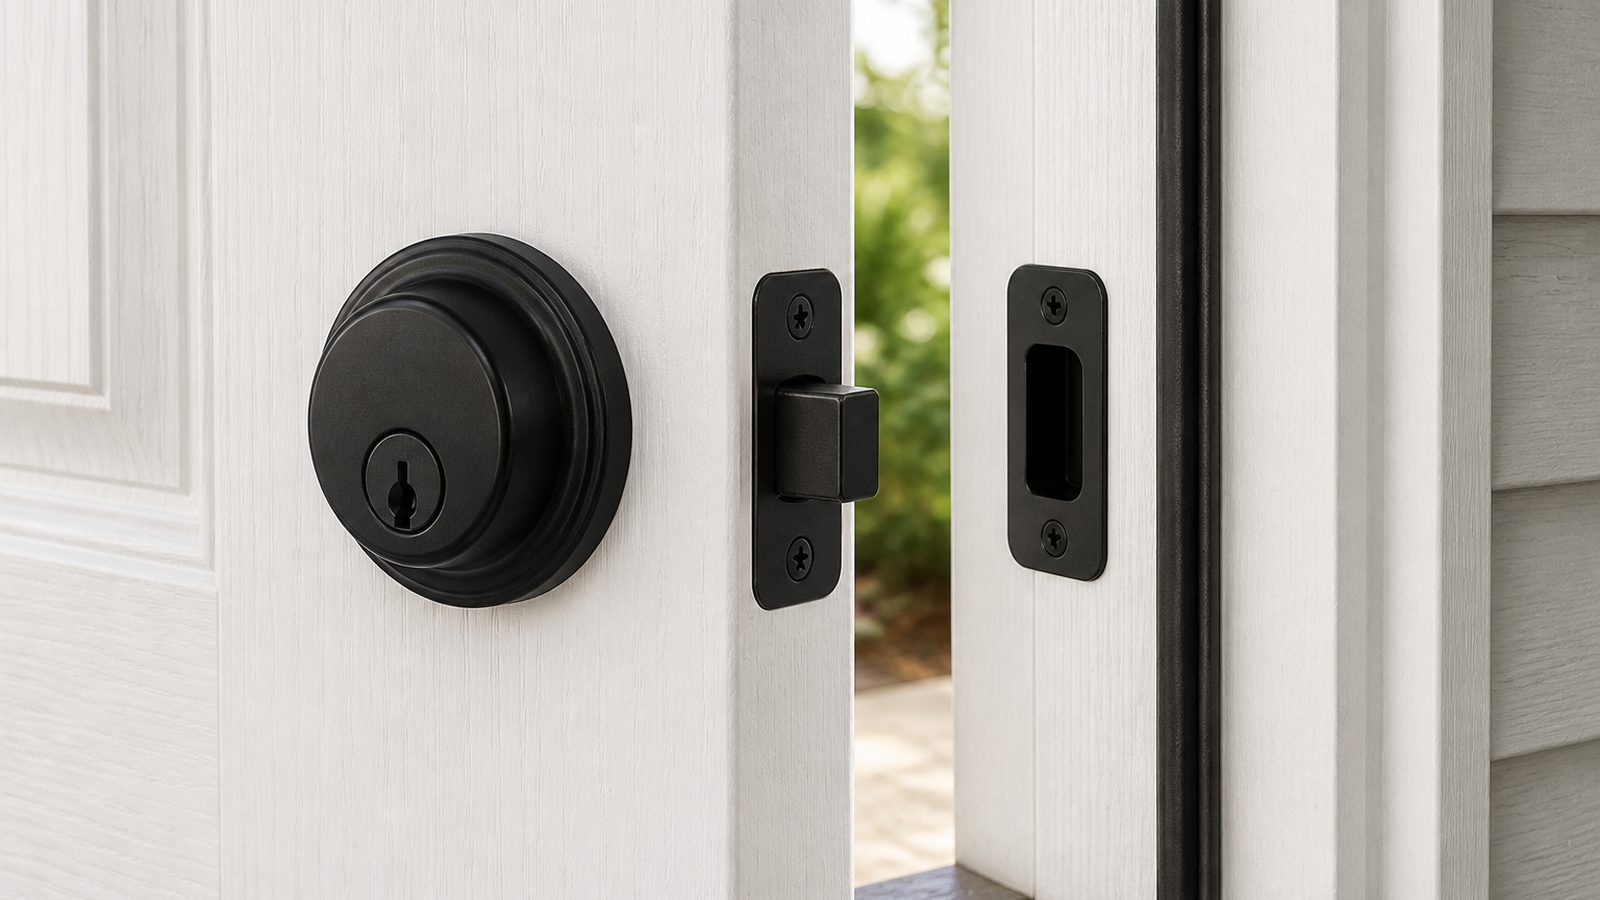
Replacing a deadbolt like-for-like on an existing exterior door does not require a building permit in Jacksonville. It is routine hardware maintenance. One important code note: if you are considering a double-cylinder deadbolt — the type that requires a key on both the inside and outside — be aware that Florida's residential egress rules and most insurance policies disfavor them on sleeping-level doors because occupants cannot exit quickly in an emergency. Single-cylinder locks with a thumbturn on the interior are the standard for exterior doors on habitable floors. Landlords should also confirm their rental unit's local egress compliance before upgrading tenant units, but a simple single-cylinder swap needs no permit and no inspection.
Tools and Materials
- Flathead and Phillips screwdrivers (a short-handled stubby Phillips is useful in tight door-edge clearance)
- Tape measure
- Drill with a 1-inch spade or hole saw (only if enlarging existing bore)
- Chisel and mallet (for strike plate recesses if needed)
- Replacement deadbolt — ANSI Grade 1 for primary exterior doors, Grade 2 acceptable for secondary or interior garage doors; Grade 3 is residential minimum but skip it on exterior openings
- Correct backset: most Jacksonville tract homes use a 2-3/8-inch backset, but older Riverside and Avondale homes often have 2-3/4-inch; measure from the edge of the door to the center of the existing bore before purchasing
- Finish rated for coastal exposure: stainless steel or marine-grade brass outlasts chrome or standard zinc in salt-air conditions; look for AAMA 611 Class 1 or equivalent corrosion ratings on the packaging
- 3-inch wood screws for the strike plate (the standard short screws that come in the box do not reach the door frame stud)
- Thread-locking lubricant rated for outdoor hardware (dry PTFE or silicone-based, not WD-40, which attracts dust and washes out)
- If installing a smart lock: check battery type and confirm the lock's operating temperature range covers Jacksonville's summer heat, which can push door surfaces past 120°F in direct sun
Step-by-Step
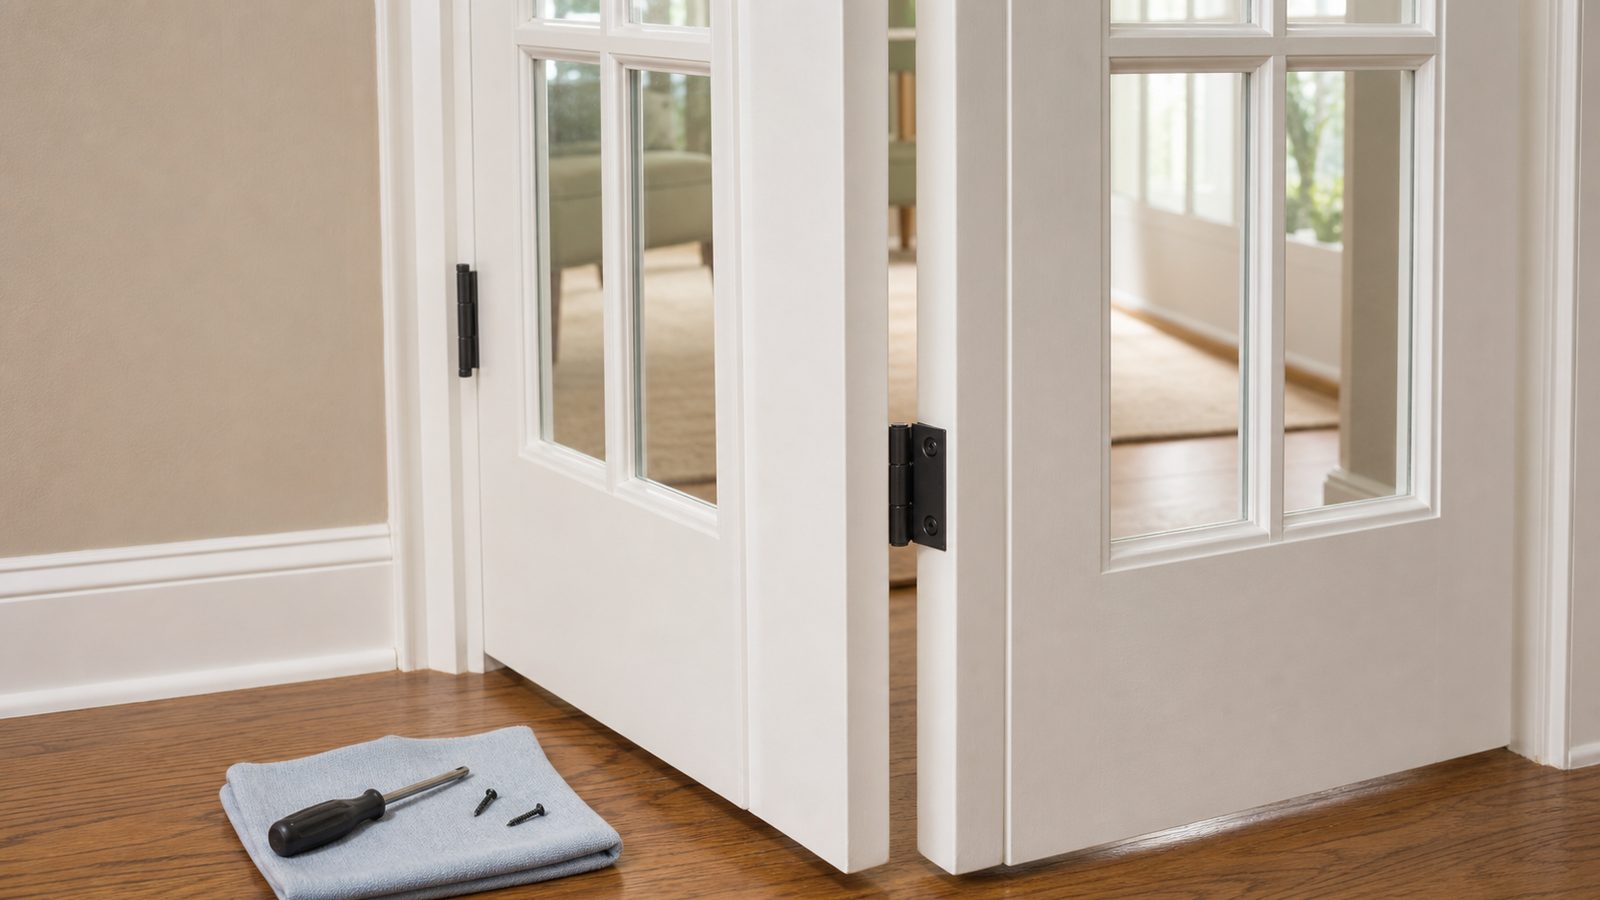
- Remove the existing deadbolt. On the interior side, remove the two long screws that run through the lock body and unscrew the thumb-turn rose plate. The exterior cylinder and trim will pull free once those screws are out.
- Remove the latch bolt assembly. Open the door and remove the two screws on the edge plate, then slide the bolt mechanism out of the door.
- Measure your backset before opening the new box. Insert a tape measure into the empty latch hole and measure to the edge of the door. Confirm it matches the new hardware (2-3/8 or 2-3/4 inch).
- Install the new latch bolt. Slide the bolt mechanism into the edge hole with the angled face of the bolt pointing toward the door stop (the direction the door closes). Secure with the edge plate screws.
- Install the exterior cylinder. Feed it through the bore from outside, aligning the tailpiece through the latch mechanism.
- Install the interior assembly. Set the thumbturn housing over the tailpiece on the interior side, align with the exterior cylinder, and thread in the two long machine screws until snug — do not overtighten on fiberglass or hollow-core doors.
- Address the strike plate. Remove the old strike and hold the new one in place. If the screw holes do not align, reposition and redrill. Install the strike with 3-inch screws that pass through the jamb and into the rough framing stud behind it — this is the single most important security upgrade you can make. Short screws pull out in a kick-in; long screws distribute force into the structure.
- Test the bolt. Close the door and verify the bolt extends and retracts cleanly, and that it seats flush into the strike box without the door needing to be lifted or forced. Adjust the strike plate position with a chisel if the bolt drags.
- Lubricate the bolt and keyway with a dry lubricant spray. Avoid petroleum-based products on the keyway.
Jacksonville Climate Considerations
Salt air from the coast and Intracoastal Waterway accelerates oxidation on brass, zinc, and chrome finishes. If your home is within roughly five miles of open saltwater, standard polished brass or chrome deadbolts may show surface corrosion within 12 to 18 months. Stainless steel (look for 316 marine-grade where available) or powder-coated finishes hold up better. Interior of the lock matters too — cheaper mechanisms with zinc internals corrode from the inside even when the exterior looks fine, causing the bolt to bind or the cylinder to stiffen.
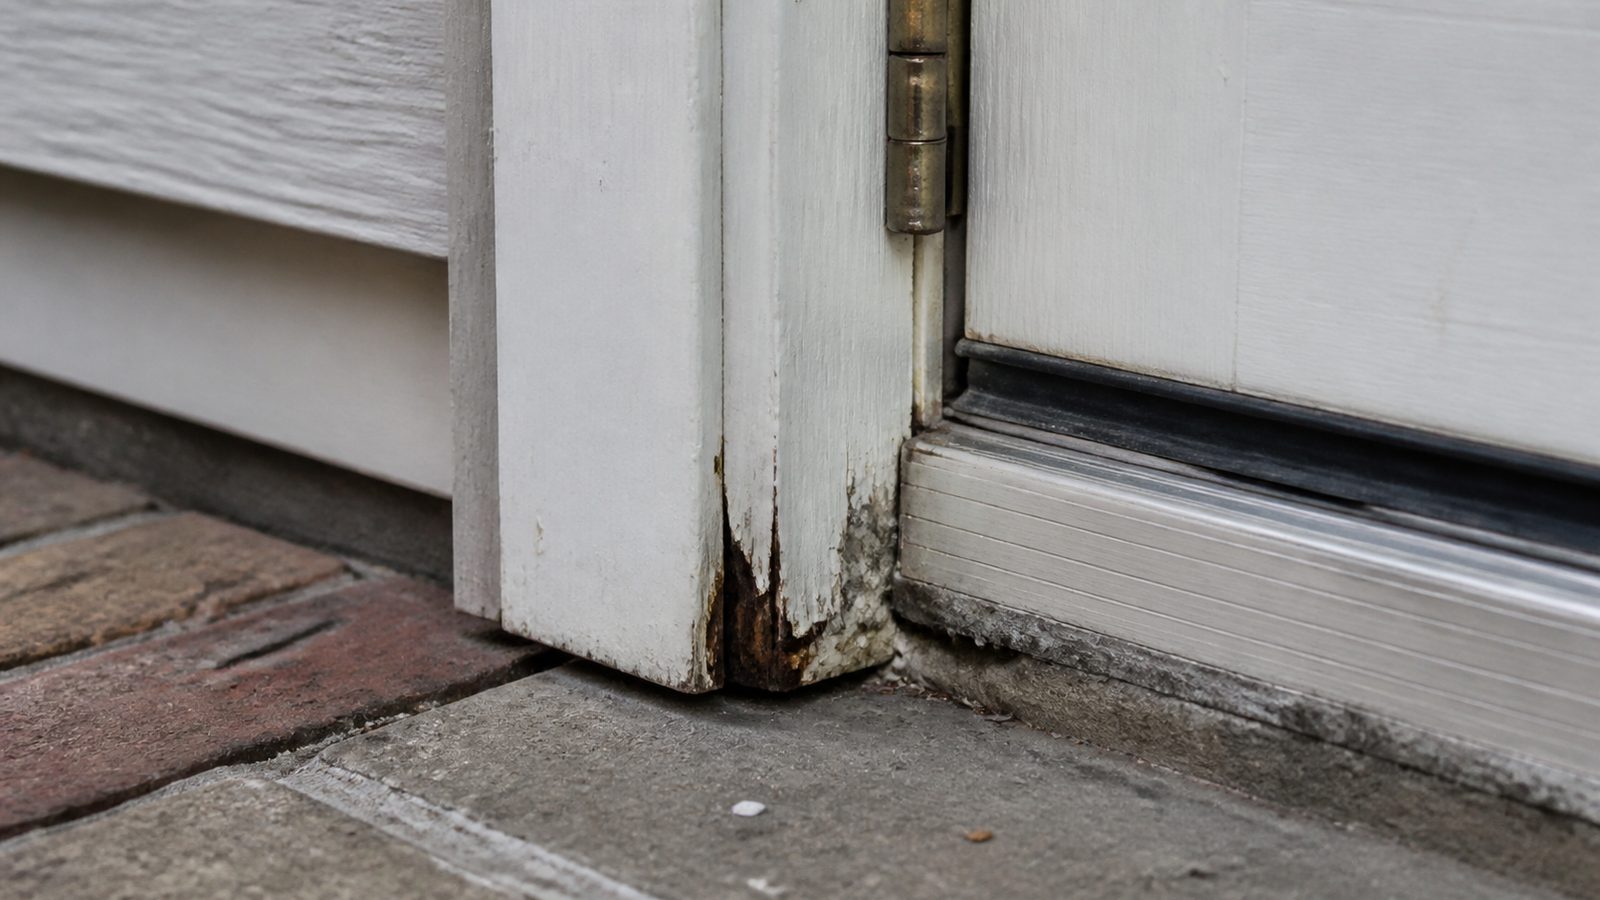
High humidity causes wood door frames to swell seasonally, which can push the door out of alignment and make an otherwise well-installed deadbolt feel stiff in summer. If your bolt only binds in July and August, the door is swelling — adjust or plane the frame rather than replacing the lock again.
Smart locks face an additional challenge in Jacksonville: direct western sun exposure can push door and lock surface temperatures well above the rated operating range for lithium batteries. If you install a smart lock on a west-facing door with no overhang, use lithium batteries rated for high heat, check them more frequently during summer, and consider a traditional deadbolt as a backup or choose a model with a manual key override.
After a hurricane or tropical storm, inspect exterior hardware for salt spray residue and clean with fresh water and a dry cloth. Locks that sat exposed to storm surge or heavy rain intrusion should be inspected or replaced rather than left in service.
What It Costs in Jacksonville (DIY vs. Hiring a Pro)
| Option | Typical Cost Range |
|---|---|
| DIY — Grade 2 deadbolt (hardware only) | $30 – $70 |
| DIY — Grade 1 deadbolt, coastal finish | $60 – $130 |
| DIY — Grade 1 smart lock | $120 – $280 |
| Local locksmith, labor only | $75 – $150 per lock |
| Locksmith supply and install, standard lock | $120 – $250 |
| Locksmith supply and install, smart lock | $220 – $450 |
Prices reflect general Jacksonville market ranges and vary by brand, finish, and service provider. Re-keying instead of replacing the entire lock is less expensive — typically $25 to $60 per cylinder when a locksmith is already on site — and is worth considering if the hardware is in good shape but you need to change who has key access.
When to Call JK Prestige
A deadbolt swap becomes a general contracting job when the door itself is the problem. If the door frame is rotted at the latch or hinge side, the jamb is pulling away from the rough opening, or the door has shifted enough that it no longer hangs square, installing new hardware without addressing the structure underneath will not give you a secure or properly functioning entry. JK Prestige handles door and frame repairs and replacements as part of broader renovation and remodel scopes — if you need to upgrade multiple entry points, replace a damaged door unit, or bring an older Jacksonville home up to current security standards as part of a renovation, reach out for a project assessment.
No call center. No coordinator. A JK principal reviews every inquiry and replies with a real number, not a range, not a follow-up form.
Request Free Estimate →