In Jacksonville's climate, exterior door weatherstripping does more work than almost anywhere else in the country. Your AC runs eight or nine months out of the year, and every gap around a door frame is cool air leaving and hot, humid air entering. That same gap also invites palmetto bugs, ants, and moisture. The good news is that replacing worn weatherstripping is a straightforward weekend task that can make a noticeable difference on your next Duke Energy bill. This guide walks Jacksonville homeowners through the full process, from identifying failure to finishing the job.
When You Need a Permit in Jacksonville
Replacing door weatherstripping does not require a permit in Jacksonville or Duval County. It is considered routine maintenance, not a structural or mechanical alteration. No inspection is needed, and there are no HOA notifications required in most communities for this type of work.
That said, related work can cross into permit territory. If you are replacing the exterior door itself, adding a storm door, or modifying the door frame or threshold to the point of altering the rough opening, the City of Jacksonville Building Inspection Division may require a permit. When in doubt, a quick call to the Building Inspection Division at (904) 255-7000 will confirm whether your specific project scope triggers one.
Tools and Materials
Gather these before you start. Most are available at Home Depot on Philips Highway or Ace Hardware locations throughout Jacksonville.
- Utility knife with fresh blades
- Flathead screwdriver or pry bar (for stapled-on strips)
- Tape measure
- Scissors or tin snips (for metal-backed strips)
- Cleaning rags and isopropyl alcohol (70% or higher)
- Replacement weatherstripping — choose the right type for each location:
- Kerf-in (slot-in) foam or rubber: Fits into a pre-cut slot in the door stop. Best for doors that already have a kerf channel. Durable and long-lasting.
- Adhesive-backed foam tape: Pressure-sensitive; sticks directly to the door stop. Easier to install but wears faster in Florida heat. Good for low-traffic doors.
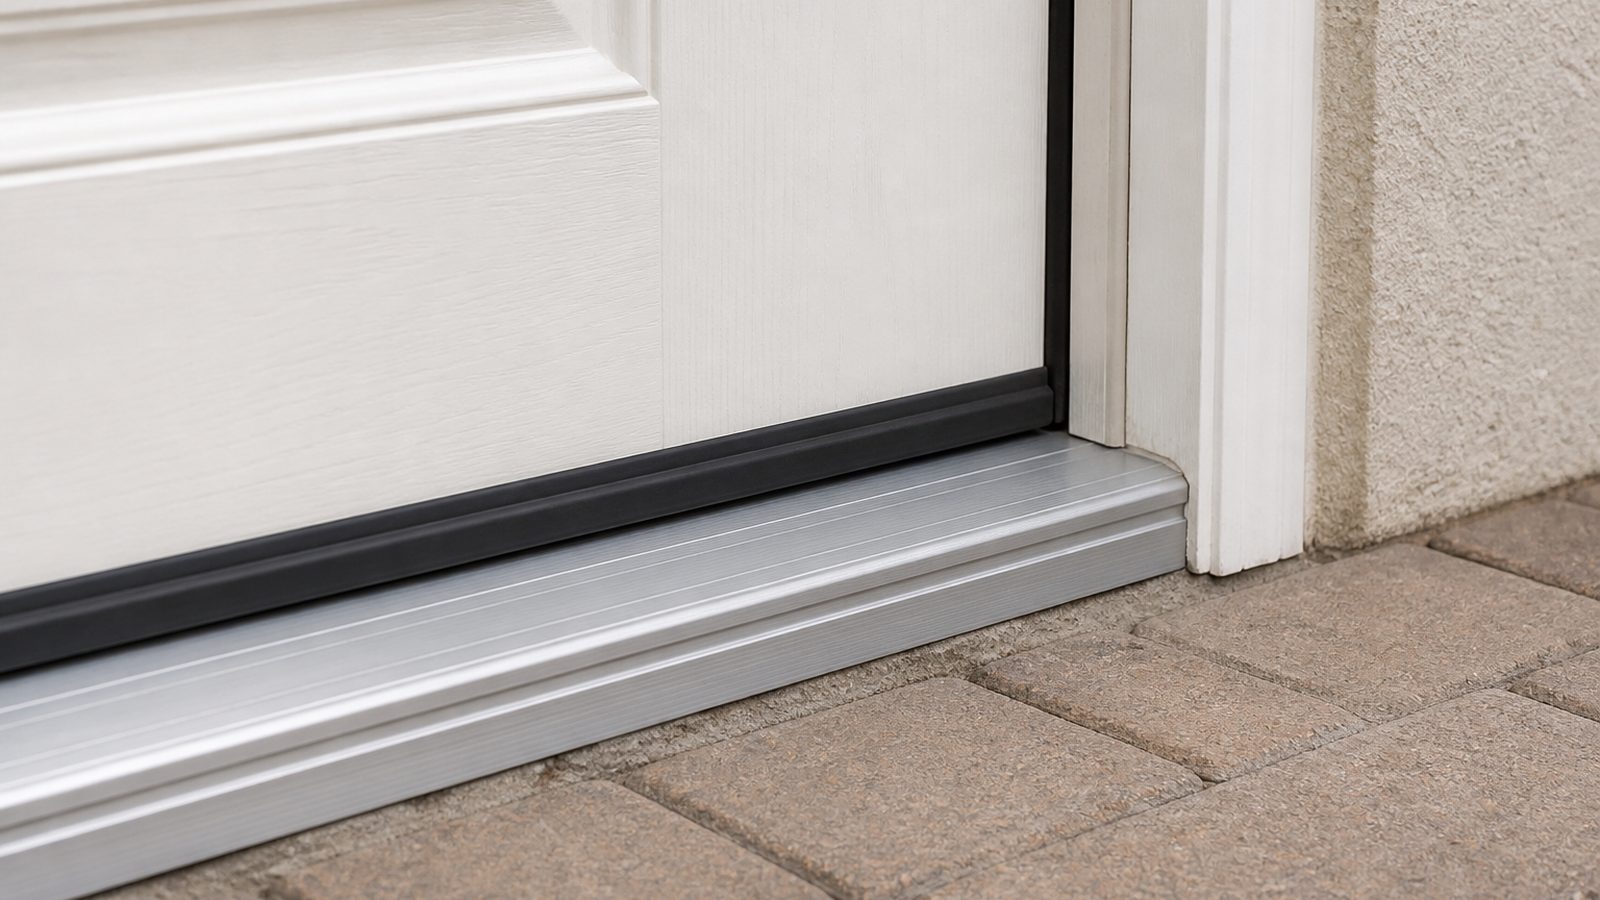
- Door sweep: Attaches to the bottom interior face of the door. Blocks the gap between the door bottom and the threshold.
- Door threshold: The metal or vinyl strip mounted to the floor at the base of the door. Replace if bent, cracked, or no longer making contact with the door sweep.
- Screwdriver or drill (for door sweeps and threshold screws)
Step-by-Step
- Inspect the existing weatherstripping. Close the door and run your hand along all four sides. Daylight visible from inside, air movement, or visible cracking and compression in the foam are all signs it needs replacement. Check the door bottom separately.
- Remove the old weatherstripping. For adhesive strips, peel them off slowly and use isopropyl alcohol to remove any adhesive residue. For kerf-in types, use a flathead screwdriver to pop them out of the channel. For stapled foam, use pliers to pull staples before prying the strip away.
- Clean the surface. Wipe down the door stop and frame with alcohol. Adhesive will not bond properly to dusty or oily surfaces, and Jacksonville's humidity means mold or mildew residue is common. Let it dry completely.
- Measure and cut. Measure each side of the door frame individually — frames are not always perfectly square, especially in older Jacksonville homes. Cut your new weatherstripping slightly long and trim to fit rather than cutting short and leaving gaps.
- Install the new weatherstripping. For kerf-in: press the bulb or fin into the channel starting at one corner and work along the frame. For adhesive: peel and stick, pressing firmly for full contact. Work top first, then the two sides.
- Install or adjust the door sweep. Remove the door and lay it flat if possible. Position the sweep so it just contacts the threshold when the door closes. Screw it in place. Avoid overtightening — the sweep should glide, not drag hard enough to resist closing.
- Test the seal. Close the door and check for visible gaps. A piece of paper should meet light resistance when pulled from a closed door at any point around the perimeter.
Jacksonville Climate Considerations
Jacksonville's summers run from April through October, with daily highs regularly above 90°F and humidity levels that feel tropical. A poor door seal forces your AC to compensate for both temperature and moisture load. Humid air pushing through gaps doesn't just cost money — it raises the indoor relative humidity, which accelerates mold growth inside wall cavities and on surfaces near the door.
Palmetto bugs (American cockroaches) are a persistent problem throughout Duval County, and they can squeeze through surprisingly small gaps at the door base and sides. Fire ants commonly enter around thresholds, especially during wet season when they are pushed out of saturated soil. A proper door sweep and tight side seals eliminate the most common entry points.
Salt air is a factor in neighborhoods closer to the beach or the St. Johns River. It accelerates corrosion on metal-backed weatherstripping and threshold hardware. In those areas, opt for vinyl or rubber products over aluminum-backed foam tape and check metal thresholds annually for surface corrosion.
What It Costs in Jacksonville (DIY vs. Hiring a Pro)
| Approach | Typical Cost Range |
|---|---|
| DIY — adhesive foam tape, basic sweep | $15–$40 in materials |
| DIY — kerf-in rubber seal + sweep + threshold | $40–$90 in materials |
| Handyman — labor + materials, single door | $100–$175 |
| General contractor — door, frame, and weatherstripping replacement | $350–$700+ depending on door condition |
Prices reflect typical Jacksonville market rates in mid-2026. Material costs vary by product grade.
When to Call JK Prestige
If your weatherstripping is failing because the door frame itself is out of square, rotted, or pulling away from the structure, new foam strips will not solve the underlying problem. JK Prestige handles door and frame replacements, threshold repairs, and exterior carpentry for Jacksonville homeowners who are past the point of a simple DIY fix. As a principal-led general contractor, every project gets direct oversight — not a crew sent out unsupervised. Contact us to schedule a site visit before a small gap becomes a moisture or structural issue.
No call center. No coordinator. A JK principal reviews every inquiry and replies with a real number, not a range, not a follow-up form.
Request Free Estimate →