A clogged or failing dryer vent is one of the more overlooked fire hazards in a Jacksonville home. The combination of Florida's year-round humidity, salt air near the coast, and the warm conditions that encourage mold growth makes dryer vent maintenance more critical here than in drier climates. Replacing the vent yourself is a manageable project if the duct run is straightforward. If it involves cutting through exterior walls, rerouting through finished spaces, or correcting a previous bad installation, the job gets more involved quickly.
When You Need a Permit in Jacksonville
A simple like-for-like dryer vent replacement — swapping the transition hose and exterior wall hood without changing the duct path or making a new penetration — generally does not require a permit in Jacksonville. The City of Jacksonville Building Inspection Division requires permits when you create a new exterior wall penetration or significantly reroute an existing duct.
Regardless of permit status, the installation must meet Florida Building Code mechanical requirements and manufacturer specifications. Key code points to know before you start:
- Dryer exhaust duct must be rigid metal (galvanized steel or aluminum). Flexible plastic duct is not code-compliant and is a fire hazard.
- The duct must be smooth-bore on the interior. No sheet metal screws protruding into the airflow path — they catch lint.
- Maximum duct length is limited and varies based on the number of elbows. Each 90-degree elbow reduces the allowable straight-run length; check the dryer manufacturer's specs and Florida Building Code Section M1502 for your configuration.
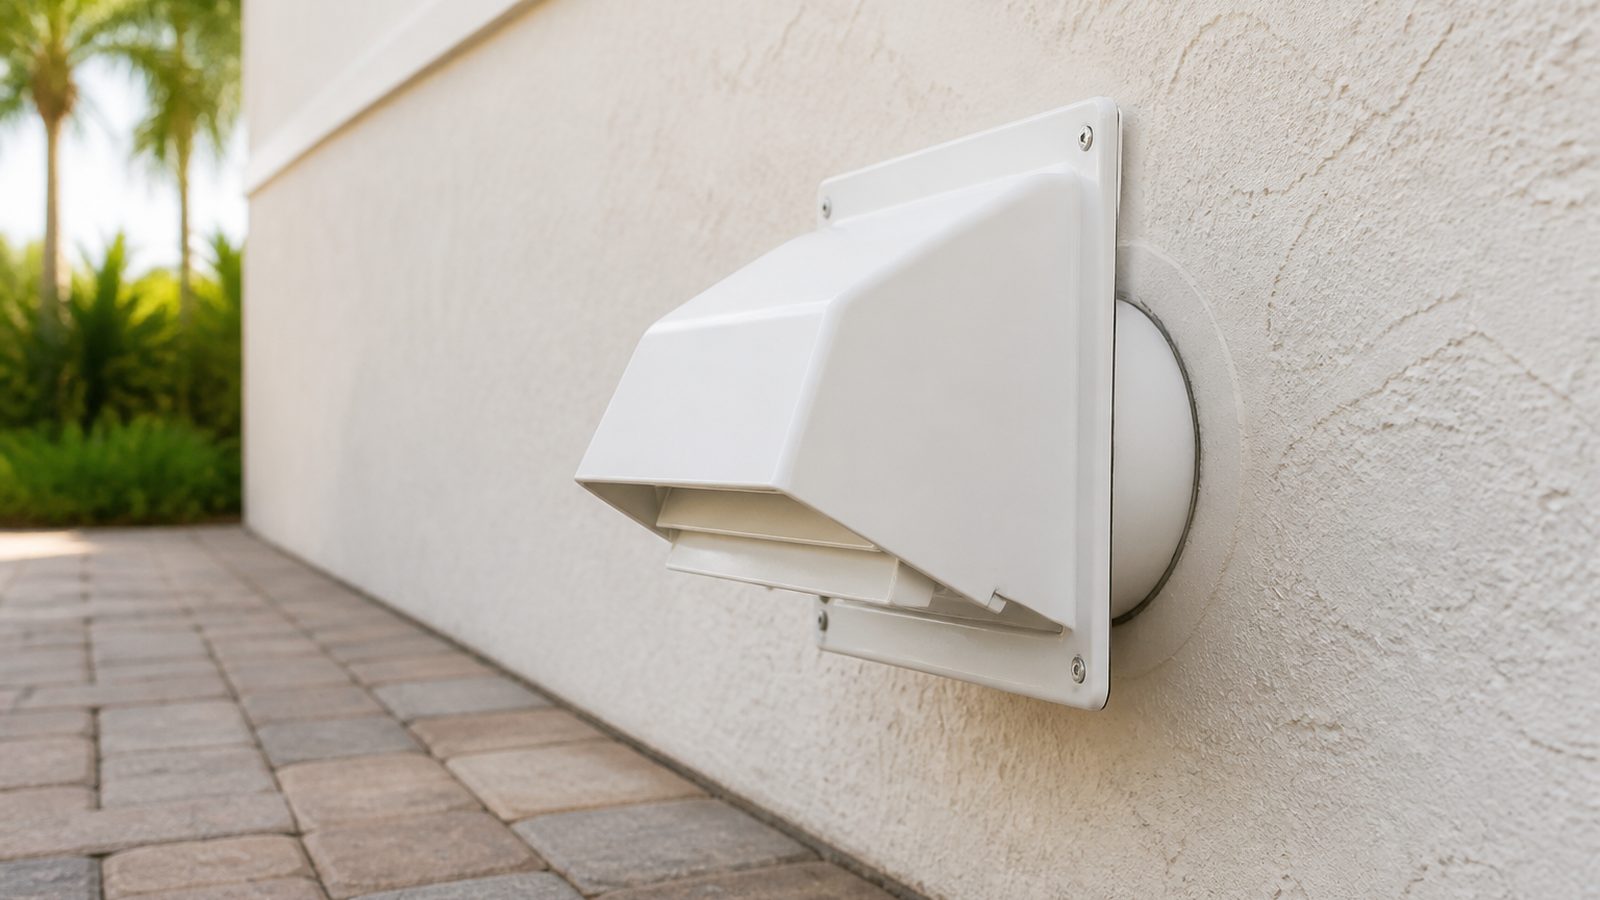
- The exterior termination must be a dampered wall cap that opens during drying and closes when the dryer is off. It cannot terminate into an attic, soffit, crawl space, or any enclosed area.
If you are unsure whether your project requires a permit, the Jacksonville Building Inspection Division can answer that question before you start.
Tools and Materials
Gather these before you begin:
- Rigid 4-inch aluminum duct sections (smooth interior, no screws)
- Semi-rigid flexible aluminum transition hose (for the short connector between the dryer and the rigid duct — keep it as short as possible)
- Exterior wall vent hood with a self-closing damper (aluminum preferred over plastic; plastic degrades faster in Florida sun and salt air)
- Foil duct tape (not regular duct tape — it fails under heat cycling)
- Duct clamps or zip ties rated for dryer use
- Utility knife or tin snips
- Drill and appropriate bit for your wall material
- Caulk gun and exterior-grade caulk for sealing the wall penetration
- Vacuum with a long hose or a dryer vent cleaning brush kit
- Screwdriver and pliers
Step-by-Step
- Unplug the dryer from the electrical outlet (or shut off the gas supply valve if it is a gas dryer). Pull the dryer away from the wall to give yourself working room.
- Detach the existing transition hose from the dryer exhaust port and from the wall duct collar. Inspect the hose — if it is plastic or vinyl, it is being replaced regardless of condition.
- Remove the exterior wall cap. This usually means going outside, unscrewing the cap from the siding, and pulling it free. Note the condition of the caulk seal around the penetration. Old or cracked caulk is a common entry point for moisture and pests.
- Pull the existing duct out from inside (if it is accessible). Vacuum lint thoroughly from the wall cavity and the dryer exhaust port itself. A dryer vent brush kit on a drill extension makes this faster.
- Inspect the wall penetration. If the hole is larger than the new duct collar, pack it appropriately and ensure you have a solid mounting surface for the new exterior cap.
- Install the new exterior wall cap from outside. Fit the duct collar through the wall, secure the cap to the siding with screws, and apply a bead of exterior caulk around the entire perimeter. The damper flap should swing freely and seat flush when closed.
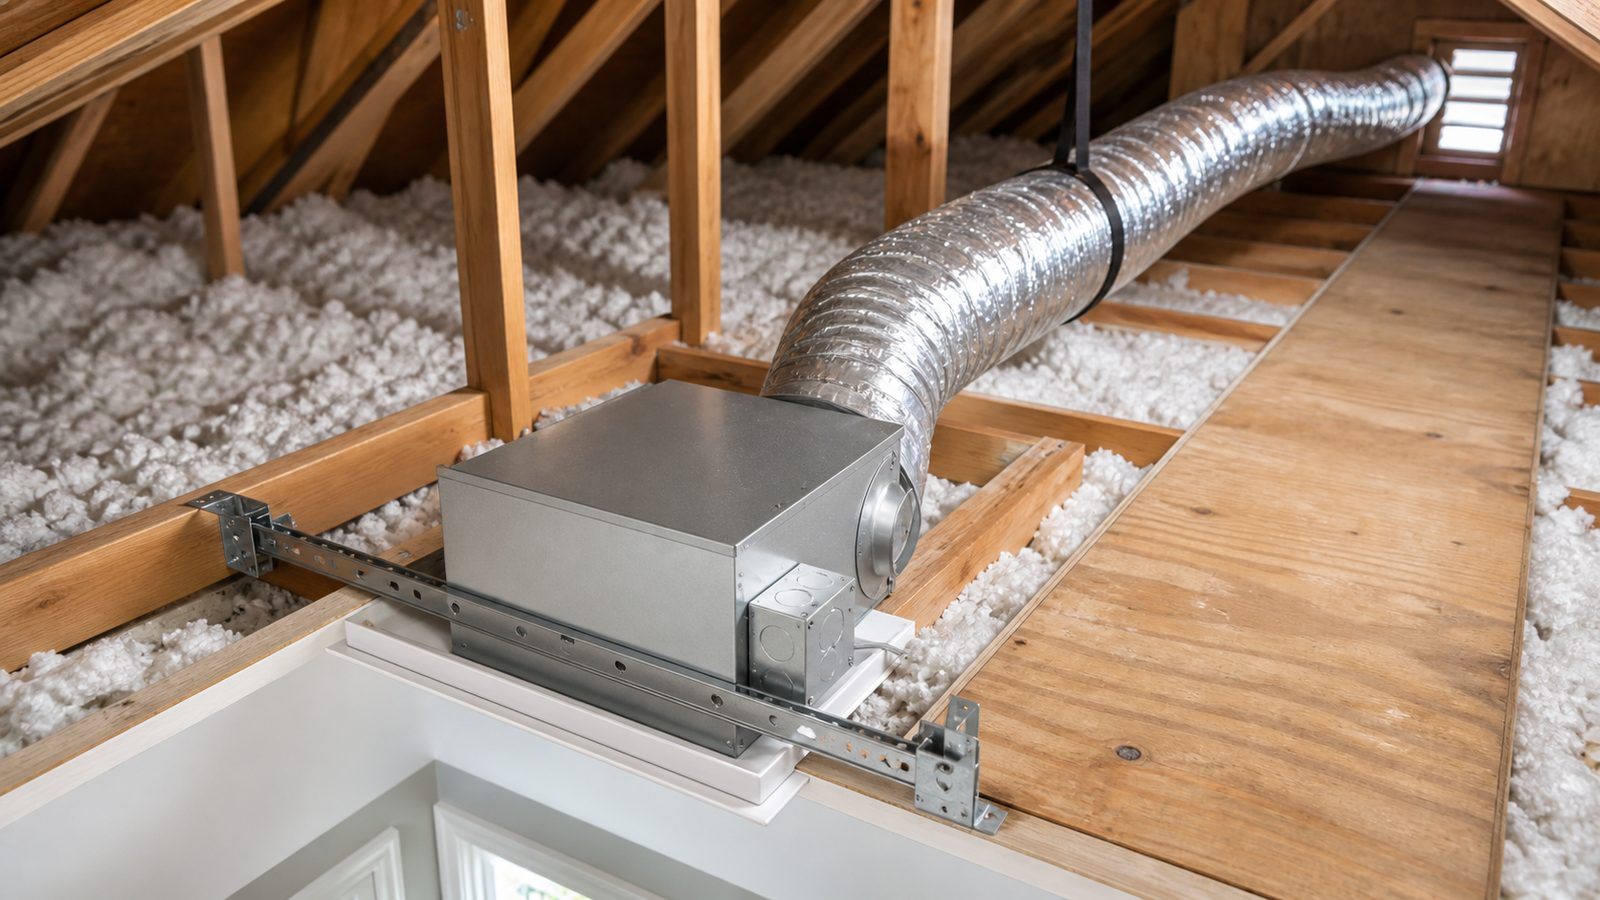
- Run rigid duct sections from the wall collar back toward the dryer, connecting sections with foil tape at every joint. Keep elbows to a minimum. Secure any unsupported horizontal runs with duct hangers so the duct does not sag and collect lint.
- Connect the short semi-rigid transition hose between the last rigid section and the dryer's exhaust port. Keep this section under six inches if possible. Secure both ends with clamps and seal with foil tape.
- Push the dryer back into position, restore power or gas, and run a drying cycle. Go outside and confirm the damper is opening and warm air is exhausting. Check all connections for any air leaks.
Jacksonville Climate Considerations
Jacksonville's average relative humidity runs well above 70 percent for most of the year. That moisture content in the air affects dryer vent performance in ways homeowners in drier states do not encounter as often.
Lint becomes stickier and clumps more readily in humid air, meaning blockages build faster than the general advice of cleaning annually might suggest. In Jacksonville, cleaning every six months is a reasonable baseline, particularly if the duct run is long or has multiple bends.
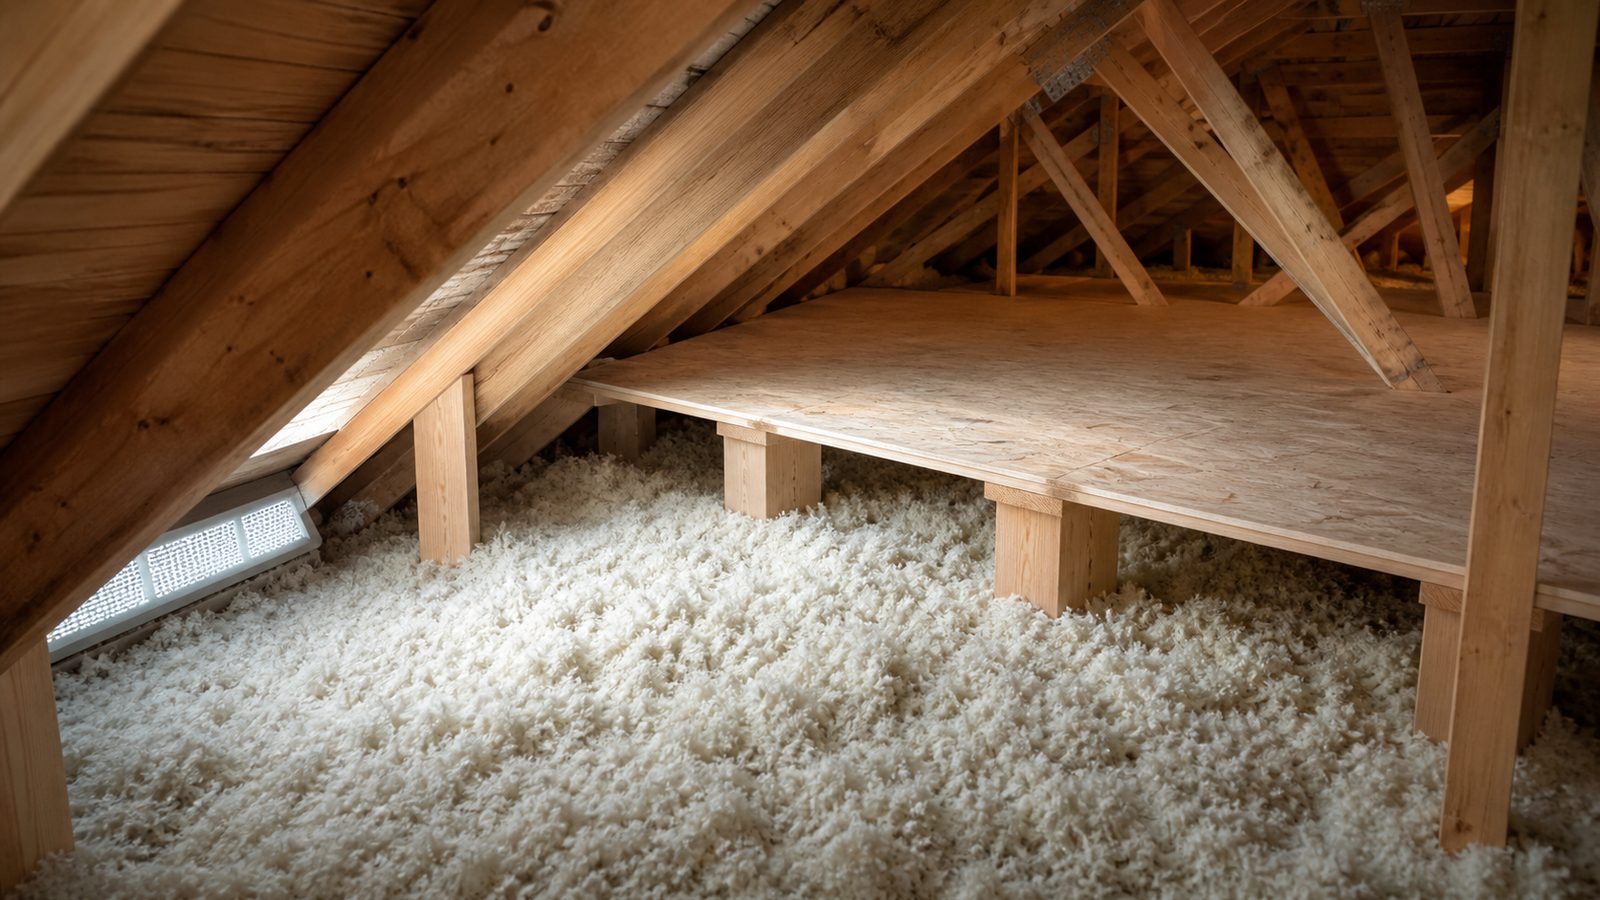
Venting into an attic, soffit, or enclosed crawl space is never code-compliant, but it is also an invitation for chronic mold growth in Florida. The combination of warm air, moisture from the exhaust, and an enclosed dark space creates ideal mold conditions within weeks.
The exterior damper is a pest entry point if it fails to seat properly. Cockroaches, palmetto bugs, and small lizards will use an open or damaged damper to access the duct. Inspect the damper each time you clean the vent.
Aluminum hoods hold up better than plastic ones in coastal Jacksonville conditions. Salt air and UV exposure degrade plastic caps within a few years, leaving the damper stuck open or the cap itself cracked.
What It Costs in Jacksonville (DIY vs. Hiring a Pro)
| Approach | Typical Cost Range |
|---|---|
| DIY materials only (transition hose + cap + tape) | $30 – $80 |
| DIY full rigid duct replacement (materials) | $60 – $150 |
| Professional cleaning + inspection | $100 – $175 |
| Pro vent replacement (accessible straight run) | $150 – $300 |
| Pro vent reroute or new exterior penetration | $300 – $600+ |
Prices reflect general Jacksonville-area contractor rates and vary based on access, duct length, and wall material.
When to Call JK Prestige
If your dryer vent runs through a finished wall cavity, requires a new exterior penetration, or a previous installer used plastic flex duct embedded inside the wall, this is not a straightforward swap. JK Prestige Construction handles dryer vent work as part of broader renovation and home repair scopes — we assess the full duct path, correct code deficiencies, and ensure the exterior penetration is properly flashed and sealed for Jacksonville's weather. Call us if you want the job done once, to code, without surprises.
No call center. No coordinator. A JK principal reviews every inquiry and replies with a real number, not a range, not a follow-up form.
Request Free Estimate →