This guide is for Jacksonville homeowners replacing an exterior front entry door. This is not the same job as swapping an interior door. An exterior door sits at the building envelope -- the barrier between conditioned space and Florida weather. Done wrong, you get water intrusion, mold behind the wall, and an energy bill that does not make sense. Difficulty: intermediate. Time estimate: 4 to 8 hours for a single door, longer if you find rot or need to address flashing in depth. Total cost range: $400 to $2,500 depending on door material, glass inserts, hardware grade, and whether you hire labor.
In Jacksonville, exterior doors take a beating. High humidity year-round, intense UV, driving rain from the east, and the occasional tropical system make weatherproofing the non-negotiable part of this job. The installation technique matters as much as the door itself. Get both right and this door will perform for 20 years. Get the weatherproofing wrong and you will be opening up the wall within five.
Tools You Need
- Pry bar (flat bar, 24-inch and 12-inch)
- Hammer and nail set
- Oscillating multi-tool
- 4-foot level
- Tape measure
- Drill and driver bits
- Utility knife
- Caulking gun
- Putty knife
- Safety glasses and work gloves
- Circular saw (for shims or minor framing adjustments)
- Reciprocating saw (for cutting old fasteners flush)
- Step ladder
Materials You Need
- Pre-hung exterior door unit rated for Florida conditions -- $300 to $1,800 depending on material, glass insert, and style
- Exterior-grade flashing tape (DOW Flexwrap or 3M 8067) -- $15 to $30 per roll, plan for two
- Low-expansion spray foam, window-and-door formula -- $8 per can, plan for two
- Exterior siliconized caulk, paintable -- $8
- 3-inch and 2-1/2-inch exterior-grade screws
- Composite shims (wood shims in sill areas absorb moisture and compress over time)
- Sill pan flashing if not included with door unit -- $20 to $40
- Aluminum drip cap for head (Z-flashing) -- $10 to $20
- Exterior trim/casing if replacing -- $30 to $80
- Paint or stain rated for exterior, high-humidity conditions -- $25 to $50
- Deadbolt and handleset -- $80 to $300
Door material matters in Jacksonville. Wood expands and contracts with humidity -- in a direct-exposure application, wood doors require significant annual maintenance to stay tight. Fiberglass is the right material for most Jacksonville homes: it does not warp, it holds paint well, and modern fiberglass door skins are convincing. Steel is affordable and secure but corrodes in coastal air, especially east of the Intracoastal. If you are within a mile of salt air, go fiberglass.
Florida Building Code note: Duval County sits in a 120 mph wind zone. Coastal areas east of the Intracoastal may have higher requirements. Any replacement exterior door must carry a Florida Product Approval (FPA) number matching your wind zone. Ask the supplier for the FPA documentation before you purchase. A door without the right product approval will fail inspection.
Step-by-Step Instructions
Phase 1 -- Remove the old door and frame
- Remove the door slab. Tap out hinge pins from the bottom up using a nail and hammer. Pull the slab free. If the door has a multipoint lock system, the slab will be heavier than a standard door -- have a second person help lift it.
- Remove interior casing trim. Score the paint line with a utility knife and pry the trim off. Set aside if reusing, discard if replacing.
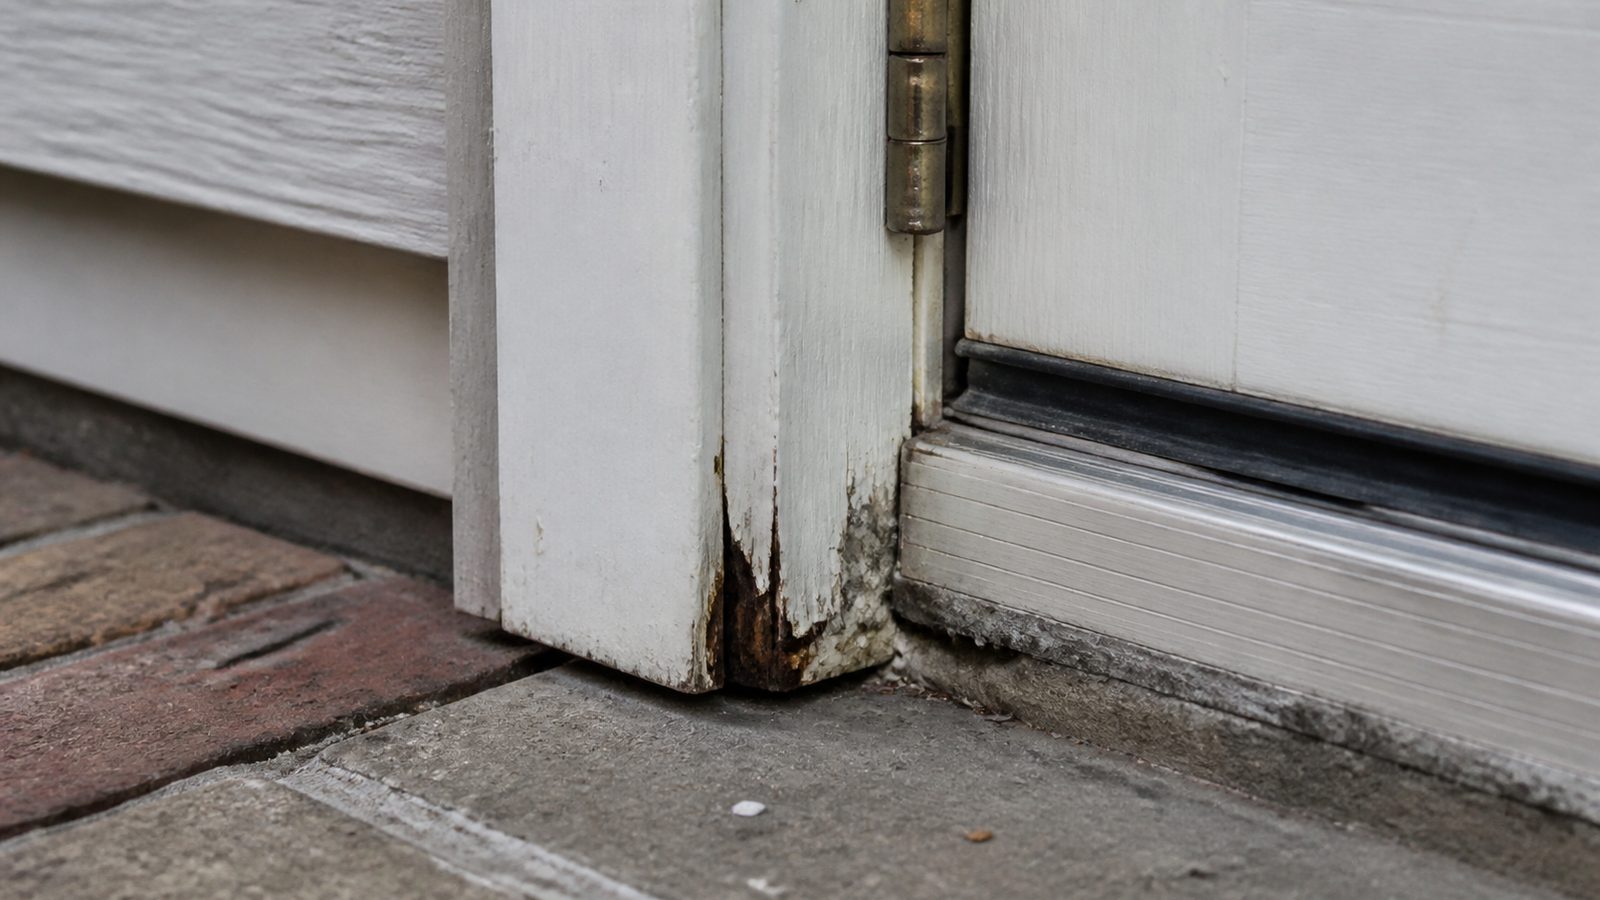
- Remove the exterior trim. Go outside. Slice through the caulk lines around the exterior casing. Pry the brick mold or casing off. Pay attention to what you see behind it. If there is no flashing tape behind that trim, water has been getting in through the frame joint. That is your first indication of possible rot in the rough opening.
- Pull the door frame. Work from the interior side. Use a reciprocating saw to cut any screws or nails you cannot reach with a pry bar. Pry the frame loose and remove it. Work top to bottom and corners first.
- Inspect the rough opening -- thoroughly. This is the most important step in the entire job. Check the sill, the bottom corners of the rough opening, and the lower sections of both jack studs. These are the locations where water sits if the previous installation leaked. Press your thumb into any wood that looks dark or stained. If it is soft, it is rotten. If it is rotten, you have a framing repair before you have a door installation.
Phase 2 -- Flash and prepare the rough opening
- Repair any rot or damage before flashing. Replace damaged sill plate sections, jack studs, or sheathing before you flash anything. Installing a new door over compromised framing is just starting the clock on the next repair.
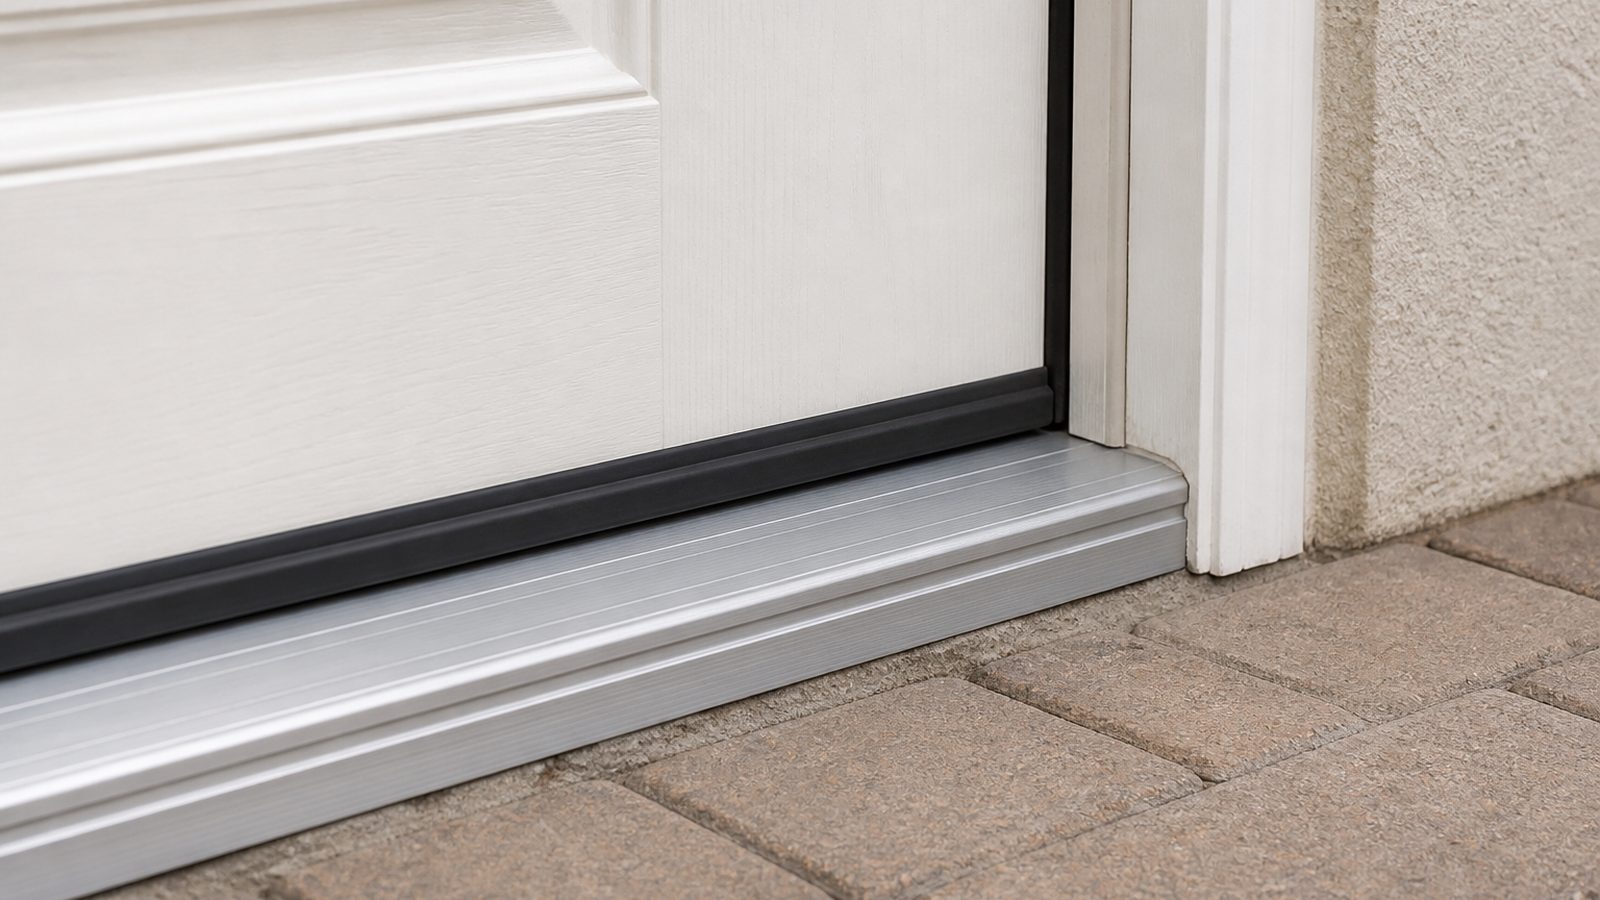
- Install a sill pan. The sill is where water collects in a wind-driven rain event. Install a sloped sill pan flashing that directs water out and away from the interior. Many quality door units include a sill pan -- if not, use a pre-formed plastic sill pan or sheet metal fabricated to slope toward the exterior. Tape all seams with flashing tape.
- Flash the rough opening in sequence. Apply flashing tape in the correct order: sill first (across the sill pan), then the two sides (lapping over the sill tape by 4 inches), then the top (lapping over the side tapes). This is the water-shedding sequence -- each layer overlaps the one below like shingles. Use DOW Flexwrap at corners where the tape needs to fold. Lap tape onto the face of the framing a minimum of 2 inches.
- Check plumb, level, and square on the rough opening. Set your level against each jack stud. Measure diagonally corner to corner in both directions. If the two diagonal measurements differ by more than 1/4 inch, the opening is racked. Shimming compensates for out-of-plumb framing but cannot correct a badly racked opening without additional work.
Phase 3 -- Set the new door unit
- Apply sill sealant before setting the unit. Run a bead of siliconized caulk along the sill pan where the door threshold will sit. This is a secondary seal behind the sill pan system.
- Set the door unit in the opening. Exterior door units are heavy -- a fiberglass unit with glass inserts runs 100 to 150 pounds. Use a second person. Set the unit from the exterior side, tipping it into the rough opening and dropping the threshold onto the caulk bed.
- Shim and plumb the hinge side first. Place composite shims behind the top hinge location. Drive a 3-inch screw through the hinge-side jamb, through the shims, and into the jack stud. Check plumb with your level. Move to the middle hinge, then the bottom. The hinge side sets the door in space -- get this side plumb before you touch the latch side.
- Shim and fasten the latch side. Work toward a consistent 1/8-inch reveal between the door slab and the frame on all three sides. Open and close the door. It should swing freely and latch without force. If it binds, the frame is not plumb or the reveal is uneven -- fix it before driving final screws.
- Install the long security screws through the hinge locations. Most modern exterior door units include 3-1/2-inch screws designed to reach through the frame and shims into the king stud. Drive these after shimming is final. They are the primary structural fasteners for kick-in resistance.
- Shim the head. Add shims at the top corners and center of the head jamb. Drive screws through the head jamb into the rough header framing.
Phase 4 -- Air seal and weatherproof the exterior
- Foam the gap between the frame and the rough opening. Use low-expansion window-and-door foam only -- not standard expanding foam. Standard foam generates pressure that bows door frames. Fill the gap from the interior side, working bottom to top. The goal is air seal, not structural fill. Trim any foam that squeezes past the frame once it cures.
- Install the head drip cap. Slip a Z-flashing aluminum drip cap behind the exterior sheathing (or weather-resistive barrier) above the door head, lapping over the door frame's exterior edge. This is non-negotiable in Florida. Water that gets behind the head of an exterior door will rot the head jamb within a season.
- Install the exterior casing. Nail the exterior trim over the flashing tape. The casing face should sit against the flashing tape, creating a sealed surface behind the trim.
- Caulk the exterior perimeter. Run siliconized caulk at the joint between the exterior casing and the wall surface on all four sides. Tool it smooth. On vertical joints, caulk. On horizontal surfaces at the top, caulk. At the bottom corners of the threshold, leave a small weep gap -- trapped water needs a way out.
- Install and adjust the threshold and weatherstripping. The door bottom sweep should compress against the threshold when the door is closed. Adjust the threshold height per the manufacturer's instructions. Check all four sides of the perimeter weatherstrip. If you can see light around the closed door at any point, adjust until you cannot.
Phase 5 -- Finish
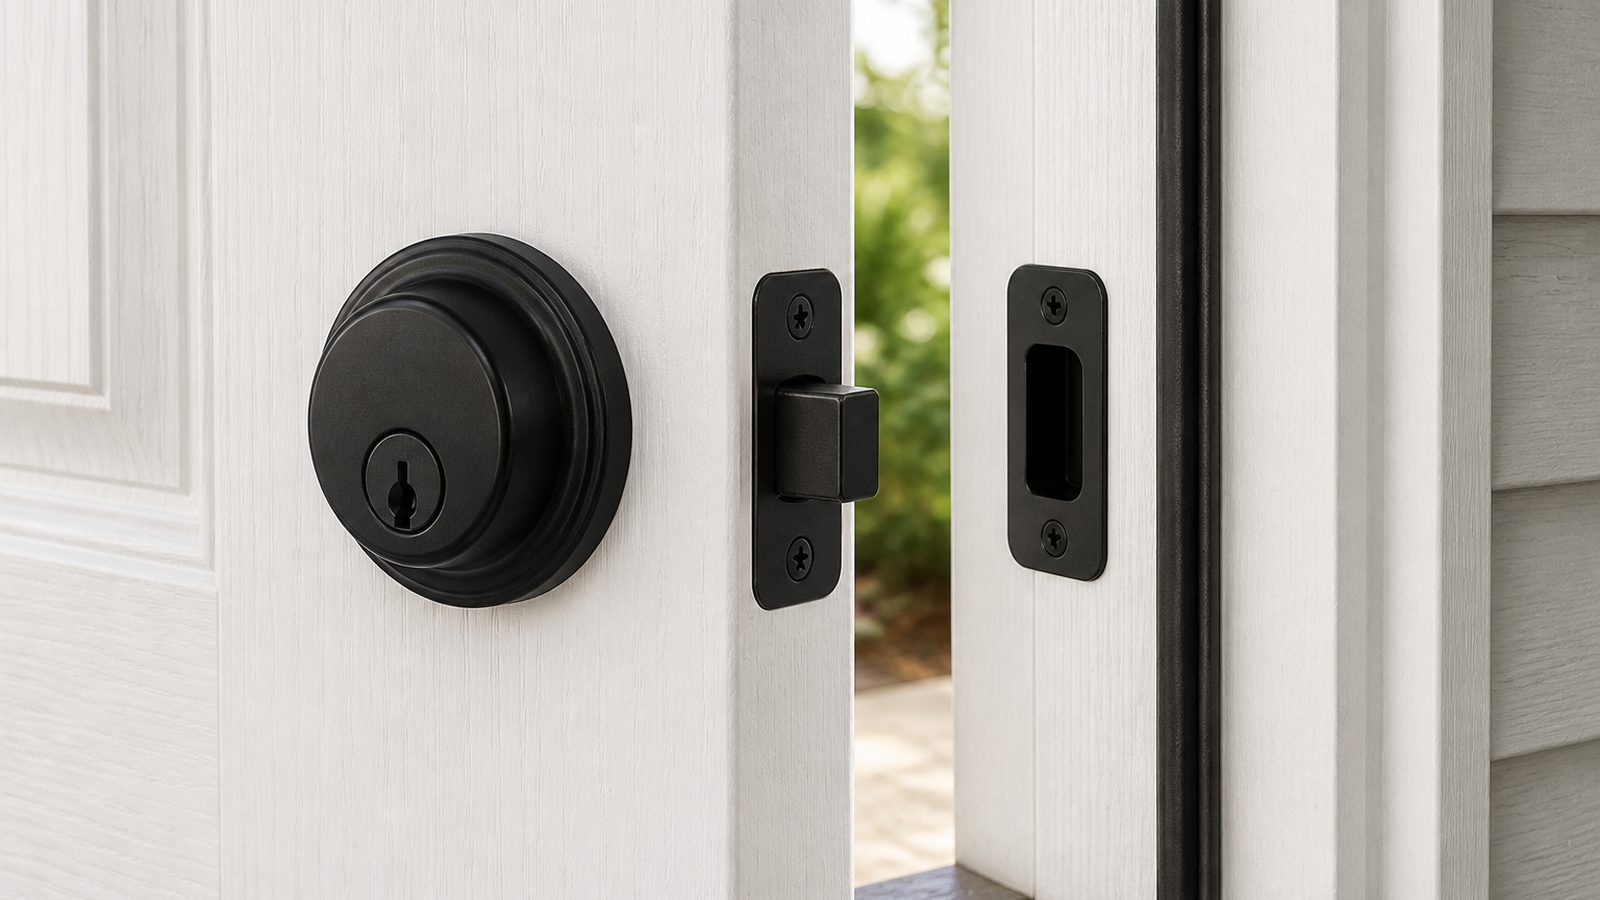
- Install hardware. Mount the handleset and deadbolt per the manufacturer's template. Use the 3-inch screws included for the strike plate -- they reach into the door frame stud and are what actually resist forced entry. Test the deadbolt throw.
- Install interior casing. Nail trim to the frame. Caulk the joint between casing and drywall on the interior.
- Prime and paint. In Jacksonville's UV environment, bare or factory-primed surfaces degrade quickly. Prime within the manufacturer's recommended window and apply two coats of high-quality exterior paint. Coat all six faces of the door including the top and bottom edge -- unsealed edges are how moisture enters the core.
Common Mistakes to Avoid
- Skipping the sill pan. Water entry at the threshold is the most common cause of rot and mold behind exterior doors in Florida. Flash the sill before anything else goes in.
- Using the wrong spray foam. Standard Great Stuff expanding foam bows door frames. Always use the window-and-door low-expansion formula.
- Not sealing the exterior casing on all sides. The joint between casing and wall is a water entry point. Caulk all four sides -- but leave threshold corner weep gaps.
- Installing a wood door in a direct-exposure application. Wood doors swell and gap in Jacksonville summers. If the door is on a covered porch and protected from direct rain and sun, wood can work. If it is exposed, use fiberglass.
- Using wood shims in the sill area. Wood shims in contact with moisture will compress and rot over time. Use composite shims anywhere near the threshold.
When to Hire a Pro Instead
Call a contractor when any of these apply:
- You find rot in the rough opening framing. Water damage at exterior door openings often goes deeper than the surface. Removing and replacing a damaged sill plate, jack stud, or section of sheathing is a carpentry and waterproofing repair that must be done correctly before a new door will perform.
- The door is in a High-Velocity Hurricane Zone. Coastal Duval County locations require impact-rated doors and specific installation methods documented for the building department. The margin for error on the installation is zero.
- The rough opening needs to be resized. Widening or raising an exterior door opening in a framed wall requires structural work, especially in a load-bearing wall.
- The door is in a masonry or stucco wall. Stucco and block surrounds require different flashing details and often require cutting or rebuilding the masonry buck. This is not a standard pre-hung swap.
- You suspect the existing door caused water damage inside the wall. Dark staining on interior walls near the door or a musty smell near the threshold means water has been inside the wall. Have a contractor assess and repair before installing a new unit.
- You want a door with a sidelight or a transom. Multi-unit door systems involve larger rough openings, different header requirements, and more complex flashing.
Need a Jacksonville GC for this job? Get a 48-hour free fixed-price estimate from JK Prestige Constructor.
No call center. No coordinator. A JK principal reviews every inquiry and replies with a real number, not a range, not a follow-up form.
Request Free Estimate →