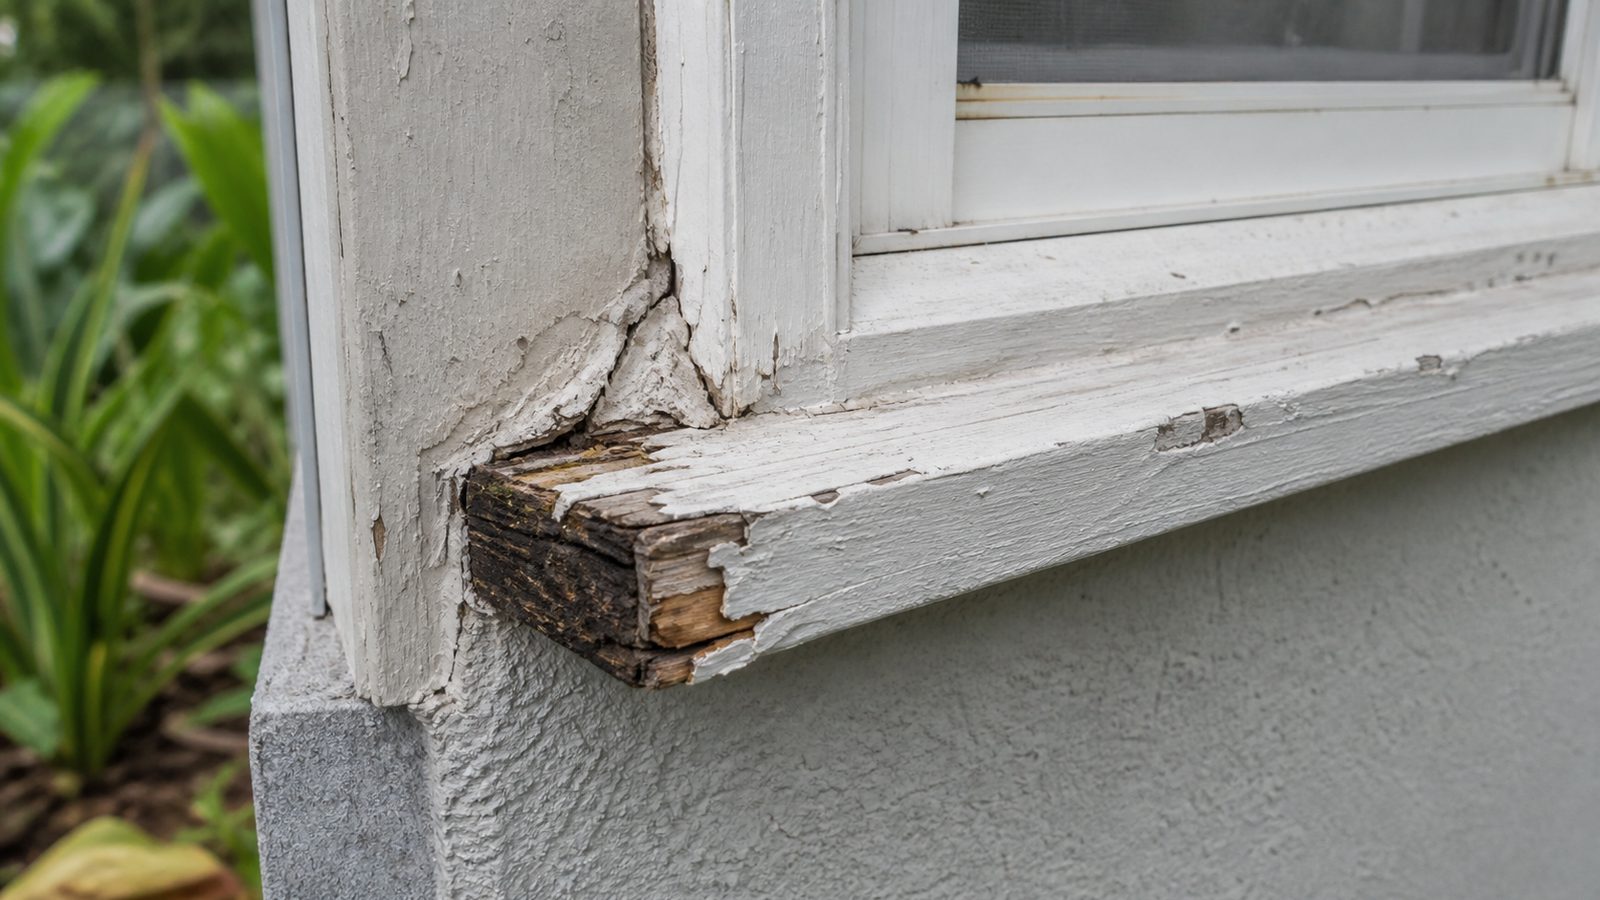
If you've got a window with paint bubbling at the corners, a soft spot you can push a screwdriver into, or a dark stain bleeding down the siding below the sill, you're probably looking at rotted brickmould, the flat trim wrapping the outside edge of a window that covers the gap between the frame and the wall opening. In Jacksonville, where humidity sits high most of the year and afternoon storms drive rain sideways into west-facing walls, this is one of the most common repairs we see on homes built anywhere from the 1920s through the 1990s. It's a job a careful homeowner can tackle. The catch is that doing it wrong, especially around the nailing flange, turns a trim repair into a window replacement.
When You Need a Permit in Jacksonville
For most single-family homes, replacing brickmould and casing in kind, same size, same location, no change to the opening, falls under routine maintenance and doesn't require a building permit from the City of Jacksonville. That changes in two situations. First, if the rot has traveled past the trim into the framing or sheathing, you're now doing structural repair, and that typically does require a permit through the Building Inspection Division. Second, if your home sits in one of Jacksonville's historic districts, Springfield, Riverside, or Avondale, exterior trim visible from the street can fall under design review by the Jacksonville Historic Preservation Commission, even when the work itself wouldn't otherwise need a permit. If the wood is soft only at the surface and the profile isn't changing, you're probably fine. If you're not sure, or your house sits in a designated historic district, call the City of Jacksonville Building Inspection Division and confirm before you start.
Tools and Materials
- Flat pry bar, plus a smaller cat's paw for tight spots
- Reciprocating saw with a fine-tooth or flush-cut blade
- Utility knife, sharp chisel, hammer
- Circular or miter saw for cutting new stock
- Cordless drill with stainless or galvanized trim screws
- Corrosion-resistant finish nails (hot-dipped galvanized or stainless, never bright steel)
- Exterior-grade wood filler or epoxy consolidant for salvageable substrate
- Self-adhered flashing tape rated for exterior use
- High-quality polyurethane or hybrid sealant, not cheap acrylic latex
- Paintable exterior caulk for finish joints
- Replacement brickmould stock: primed finger-jointed pine, cellular PVC, or composite, matched to what you're removing
- Primer and exterior paint if you're going wood
- Moisture meter, useful before deciding how far the repair needs to go
Step-by-Step
1. Confirm how far the rot goes. Probe the brickmould, sill, and wall behind it with an awl or screwdriver. Soft wood only in the trim is a trim repair. If the probe sinks into the framing, or you find black staining on the sheathing once the trim is off, stop, that's a framing repair with different materials and possibly a permit.
2. Score the caulk lines with a utility knife. Run the blade along every joint between the brickmould and the siding, and the brickmould and the window frame, before you pry, so you don't tear paint or siding.
3. Pry the brickmould off starting from one end. Work a flat bar behind the trim near a nail and walk it loose, going slow near mitered corners, which split easily. If a piece won't budge, cut it free with a reciprocating saw rather than forcing it.
4. Protect the window's nailing flange as you go. This is the step people rush and regret. The flange is the flat lip on the window unit itself, fastened to the framing and covered by flashing, the brickmould just sits over it. Never pry against the window frame or flange, only against the trim, and stop the moment you feel resistance from the window side. If a nail runs through into the flange, cut it instead of levering it. A bent or torn flange can compromise the window's seal and turn a $400 trim job into a $1,500 window reset.
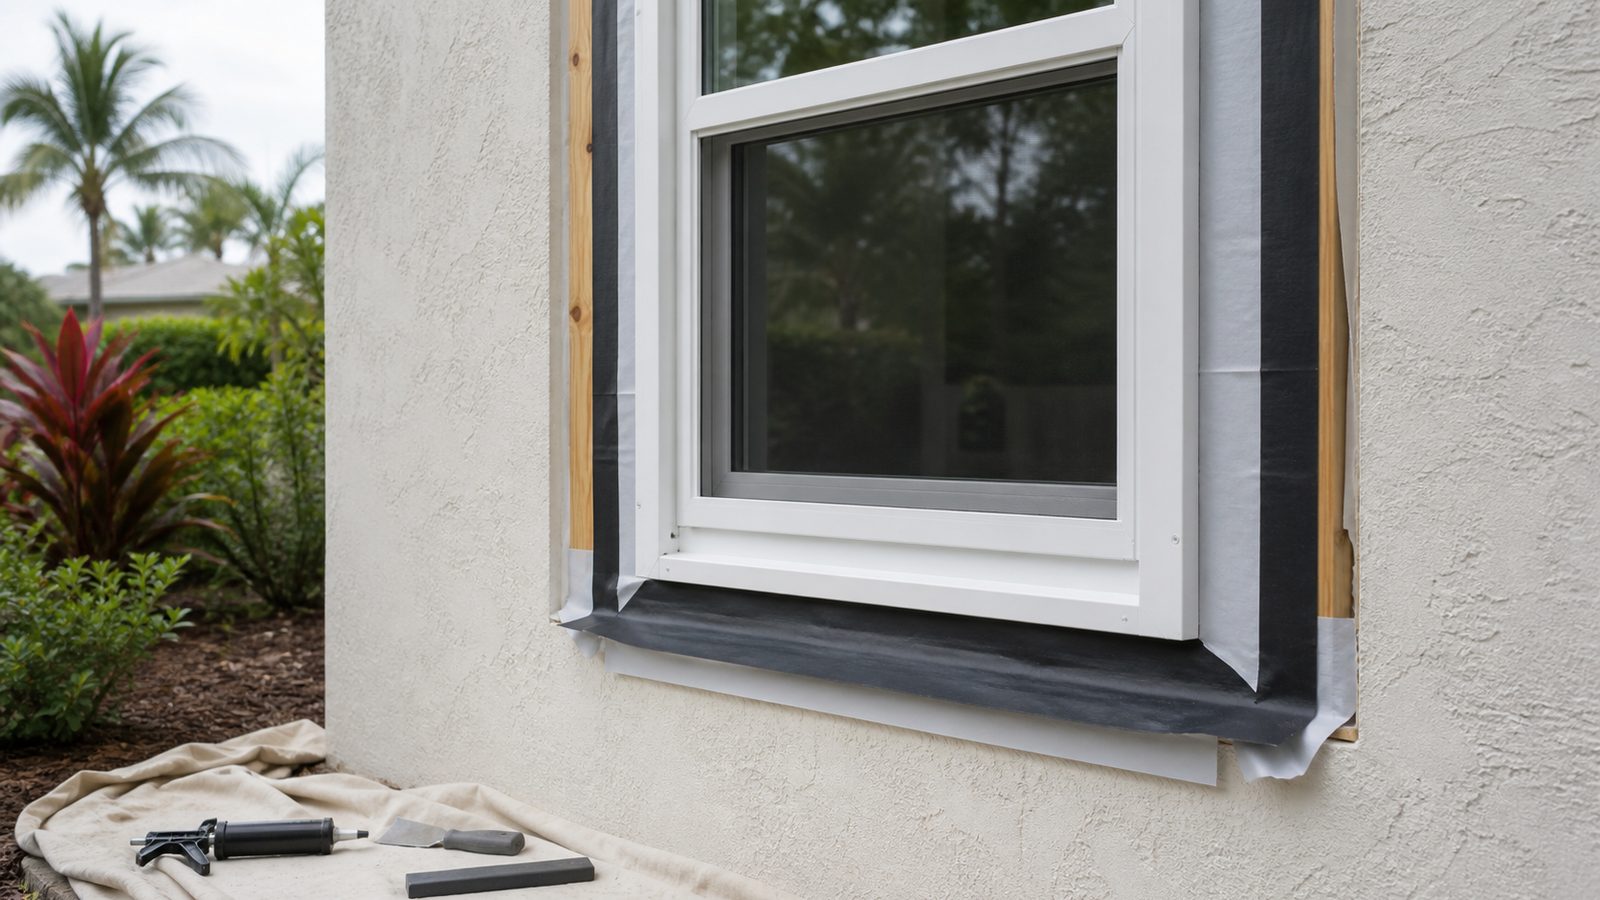
5. Inspect and repair the flashing underneath. Look at the flashing tape or building paper around the opening. If it's cracked, torn, or missing, replace it with self-adhered flashing tape before anything goes back on. This layer, not the caulk, is what actually keeps water out of the wall.
6. Cut and dry-fit the new trim. Match the original profile and dry-fit every piece before fastening, Jacksonville window openings are rarely perfectly square after decades of settling.
7. Back-caulk before fastening. This is the step most DIY jobs skip, and the reason brickmould rots a second time. Run a bead of sealant on the back face of the trim, the side against the wall and window frame, before setting it. Back-caulking seals the joint from the inside out so wind-driven rain can't wick behind the trim by capillary action. Caulking only the visible front seam looks fine for a year or two, then fails from behind where you can't see it.
8. Fasten, caulk, and finish. Use stainless or hot-dip galvanized fasteners, never bright steel, which rusts and bleeds through paint within a couple of Florida summers. Caulk the finish joints, fill nail heads, spot-prime bare wood, then paint or seal. PVC brickmould generally skips the paint step entirely.
Jacksonville Climate Considerations
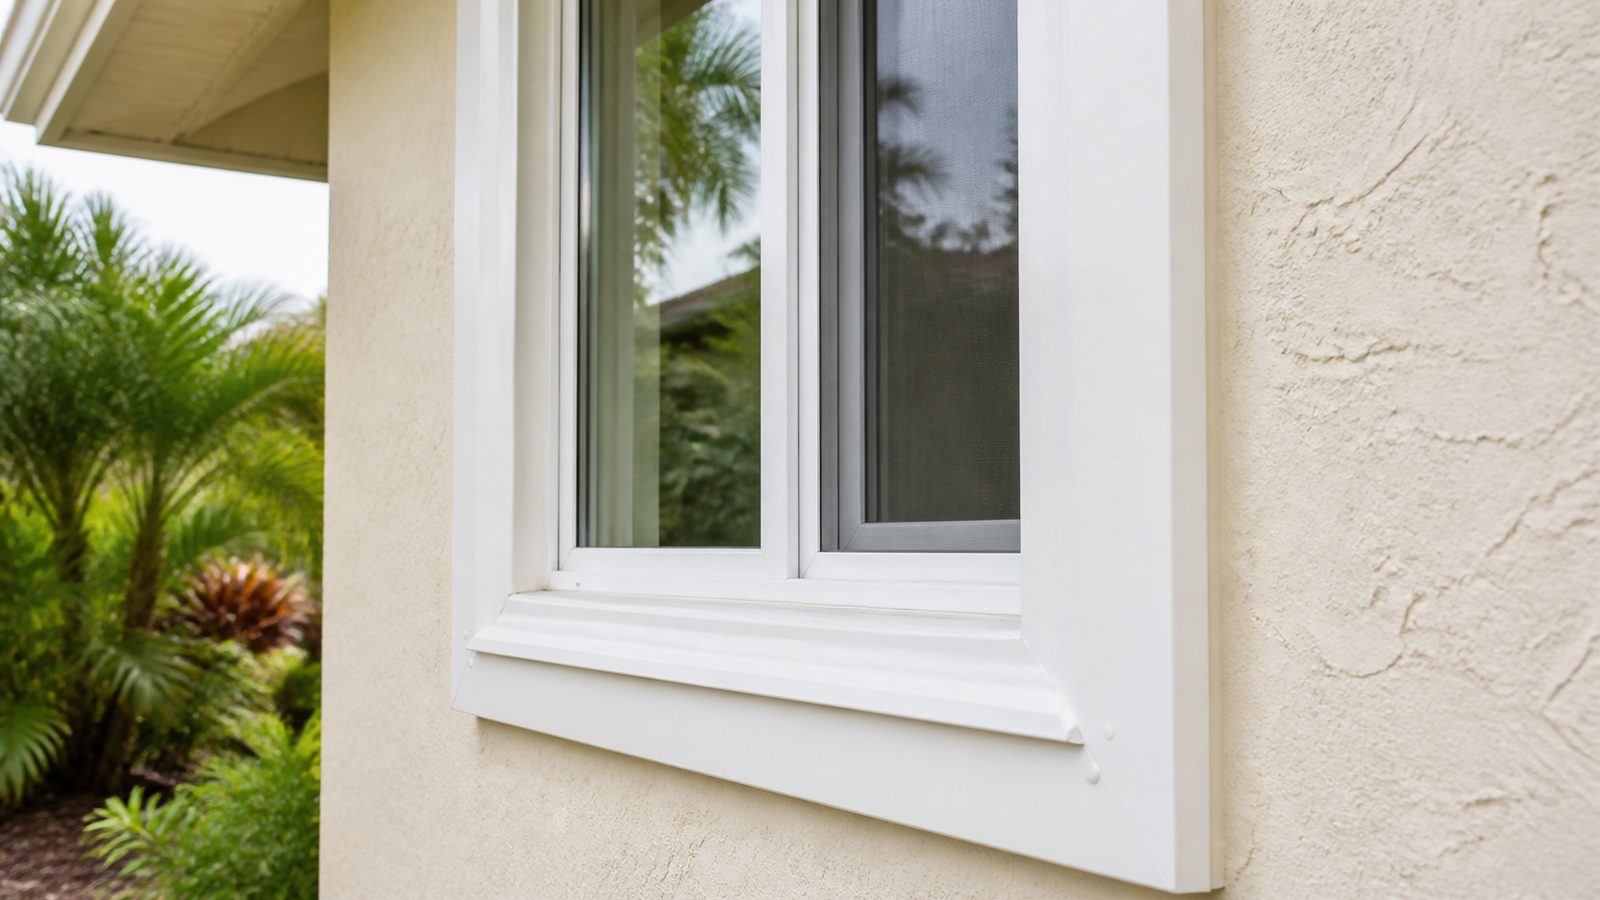
Jacksonville's climate is hard on exterior wood trim. Humidity stays elevated most of the year, slowing drying and giving rot fungus a long window to work. Summer thunderstorms drive rain sideways into west and south-facing walls, forcing water into any gap that isn't properly flashed and back-caulked. UV exposure on those same elevations breaks down paint film and caulk faster than on shaded north walls, so they need more frequent inspection. Subterranean and drywood termites are both established in Duval County, and moisture-softened wood is an easy entry point, so any brickmould repair is worth a quick look for termite activity while the trim is off. Near the Beaches, salt air accelerates corrosion of any fastener not rated for coastal exposure, which is why we specify stainless there even when galvanized would pass inland. On material, PVC won't rot, but it expands and contracts more than wood with Florida's heat swings, so it needs room to move rather than being caulked rigid. Composite and fiber-cement trims split the difference, more stable than PVC, more rot-resistant than raw wood, usually at a higher cost than either.
What It Costs in Jacksonville (DIY vs. Hiring a Pro)
| Scope | DIY Materials | Professional (labor + materials) |
|---|---|---|
| Single window, trim-only rot, wood | $60 to $150 | $350 to $600 |
| Single window, trim-only rot, PVC or composite | $100 to $220 | $450 to $750 |
| Multiple windows on one elevation | $300 to $800 | $1,200 to $2,800 |
| Rot extends into sheathing or framing (per window) | Not recommended as DIY | $800 to $2,200+ |
These are realistic Jacksonville ranges for 2026 and will move with window size, profile complexity, and how much of the wall assembly has to come apart. Historic profile matching in Springfield or Riverside, where original 1920s bungalow trim has a milled detail off-the-shelf brickmould doesn't replicate, adds cost on either side because that stock usually has to be custom-milled rather than bought at a lumberyard.
When to Call JK Prestige
Call us when the rot has reached the sheathing or framing, when you're on a historic property in Springfield, Riverside, or Avondale and need the profile to match the original millwork, or when you'd rather have someone else deal with the window flange. We see this repair often enough on Jacksonville's older housing stock, Murray Hill bungalows included, that we know which openings will have surprises behind the trim before we pull the first piece.
No call center. No coordinator. A JK principal reviews every inquiry and replies with a real number, not a range, not a follow-up form.
Request Free Estimate →