A single damaged fence panel can drag down the appearance of your whole property and create a security gap you didn't ask for. In Jacksonville, replacing one is usually a straightforward Saturday project — until you factor in city permit rules, HOA approval windows, underground utilities, and the reality that North Florida's humidity and sandy soil are genuinely harder on fences than most homeowners expect. This guide walks through every step so you can get it done right the first time, whether you're swinging the hammer yourself or handing it off to a crew.
When You Need a Permit in Jacksonville
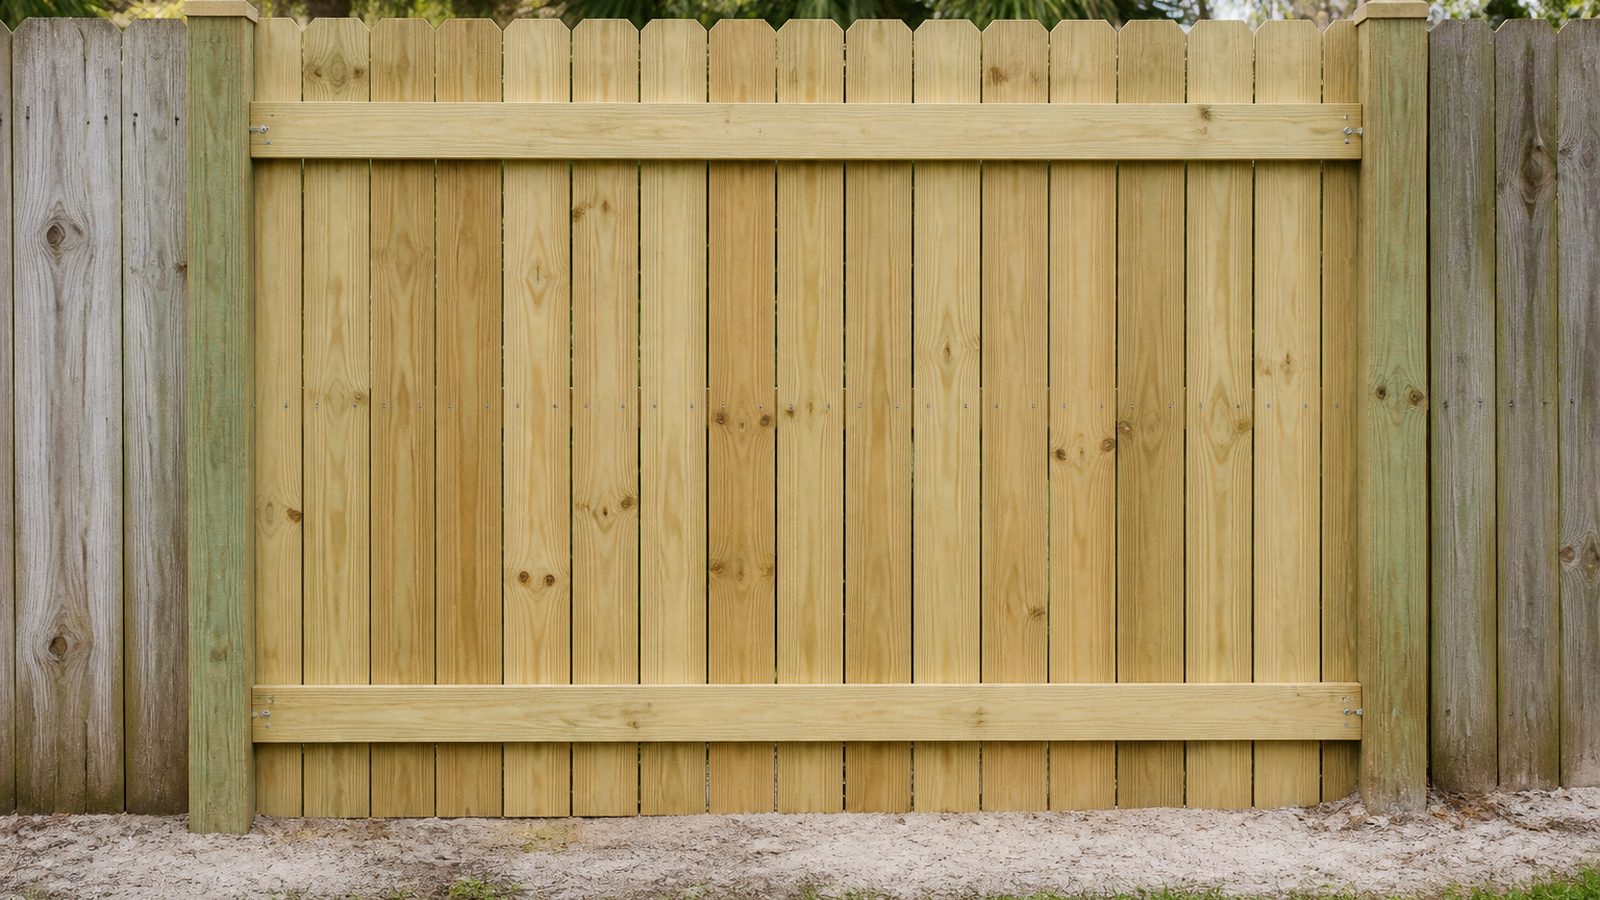
The City of Jacksonville generally requires a permit for new fence installation, but replacement of an existing panel in kind — same height, same location, same material — often falls under repair rather than new construction. That said, the threshold matters: fences over six feet in height typically require a permit regardless of whether it is new construction or replacement. If you are raising the height of any section while you are at it, pull the permit.
Beyond city rules, your homeowners association almost certainly has its own approval process. Most Jacksonville HOAs require written approval before any fence work begins, not after. Submit your request with the panel dimensions, material type, and color before you buy anything. HOA approval timelines in this area range from a few days to a few weeks depending on the community, so build that into your schedule.
Before you dig or pull any posts, call 811 — Florida's Sunshine 811 service — at least two business days before you break ground. This is a free call that dispatches locators to mark underground utilities including gas, electric, water, and cable. Jacksonville has older neighborhoods with buried infrastructure that is not always where you expect it, and hitting a line is far more expensive and dangerous than making the phone call.
Also verify your setback requirements. Jacksonville has rules about how close a fence can sit to property lines, especially near street corners where sight triangles restrict fence height to maintain driver visibility.
Tools and Materials
- Flat bar or pry bar
- Hammer and nail puller
- Drill and bits
- Circular saw or miter saw
- Level (4-foot minimum)
- Post hole digger or clamshell digger
- Tape measure
- Safety glasses and gloves
- Replacement fence panel (wood or vinyl)
- Pressure-treated 4x4 posts (if replacing posts)
- Fast-setting concrete mix
- Galvanized or stainless screws and nails (critical in coastal humidity)
- Post caps
- Wood preservative or paint (for cut ends on wood panels)
Step-by-Step
- Assess the full scope before you buy. Pull on the panel and check the posts at the base. A rotted panel with solid posts is a one-hour job. A rotted panel with soft or wobbly posts means you are replacing posts too, and that changes your timeline and material list.
- Remove the damaged panel. Use a flat bar to pry rails away from posts. If the panel is screwed rather than nailed, back out the screws rather than prying — this prevents splitting the rail if it is still usable.
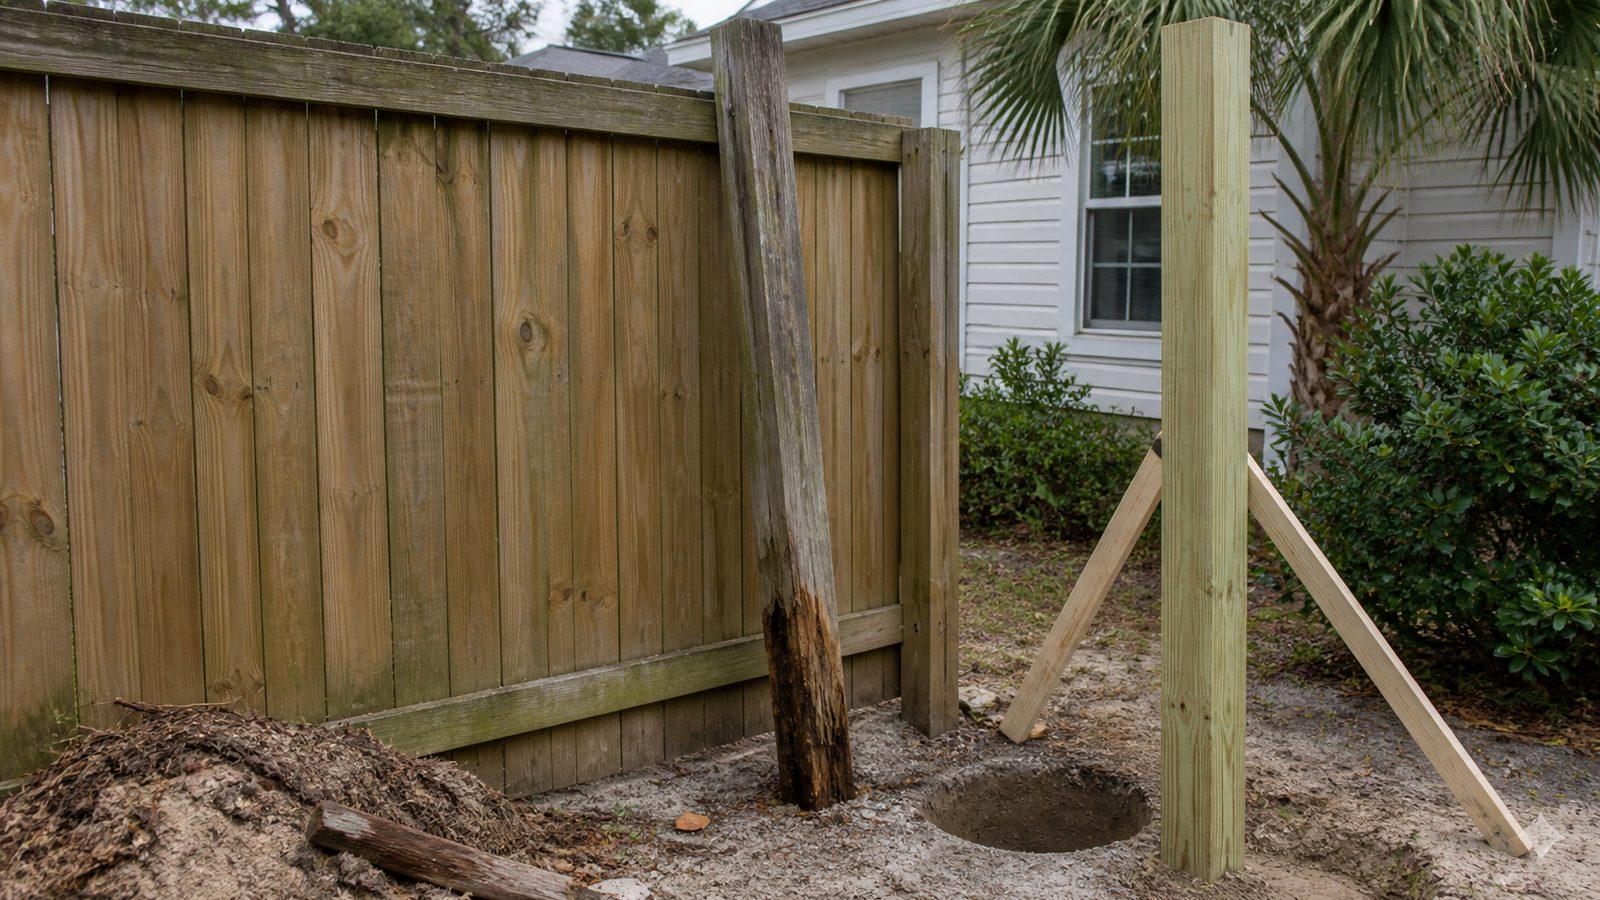
- Inspect the posts. Probe the base of each post at and below ground level with a screwdriver. If the wood is spongy or the post moves when you push it, replace it. A leaning post that feels solid can sometimes be plumbed and re-secured with a concrete collar rather than a full replacement.
- Replace posts if needed. Dig out the old post and as much of the old concrete footing as possible. For a standard 6-foot privacy fence, set a post at least 2 feet deep — deeper if your soil is loose. Pour fast-setting concrete around the post, check plumb on two faces with your level, brace it, and let it cure per the manufacturer's directions (typically 24 to 48 hours before loading the panel).
- Cut and fit the new panel. Measure the opening carefully. Wood panels can be cut to length on site; vinyl panels often come in fixed widths and may require ordering a specific size. For wood, seal all cut ends immediately with a wood preservative to slow moisture intrusion.
- Attach the panel. Secure rails to posts with galvanized or stainless screws rather than regular coated nails. In Jacksonville's coastal and humid environment, standard fasteners rust within a season, leaving rust streaks and weakening the connection.
- Check height and alignment against adjacent panels. Small variations look obvious from the street.
- Apply finish. For wood, a coat of stain, paint, or sealant applied at installation significantly extends the lifespan versus leaving it bare.
Jacksonville Climate Considerations
Wood rot is the dominant fence killer in Jacksonville. The combination of year-round humidity, summer rain that keeps soil saturated, and mild winters that never give the wood a true dry season accelerates decay at the post base faster than homeowners typically expect. Using pressure-treated lumber rated for ground contact (look for UC4B or UC4C on the label) at the post is non-negotiable. Above-ground rails and pickets can use a lower rating, but the post base must be rated for direct soil contact.
Hurricane wind load is a real factor for solid privacy fences. A solid 6-foot panel acts as a sail in high winds. During storm season, Jacksonville regularly sees sustained winds and gusts that can lever a panel right off its posts if the footing is inadequate or the post is undersized. This is one reason concrete footings matter even for a single panel replacement — a panel held only by packed soil will not stay standing through a named storm.
Sandy soil, common across much of Jacksonville, drains quickly but provides poor lateral support for posts. Posts set in sandy soil without adequate concrete around them will loosen over time as the soil shifts and washes. Set concrete footings that extend well below the frost line — which in Jacksonville is minimal — but focus on adequate depth for lateral resistance, typically 24 to 30 inches for a 6-foot fence.
Subterranean termites are active throughout Northeast Florida. Pressure-treated wood rated for ground contact provides meaningful resistance but is not a permanent guarantee. Inspect fence posts annually, especially at the soil line.
What It Costs in Jacksonville (DIY vs. Hiring a Pro)
| Scenario | Estimated Cost Range |
|---|---|
| DIY — panel only, posts good | $40 – $120 per panel (materials) |
| DIY — panel + one post replacement | $80 – $200 (materials + concrete) |
| Pro — panel swap, no post work | $150 – $350 per panel |
| Pro — panel + post replacement | $300 – $600+ depending on access |
| Vinyl panel vs. wood | Vinyl runs 30–60% more upfront; lower long-term maintenance |
Prices reflect general Jacksonville-area market conditions and vary with lumber prices, panel size, and site access. Get at least two quotes for any job involving multiple panels or post replacement.
When to Call JK Prestige
If your fence assessment turns up more than one or two bad panels, or if posts are failing at the footing, a full section replacement is usually more cost-effective than patching one panel at a time. JK Prestige Construction Corp handles residential and commercial fence work throughout Jacksonville — we assess the whole run, not just the visible damage, and we handle permit coordination so you don't have to. Call us before a single-panel job becomes a bigger surprise.
No call center. No coordinator. A JK principal reviews every inquiry and replies with a real number, not a range, not a follow-up form.
Request Free Estimate →