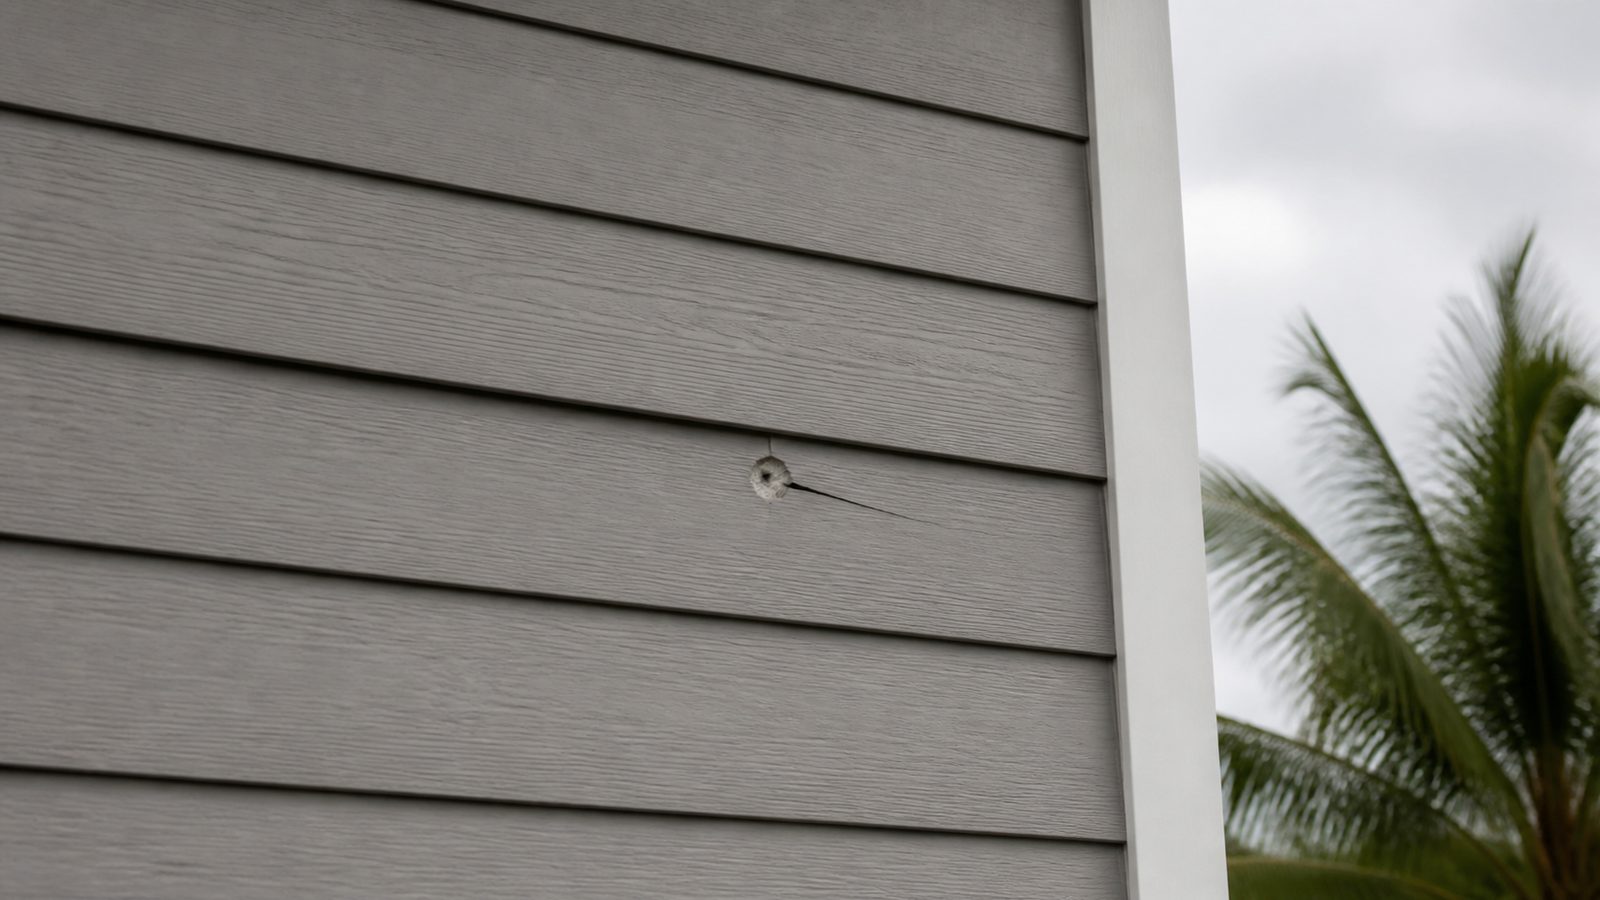
A cracked or impact-damaged plank of fiber cement lap siding, the kind sold under names like HardiePlank, does not mean you need to re-side the whole wall. Jacksonville's humidity, sun, and storm season are hard on exterior cladding, and a single plank can fail from a fallen branch, a mower kickback, or years of moisture working into a seam. This guide walks through pulling one damaged plank out of the middle of a wall, cutting a clean replacement, and reflashing the joint so water still sheds the way the wall was designed to shed it.
When You Need a Permit in Jacksonville
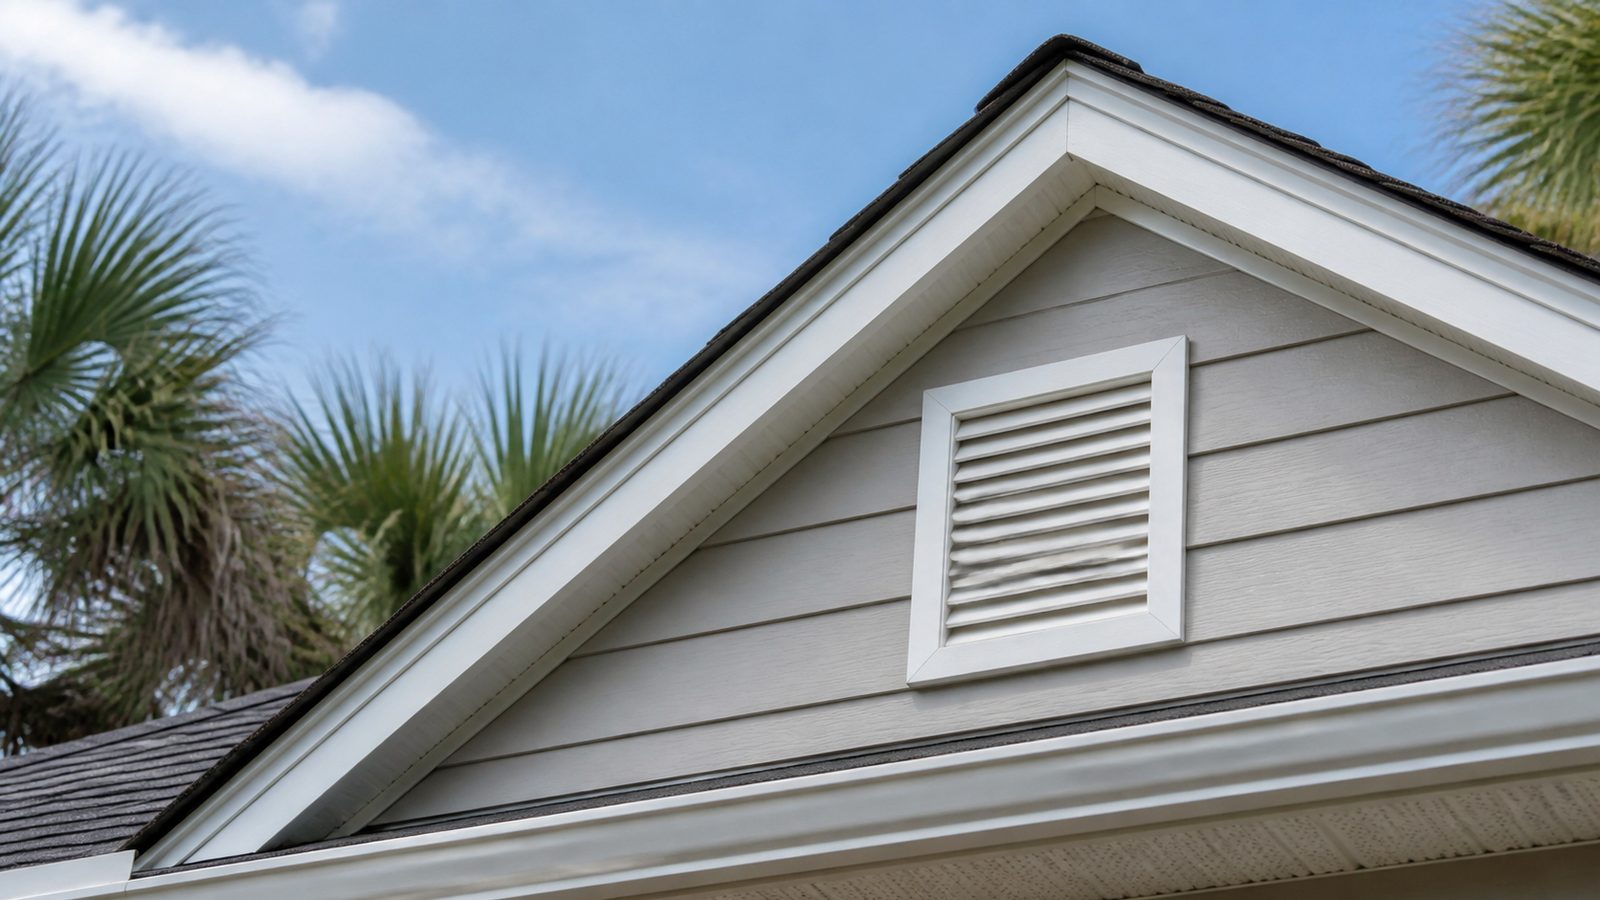
A single-plank, in-kind repair like this is generally treated as maintenance in Duval County, not permitted construction, because you are matching the existing material and not altering the building envelope. That changes once the scope grows. Re-siding an entire wall, most of a house, or combining siding work with sheathing repairs is permitted work, and plan review looks at how the new siding is fastened against Northeast Florida's coastal wind pressure requirements. If your home sits in Riverside, Avondale, or Springfield, even a small exterior change on a street-facing elevation can trigger historic district design review, so check with the city or your neighborhood association first. If your property is in Nassau, Clay, or St. Johns County rather than Duval, permitting runs through that county's own building department, so confirm which office has jurisdiction before assuming Jacksonville's rules apply.
Tools and Materials
- Replacement fiber cement plank, matched to your existing profile and reveal (bring a sample to the supplier)
- Fiber cement shears or a circular saw with a polycrystalline diamond (PCD) fiber cement blade
- HEPA-filter shop vacuum or dust-collecting saw attachment
- N95 or P100 respirator rated for silica dust
- Flat pry bar and a siding removal tool (zip tool or "siding hook")
- Hammer and a hidden-nail pull bar, or a small cat's paw
- Corrosion-resistant siding nails, hot-dip galvanized or stainless steel
- Roofing or flashing tape rated for the wall's water-resistive barrier
- Utility knife and a caulking gun
- Siding-rated sealant for touch-up only, not for butt joints
- Touch-up paint matched to the factory finish
- Tape measure, chalk line, and a square
Step-by-Step
- Identify the damaged plank and locate the courses directly above and below it.
- Put on your respirator and set up dust control before any cutting begins.
- Use the zip tool to reach up under the plank above and unhook it from the blind nails securing the damaged plank's top edge.
- Slide the zip tool along the joint to release each nail without pulling the plank above off the wall.
- Gently pull the damaged plank's top edge out and pry it forward at the bottom to clear the plank below.
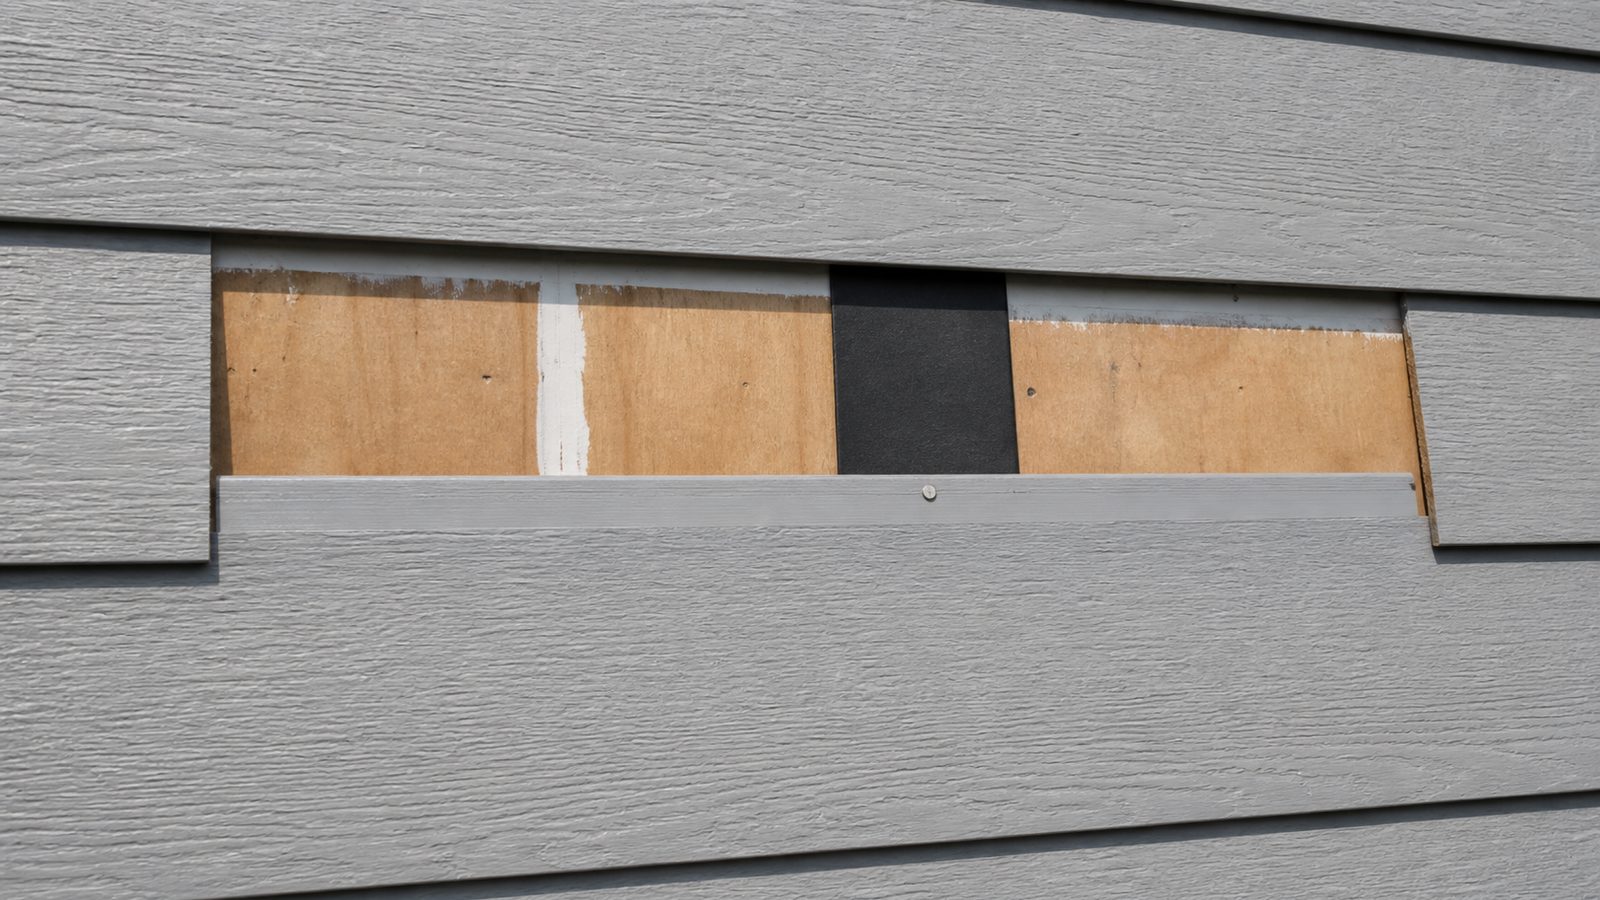
- Remove any nails left in the studs or sheathing, and inspect the water-resistive barrier behind the opening for tears or gaps.
- Patch any damaged barrier with flashing tape, lapped so water sheds downward and outward, before installing anything new.
- Measure the opening precisely, including the reveal, and mark your replacement plank.
- Score and snap the plank if the cut is straight, or cut it outdoors with the PCD blade and dust collection running; never dry-cut fiber cement indoors or without a vacuum attachment.
- Dry-fit the new plank to confirm the reveal lines up with the courses on either side.
- Slide the new plank into position, keeping a small gap at the vertical butt joint per the manufacturer's install instructions.
- Face-nail or blind-nail per your siding's original fastening pattern, driving nails flush without crushing the material.
- Confirm the plank above re-seats over the new plank and re-nail it if it was disturbed.
- Caulk only the field per manufacturer guidance, prime and paint the touch-up area, and clean up all dust and debris.
Common Mistakes to Avoid
- Dry-cutting fiber cement without a dust mask or vacuum attachment, throwing respirable silica dust into the air
- Caulking a vertical butt joint meant to rely on a flashing strip or joint cover, not sealant
- Using standard steel nails instead of hot-dip galvanized or stainless fasteners
- Nailing too tight and cracking the plank, or too loose and leaving it able to rattle in wind
- Skipping the water-resistive barrier inspection and covering up a hidden leak path
- Mismatching the reveal so the new plank's shadow line does not match the wall
Jacksonville Climate Considerations
Northeast Florida sees wind-driven rain during summer thunderstorms and tropical systems, so any gap in the flashing behind a butt joint becomes a real path for water intrusion, not just a cosmetic issue. Jacksonville sits in a coastal wind zone, which is why fastener schedules and nail spacing matter more here than inland. Near the beaches, salt-laden air accelerates corrosion on ordinary steel fasteners, so stick with stainless or hot-dip galvanized nails even on a single-plank repair. Behind the plank, trapped moisture from a poor seal can feed rot in the sheathing long before it shows, and the factory finish will fade unevenly, so matching paint carefully matters. Cutting the board dry kicks up crystalline silica dust, a real hazard when a mask is the last thing anyone wants to wear in Florida's heat.
What It Costs in Jacksonville (DIY vs. Hiring a Pro)
| Approach | Typical Cost Range | Notes |
|---|---|---|
| DIY, materials only | $40 to $120 | Plank, fasteners, flashing tape, and touch-up paint |
| DIY, with tool rental | $100 to $250 | Adds a fiber cement blade or shears rental |
| Hiring a local pro, single plank | $200 to $450 | Labor, matched paint, and proper flashing detail |
| Hiring a pro, multiple planks or a section | $450 to $1,200+ | Depends on wall access, story height, and paint matching |
When to Call JK Prestige
If the plank is above the first story, near a window or door where flashing gets complicated, or you find soft sheathing once you pull the board, have a licensed local contractor take a look before closing the wall back up. JK Prestige Constructor Corp handles siding repairs across Jacksonville and can match reveal, fastening, and paint so the repair disappears into the wall.
No call center. No coordinator. A JK principal reviews every inquiry and replies with a real number, not a range, not a follow-up form.
Request Free Estimate →