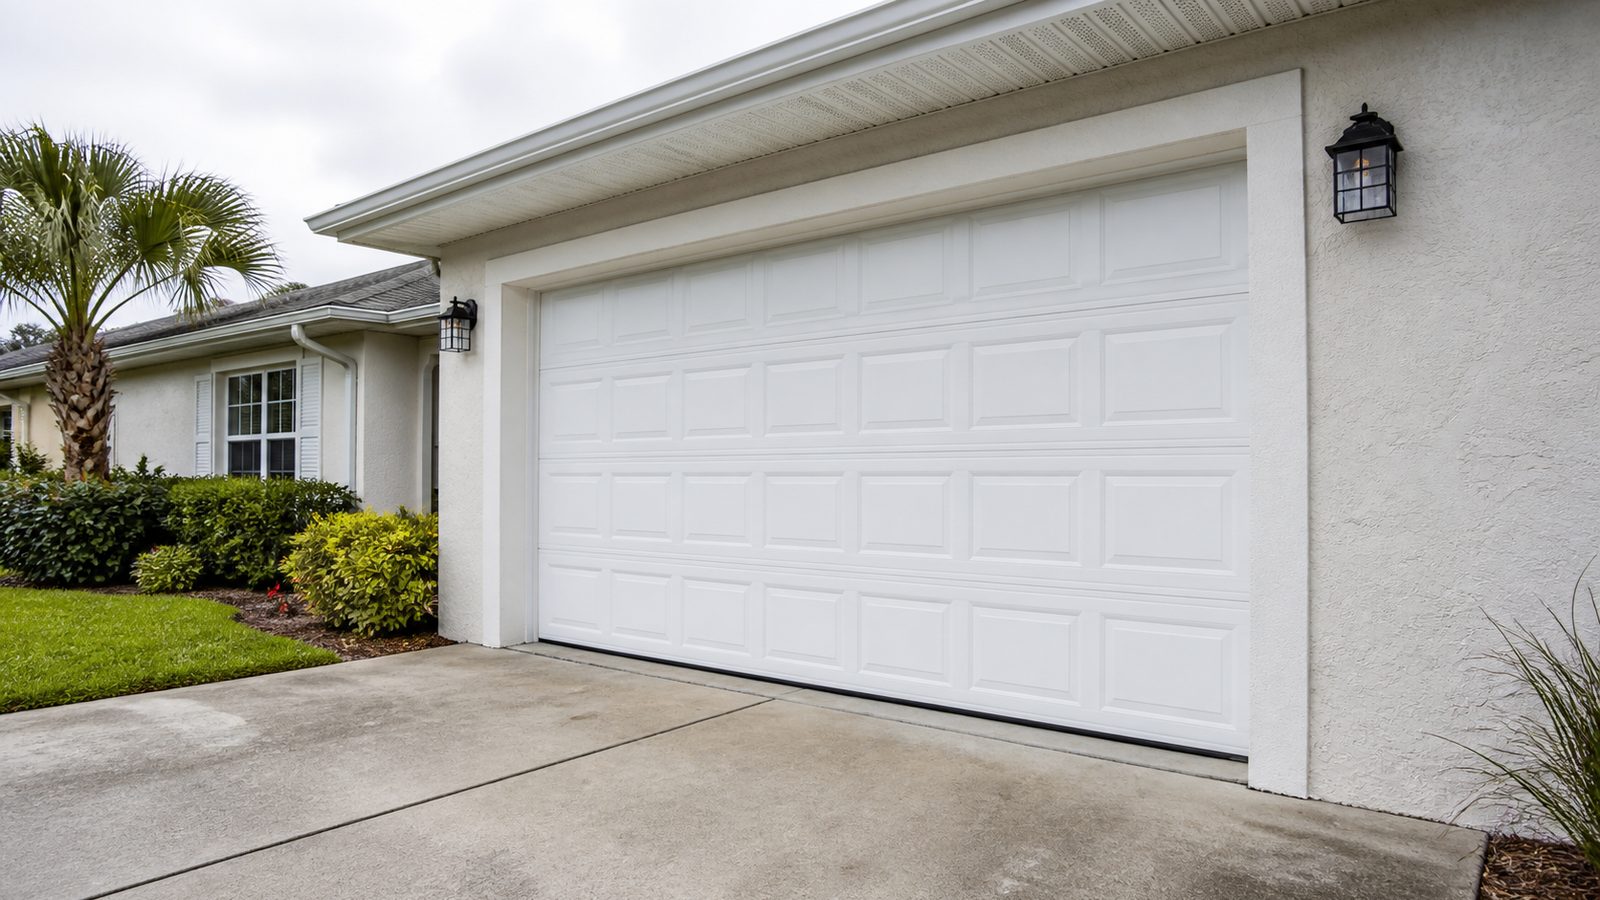
This guide is for Jacksonville homeowners dealing with a damaged, dented, or outdated panel garage door. We will cover both a partial panel swap (one or two damaged sections) and a full door replacement. Difficulty: moderate to hard. Time: 4 to 8 hours depending on scope. Total cost: $400 to $1,800 for a standard residential door, not counting opener work.
One warning before we start: torsion springs are dangerous. They store an enormous amount of tension and can cause serious injury or death if released suddenly. This guide will tell you exactly what to do yourself and exactly where to stop and call a pro. Read the springs section before you buy anything.
Tools you need
- Socket set and ratchet (1/4-inch and 3/8-inch drive)
- Adjustable wrench and locking pliers (Vise-Grips)
- Drill and impact driver
- Flat pry bar
- Level (4-foot)
- Tape measure
- Ladder (6-foot minimum)
- Safety glasses and work gloves
- Winding bars (if replacing springs -- buy these, do not improvise)
Materials you need
- Replacement door panels (matched to existing door brand and series) -- $80 to $250 per section
- Full replacement sectional door (if doing full swap) -- $300 to $900
- New torsion spring set (if replacing) -- $50 to $120 per spring
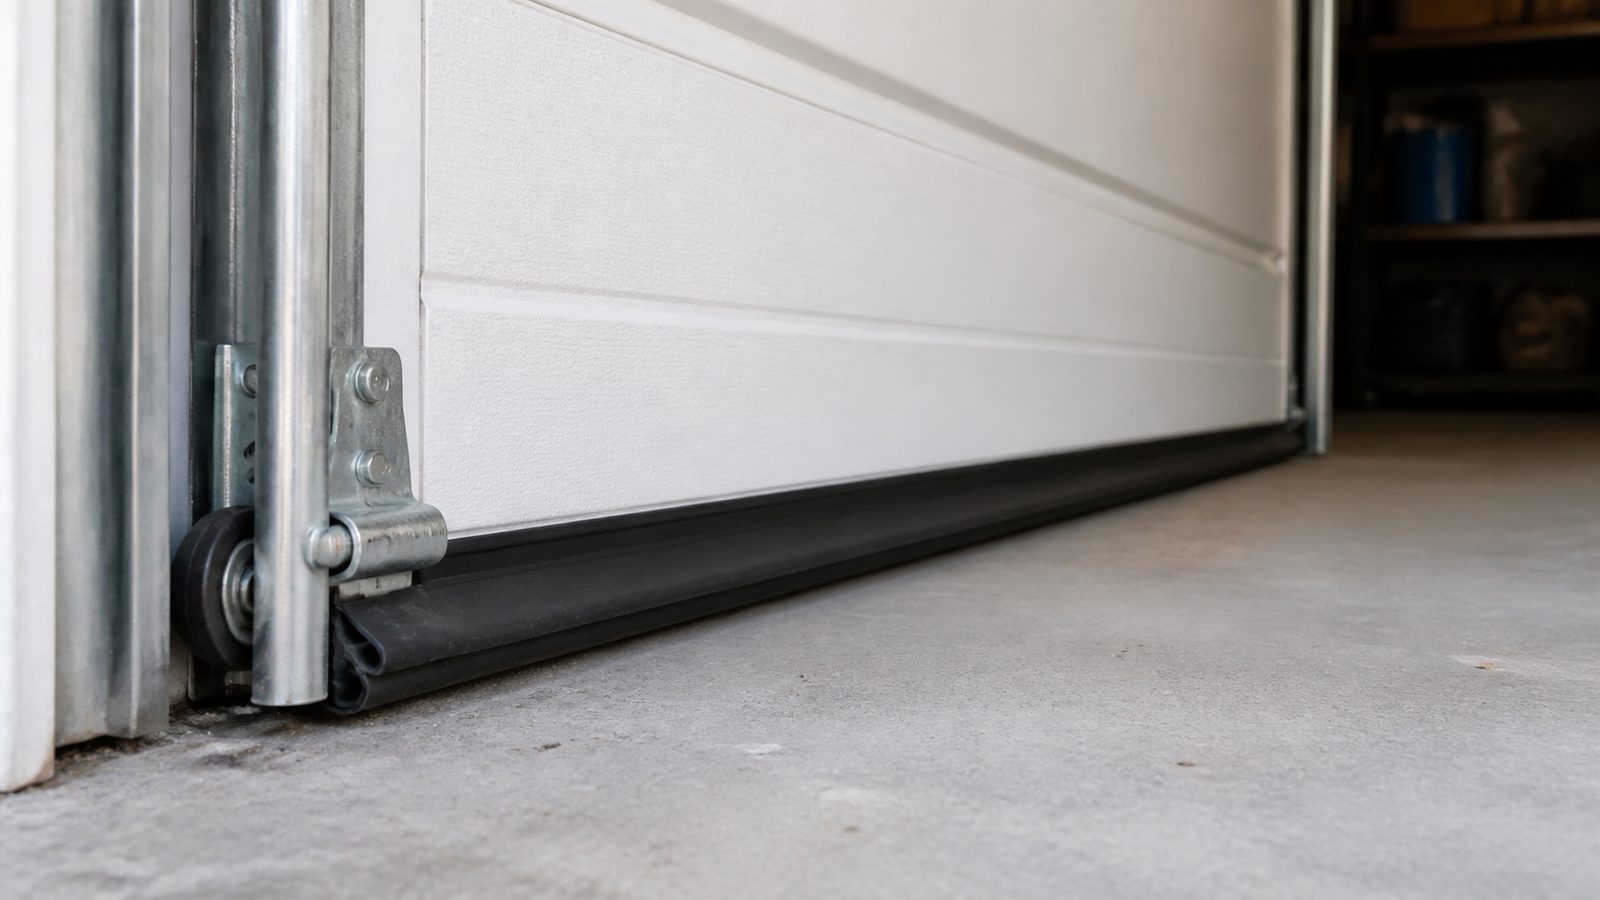
- Bottom seal/weatherstrip -- $20 to $40
- Roller hinges and track hardware (if replacing full door) -- often included in door kit
- Lag screws and hardware for jamb brackets -- $10 to $20
- Galvanized steel struts (horizontal reinforcement) -- $15 to $30 each
Step-by-step instructions
Phase 1: Assess the damage and order the right parts
Step 1: Identify your door manufacturer, model, and section dimensions.
Look for a label on the inside face of the door -- typically on the top or bottom section, near a hinge. The label usually shows the manufacturer name, model number, and section height. Standard sections are 21 inches tall for 7-foot doors or 18 inches tall for 6-foot doors, but custom sizes exist.
Photograph the label before it fades further. Call the manufacturer or a local door supplier with this information to confirm part compatibility. Mismatched panels will not track properly, and color matching on older doors is difficult.
Step 2: Inspect the tracks, rollers, and cables before ordering.
While you have the door in view, run it up and down (manually, with the opener disconnected) and watch the rollers in the tracks. Worn rollers wobble. Bent tracks have flat spots that cause the door to stick. Frayed cables mean the cable is one cycle away from snapping.
If tracks are bent or cables are frayed, plan to replace them with the door. Doing it separately costs more in labor.
Step 3: Evaluate the springs.
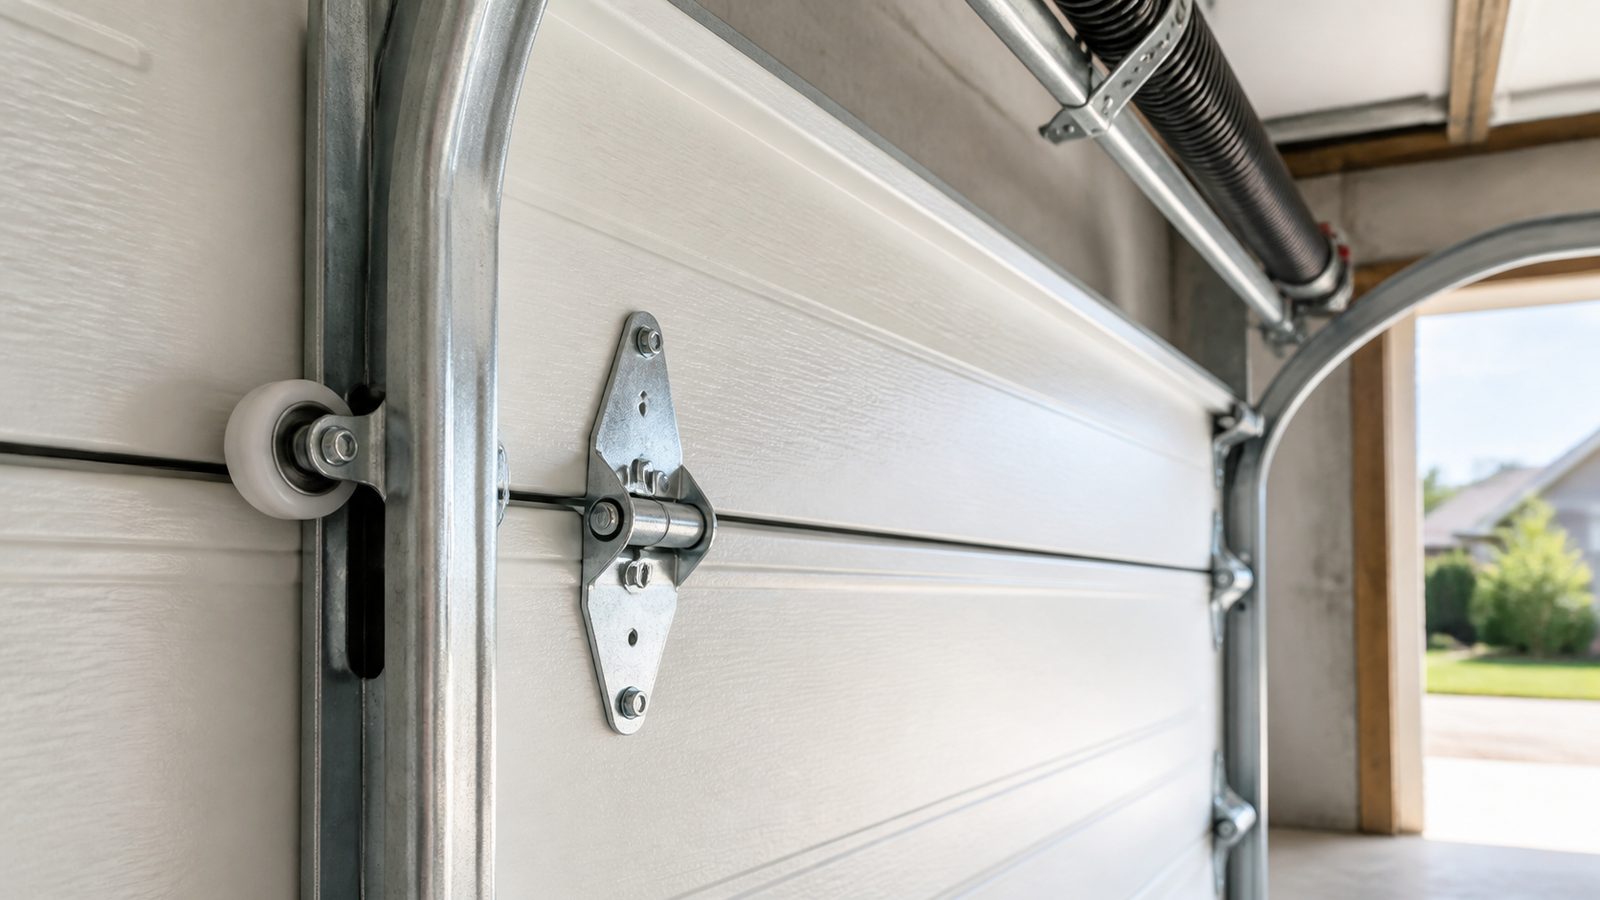
Torsion springs run horizontally above the door on a metal shaft. Extension springs run along the sides of the door parallel to the tracks. Both store tension to counterbalance the door weight.
If a spring is broken, do not operate the door. A broken spring will let the door crash down uncontrolled. The opener motor was not designed to lift the full door weight without spring assistance, and forcing it will burn out the motor.
If the springs are intact but old (over 7 to 10 years), budget to replace them now. A spring failure mid-project is dangerous and wastes your labor.
Phase 2: Disconnect and prepare
Step 4: Disconnect the opener and lock the door open.
Pull the red emergency release cord on the opener trolley to disengage it from the door. Manually test that the door moves freely. If it does not move without significant effort, the springs are likely broken or severely worn -- stop here and call a pro.
Lock the door in the fully open position by clamping Vise-Grips onto the track below the bottom roller. This prevents the door from dropping while you work.
Step 5: Release tension from extension springs (if applicable).
Extension springs are on the sides of the door. These are serviceable by a careful DIYer. Open the door fully (which relaxes the spring) before removing the spring. Never unhook an extension spring while the door is closed and under tension.
For torsion springs: stop here. See the note below.
STOP -- Torsion spring warning.
Torsion springs are wound under hundreds of pounds of stored energy. The winding cones at each end of the spring require steel winding bars inserted into holes on the cone to adjust tension. Improvised tools (screwdrivers, pipes) can slip and release catastrophically. Injuries from winding bar slippage include broken hands, facial injuries, and in worst cases, fatalities.
If your torsion spring is broken or needs replacement, hire a licensed door technician or a GC with door crews. The spring itself costs $50 to $120. Professional installation costs $150 to $250. That is a straightforward trade-off.
Phase 3: Panel removal and replacement
Step 6: Remove the damaged section.
Starting at the bottom section and working up, remove the hinge screws connecting adjacent sections. On most sectional doors, each section connects to the next via a pair of hinges on each side. Label which hinge came from which position before removing them.
Slide the damaged section free from the tracks. You may need to flex the tracks slightly to clear the rollers.
Step 7: Install the replacement section.
Slide the new section into position from one end of the track. Attach the hinges in the correct positions. Confirm the section sits flush with its neighbors -- gaps or misalignment mean either a wrong part or a track issue.
If installing a bottom section, attach the cable brackets and bottom seal at this stage.
Phase 4: Full door replacement (if needed)
Step 8: Remove the entire existing door.
With the door open and locked in place, remove all sections from the bottom up, as described above. Set them aside. The tracks, springs, and shaft remain in place for now unless you are replacing them too.
Step 9: Install new sections from the bottom up.
Start with the bottom section, insert the bottom rollers into the tracks, and work upward one section at a time. Attach hinges between sections as you go. Install struts on wide door sections (over 9 feet) for rigidity.
Step 10: Hang the top section and reattach cables.
The top section attaches to the lift cables, which run down to the bottom corner brackets. Thread and secure the cables per the door manufacturer's instructions. Do not tighten until the door is fully assembled and you can check cable tension with the door in both positions.
Step 11: Reinstall or adjust the opener.
Reconnect the trolley arm to the door bracket. Test the door in manual mode first -- it should move easily with one hand. If it requires significant effort, spring tension is off. If it moves freely, reconnect the opener and test powered operation. Adjust the opener's down-force and travel limit settings per the opener manual.
Phase 5: Final checks
Step 12: Test, level, and seal.
Run the door through 5 full open-close cycles. Watch for: binding in the tracks, uneven gaps at the floor, rollers jumping the track, or the opener straining. Check the weatherstrip at the bottom -- it should compress evenly against the floor across the full width.
Check that the door is plumb and level when closed. Most jamb brackets have slotted mounting holes that allow minor adjustment.
Common mistakes to avoid
- Ordering panels without confirming the series. Two doors from the same manufacturer in the same color can have different section heights and panel profiles. They will not mate properly.
- Operating a door with a broken spring. The opener is not designed for it. You will burn out the motor and risk the door dropping.
- Skipping struts on wide sections. A 16-foot door without proper struts will flex and rack in the tracks over time.
- Improvising torsion spring tools. This is how serious injuries happen. Rent or buy proper winding bars -- they cost $20.
- Not lubricating rollers and hinges after installation. Use a silicone or lithium spray, not WD-40. Dry hardware wears out quickly in Jacksonville's humidity.
When to hire a pro instead
Garage door work is one of the home improvement tasks where the DIY-versus-pro line is clear. Call a licensed contractor or door company if:
- A torsion spring is broken, bent, or needs replacement.
- The cables are frayed or have come off the drum.
- The tracks are bent or the door has come off the tracks entirely.
- The door is on a carriage house or custom-framed opening that does not use standard hardware.
- You are upgrading to a hurricane-rated door (required in Jacksonville for new construction and replacements under certain permit thresholds -- check with Duval County).
- The rough opening framing is rotted or undersized.
- You need a new opener installed and wired.
Need a Jacksonville GC for this job? Get a 48-hour free fixed-price estimate from JK Prestige Constructor.
No call center. No coordinator. A JK principal reviews every inquiry and replies with a real number, not a range, not a follow-up form.
Request Free Estimate →