If your garage door opener has started grinding, reversing on its own, or quit responding to the remote, you are not alone. It is one of the more common repair calls we get in Jacksonville, and one of the more approachable DIY projects for a homeowner comfortable on a ladder. Replacing the opener itself, meaning the motor unit, rail, and safety sensors, is a different job from replacing the garage door or its springs and track hardware. This guide covers what Jacksonville homeowners need to know before buying a new unit, including where permits come into play and what our humid, salty, storm-prone climate does to this equipment over time.
When You Need a Permit in Jacksonville
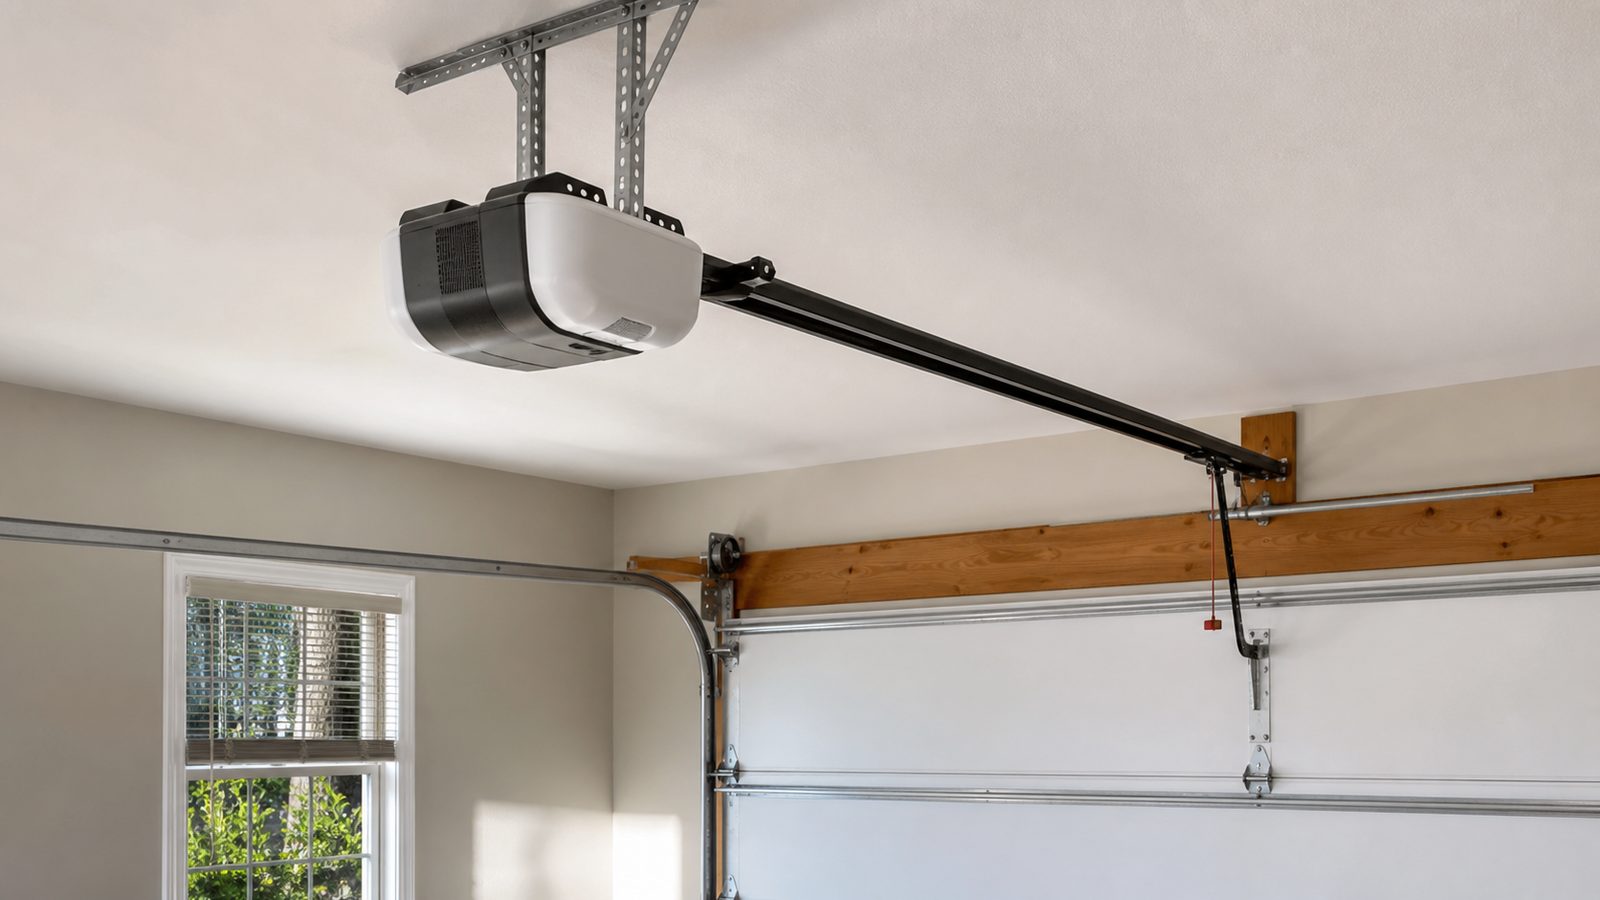
For a straightforward swap of the opener unit itself, on an existing garage door and existing track, most homeowners in Jacksonville and unincorporated Duval County will not need a building permit. You are replacing an appliance, not altering the structure of the garage or the door assembly, and the Florida Building Code treats it accordingly in the vast majority of cases.
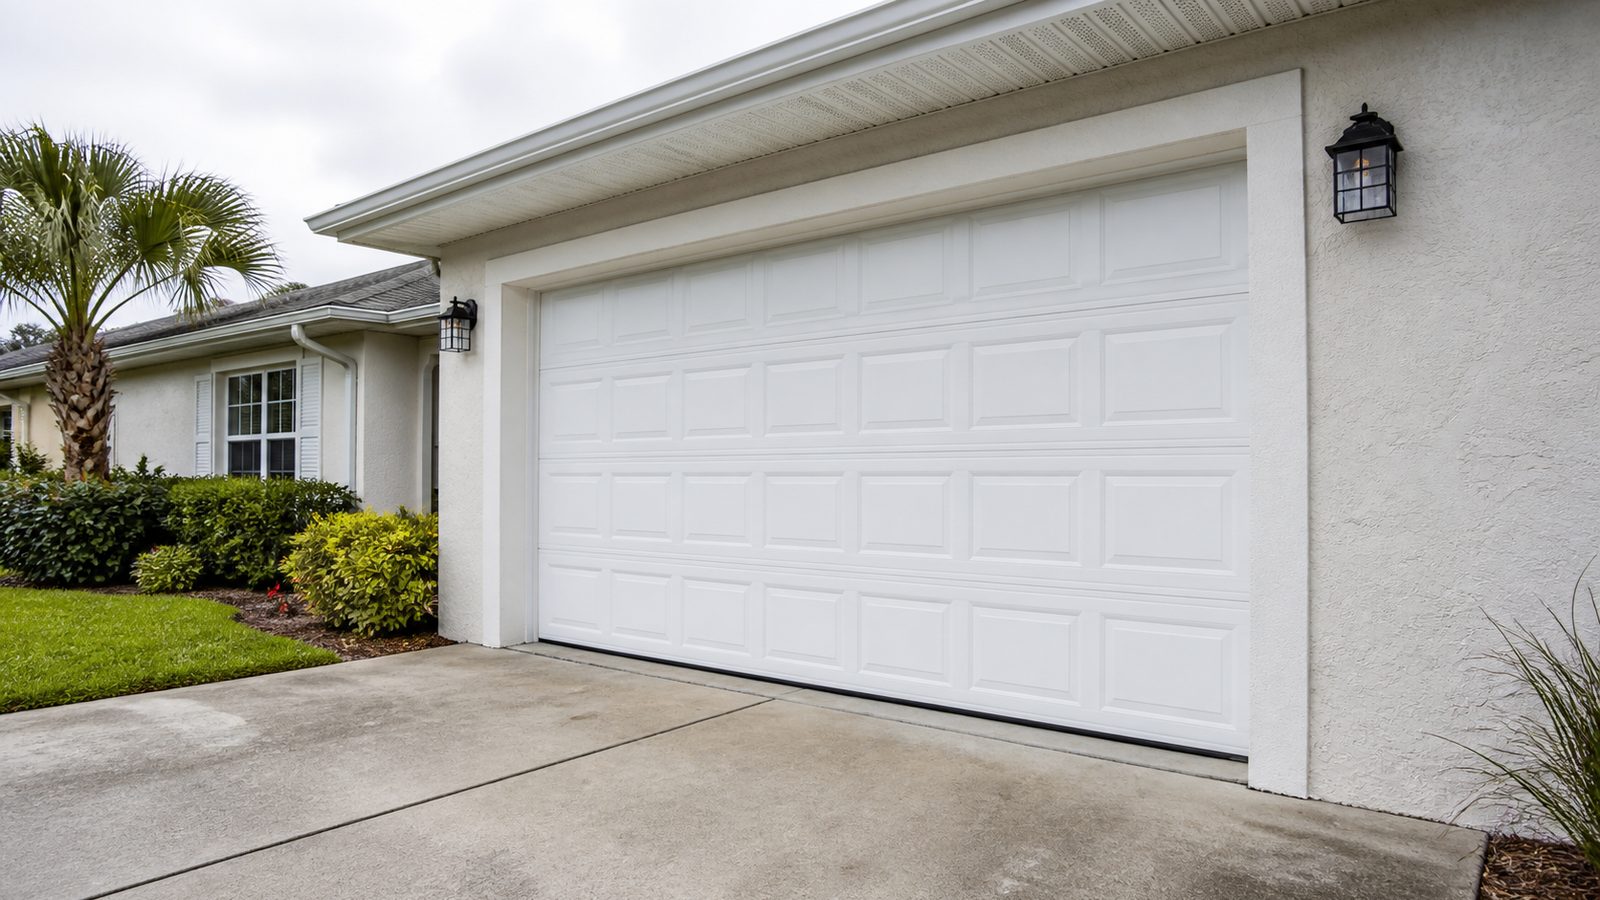
Permits come into play for related work that goes beyond a simple opener swap. If you are replacing the garage door itself, that is a different story, because Duval County sits in a high wind velocity zone and garage doors are structural components under the Florida Building Code's wind load provisions. New doors typically require a permit and a product with a current Florida Product Approval or Miami-Dade NOA rating for wind resistance. Likewise, if the job involves running a new dedicated electrical circuit for the opener rather than using an existing outlet, that work generally needs its own permit pulled by a licensed electrician. If you are unsure whether your scope crosses that line, call the City of Jacksonville Building Inspection Division and describe the work. Permit requirements and fees change, so we would rather send you to the source than guess at a number.
Tools and Materials
- New garage door opener kit (belt drive, chain drive, or screw drive, matched to your door's weight and size)
- Stepladder, tall enough to comfortably reach the ceiling track
- Cordless drill with driver bits, plus a manual screwdriver set
- Socket set and adjustable wrench
- Wire strippers and wire nuts (if hardwiring rather than plugging in)
- Stud finder, to confirm ceiling joist or bracing location
- Safety glasses
- Zip ties for securing wiring runs
- Corrosion-resistant mounting hardware (worth the upgrade in our climate, more on that below)
- Optional: battery backup module, if not built into the unit
Step-by-Step
- Disconnect power to the old opener at the outlet or breaker before touching anything.
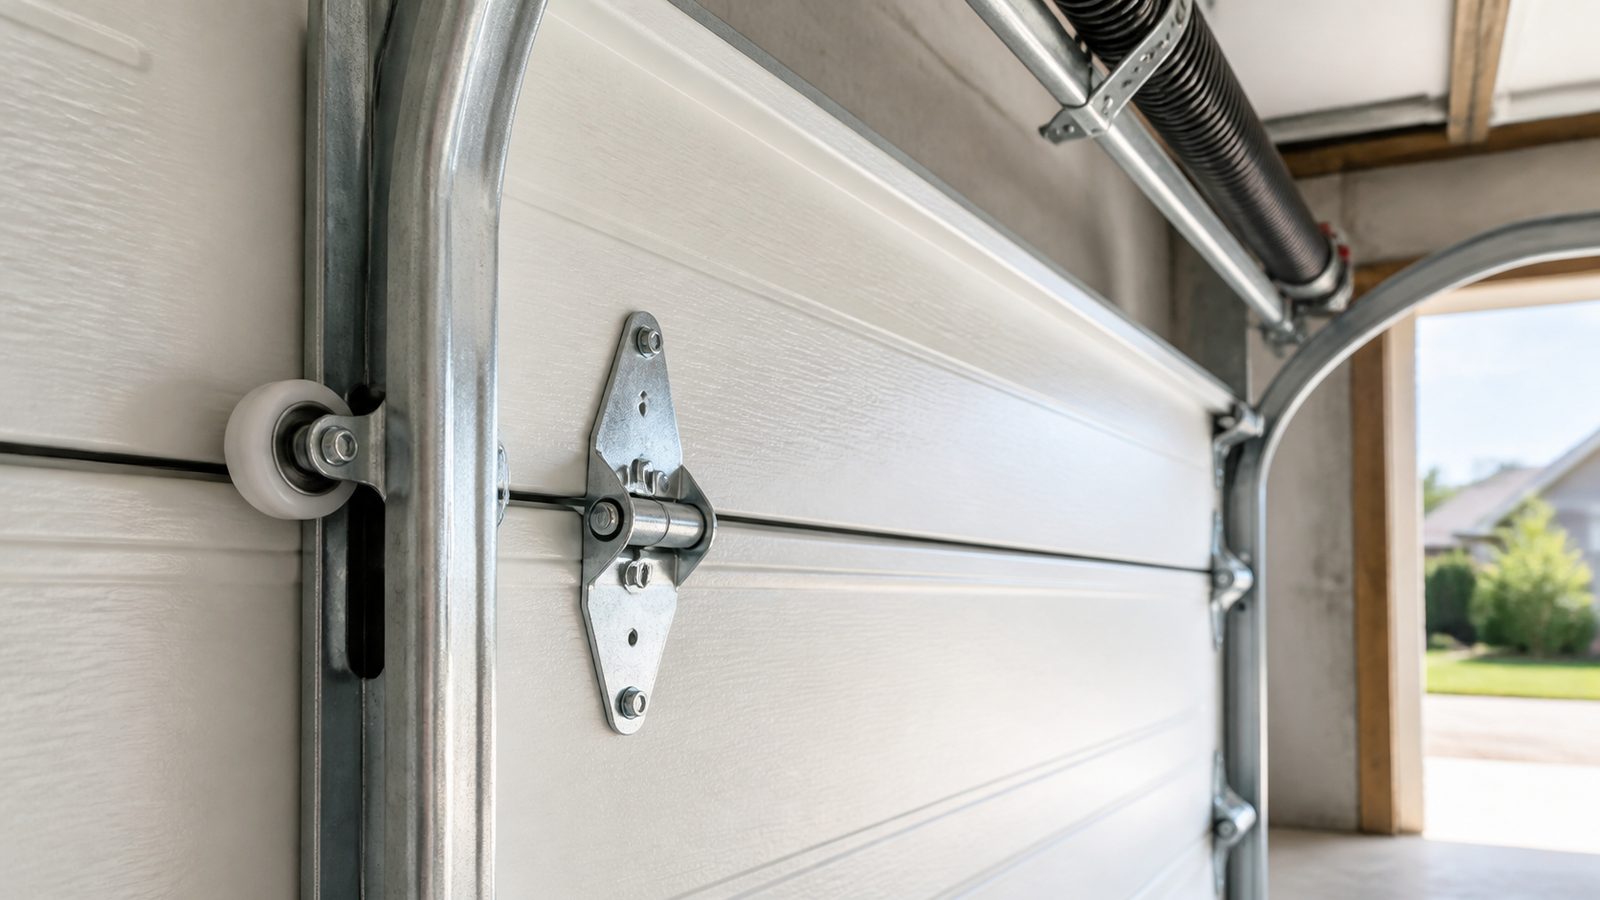
- Support the door in the closed position, then disconnect the old trolley or arm from the door bracket.
- Remove the old motor head from its ceiling mount and take down the old rail assembly.
- Assemble the new opener's rail per the manufacturer's instructions on the garage floor.
- Attach the rail to the header bracket above the door, then lift and secure the motor head to the ceiling, ideally into a joist or the manufacturer-supplied brace rather than drywall alone.
- Connect the trolley or drive arm to the existing bracket on top of the door.
- Mount the wall control button out of children's reach and run its low-voltage wire up to the motor head.
- Install the photo-eye safety sensors on both sides of the track, four to six inches off the floor, and align them until the indicator lights show a solid connection.
- Restore power, either by plugging in or having an electrician confirm a hardwired connection.
- Program the travel limits and force settings, then pair your remotes and keypad.
- Test auto-reverse by laying a 2x4 flat in the door's path and confirming it reverses on contact.
- Test the manual release cord so you know how to operate the door by hand during a power outage.
If any of this feels outside your comfort level, particularly the ceiling mounting or wiring, that is a reasonable point to bring in a professional.
Jacksonville Climate Considerations
Northeast Florida is hard on garage hardware in ways drier climates are not. Humidity works its way into circuit boards over time, so a sealed control board is worth choosing, and it helps to keep the unit away from direct exposure when the door is open in a storm. Within a few miles of the coast, salt air accelerates corrosion on screws, brackets, and rail hardware, so stainless or coated fasteners are worth the small upcharge.
Hurricane season is the biggest practical factor. Power outages are common from June through November, and an opener without battery backup can leave a car trapped exactly when a household needs to evacuate, so a battery backup unit is a reasonable upgrade for most Jacksonville homes. An uninsulated garage can also get extremely hot under our summer sun, and sustained heat shortens the life of the motor and electronics, so ventilation or insulation pays off in the opener's lifespan too.
What It Costs in Jacksonville (DIY vs. Hiring a Pro)
These are typical local ranges for planning purposes, not fixed quotes. Actual pricing depends on the opener brand, drive type, and whether wiring changes are involved.
| Approach | Opener Unit | Labor | Typical Total |
|---|---|---|---|
| DIY | $150 to $450 | $0 (your time) | $150 to $450 |
| Professional install | $150 to $450 | $150 to $350 | $300 to $800 |
| Add battery backup | $100 to $150 | Often included if done at install | +$100 to $250 |
When to Call JK Prestige
If the job is turning into something bigger, such as a sagging header, a door that needs replacing for wind rating, or wiring that does not match current code, that is where it makes sense to bring in a licensed contractor. JK Prestige handles garage door and opener projects as part of broader home repair work across Jacksonville, and we will tell you honestly whether a swap solves the problem or the door or track needs attention too.
No call center. No coordinator. A JK principal reviews every inquiry and replies with a real number, not a range, not a follow-up form.
Request Free Estimate →