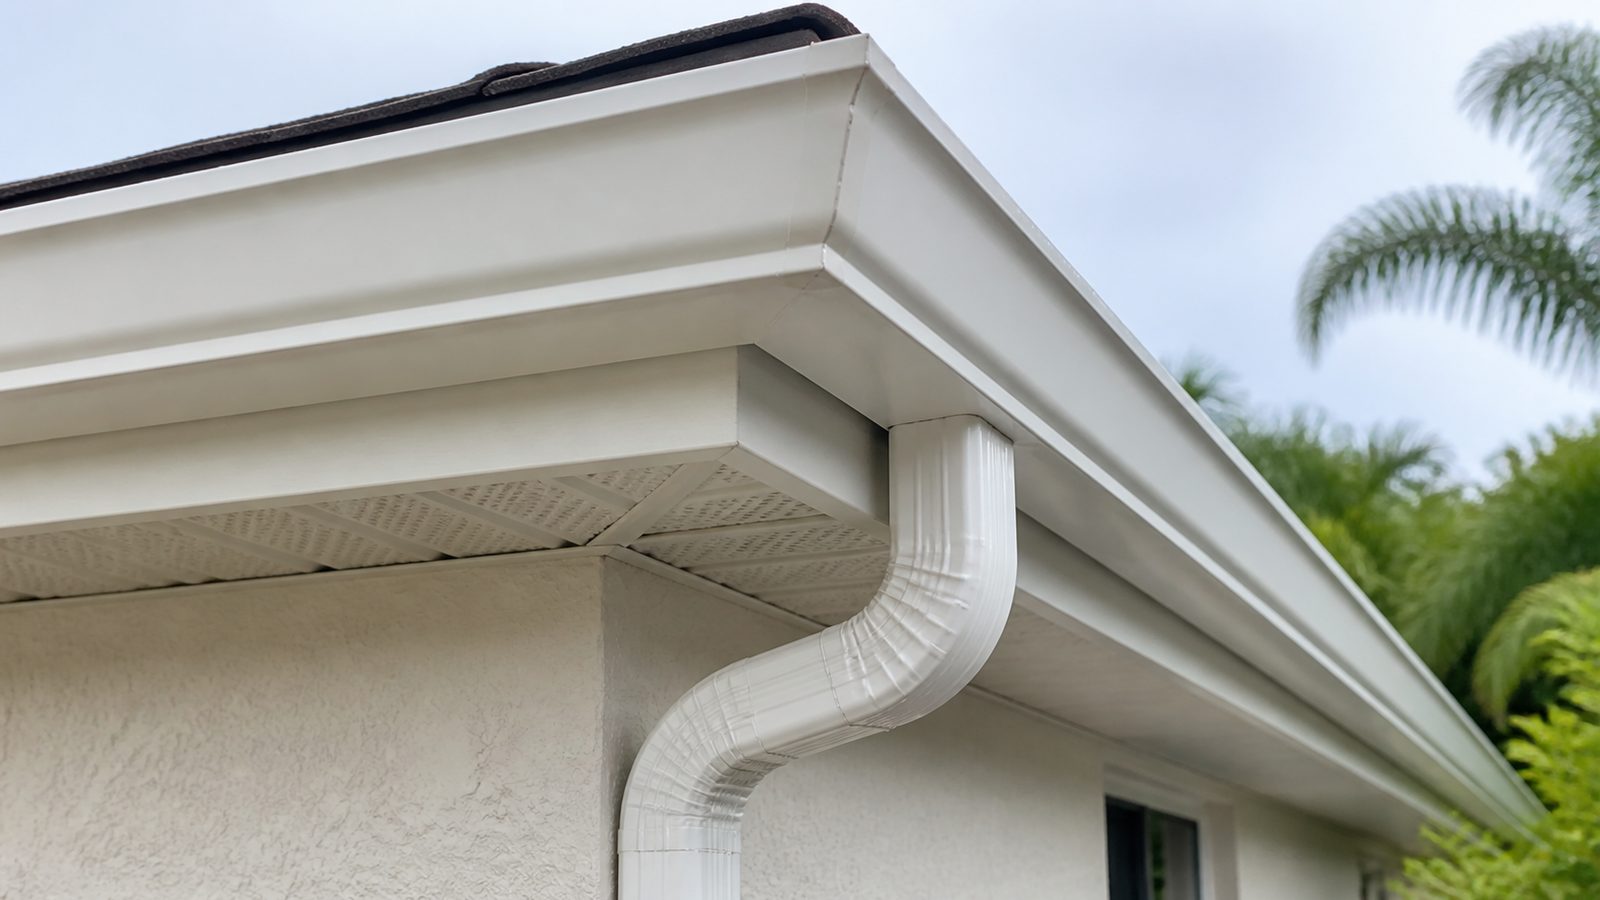
If you have got a drip line staining your siding or a puddle showing up under one corner of the house every time it rains, the leak is almost never in the middle of a gutter run. It is at a seam, and in Jacksonville that seam is usually an end cap or a corner miter. Those are the two spots where two pieces of metal meet, and any place two pieces of metal meet is a place sealant eventually gives up. This is a repair most homeowners can do on a single-story house with the right materials and about half a day. Two-story work is a different conversation, and we will get to that.
When You Need a Permit in Jacksonville
Replacing an end cap, resealing a miter, or swapping a short section of gutter is maintenance, and in Duval County that generally does not require a building permit. You are not altering the structure, you are repairing a component that was already there. That changes once the job grows past a like-for-like repair. If you are tying the gutter into a new or reworked drainage system, adding downspouts that discharge into an underground drain line, or the leak has rotted the fascia board underneath and you are replacing structural trim, you are now in permitted territory because you are touching the building envelope, not just the gutter. If your home is in one of the historic districts, Riverside Avondale or Springfield being the two most common, exterior changes visible from the street can require review even for something as small as a gutter color or profile change, so check before you swap anything that will be visible from the road. When in doubt, a phone call to the City of Jacksonville Building Inspection Division costs you five minutes and settles it.
Tools and Materials
- Ladder rated for the height, with a stabilizer or standoff if working near the fascia
- Pop rivet gun and 3/16 inch aluminum rivets (stainless if within a few miles of the ocean)
- Gutter sealant rated for continuous wet exposure (polyurethane or a tripolymer sealant, not silicone)
- Caulking gun
- Wire brush or scuff pad, denatured alcohol, and clean rags for surface prep
- Tin snips or aviation snips
- Drill with 3/16 inch bit
- Replacement end cap or corner miter matching your gutter's profile (K-style or half-round) and size
- Gutter cleaning scoop and a garden hose for a post-repair flow test
- Safety glasses and work gloves
Step-by-Step
- Find the actual leak point first. Run water from a hose into the gutter run and watch where it escapes. It is often a few inches from where the stain shows up on the fascia, since water tracks along the metal before it drips.
- Clean out the corner or end. Pull all debris, then scrub the metal with a wire brush and wipe it down with denatured alcohol. Old sealant will not bond to a dirty or oily surface, and this is the step most DIY repairs skip.
- Remove the failed piece. Drill out the old rivets rather than prying the seam apart, which stretches the metal and makes the new joint fit worse. Set the old end cap or miter aside as a size reference.
- Identify your miter type before ordering the new piece. An outside miter, at a corner where the roofline projects outward, uses a different fold than an inside miter, where the roofline cuts inward. A strip miter is field-formed from a flat strip of coil stock and soldered or sealed at the seams, common on custom or historic homes. A box miter is a factory-formed corner piece that bolts or rivets onto the gutter ends, which is what most production homes in Jacksonville use because it is faster to install and holds up better without soldering skill. Match what is already on the house.
- Dry-fit the new piece before sealing anything. Confirm the miter angle matches your roofline and the end cap seats fully into the gutter's profile with no gaps.
- Apply sealant to the inside of the joint, not just a bead over the outside seam. Run a continuous bead along every mating edge before you rivet, so the rivet is clamping two sealed surfaces together instead of two dry ones with caulk smeared over the crack afterward.
- Rivet the joint, three to four rivets per seam spaced about an inch apart, drilled through both layers of metal. Aluminum rivets on aluminum gutter, stainless if you are within a couple miles of the beach, since aluminum rivets pit fast in salt air.
- Tool the excess sealant into the seam with a gloved finger or a caulk tool so it forms a smooth fillet instead of sitting proud where it will crack and peel.
- Let it cure per the product label, usually 24 hours, before the next hard rain if you can help it.
- Flow test with the hose at the far end of the run and confirm the repaired joint stays dry and the water exits the downspout at the expected rate.
Jacksonville Climate Considerations
Summer afternoon storms here do not trickle, they dump. A five or ten minute burst can put more water through a gutter run than a full day of steady rain up north, and that volume finds every weak seam within the first season. In Riverside, Ortega, Avondale, and San Marco, mature live oaks and pines add another layer of stress, because leaf litter, oak tassels, and pine needles pack into corners and end caps, hold moisture against the sealant, and force water to back up and find the joint instead of flowing past it. At the Beaches, Atlantic Beach and Neptune Beach especially, salt air corrodes aluminum and steel fasteners and gutter stock faster than anywhere else in the metro, which is why stainless rivets and a marine-grade or corrosion-resistant sealant are worth the small upcharge that close to the water. Long gutter runs in full Florida sun also expand and contract more than people expect. A 30 or 40 foot run can move a noticeable amount between a hot August afternoon and a cool January morning, and that movement works on rigid seams over time, which is another reason corners and end caps, the stiffest points in the run, tend to be the first thing to crack.
What It Costs in Jacksonville (DIY vs. Hiring a Pro)
| Scope | DIY Materials | Professional (Labor + Materials) |
|---|---|---|
| Single end cap replacement | $15 to $35 | $150 to $275 |
| Single corner miter (box) | $30 to $70 | $225 to $400 |
| Corner miter (strip, formed on site) | Not practical for most DIYers | $300 to $550 |
| Full gutter section resealing (one run) | $40 to $90 | $250 to $450 |
| Two-story access surcharge | N/A | Often $75 to $150 added |
These ranges assume seamless aluminum gutter, the standard here for both new construction and replacement work, since it is formed on site in continuous lengths and has far fewer seams than sectional gutter to begin with.
When to Call JK Prestige
If the leak is on a second story, if the fascia behind the corner is soft or discolored when you press on it, or if you have already resealed a joint once and it failed again within a season, that is your sign the fix needs more than a tube of caulk. We handle these repairs alongside fascia and soffit work when the water has gotten behind the gutter, and we will tell you honestly if what you are looking at is a ten minute fix or a sign of a bigger drainage problem.
No call center. No coordinator. A JK principal reviews every inquiry and replies with a real number, not a range, not a follow-up form.
Request Free Estimate →