A sagging, leaking, or crushed gutter section is one of those repairs that looks intimidating but is genuinely manageable for a careful DIYer. Jacksonville's wet summers and occasional tropical storms accelerate gutter wear faster than most of the country, so this is a repair many local homeowners face more than once. Before you call a crew, it's worth understanding what the job actually involves — the right tools, the right materials for Northeast Florida's climate, and the honest cost comparison between doing it yourself and hiring out.
When You Need a Permit in Jacksonville
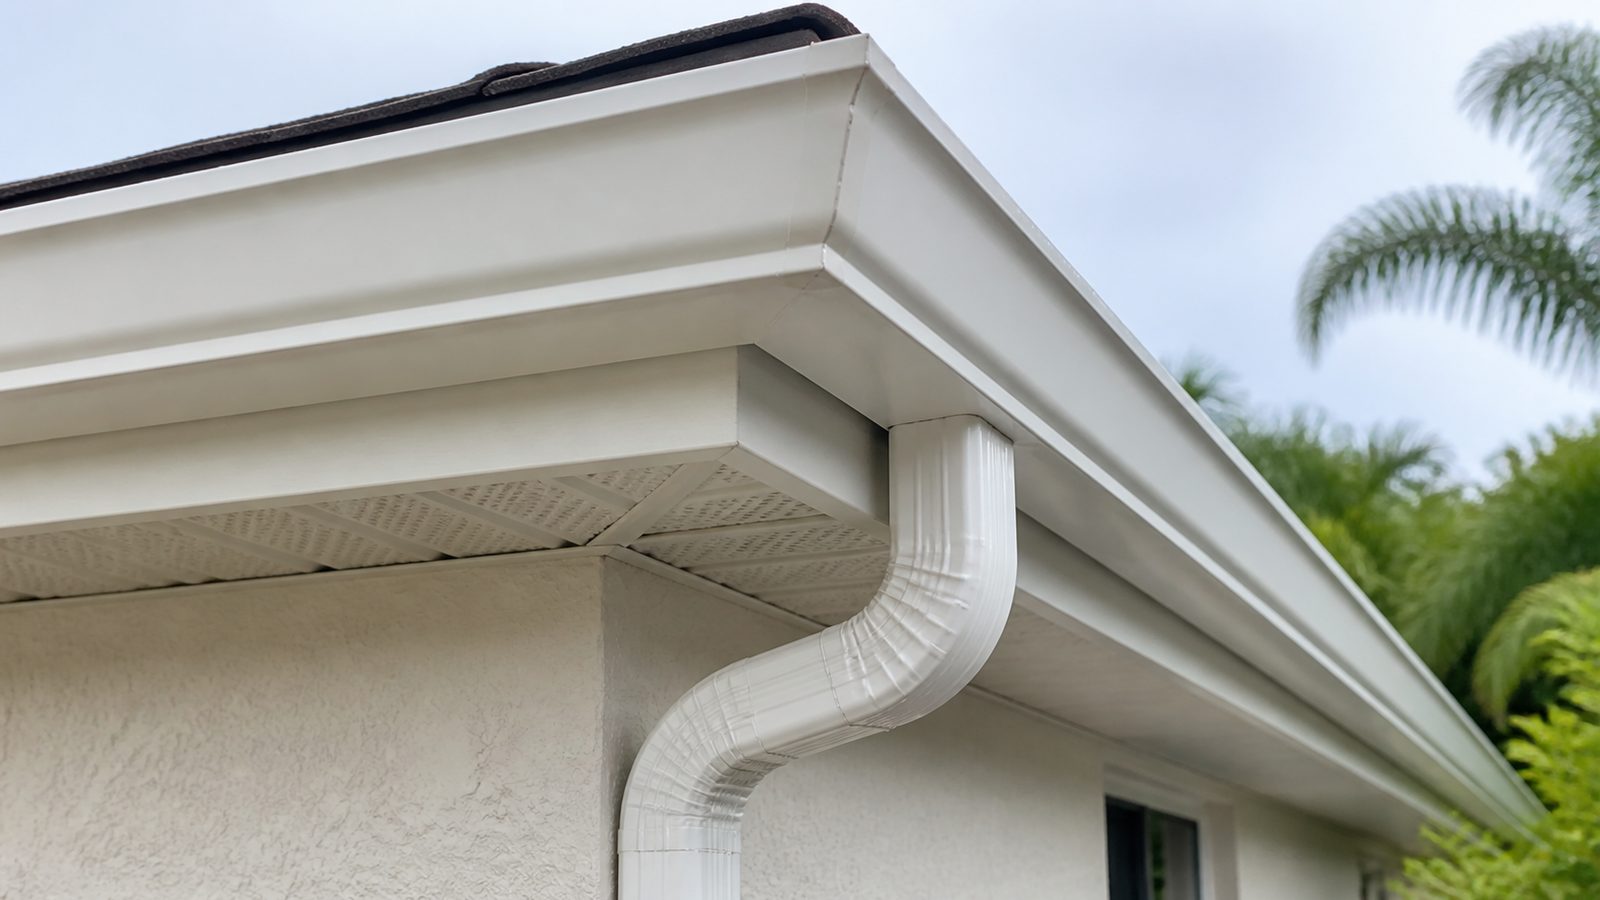
Replacing a section of gutter in Jacksonville generally does not require a building permit. Gutters are considered an accessory component and fall outside the scope of work that triggers a permit under the Florida Building Code (FBC) and the City of Jacksonville's local amendments.
That said, there are situations where the work crosses into permitted territory:
- Fascia board replacement. If the fascia behind your gutter is rotted or structurally compromised and needs to be replaced, that work touches the building envelope. Depending on the extent, it may qualify as structural repair and could require a permit from the City of Jacksonville Building Inspection Division.
- Soffit or rafter tail repair. If the damage extends beyond the fascia into the soffit or rafter tails, you are now doing structural work that requires a permit and, in Florida, must be performed or supervised by a licensed contractor.
- Re-roofing adjacency. If gutter work is part of a broader roofing project, the roofing permit covers the scope and the gutter work is typically included under that pull.
For routine section replacement — cutting out a damaged piece and splicing in a new run — no permit is required. When in doubt, call the City of Jacksonville Building Inspection Division at (904) 255-8500 or check the Duval County permit portal before you start.
Tools and Materials
- Replacement gutter section (K-style aluminum, matching width — most Jacksonville homes use 5-inch or 6-inch K-style)
- Gutter end caps (if replacing near a terminus)
- Gutter sealant / butyl-based gutter caulk
- Gutter screws (1.5-inch hex-head sheet metal screws)
- Slip joint connectors or gutter splice pieces
- Hacksaw or aviation snips
- Tape measure and chalk line
- Drill with hex-head driver bit
- Ladder (rated for your weight plus tools)
- Safety glasses and work gloves
- Wire brush or abrasive pad for cleaning old sealant
- Downspout connector or elbow if the replacement section includes a drop outlet
Most materials are available at Home Depot on Philips Highway or Lowe's on Blanding Boulevard. Aluminum K-style gutter stock is sold in 10-foot sections; call ahead if you need a longer run, as some stores will cut to length.
Step-by-Step
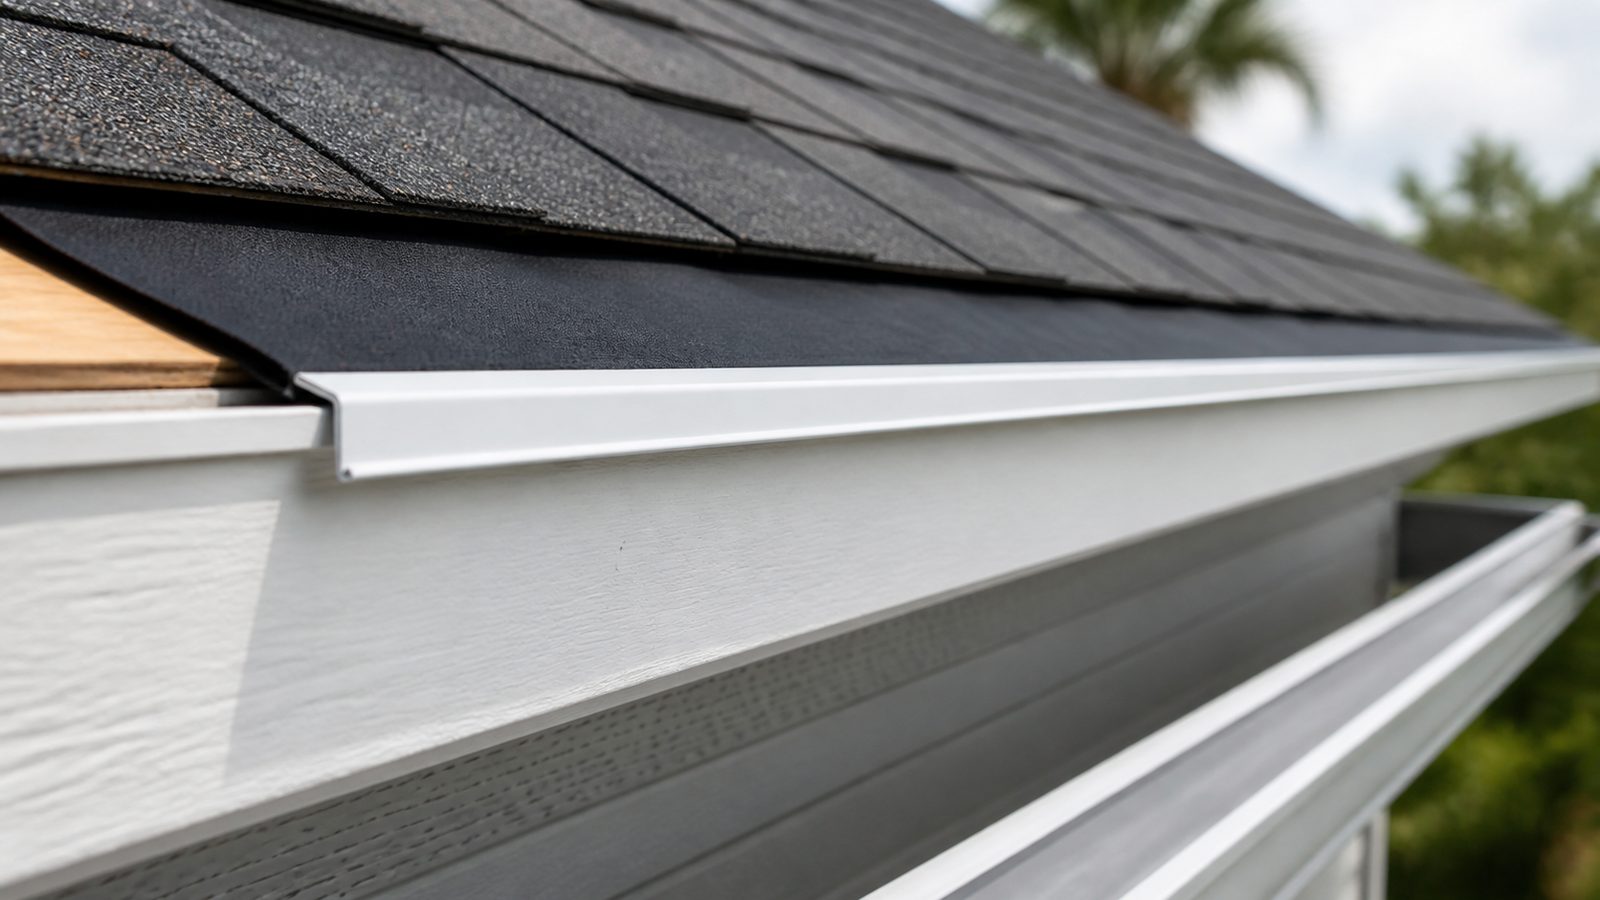
- Assess the full damage. Before cutting anything, inspect the run from the downspout to the end cap. Check the fascia underneath for soft spots. If you find rot, resolve it before reinstalling gutter — new gutter on rotted wood will fail again within a season.
- Mark your cut lines. Use a tape measure to mark a cut at least two inches past both ends of the visible damage. You want clean, uncorroded metal where the splice will land.
- Remove the damaged section. Unscrew the gutter from the fascia along the damaged run. If your gutter was nailed (older installations), use a pry bar carefully. Remove end caps or outlet connectors as needed. Pull the section down and away from the fascia.
- Clean the mating surfaces. Use a wire brush to remove old sealant from the ends of the remaining gutter. Clean metal bonds; old caulk does not.
- Cut your replacement piece. Measure the gap and cut the new section to length with a hacksaw or aviation snips. Deburr the edges with a file so they don't cut through your sealant over time.
- Re-establish slope. Gutters should slope toward the downspout at roughly 1/4 inch for every 10 feet of run. Use a chalk line on the fascia to confirm slope before you screw anything in. In Jacksonville's heavy rain events, proper slope is not optional — flat gutters overflow and pour water directly against the foundation.
- Apply sealant and connect. Apply butyl gutter sealant inside the slip joint or splice connector, then slide the replacement section into place. Overlap should be at least two inches on each side.
- Screw to fascia. Drive gutter screws through the back of the gutter into the fascia at 24-inch intervals. Do not overtighten — aluminum deforms.
- Reinstall end caps and downspout connectors. Apply sealant to all joints and connections.
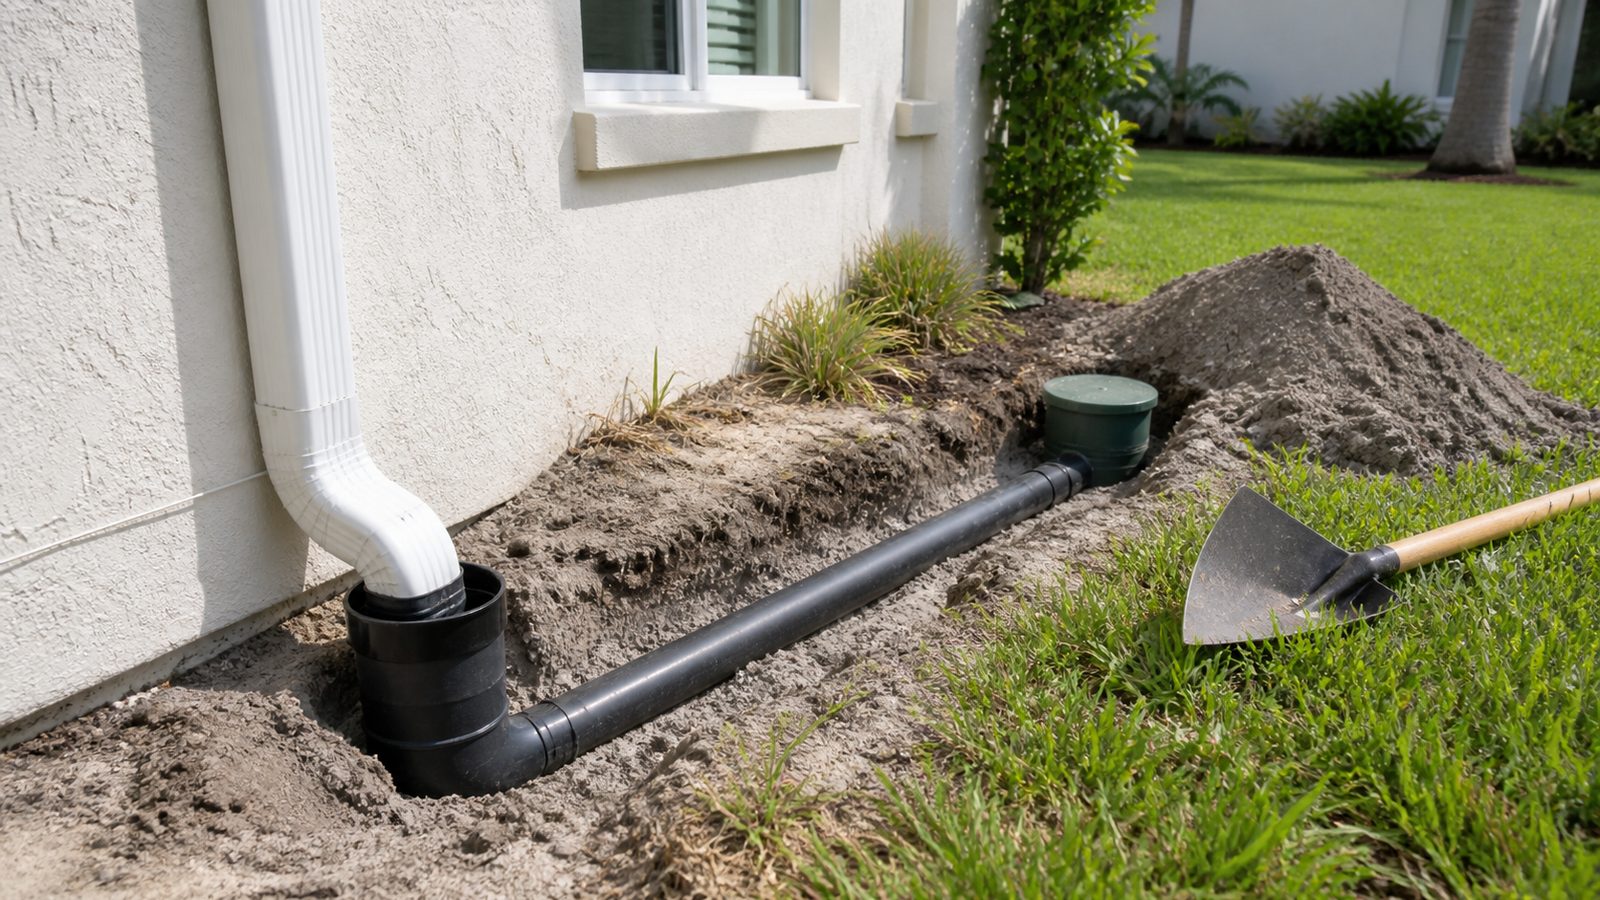
- Test with a hose. Run water from the high end and watch for leaks at every seam. Check that the downspout is clear and draining away from the foundation.
Jacksonville Climate Considerations
Northeast Florida places above-average demands on gutters compared to most of the country.
Summer downpours. Jacksonville regularly sees afternoon storms that drop one to two inches of rain in under an hour. Undersized or improperly sloped gutters will overflow regardless of condition, so use this repair as an opportunity to confirm you have 6-inch gutters if your roof pitch or square footage warrants them.
Hurricane season. Debris load during storm events can crush or detach gutter sections. After any named storm, inspect all joints and hangers. If you are in a wind-borne debris zone (most of Duval County qualifies), consider hidden hanger systems over spike-and-ferrule installations for better attachment strength.
Coastal and Intracoastal proximity. Homes within a few miles of the beach, the Intracoastal Waterway, or the St. Johns River are exposed to salt-laden air. Galvanized steel gutters corrode faster in these conditions. If you are replacing a section on a coastal property, aluminum or copper is the better long-term choice — do not replace with galvanized.
Pine needle load. Much of Jacksonville's residential tree canopy is longleaf and slash pine. Pine needles mat in gutters and hold moisture against seams, accelerating corrosion. Consider a gutter guard system on any run that runs under a pine canopy, especially if you are already doing the repair work.
What It Costs in Jacksonville (DIY vs. Hiring a Pro)
| Item | DIY Cost | Pro Cost (Installed) |
|---|---|---|
| 10-ft aluminum K-style section | $8–$15 | included |
| Slip connectors + sealant | $10–$20 | included |
| Labor | Your time (~2–4 hrs) | $150–$350 per section |
| Full gutter replacement (per linear ft) | $2–$4 materials | $6–$12 installed |
| Fascia repair (if needed) | $20–$60 materials | $200–$500+ |
Prices reflect Jacksonville-area market conditions and will vary based on home height, access difficulty, and contractor demand during storm season. Emergency post-hurricane rates run higher.
When to Call JK Prestige
If your inspection reveals rotted fascia, damaged rafter tails, or any sign that water has been penetrating the wall cavity, what started as a gutter repair is now a structural repair — and that work needs a licensed general contractor. JK Prestige Construction handles exactly these situations: we assess the full scope, pull the required permits, and handle everything from the fascia back so the repair is done correctly and to code. One bad gutter section left unaddressed can mean five figures in water damage inside the wall. If you have any doubt about what you found behind that gutter, give us a call before you put the new section up.
No call center. No coordinator. A JK principal reviews every inquiry and replies with a real number, not a range, not a follow-up form.
Request Free Estimate →