Interior door casing takes more abuse than almost any other trim in the house. Kids swing on it, vacuums bang into it, humidity opens the miters, and decades of paint bury the profile. Replacing it is an approachable DIY project, but it is easy to turn a one-hour job into a drywall repair if you pull the old casing the wrong way. Here is how to remove it cleanly, set a reveal that looks intentional, choose between mitered and butted craftsman joints, and match trim in an older Riverside or Springfield house where the box-store profile will not match what is already on the wall.
Every step below assumes standard swing doors and typical wood or MDF casing, not the specialty profiles found on some historic openings.
When You Need a Permit in Jacksonville
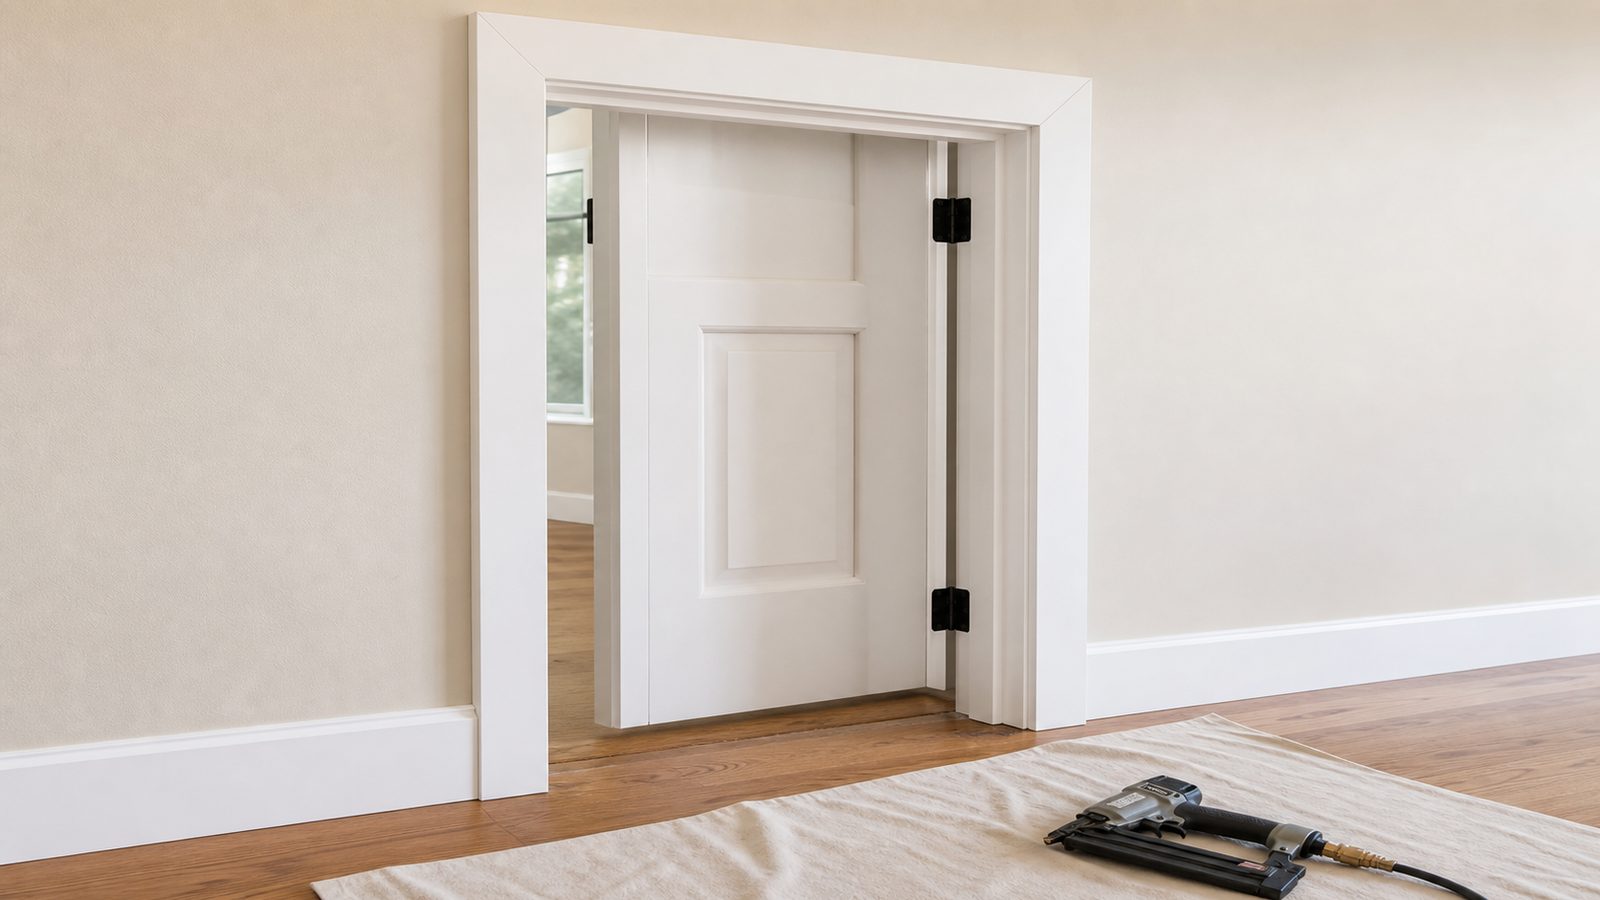
Replacing interior door casing and trim is finish work, and finish work does not require a permit in Duval County. You are not touching structure, electrical, or plumbing, so you can pull the old casing, reset the reveal, and install new trim without a trip to the counter. That changes if you are widening or reframing the door opening, moving the jamb, or removing a wall to change the room layout. That crosses into structural work, and the City of Jacksonville Building Inspection Division does require a permit for it.
If your house sits in Riverside, Avondale, Springfield, or another local historic district, interior trim work is generally outside Historic Preservation Commission review, since that review focuses on what is visible from the street. Exterior door and window trim is a different story and can trigger review, so do not assume interior rules carry over to the porch.
One more thing if your Springfield or Riverside house predates 1978: EPA lead-safe work practice rules apply whenever you disturb painted surfaces in a pre-1978 home, including prying off old casing and sanding the jamb. That means containment and cleanup, not a permit, but it is a real requirement. When in doubt, call the Building Inspection Division and confirm what your project needs.
Tools and Materials
- Flat pry bar and a small putty knife
- Utility knife, nail set, and end nippers
- Miter saw
- Tape measure, combination square, pencil
- Finish nailer or hammer and finish nails
- Wood filler or paintable caulk
- New casing stock, matched profile if possible
- 3/16-inch or 1/4-inch scrap for setting the reveal
- Primer and paint, or stain and clear coat
Step-by-Step
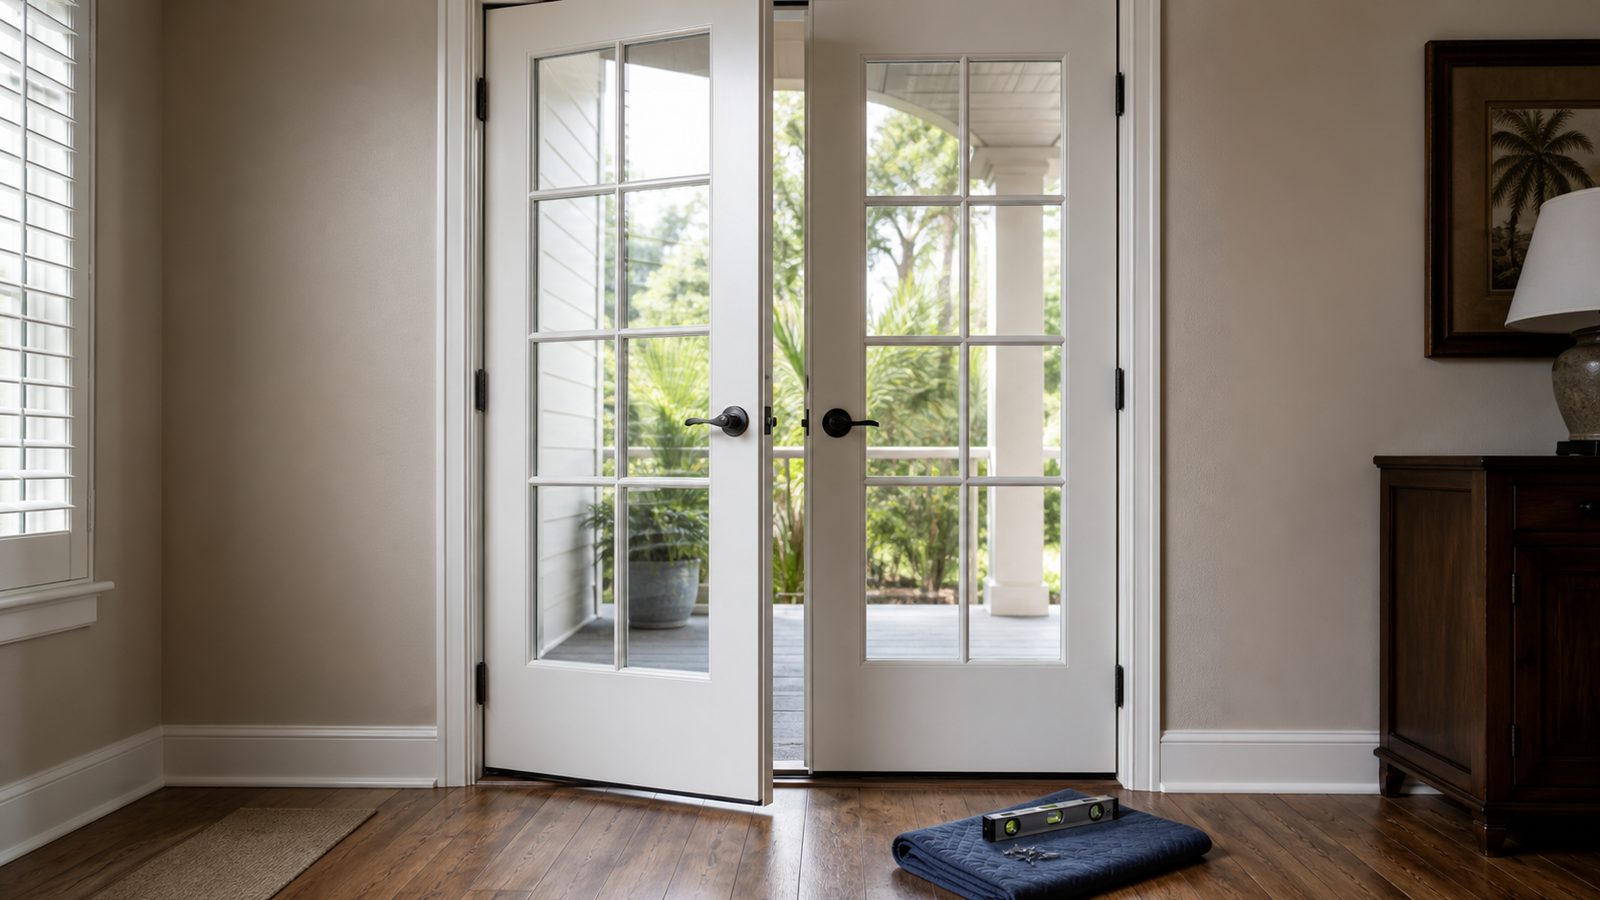
- Score the paint line where the casing meets the wall and the jamb. Paint acts like glue, and skipping this is the top reason drywall paper tears when the casing comes off.
- Pry from the middle out. Protect the wall with a putty knife, work a flat pry bar behind the casing near the center of the longest leg, and pull gently. Move to the next nail rather than levering the whole piece from one spot. Pull nails through the back with end nippers once loose.
- Clear the jamb and wall. Pull remaining nails through from the back, or clip them flush. Patch any torn drywall corners before moving on.
- Set your reveal, the small setback, typically 3/16 to 1/4 inch, between the jamb edge and the casing face. Cut a scrap block to that width, use it as a spacer, and trace a pencil line around the whole jamb so every piece lines up the same way.
- Cut and dry-fit the head casing first, then the two side legs. For mitered craftsman casing, cut 45-degree angles at both ends of the head and matching 45s on top of each leg. For butted craftsman casing, common in Prairie and Craftsman-style homes, cut the head square and let the legs butt into it at 90 degrees, more forgiving if the walls are not perfectly square.
- Nail to the reveal line, working top down, into the jamb along the inner edge and into framing along the outer edge. Set nails below the surface.
- Fill, sand, and finish. Fill nail holes and joints, sand lightly, then prime and paint or stain to match.
Jacksonville Climate Considerations
Northeast Florida's humidity swings hard between a wet summer and a drier winter, and solid wood trim moves with it. A miter cut tight in July can open a hairline gap by January as the wood shrinks. Acclimate new casing stock inside the room for a few days before cutting so it matches your house's humidity, not the truck it rode in on.
MDF casing, common locally because it takes paint smoothly and resists warping, has one real weakness: standing water. If it sits in a humid garage or gets rained on before installation, it swells at the cut edges and never fully recovers. Store it flat, indoors, off the concrete floor.
In Riverside, Springfield, and other older Jacksonville neighborhoods, original casing is often old-growth heart pine, denser and more rot and termite resistant than modern fast-growth pine, worth knowing before you toss it, since salvaged pieces can sometimes be reused or matched by a millwork shop. Termites stay active in Duval County year-round, so soft, hollow, or mud-tubed old casing is a signal to get the area inspected, not just replaced. Keep the AC running normally while you work; cutting it lets humidity climb, which is what causes fresh miters to open back up within months.
What It Costs in Jacksonville (DIY vs. Hiring a Pro)
These are rough planning estimates for a typical interior door, not quoted or surveyed figures.
| Approach | Typical Cost Per Door | Notes |
|---|---|---|
| DIY, standard pine or MDF casing | $25 to $60 in materials | Stock, nails, filler, and paint |
| DIY, matched or custom profile stock | $60 to $150 in materials | Custom milling runs higher per foot |
| Hired pro, standard casing | $150 to $300 per door | Labor plus materials |
| Hired pro, matched historic profile | $250 to $500+ per door | Includes profile matching or milling |
When to Call JK Prestige
A single door casing swap is a reasonable DIY weekend project. Call in a contractor when the scope grows past that: whole-house casing replacement where you want consistent results door to door, an opening that needs reframing, an unusual historic profile that needs custom milling, or old casing that uncovers termite damage, rot, or drywall problems bigger than a quick patch. JK Prestige handles the trim carpentry and whatever repair work it uncovers, so a small project does not stall waiting on a second trade.
No call center. No coordinator. A JK principal reviews every inquiry and replies with a real number, not a range, not a follow-up form.
Request Free Estimate →