This guide is for Jacksonville homeowners who want to replace a standard interior door -- specifically a pre-hung unit swap where you pull out the old door and frame together and drop in a new factory-assembled unit. Difficulty: beginner to intermediate. Time estimate: 3 to 5 hours for a single door, assuming the rough opening is clean. Total cost range: $150 to $600 depending on door material, hardware, and tool rental.
A pre-hung door comes with the door slab, hinges, and frame assembled as one unit. You are not building from scratch -- you are swapping one assembly for another. That said, Jacksonville homes have settled frames, walls that were never cut square, and old-growth framing that was never dimensionally consistent. The job is straightforward most of the time. Know what you are walking into.
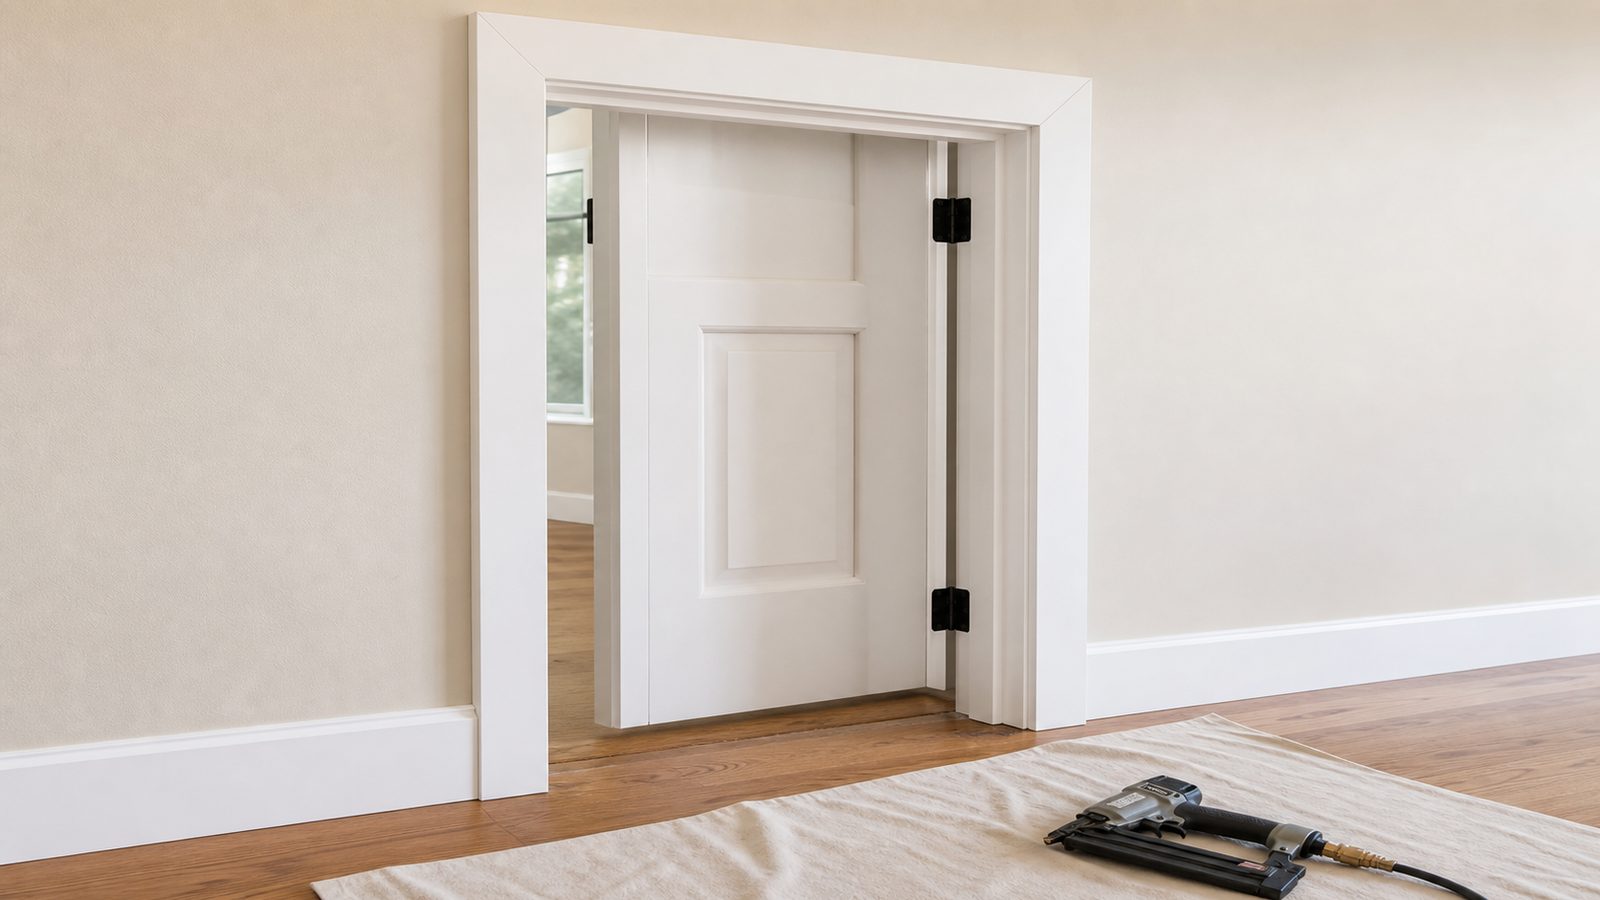
Tools You Need
- Pry bar (flat bar, 18-inch minimum)
- Hammer
- Oscillating multi-tool or handsaw
- 4-foot level (a 2-foot level works, but longer is better)
- Tape measure
- Drill and driver bits
- 3-inch screws
- Utility knife
- Cedar or composite shims
- Safety glasses
- Nail set and finish nails if re-trimming
Materials You Need
- Pre-hung interior door unit -- $80 to $400 depending on hollow-core vs. solid-core, species, and style. Measure your rough opening before you order.
- Door hardware or passage set -- $25 to $150
- Door casing trim -- $20 to $60 if you are replacing the existing trim
- Wood filler -- $5
- Paintable caulk -- $5
- Paint or stain to match existing finish -- $15 to $30
Measure the rough opening before you buy. Most interior doors are 80 inches tall. Width varies: a 2/0 door is 24 inches, a 2/6 is 30 inches, a 2/8 is 32 inches, a 3/0 is 36 inches. The rough opening should be about 2 inches wider and 2 inches taller than the nominal door size to allow for the frame and shimming. If the rough opening is the wrong size, that is a framing job, not a door swap.
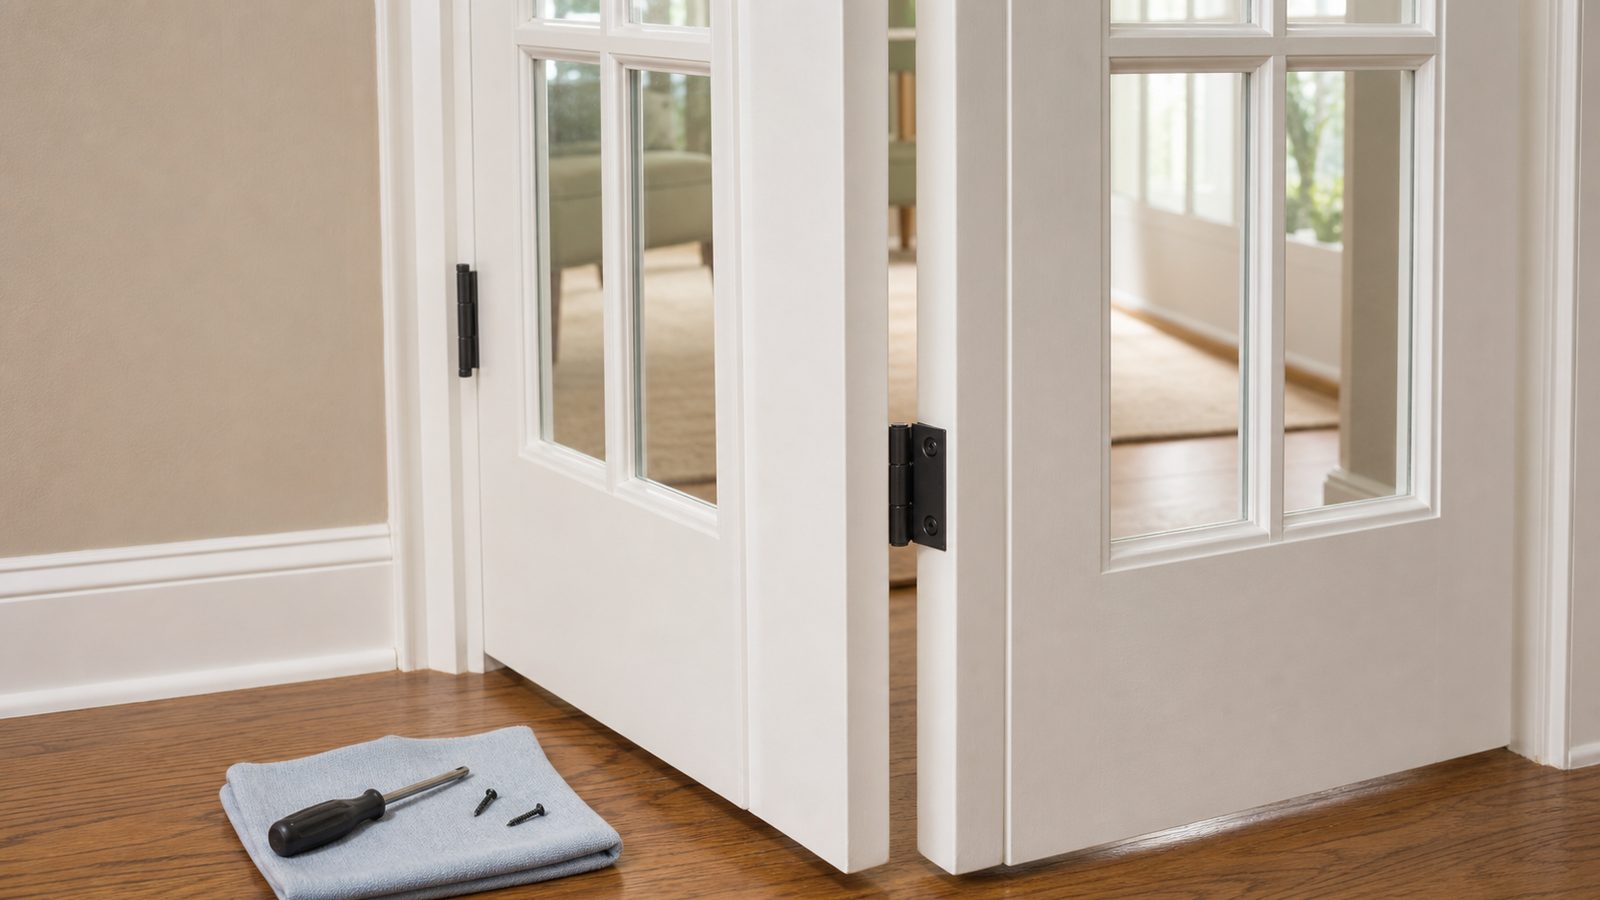
Step-by-Step Instructions
Phase 1 -- Remove the old door and frame
- Slice the paint line along the edge of the casing with a utility knife. Slide a pry bar behind the casing and work it off. If you plan to reuse the trim, go slow. If you are replacing it, pull it fast.
- Remove the door slab. Tap out the hinge pins from the bottom up using a nail and a hammer. Pull the slab free and set it out of the way.
- Remove the door frame. Cut any caulk lines at the drywall. Use the pry bar to pull the frame away from the rough opening, working top to bottom. The frame is usually nailed or screwed into the jack studs on each side. Older Jacksonville homes sometimes have layers of paint acting as glue -- expect resistance.
- Inspect the rough opening. Look for rot, soft wood, or pest damage. This is Jacksonville -- subterranean termites are real. Press your thumb into the wood at the sill and the bottom of the jack studs. If it is soft or punky, stop here. You have a framing repair before you have a door job.
Phase 2 -- Prepare the rough opening
- Clean up the opening. Pull old nails and screws. Check the floor across the width of the opening with your level. If the floor is out of level by more than a quarter inch, account for it with shims when you set the unit, or the gap at the bottom of the door will be uneven.
- Check plumb and square. Set your 4-foot level against each jack stud. Most settled homes in Jacksonville are off by something. The goal is not perfection -- you are shimming to compensate for whatever variation exists.
Phase 3 -- Set and plumb the new pre-hung unit
- Set the new pre-hung unit in the opening. A second person helps here -- the unit is awkward to manage solo. Tip it into place with the door slab swinging to the correct side. Confirm the hinge side is where you want it before you do anything else. Door hand is hard to change once the unit is in.
- Shim the hinge side first. Place shims behind each hinge location -- top, middle, and bottom. Drive them in pairs from opposite sides so the frame stays flat. Check plumb with your level. When the hinge side is plumb, drive a 3-inch screw through the frame, through the shims, and into the jack stud at each hinge location. Pre-drill to avoid splitting the frame.
- Shim and fasten the latch side. Install shims on the strike side, working toward a consistent 1/8-inch reveal between the door slab and the frame on all three sides. Open and close the door. It should swing freely and latch without force. If it binds, the frame is not plumb or the reveal is uneven. Fix it before you drive screws.
- Shim the head (top). Add shims at the top corners and at the center of the head jamb. Drive screws through the head jamb into the rough framing. Test the door one more time before you commit to the final fastening.
- Score and snap the excess shim material. Score the shim faces with a utility knife and snap the protruding portion flush with the frame. Do not use a reciprocating saw here -- you will mark the drywall.
Phase 4 -- Finish
- Install or reinstall the casing trim. Nail the casing to the frame with a consistent 3/16-inch reveal from the edge of the door frame. Use finish nails and set them below the surface with a nail set.
- Fill, caulk, and paint. Fill nail holes with wood filler. Sand flush when dry. Run a bead of paintable caulk at the joint between the casing and the wall surface. Prime and paint or stain to match.
- Install hardware. Mount the lockset or passage set per the manufacturer's template. Install the strike plate. Confirm the latch catches cleanly on the first push.
Common Mistakes to Avoid
- Buying the wrong door size. Measure the rough opening before you order, not the old door slab. If the rough opening is not a standard size, you may need a custom unit or a framing adjustment.
- Skipping the plumb check on the hinge side. A door hung 1/4 inch out of plumb will drift open or closed on its own. Check it before you drive a single screw.
- Not fully backing the hinge locations with shims. Each hinge needs solid shim contact behind it or the door will sag over time and stress the frame. Thin shim = future problem.
- Leaving shim ends protruding. Protruding shims prevent the casing from sitting flat against the frame. Score and snap before you trim out.
- Ignoring an unlevel floor. If the floor dips, the door gap at the bottom will be wider on one side. Shim the low side of the frame up or scribe the bottom of the door to match the floor.
When to Hire a Pro Instead
Call a contractor when any of these apply:
- You find rot or pest damage in the framing. Replacing a soft jack stud or a damaged header requires opening the wall and making structural repairs. That is not a door swap anymore -- it is a carpentry and framing job.
- The rough opening is the wrong size. Resizing a rough opening means cutting into framing. That may affect wall structure, depending on where the door sits.
- The wall is load-bearing. Moving or widening a door in a load-bearing wall requires a structural plan and a licensed GC. Do not guess on this one.
- The door is in a bathroom or near a wet area. Wet-area applications need proper flashing and sometimes blocking that a standard pre-hung swap does not address.
- You are doing a full interior door package as part of a renovation. When a crew is already on site, banging out 8 to 12 interior doors is faster and cheaper than doing them one at a time yourself over several weekends.
Need a Jacksonville GC for this job? Get a 48-hour free fixed-price estimate from JK Prestige Constructor.
No call center. No coordinator. A JK principal reviews every inquiry and replies with a real number, not a range, not a follow-up form.
Request Free Estimate →