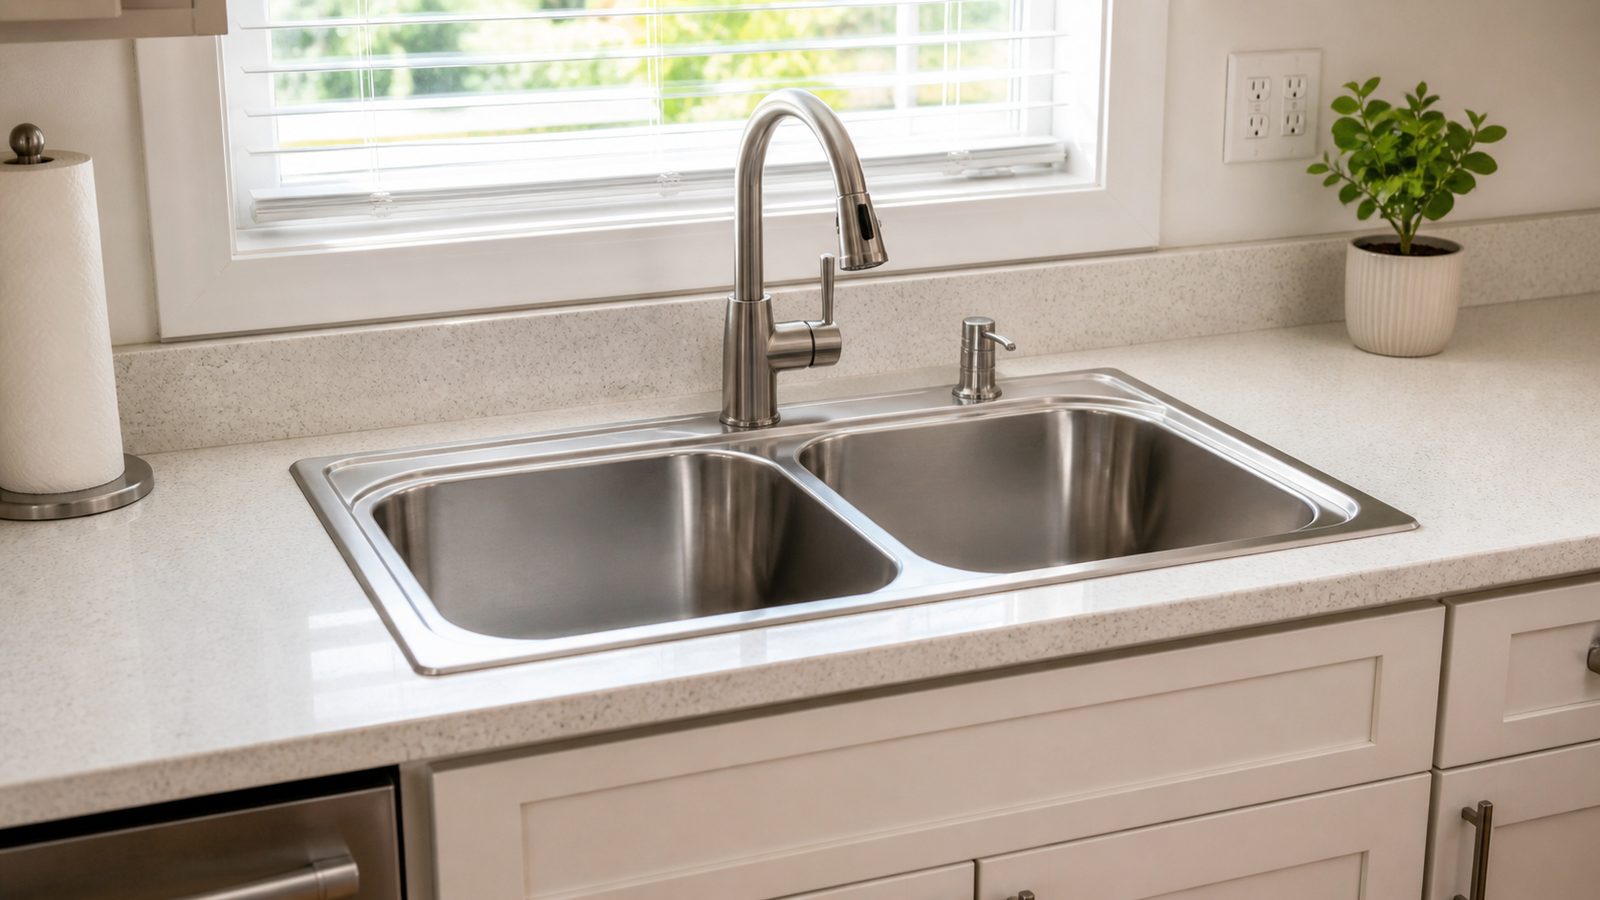
A kitchen sink swap looks like a weekend job, and for a straight drop-in to drop-in replacement, it usually is. Where Jacksonville homeowners get into trouble is assuming any sink fits any countertop. The style you pick decides whether this is a Saturday project or a countertop job with a plumber on call. Here is what actually happens at each step, and where it stops being DIY.
When You Need a Permit in Jacksonville
A like-for-like sink swap, same sink type, same location, same drain and supply connections, is generally treated as maintenance in Duval County and does not require a permit. You are reconnecting to existing plumbing, not changing it.
That changes the moment you move the drain, relocate the sink, alter the trap arrangement, or add a garbage disposal where there wasn't one before. That's plumbing work, and depending on scope it can require a permit pulled by a licensed plumber. If you're converting from drop-in to undermount, or the countertop is being replaced or recut, treat it as a bigger project and check first. The City of Jacksonville Building Inspection Division is the authority here, and a phone call before you start cutting anything beats guessing. When in doubt, ask them, not a forum thread.
Tools and Materials
- New sink (confirm drop-in or undermount, and the exact cutout dimensions from the manufacturer template)
- Basin wrench
- Adjustable wrench and slip-joint pliers
- Putty knife or 5-in-1 tool
- Plumber's putty or 100% silicone sealant
- New supply lines (braided stainless, correct length)
- New P-trap kit if the old one is corroded or doesn't match the new sink height
- Sink clips (for drop-in) or epoxy and mounting hardware (for undermount)
- Bucket, towels, headlamp
- Channel-lock pliers for disposal mounting ring
- Silicone caulk gun
- Plastic putty knife for old caulk removal
Step-by-Step
- Shut off the water and clear the cabinet. Close both angle stops under the sink, open the faucet to relieve pressure, then empty the cabinet and lay down towels.
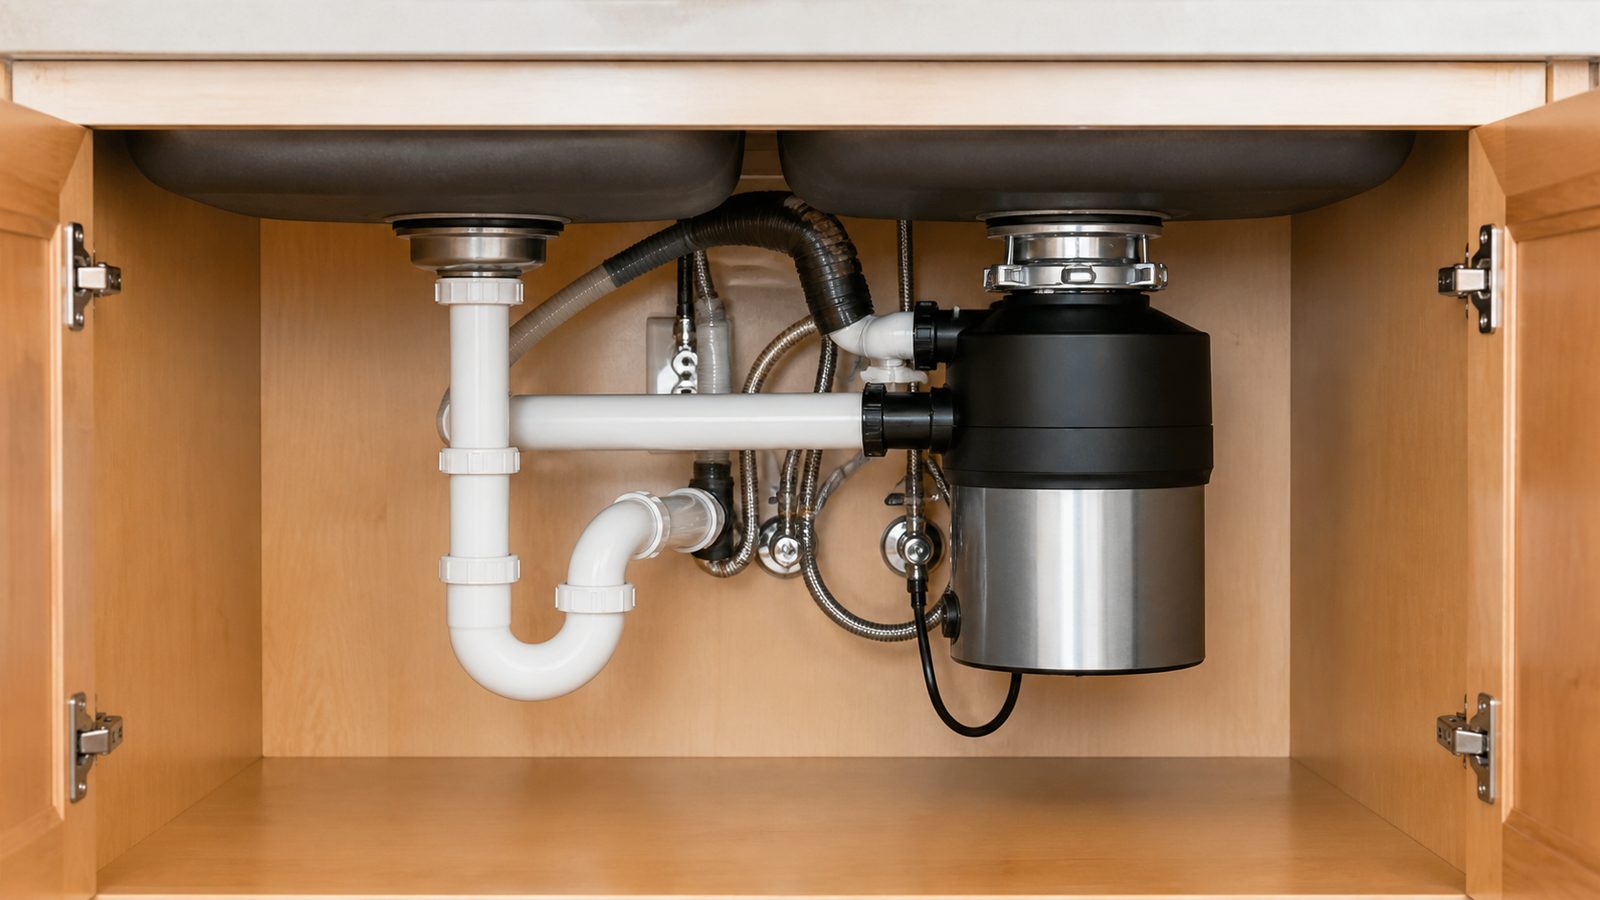
- Disconnect supply lines, drain, and disposal. Use the basin wrench for tight faucet connections. If there's a garbage disposal, support it while you disconnect the mounting ring and wiring so it doesn't drop and strain the cord.
- Cut the old caulk bead and lift out the old sink. Run a utility knife around the rim to break the silicone seal. Drop-in sinks lift straight out once the clips underneath are released. Cast iron sinks run 100 pounds or more, so get a second person before you tip one out of the cabinet.
- Inspect and clean the cutout. Scrape old putty and caulk down to bare countertop or particleboard, and check the substrate for water damage, especially on older laminate counters. Soft or swollen wood gets addressed before a new sink goes in.
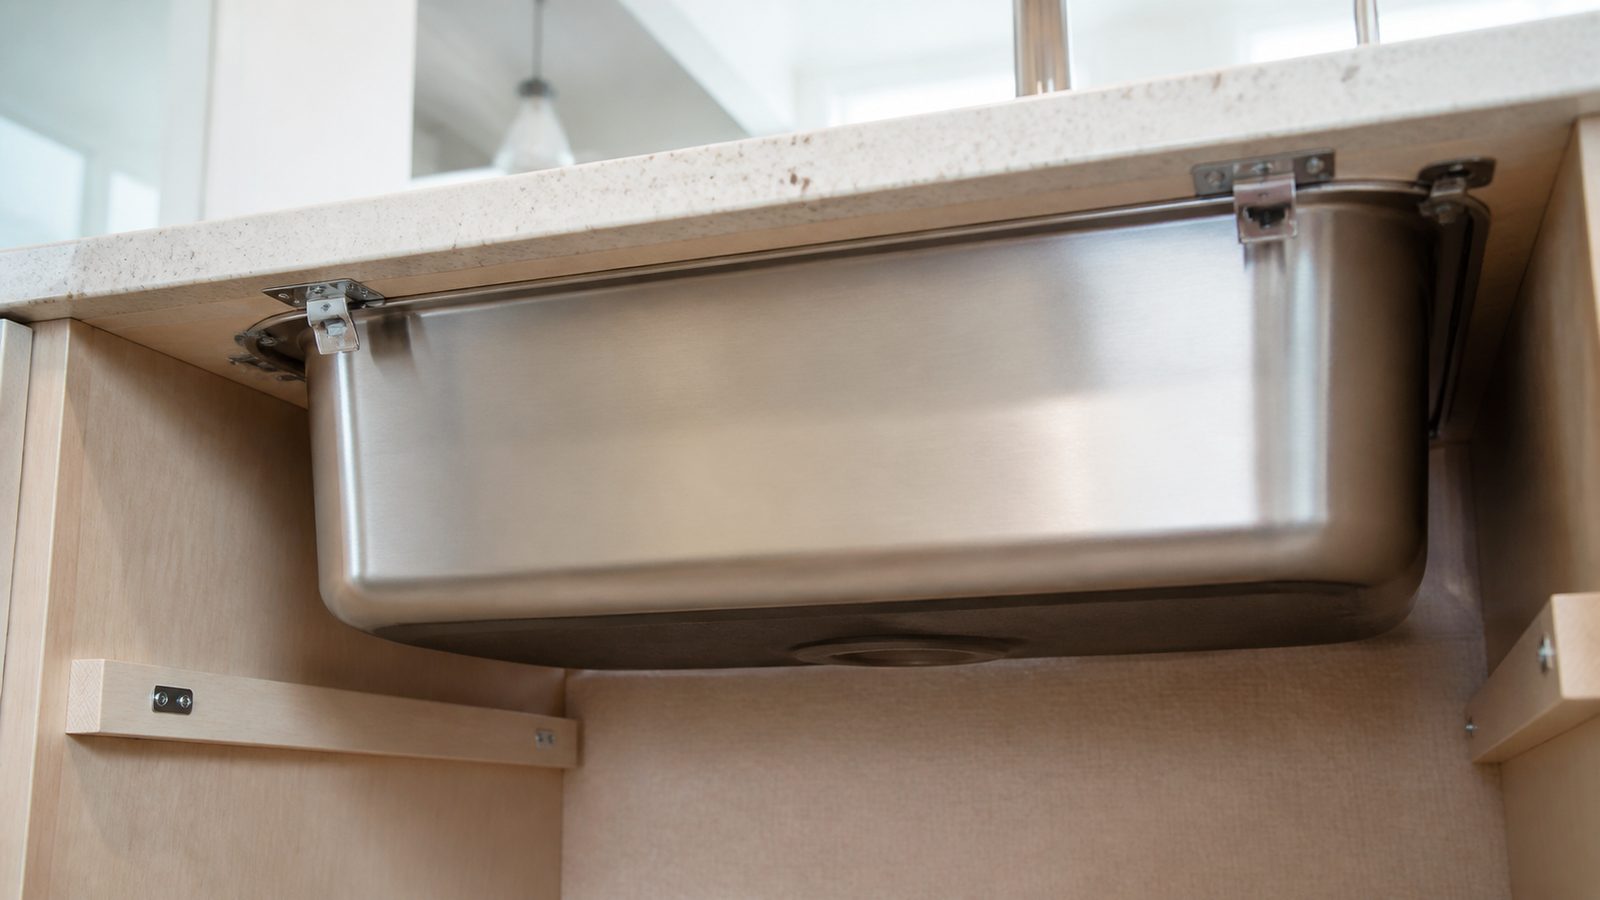
- Confirm the new sink matches the cutout, or plan a countertop change. This is the step that trips people up. A drop-in sink rests on the countertop with its rim visible, and the cutout tolerance is forgiving by an inch or so. An undermount sink attaches from below with no rim, and it needs a solid surface material, granite, quartz, or another engineered stone, because the exposed counter edge has to be finished and structurally sound. Laminate and most tile counters cannot carry an undermount sink. Moving from drop-in to undermount means budgeting for a new countertop, not just a new sink.
- Set the new sink. For a drop-in, run plumber's putty or silicone under the rim, lower the sink into the cutout, and secure it from below with the sink clips, tightening evenly so the rim seats flat. For undermount, this step belongs to whoever templates and installs the countertop, since the sink is epoxied and clamped to the stone before the counter is set.
- Reconnect the drain assembly. Install the new P-trap kit, hand-tighten slip nuts, then snug with pliers, no more than a quarter turn past hand-tight. Overtightening cracks plastic nuts.
- Reinstall the garbage disposal if present. Mount it to the new sink flange, connect the drain line and dishwasher hose if applicable, and wire it per the disposal's instructions.
- Reconnect supply lines and test. Use new braided supply lines rather than reusing old ones, cheap insurance against a slow leak later. Turn the angle stops back on slowly and check every joint for drips.
- Run water and recheck everything. Fill the basin and drain it fully, run the disposal if installed, and check under the cabinet again in an hour. Most leaks show up once the joints have had time to settle.
Jacksonville Climate Considerations
Jacksonville's water varies by source. JEA municipal water runs moderately hard, which over time leaves mineral scale on aerators and inside supply lines, worth checking while you're already under the sink. On a private well in outer Clay County or Nassau County, hardness and iron content tend to run higher, so budget extra time to clean or replace corroded shutoff valves.
Cabinet humidity matters too. Under-sink cabinets in Jacksonville's climate hold moisture longer than in a drier state, which accelerates rot in particleboard cabinet floors and countertop substrates. If you find soft wood during demo, address it now rather than sealing a new sink over a problem.
Homes in Springfield and Riverside built in the 1920s often still run original cast iron drain lines, frequently narrowed by decades of scale and brittle at the joints, so go easy with wrenches near the wall stub and don't force a new trap onto an out-of-round old fitting. In Mandarin and Southside, most homes are newer slab-on-grade construction, where the drain stub comes up through the slab in a fixed spot, leaving less flexibility to relocate a sink without breaking concrete.
What It Costs in Jacksonville (DIY vs. Hiring a Pro)
| Scope | DIY (materials only) | Hiring a Licensed Plumber |
|---|---|---|
| Drop-in to drop-in swap | $150 to $500 | $350 to $700 |
| Drop-in to undermount (sink only, existing counter reused) | Not recommended DIY | $600 to $1,200 |
| Drop-in to undermount with new stone countertop | $2,500 to $6,000+ | $3,000 to $7,500+ |
| Adding a garbage disposal | $120 to $300 | $250 to $500 |
| Replacing corroded shutoff valves or supply lines | $30 to $80 | $150 to $350 |
When to Call JK Prestige
If your sink swap has turned into a countertop replacement, a cast iron drain repair, or a slab plumbing question, that's past a weekend project. JK Prestige coordinates the countertop fabrication, plumbing, and cabinet repair as one job instead of three separate headaches. Call us when the scope grows past the sink itself.
No call center. No coordinator. A JK principal reviews every inquiry and replies with a real number, not a range, not a follow-up form.
Request Free Estimate →