A leaning mailbox post, a rotted-out base, or a box that got clipped by a passing trash truck are common headaches for homeowners across Jacksonville, from Mandarin to Arlington to the Southside. Replacing a mailbox and post is one of the more approachable DIY projects a homeowner can take on, but there are a few Jacksonville-specific details worth knowing before you start digging, including who to call before you break ground, what the mail carrier expects, and how the local sandy soil affects how long your new post will last.
When You Need a Permit in Jacksonville
The good news first: a standard residential mailbox and post replacement does not require a building permit from the City of Jacksonville or Duval County. This is considered routine homeowner maintenance, not construction, as long as you are simply replacing what is already there in roughly the same location. You would only run into permitting questions if you were doing something unusual, like building a large brick or stone mailbox structure that functions more like a small masonry feature, in which case it is worth a quick call to the city to confirm.
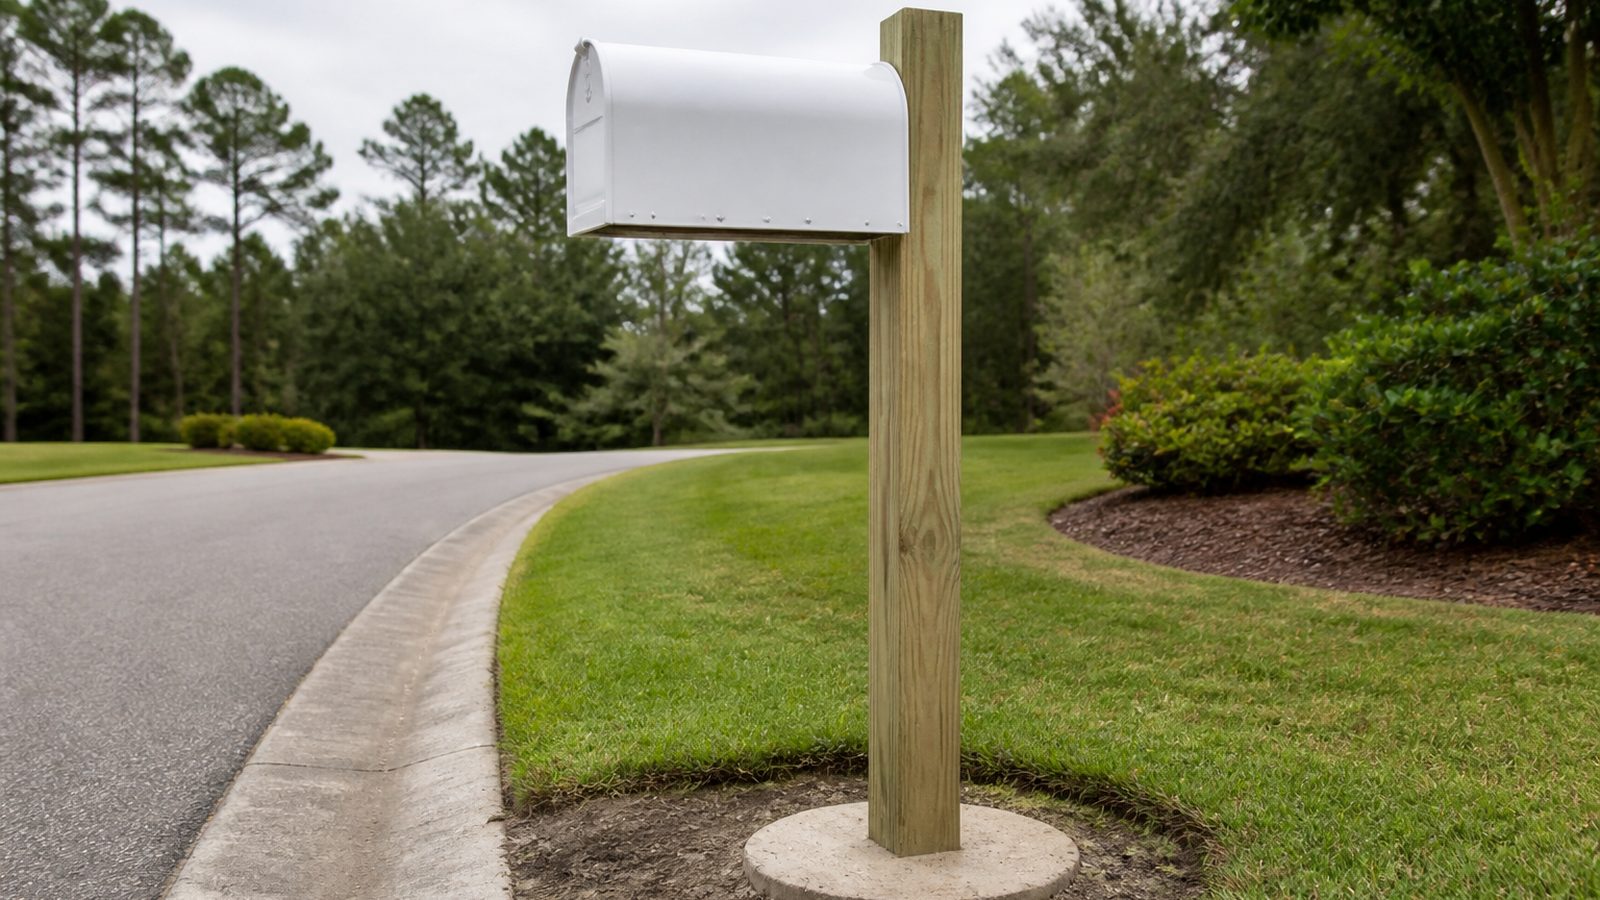
What you do need to follow are USPS placement standards, since your letter carrier has to be able to safely serve the box from the driver's seat. USPS guidance calls for the mailbox to sit 41 to 45 inches from the road surface to the bottom of the box, and the box itself should be set back 6 to 8 inches from the curb or the edge of the road. If your street has a curb, measure from the face of the curb. If it is a rural or non-curbed road, measure from the edge of the pavement. Getting this wrong can mean your carrier flags the box or, in rare cases, stops delivery until it is corrected.
Before you dig anything, call 811, Florida's Sunshine State One Call, at least two full business days ahead. This is free and it is the law before any excavation in Florida. JEA, Comcast, AT&T, and other utility lines often run shallower than people expect in Duval County yards, and a hit line can mean a repair bill and a service outage for you or a neighbor. Once you call, the utility companies mark the ground with flags or spray paint showing where it is safe to dig.
Last, check your HOA documents or deed restrictions if you live in a planned community. Many Jacksonville subdivisions, particularly newer developments in areas like Nocatee-adjacent neighborhoods, San Marco, and parts of Mandarin, specify an approved mailbox style, color, or post material as part of the community's architectural standards. Replacing like-for-like is usually fine, but swapping a wood post for a decorative metal one, or changing the mailbox style, may need HOA sign-off first.
Tools and Materials
- Post hole digger or clamshell digger (manual or gas-powered auger for tougher ground)
- Quick-set concrete mix (enough to fill the hole, typically one to two 50-lb bags)
- 4-foot level
- New mailbox
- New post (pressure-treated wood, PVC-sleeved, or powder-coated metal)
- Tape measure
- Wheelbarrow or mixing tub and a hoe or mixing paddle
- Work gloves and safety glasses
- Scrap wood or stakes to brace the post while it cures
- Shovel
Step-by-Step
- Call 811 (Sunshine State One Call) at least two business days before you plan to dig, and wait for utility lines to be marked.
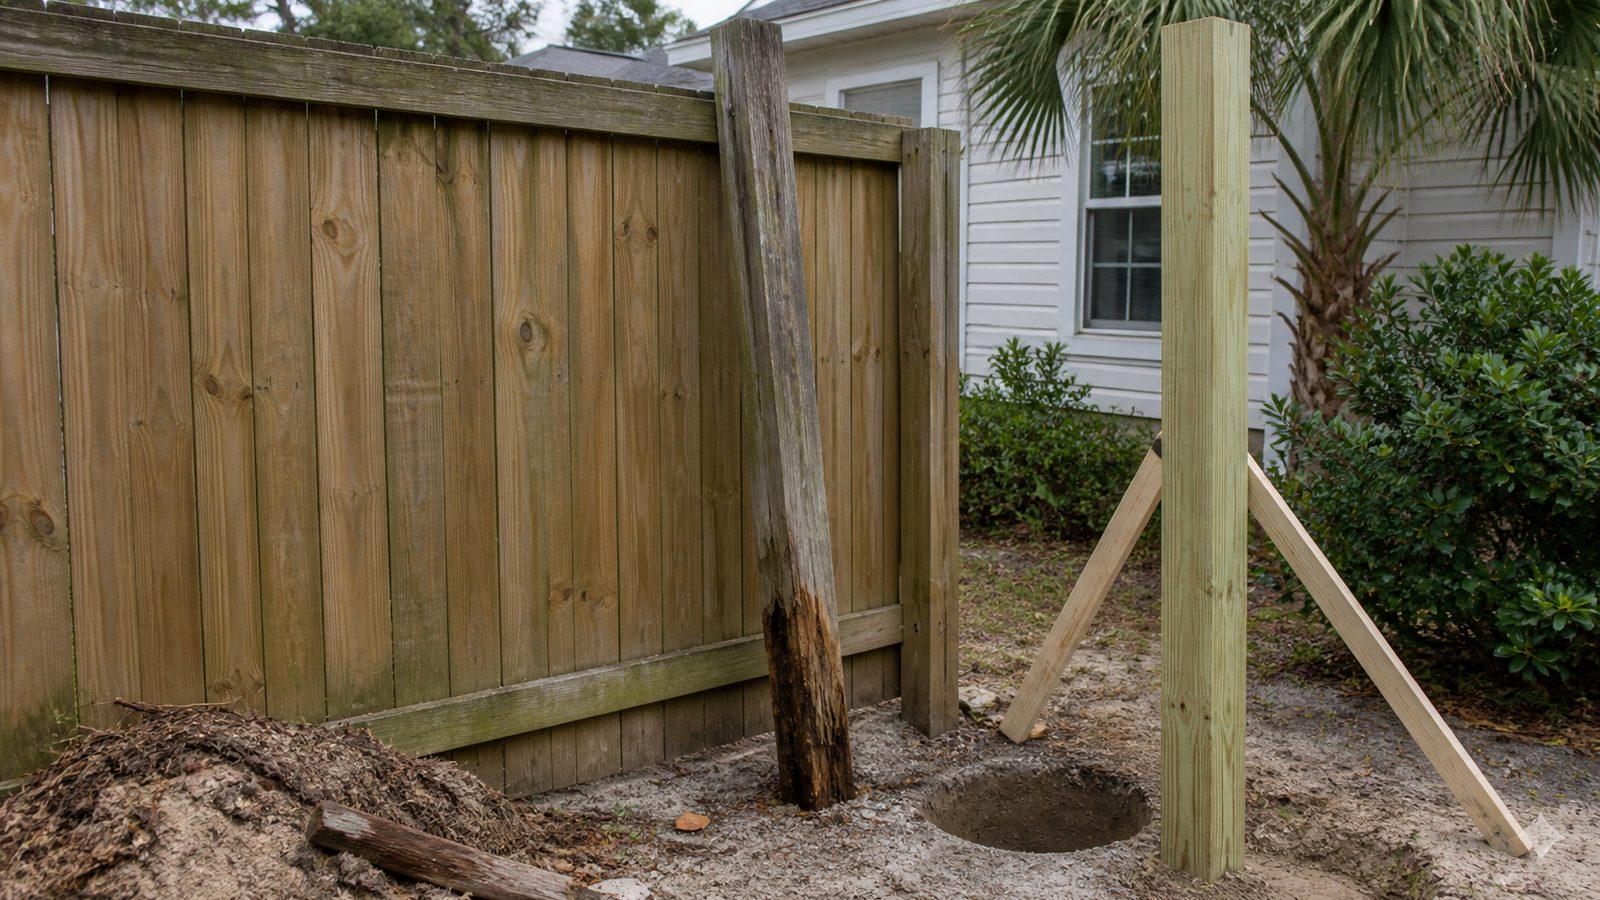
- Remove the old mailbox from the post, then work the old post loose. If it is set in concrete, you may need to dig around the concrete footing and pry it out, or break up the old concrete with a digging bar.
- Dig the new hole roughly 24 to 30 inches deep and about 10 to 12 inches wide, in the same general location as the original post so your address stays properly aligned with the road.
- Add a few inches of gravel at the bottom of the hole for drainage before setting the post. This matters more in Jacksonville's sandy, well-draining but occasionally waterlogged soil than people expect.
- Set the post in the hole and use the level to check it is plumb on at least two adjacent sides. Brace it temporarily with scrap wood stakes so it does not shift.
- Mix the quick-set concrete according to the bag instructions and pour it into the hole around the post, sloping the top of the concrete slightly away from the post so water sheds off instead of pooling at the base.
- Recheck plumb with the level while the concrete is still wet, and adjust if needed. Let it cure per the product instructions, usually 4 to 24 hours before any weight is put on the post.
- Mount the mailbox to the post, then measure from the road surface to confirm the bottom of the box sits 41 to 45 inches high, with the front face 6 to 8 inches back from the curb or road edge. Adjust the post height before the concrete fully cures if your measurements are off.
Jacksonville Climate Considerations
Jacksonville's soil is largely sandy, which drains quickly but does not hold a post as firmly as denser clay soils in other parts of the country. Setting the post deep enough, and using enough concrete to create a solid collar, matters more here than in many regions. Sloping the concrete cap to shed water away from the post base also helps prevent the sand around it from washing out during heavy rain.
Duval County's humidity is hard on untreated or poorly sealed wood posts, which can start to soften or show rot at the base within a few years if moisture collects there. Pressure-treated lumber rated for ground contact holds up far better than standard construction-grade wood.
Hurricane season, which runs June through November here, is also worth planning around. A loose or shallow-set post is one of the first things to snap or lean in sustained wind events, so a properly cured concrete footing is not just about looks, it is about the post surviving the next named storm. If you live near the St. Johns River or closer to the coast in areas like Atlantic Beach or Mayport, salt-laden air can accelerate corrosion on unprotected metal posts and hardware, so powder-coated or stainless fasteners are worth the small upcharge.
What It Costs in Jacksonville (DIY vs. Hiring a Pro)
| Approach | Typical Cost Range | Notes |
|---|---|---|
| DIY, basic wood post and standard box | $60 to $150 | Cost of materials only, assumes you own or borrow a post hole digger |
| DIY, decorative post and premium box | $150 to $350 | Higher-end mailbox and matching post/planter combo units |
| Hiring a handyman or contractor | $200 to $450 | Labor plus materials, includes old post removal and disposal |
| Custom brick or masonry mailbox structure | $500 to $1,500+ | Requires masonry skill, longer timeline, may involve HOA approval |
When to Call JK Prestige
If your mailbox post has been knocked over more than once, if you are dealing with a custom brick or stone mailbox structure, or if you would simply rather not spend a Saturday mixing concrete in Jacksonville's summer heat, JK Prestige Construction can handle the removal, installation, and cleanup for you. As a principal-led general contractor, we make sure the placement meets USPS standards and your HOA requirements before we ever pour concrete.
No call center. No coordinator. A JK principal reviews every inquiry and replies with a real number, not a range, not a follow-up form.
Request Free Estimate →